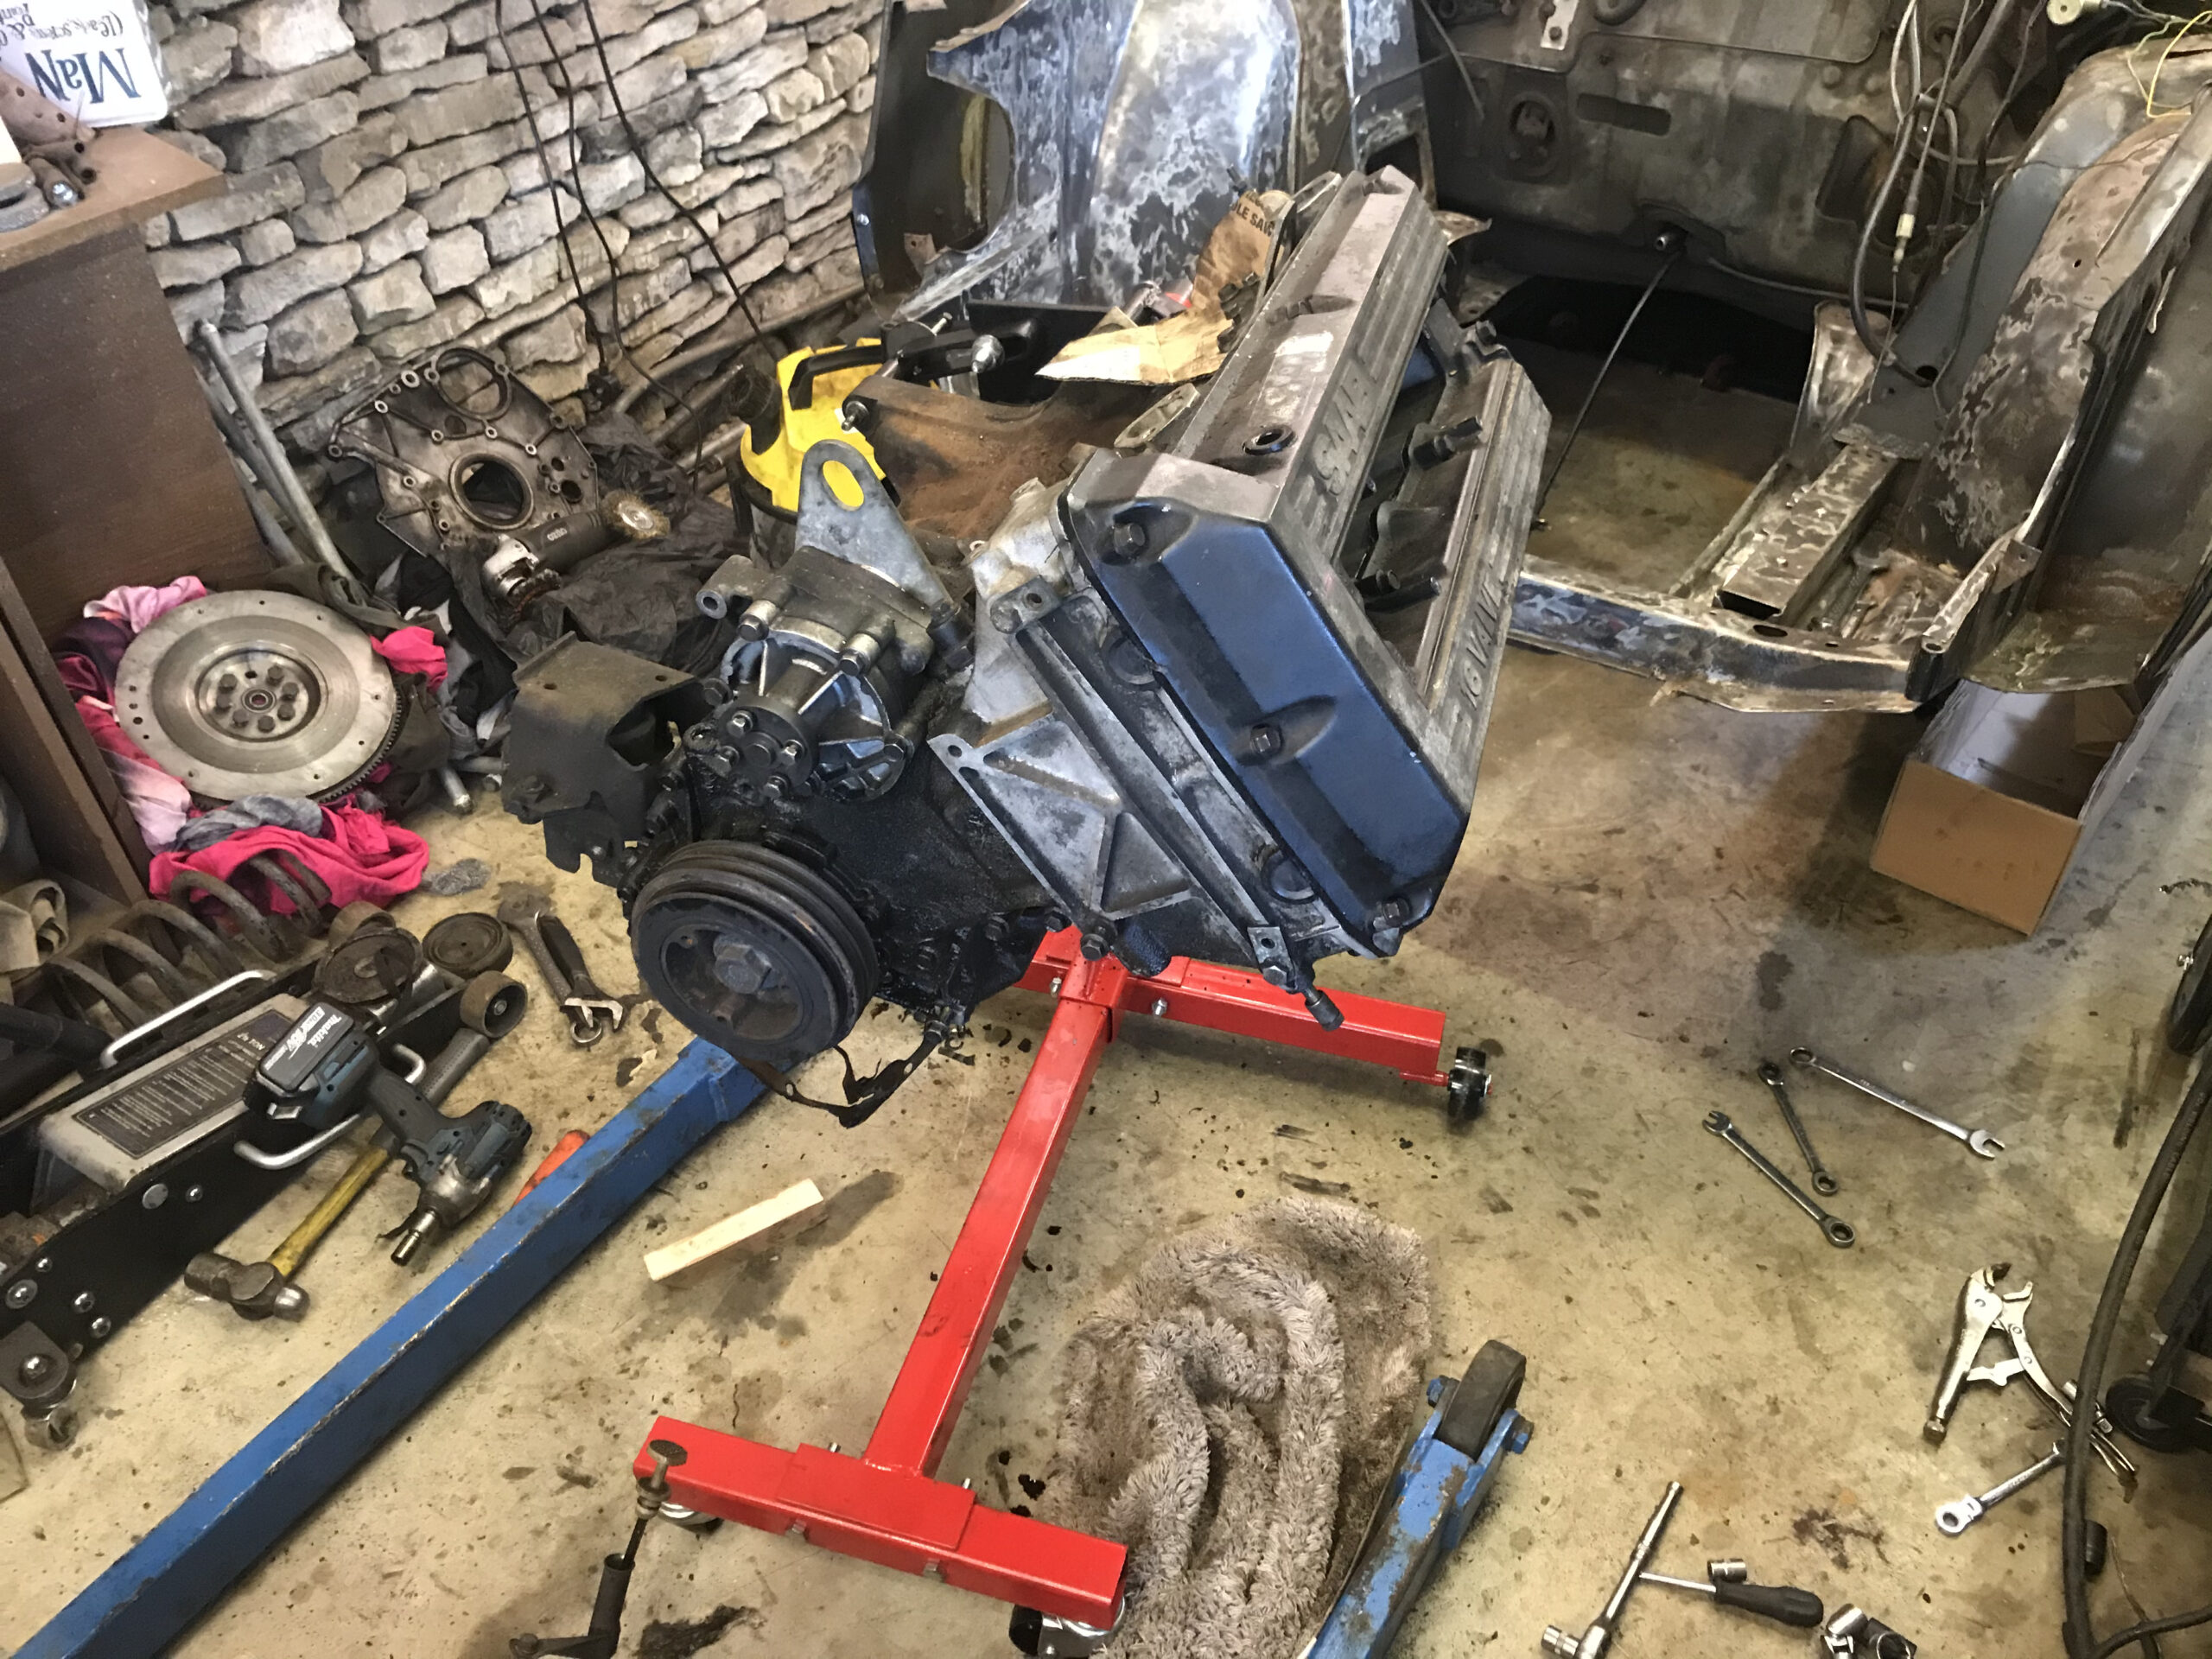
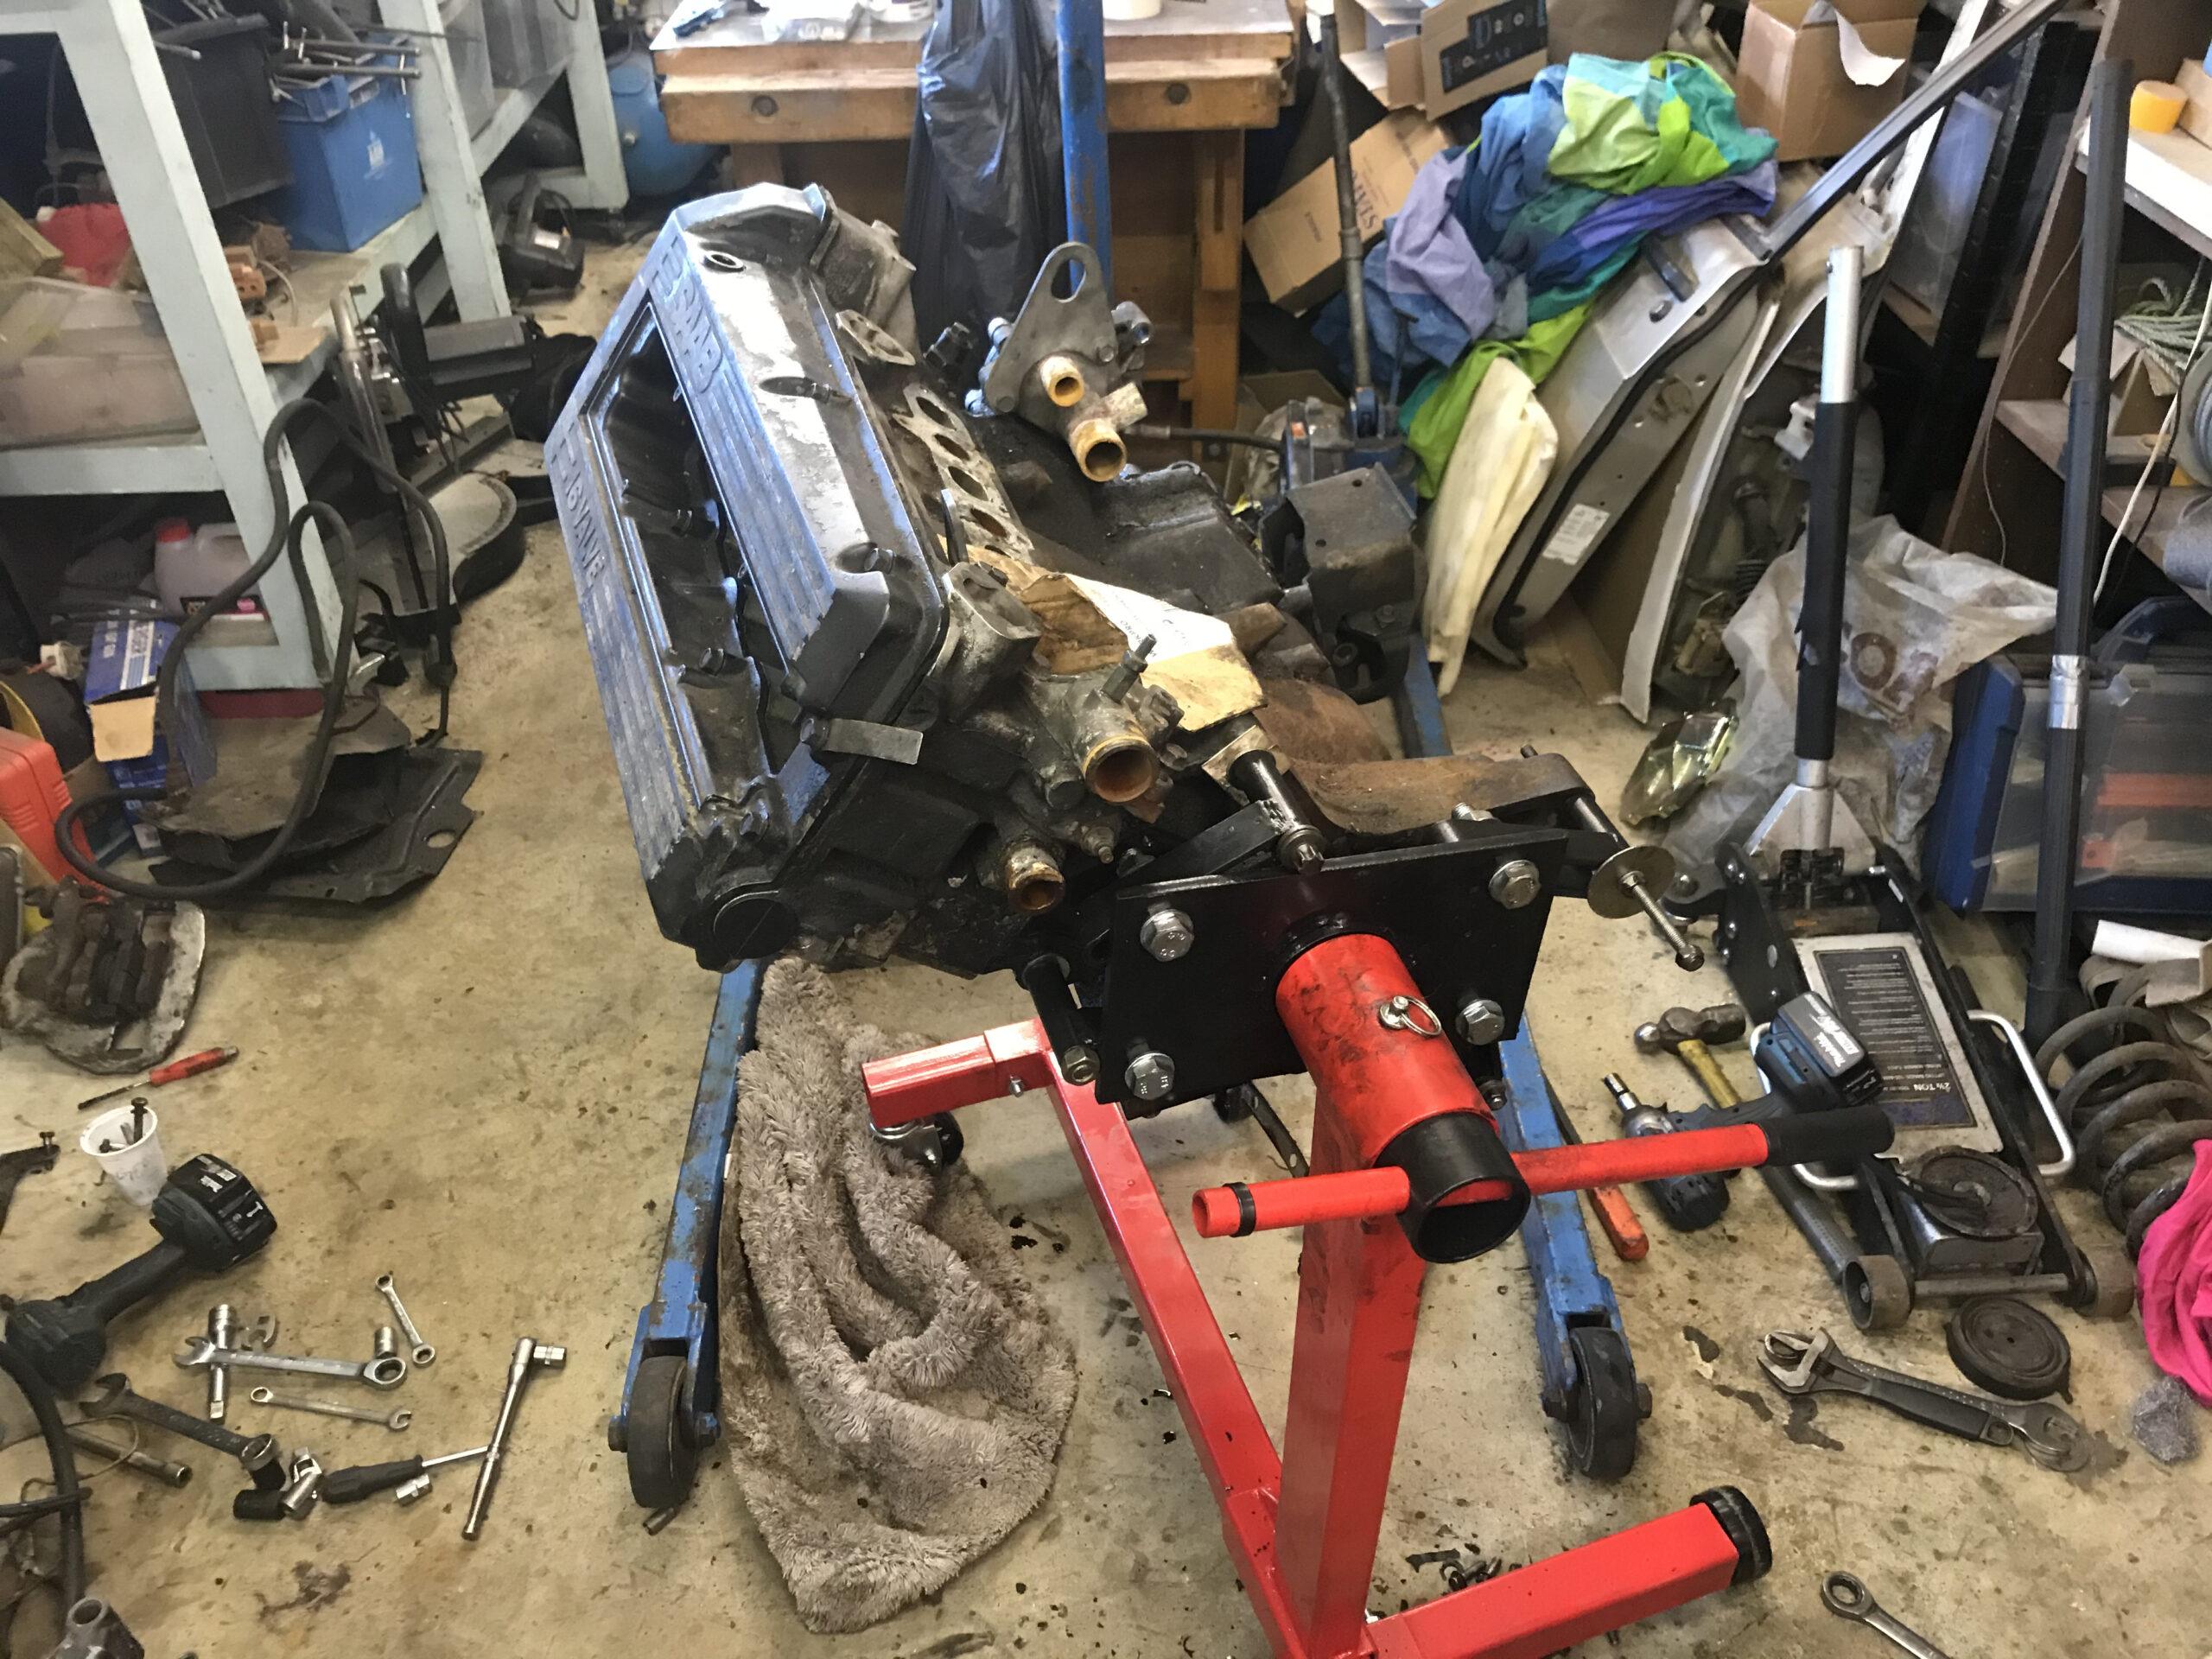
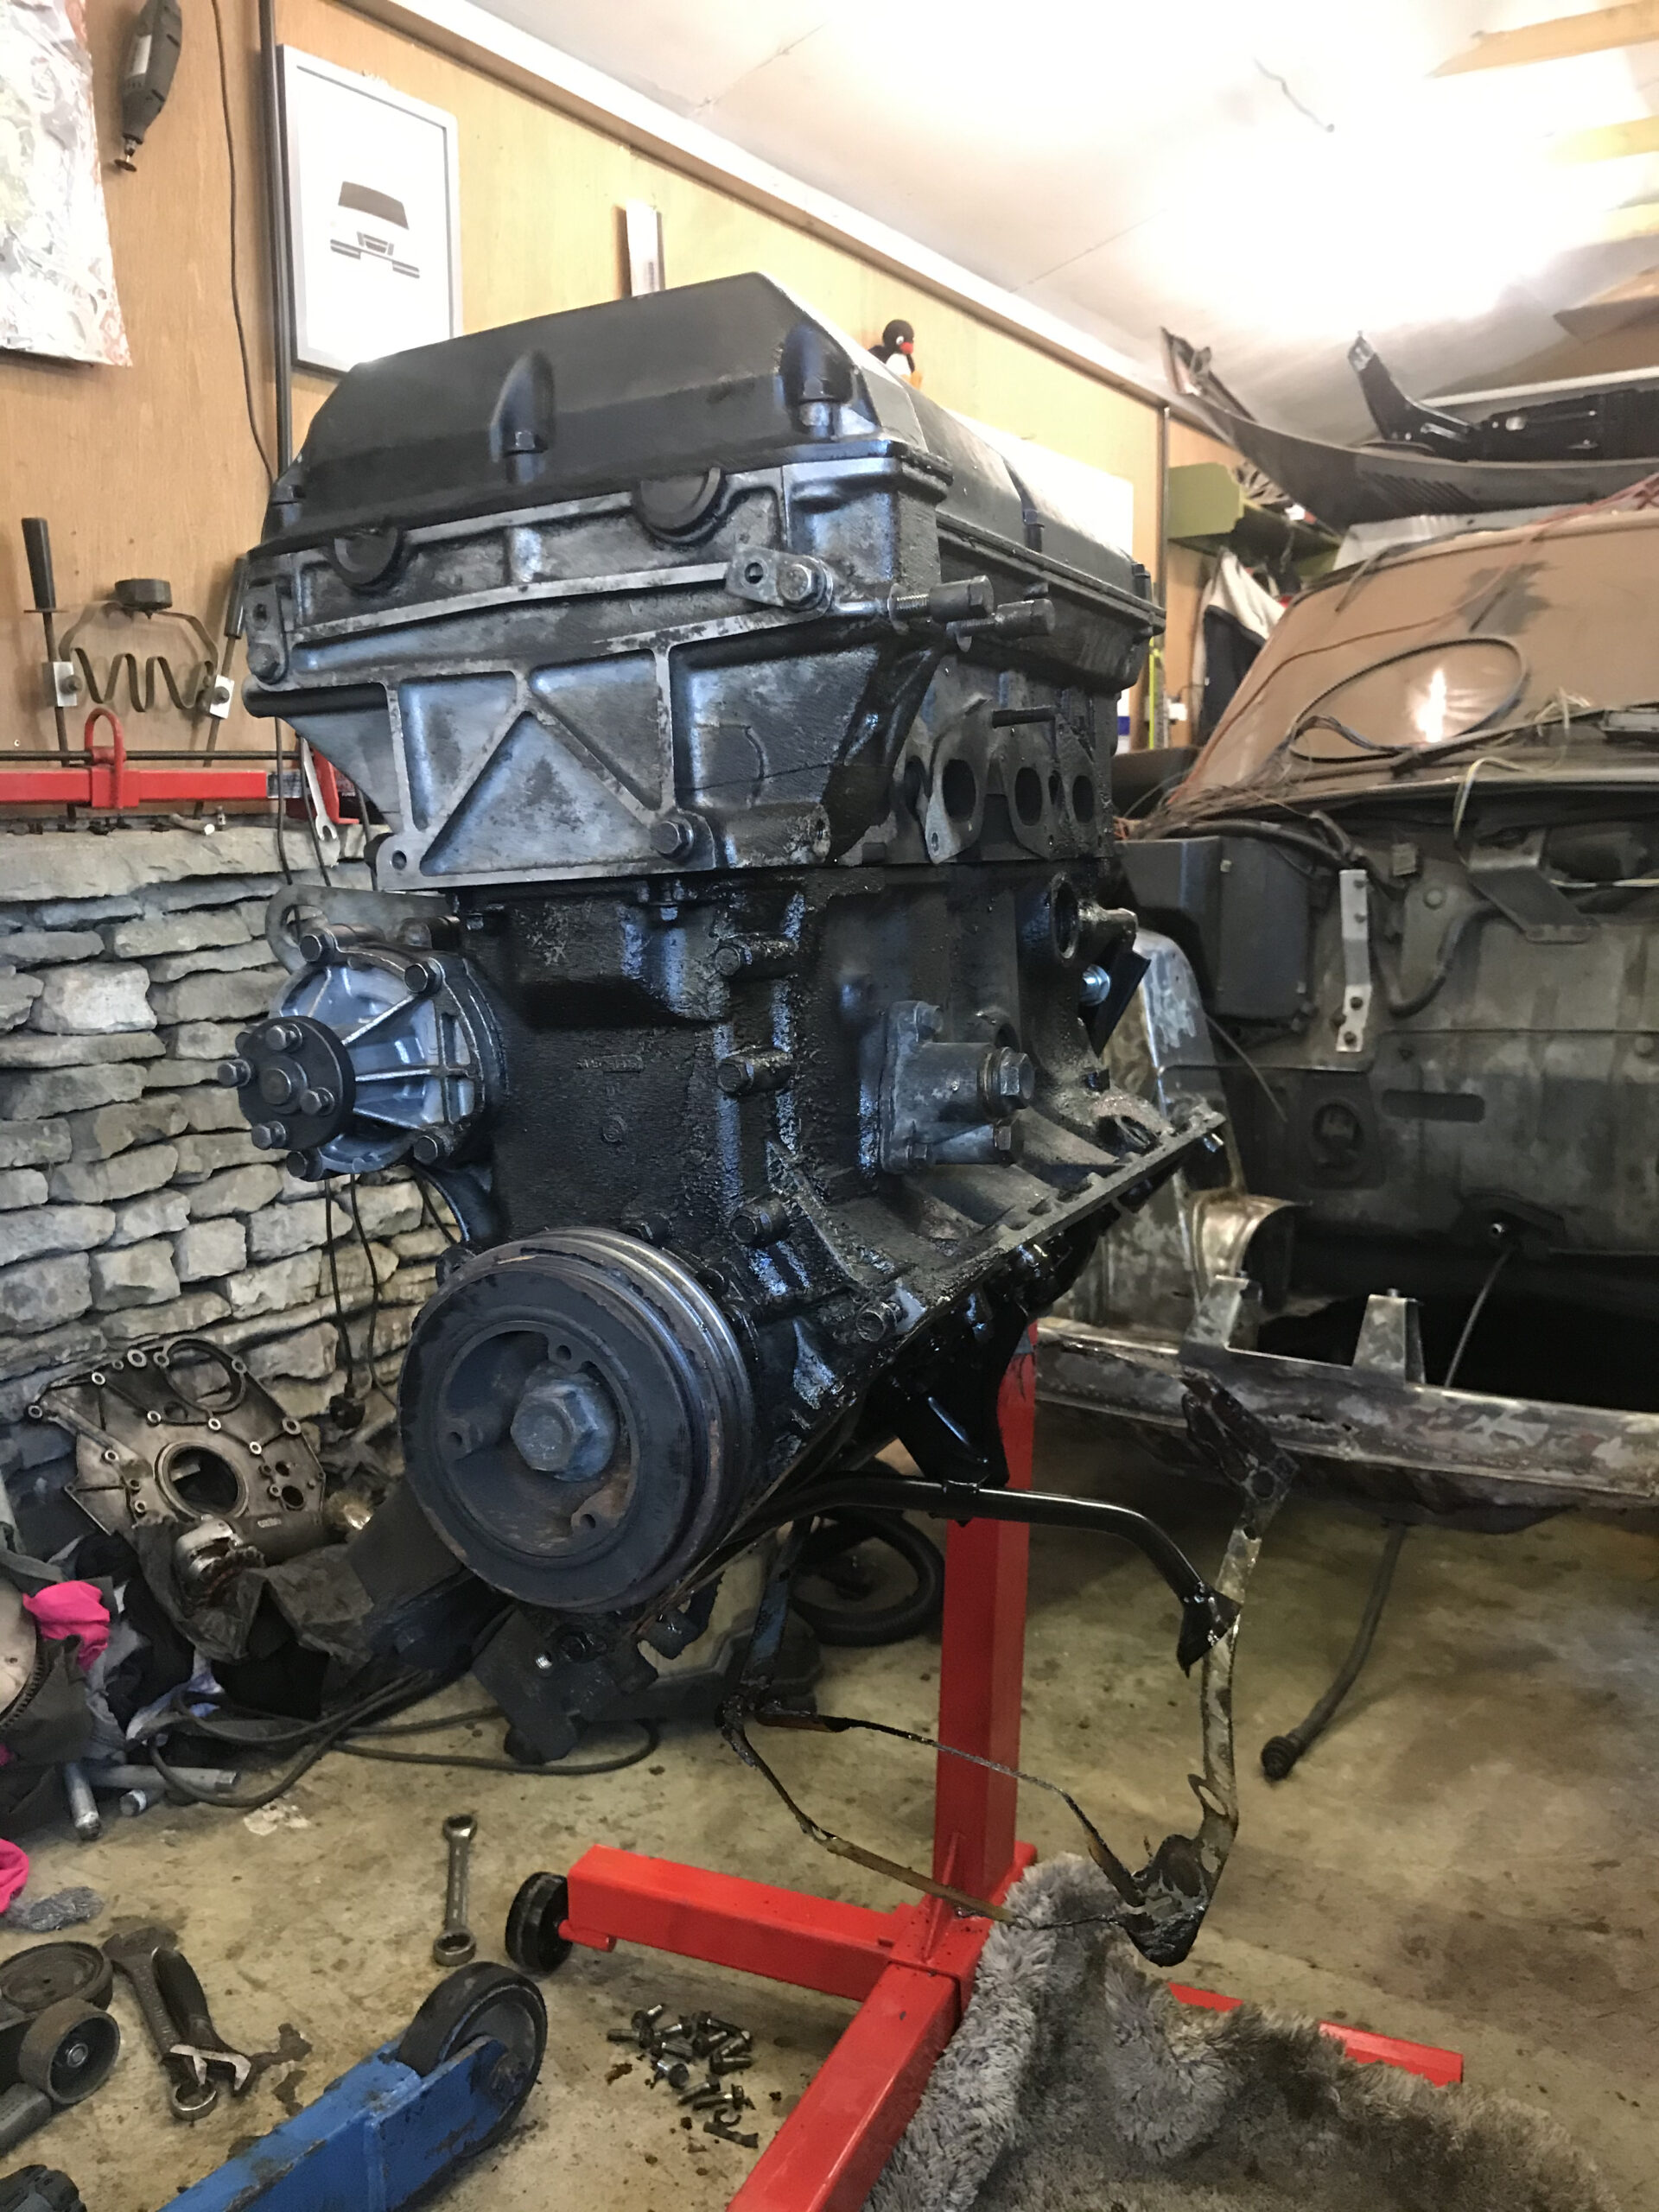
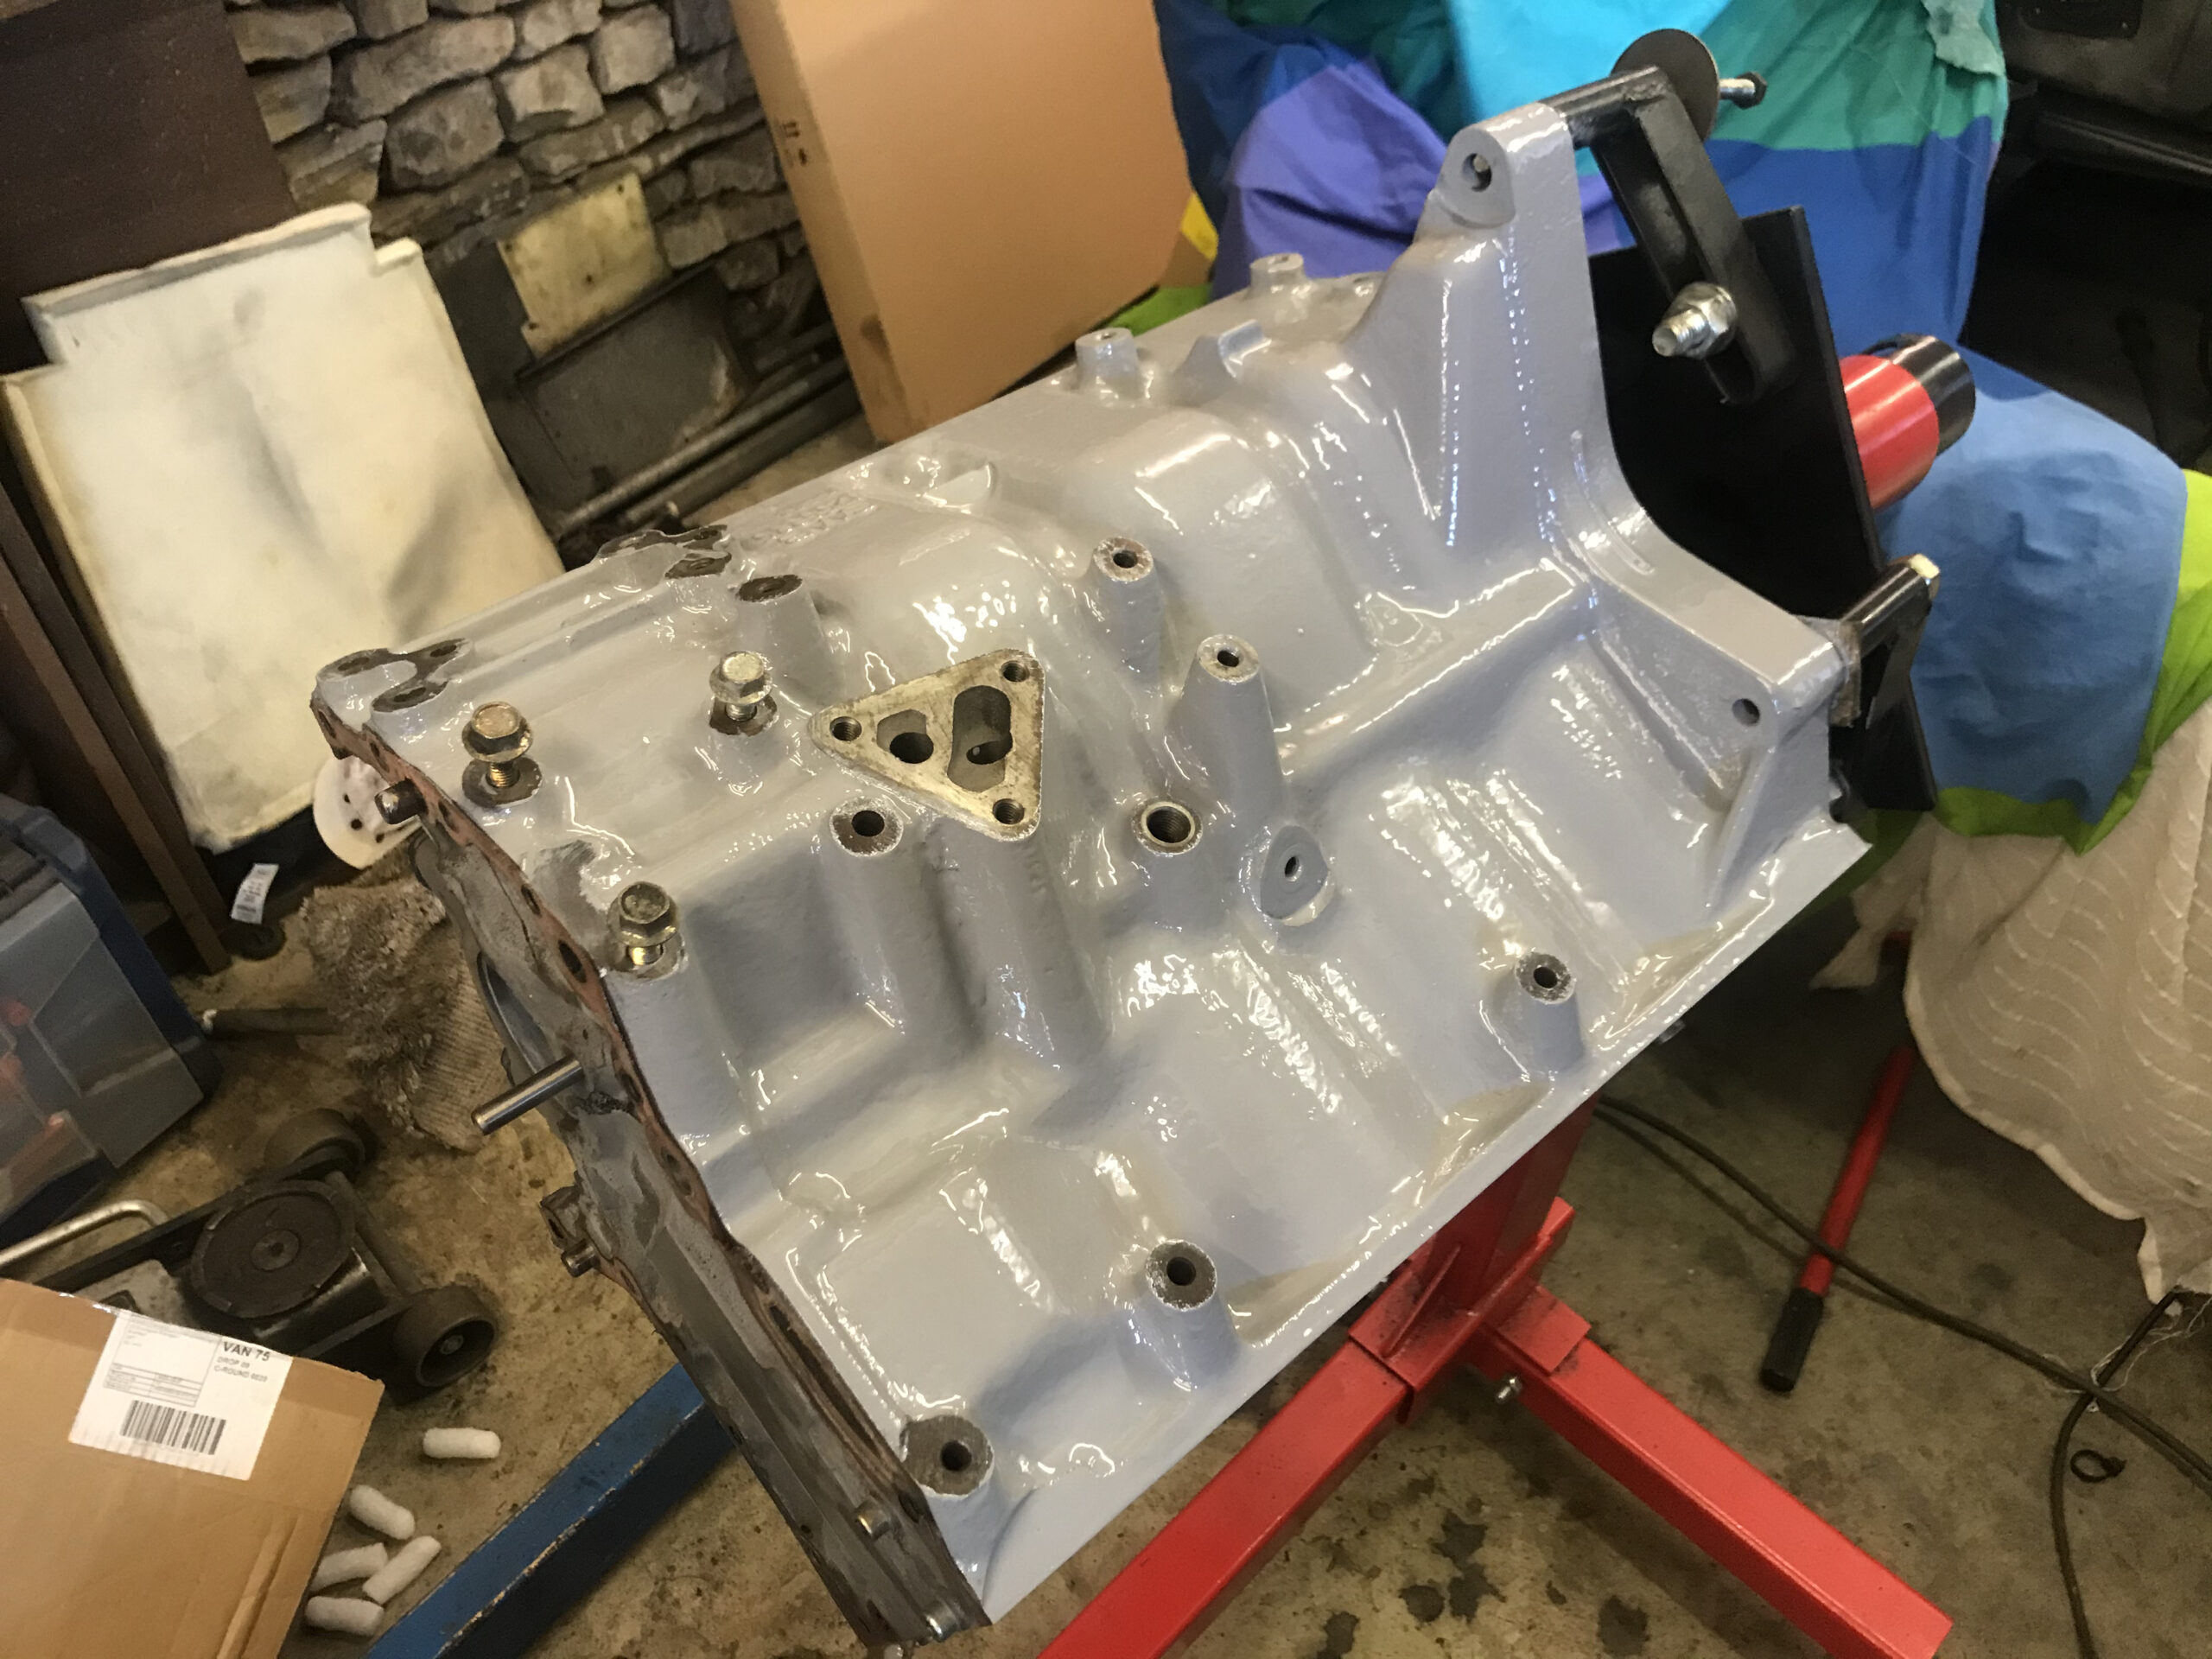
With the engine bay sorted it was time to start on the engine rebuild. I bought an engine stand and mounted it up.
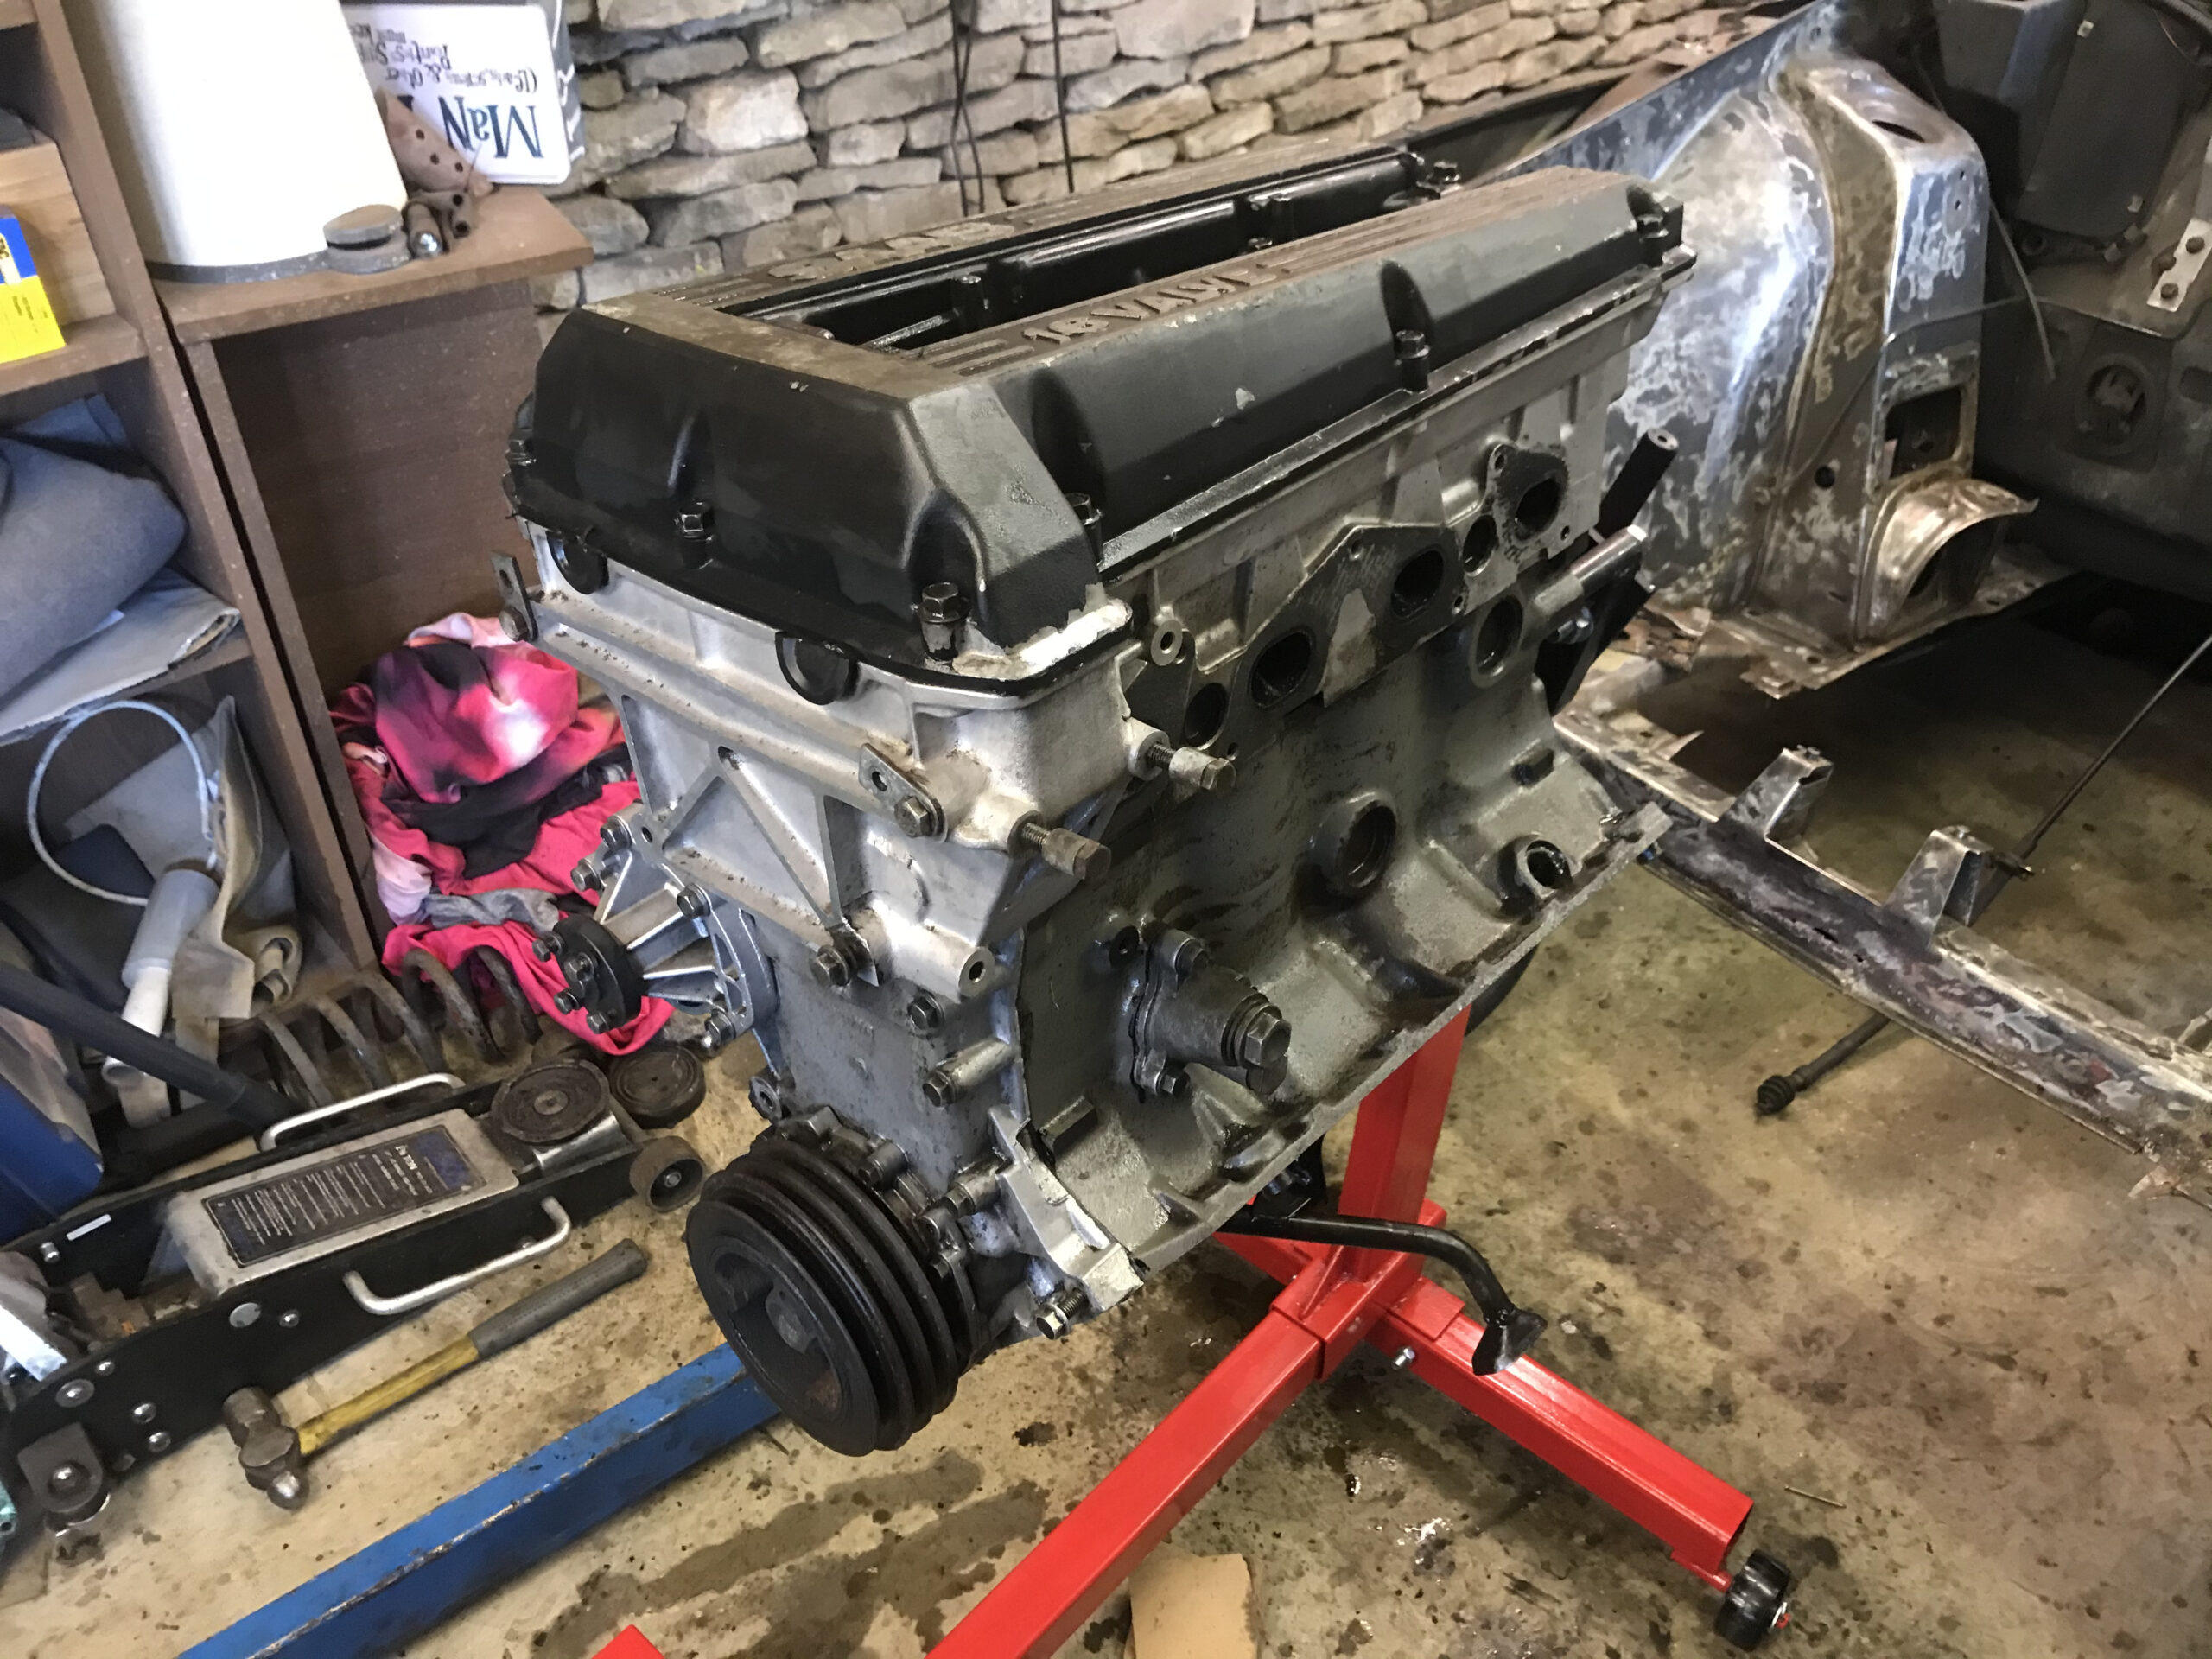
A quick clean up later…
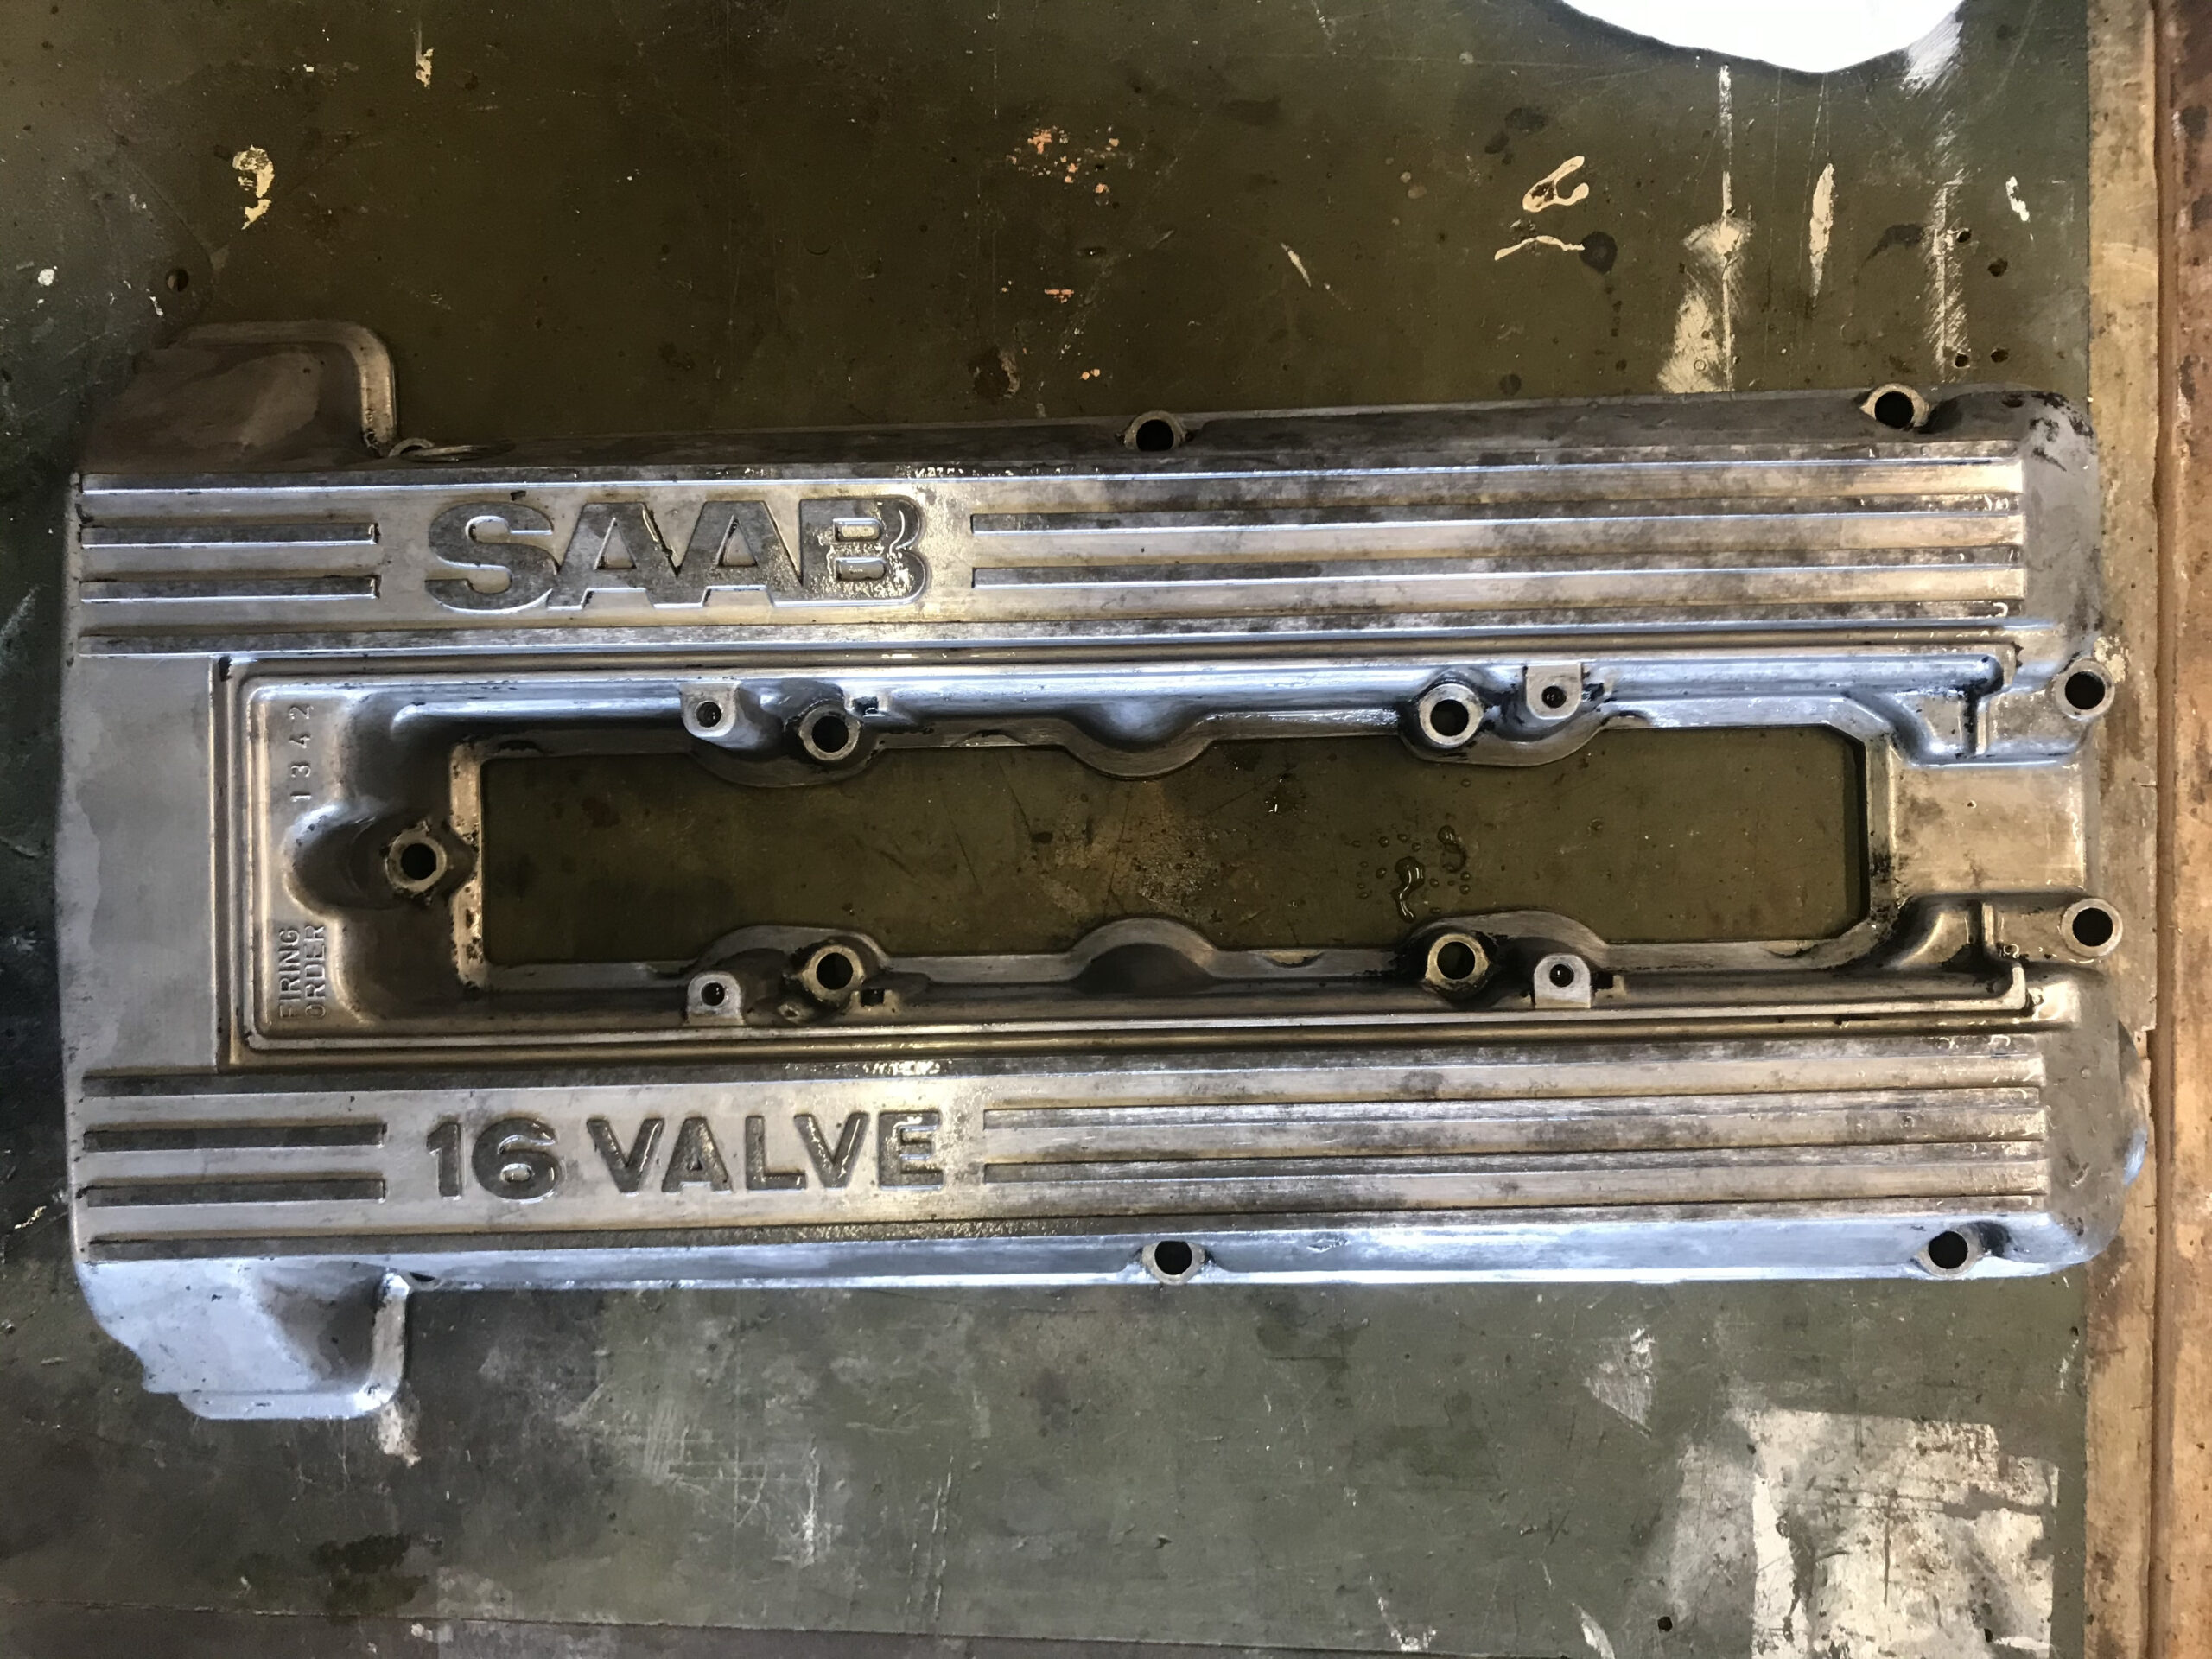
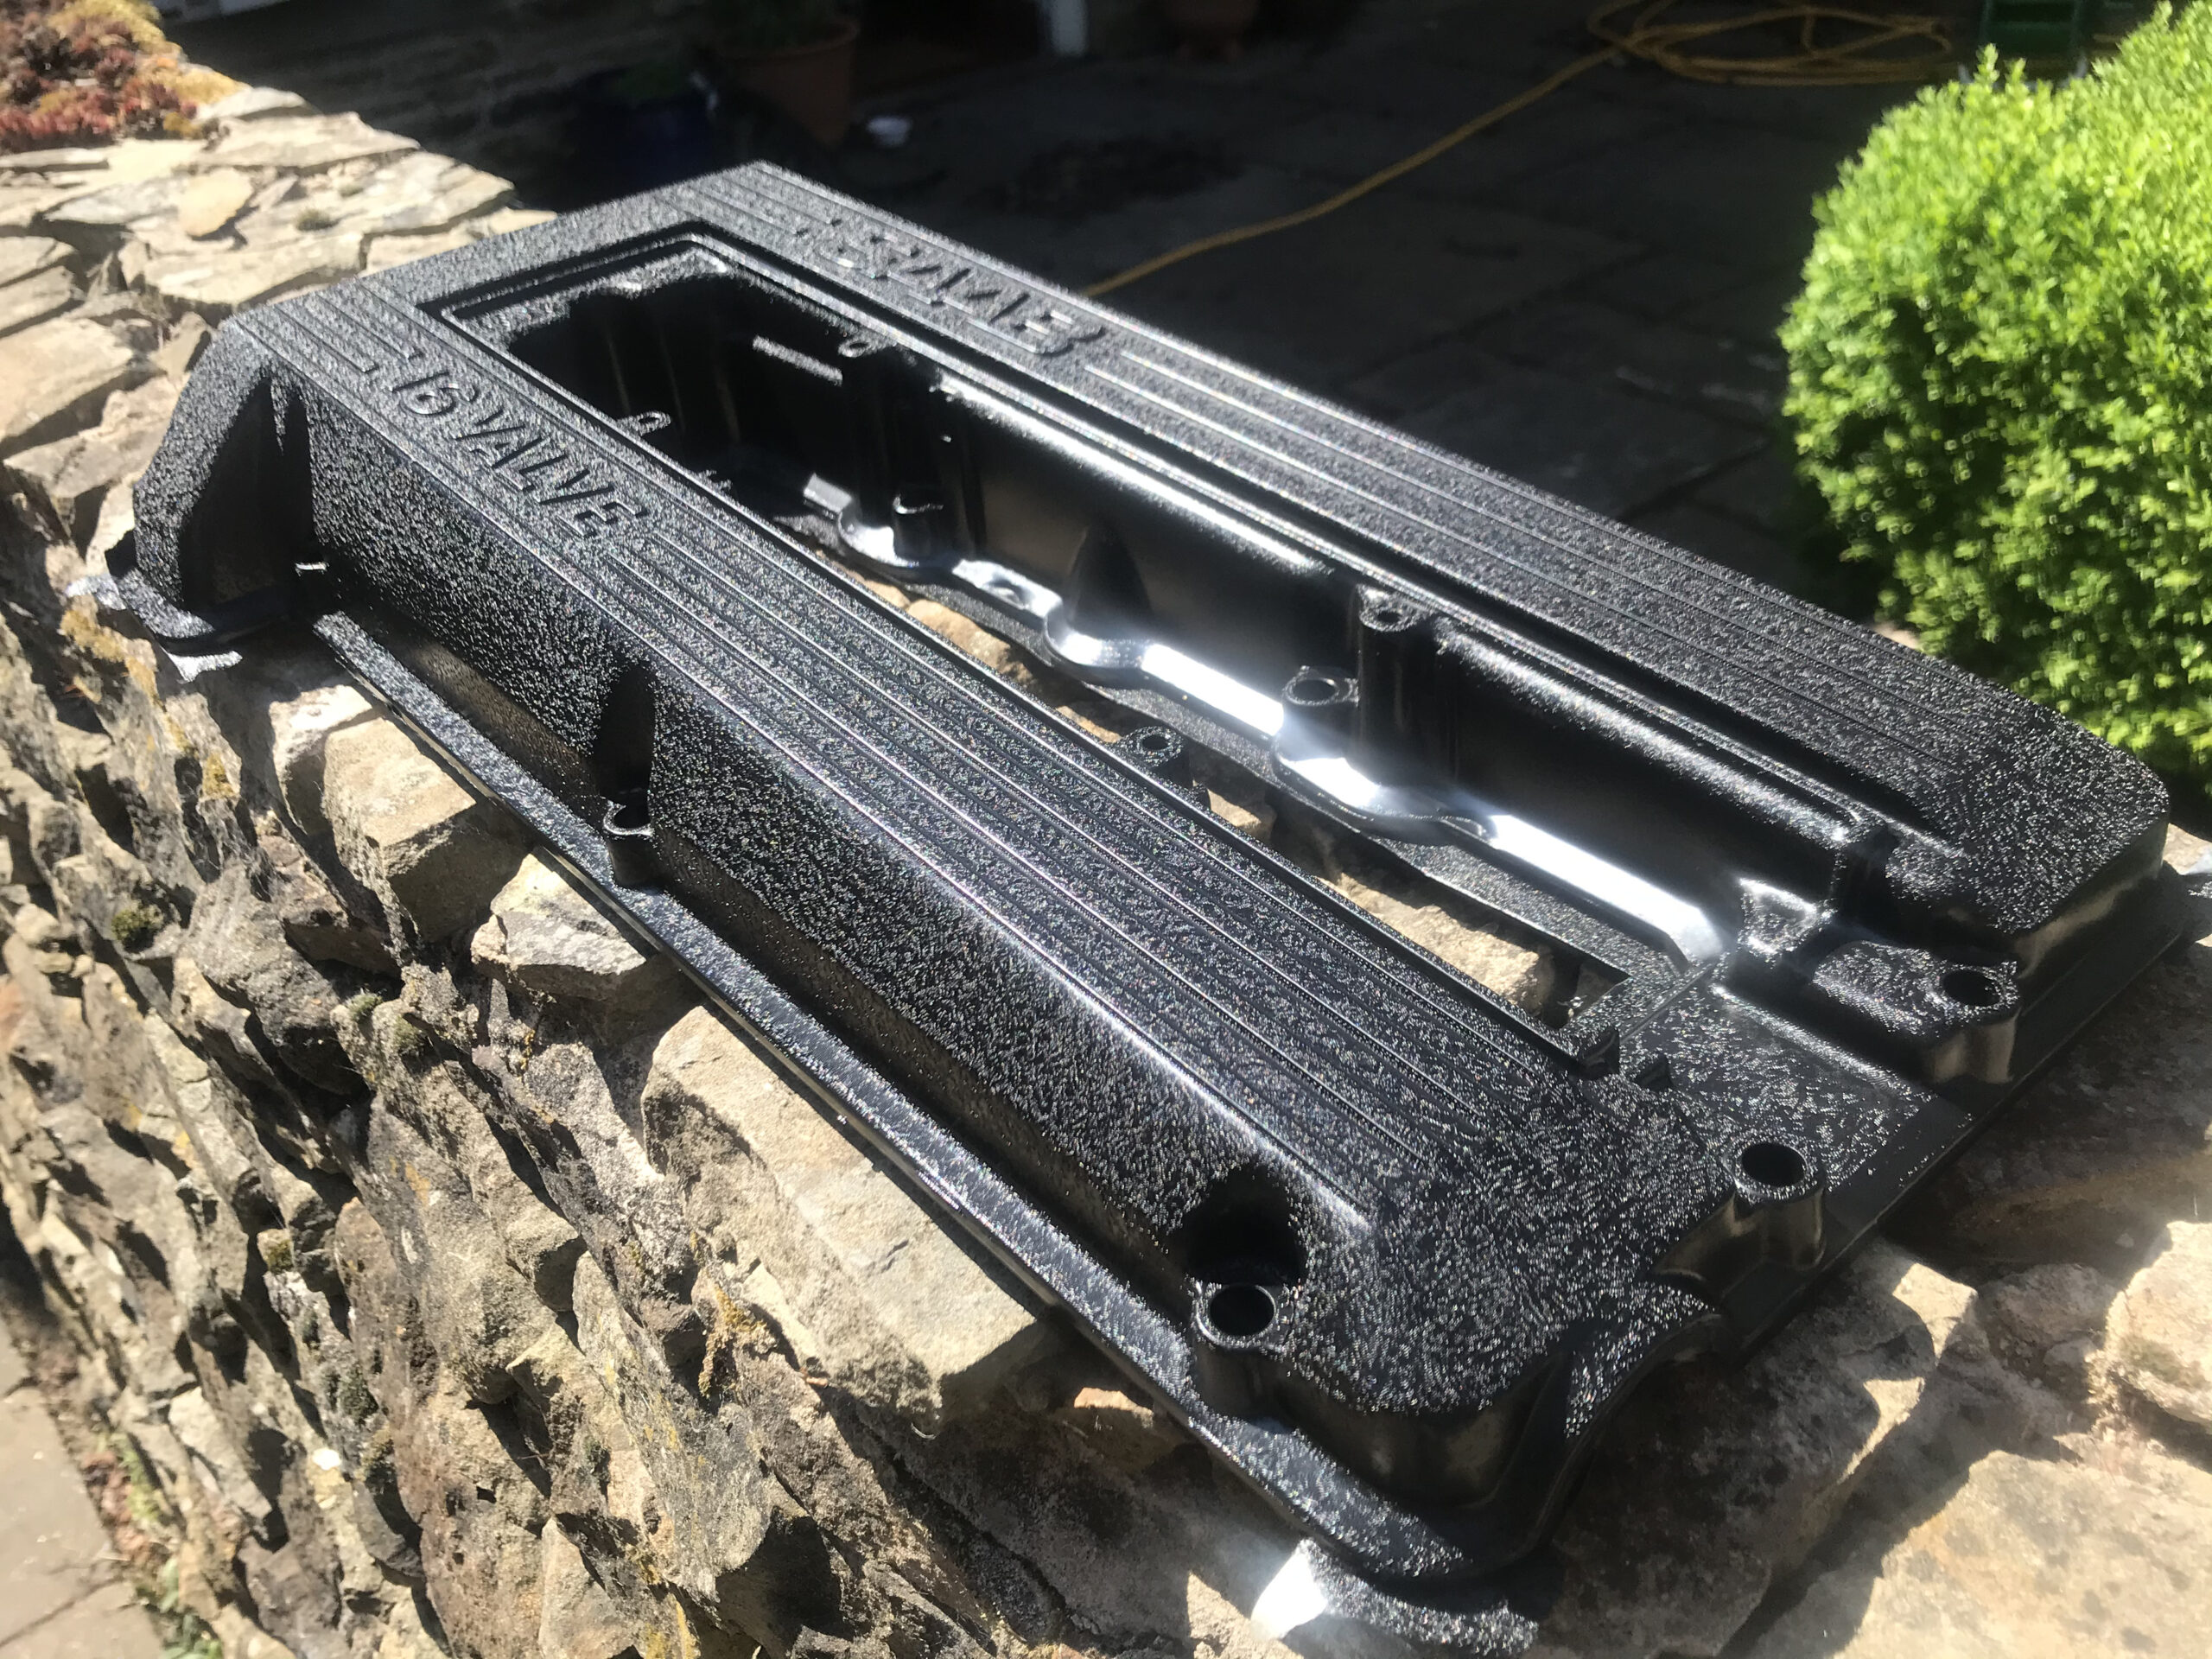
Stripped and wrinkle painted a spare cam cover:

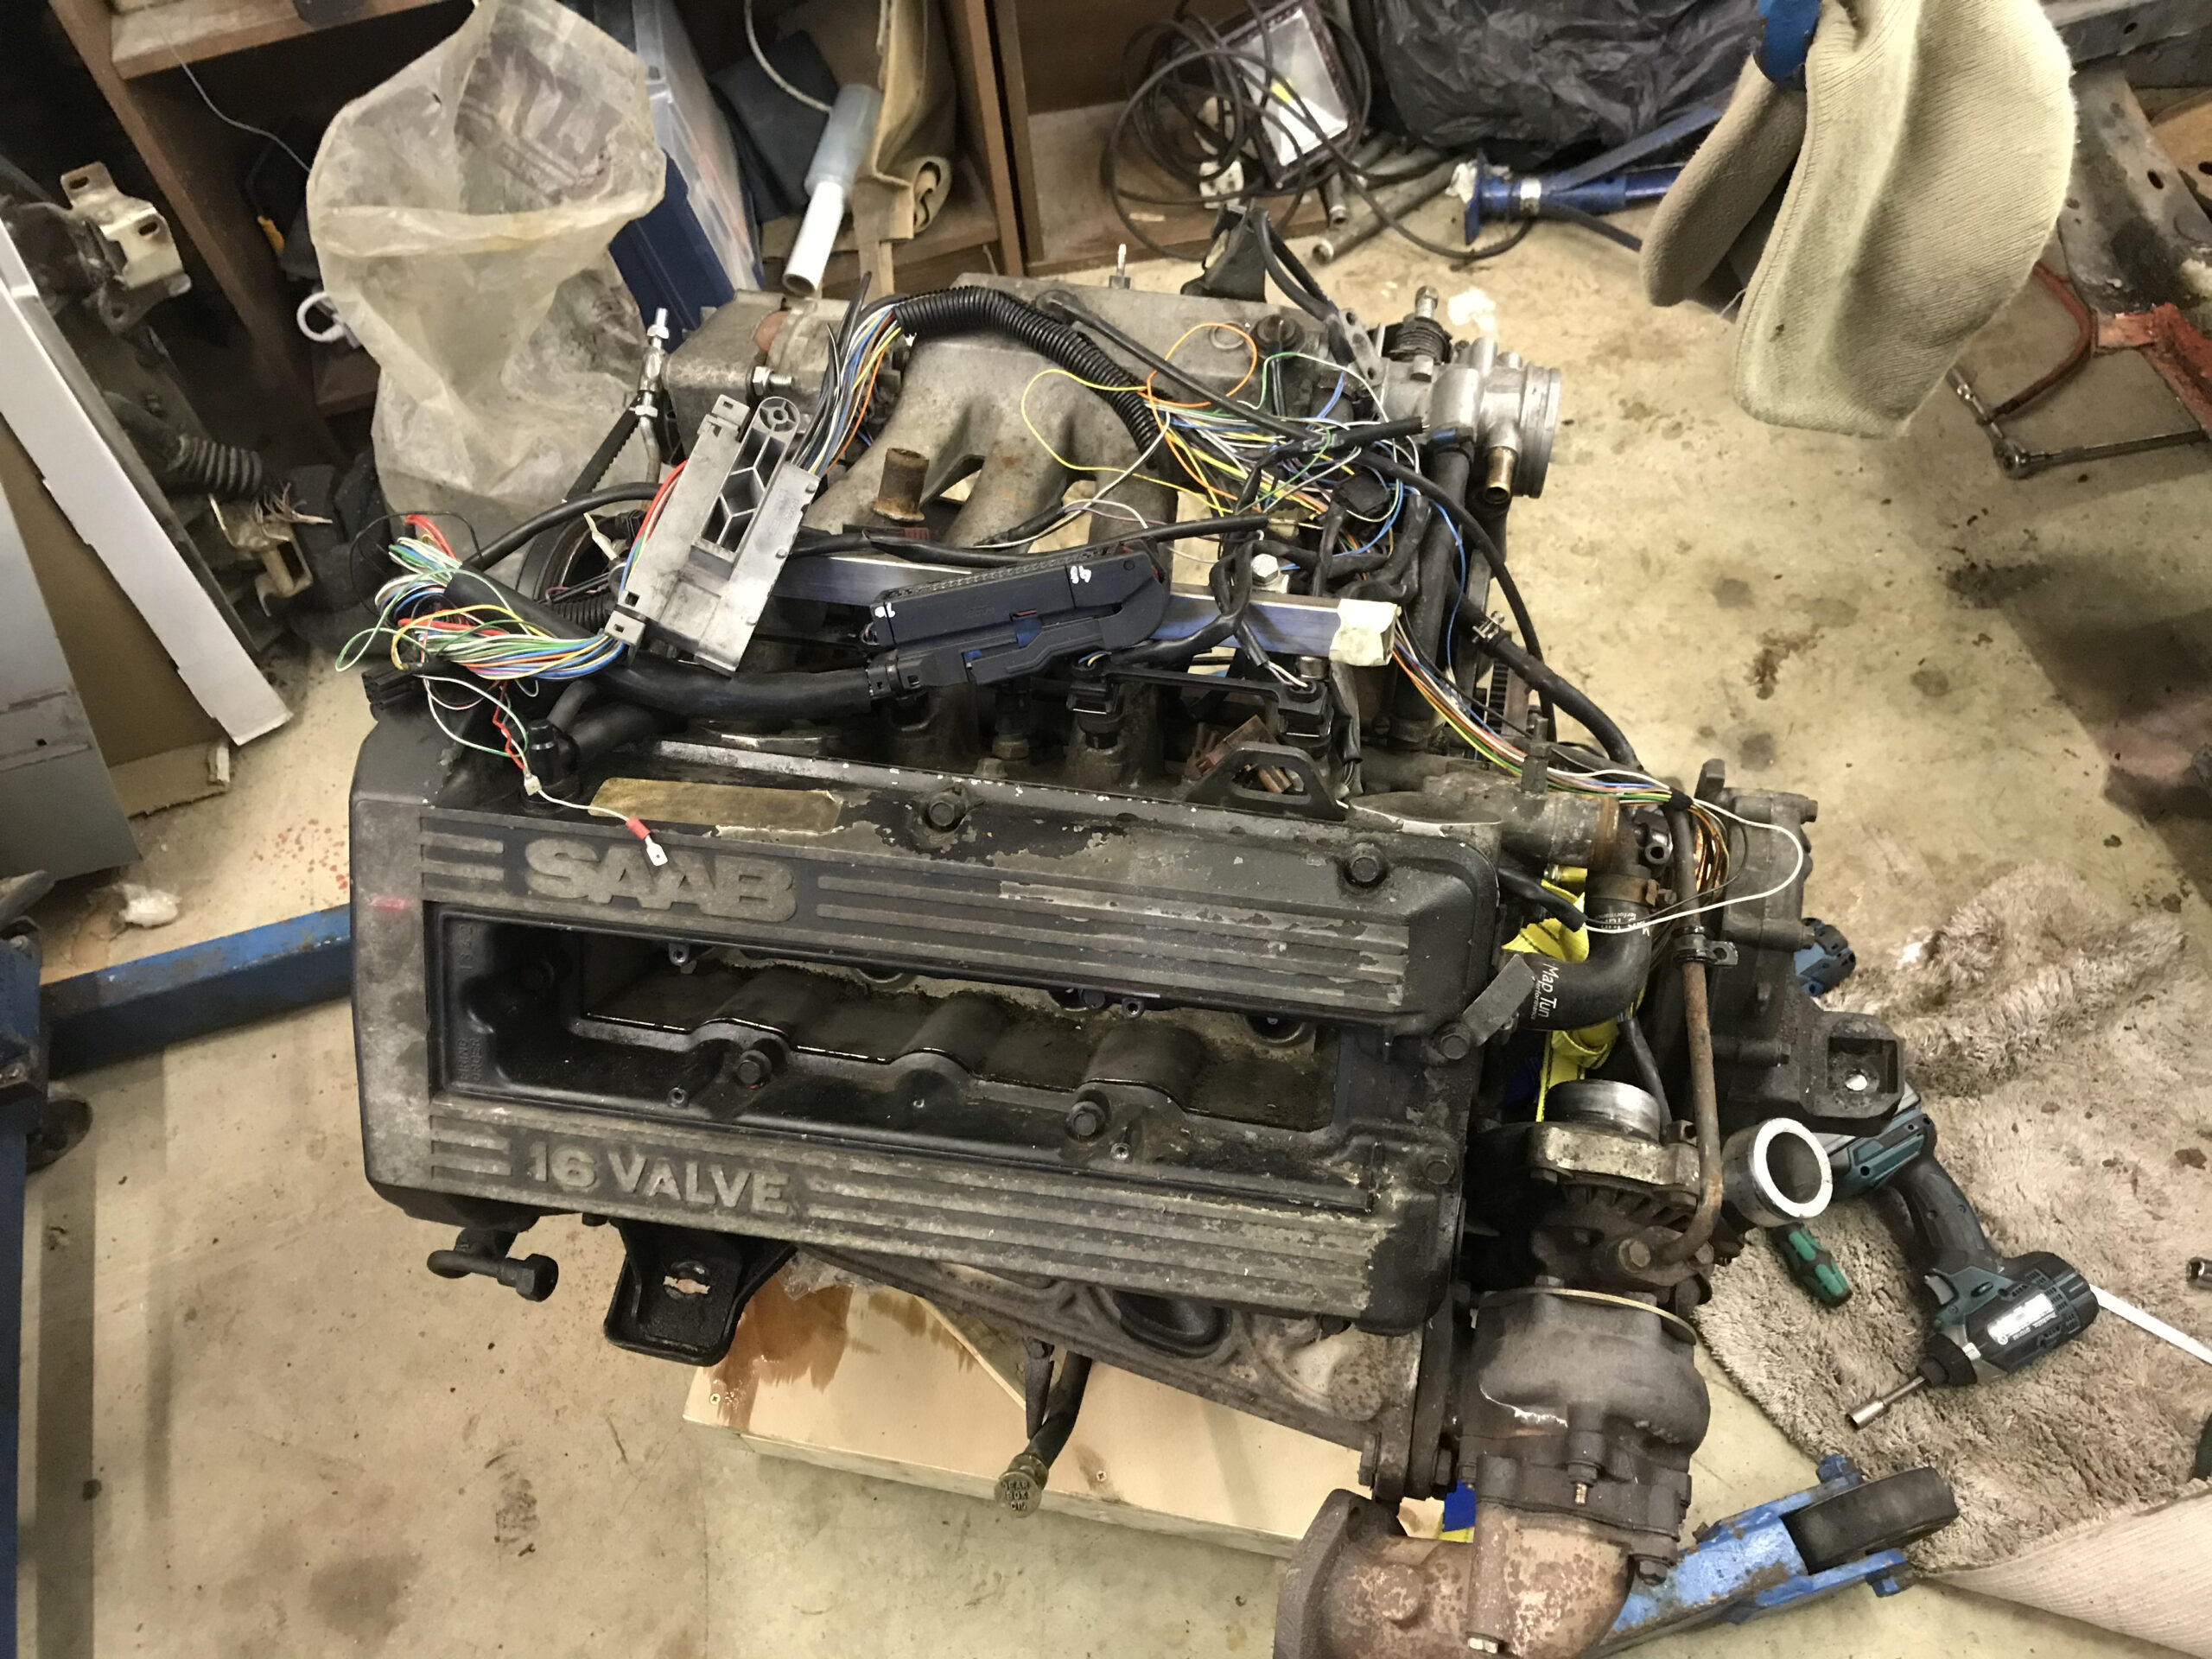
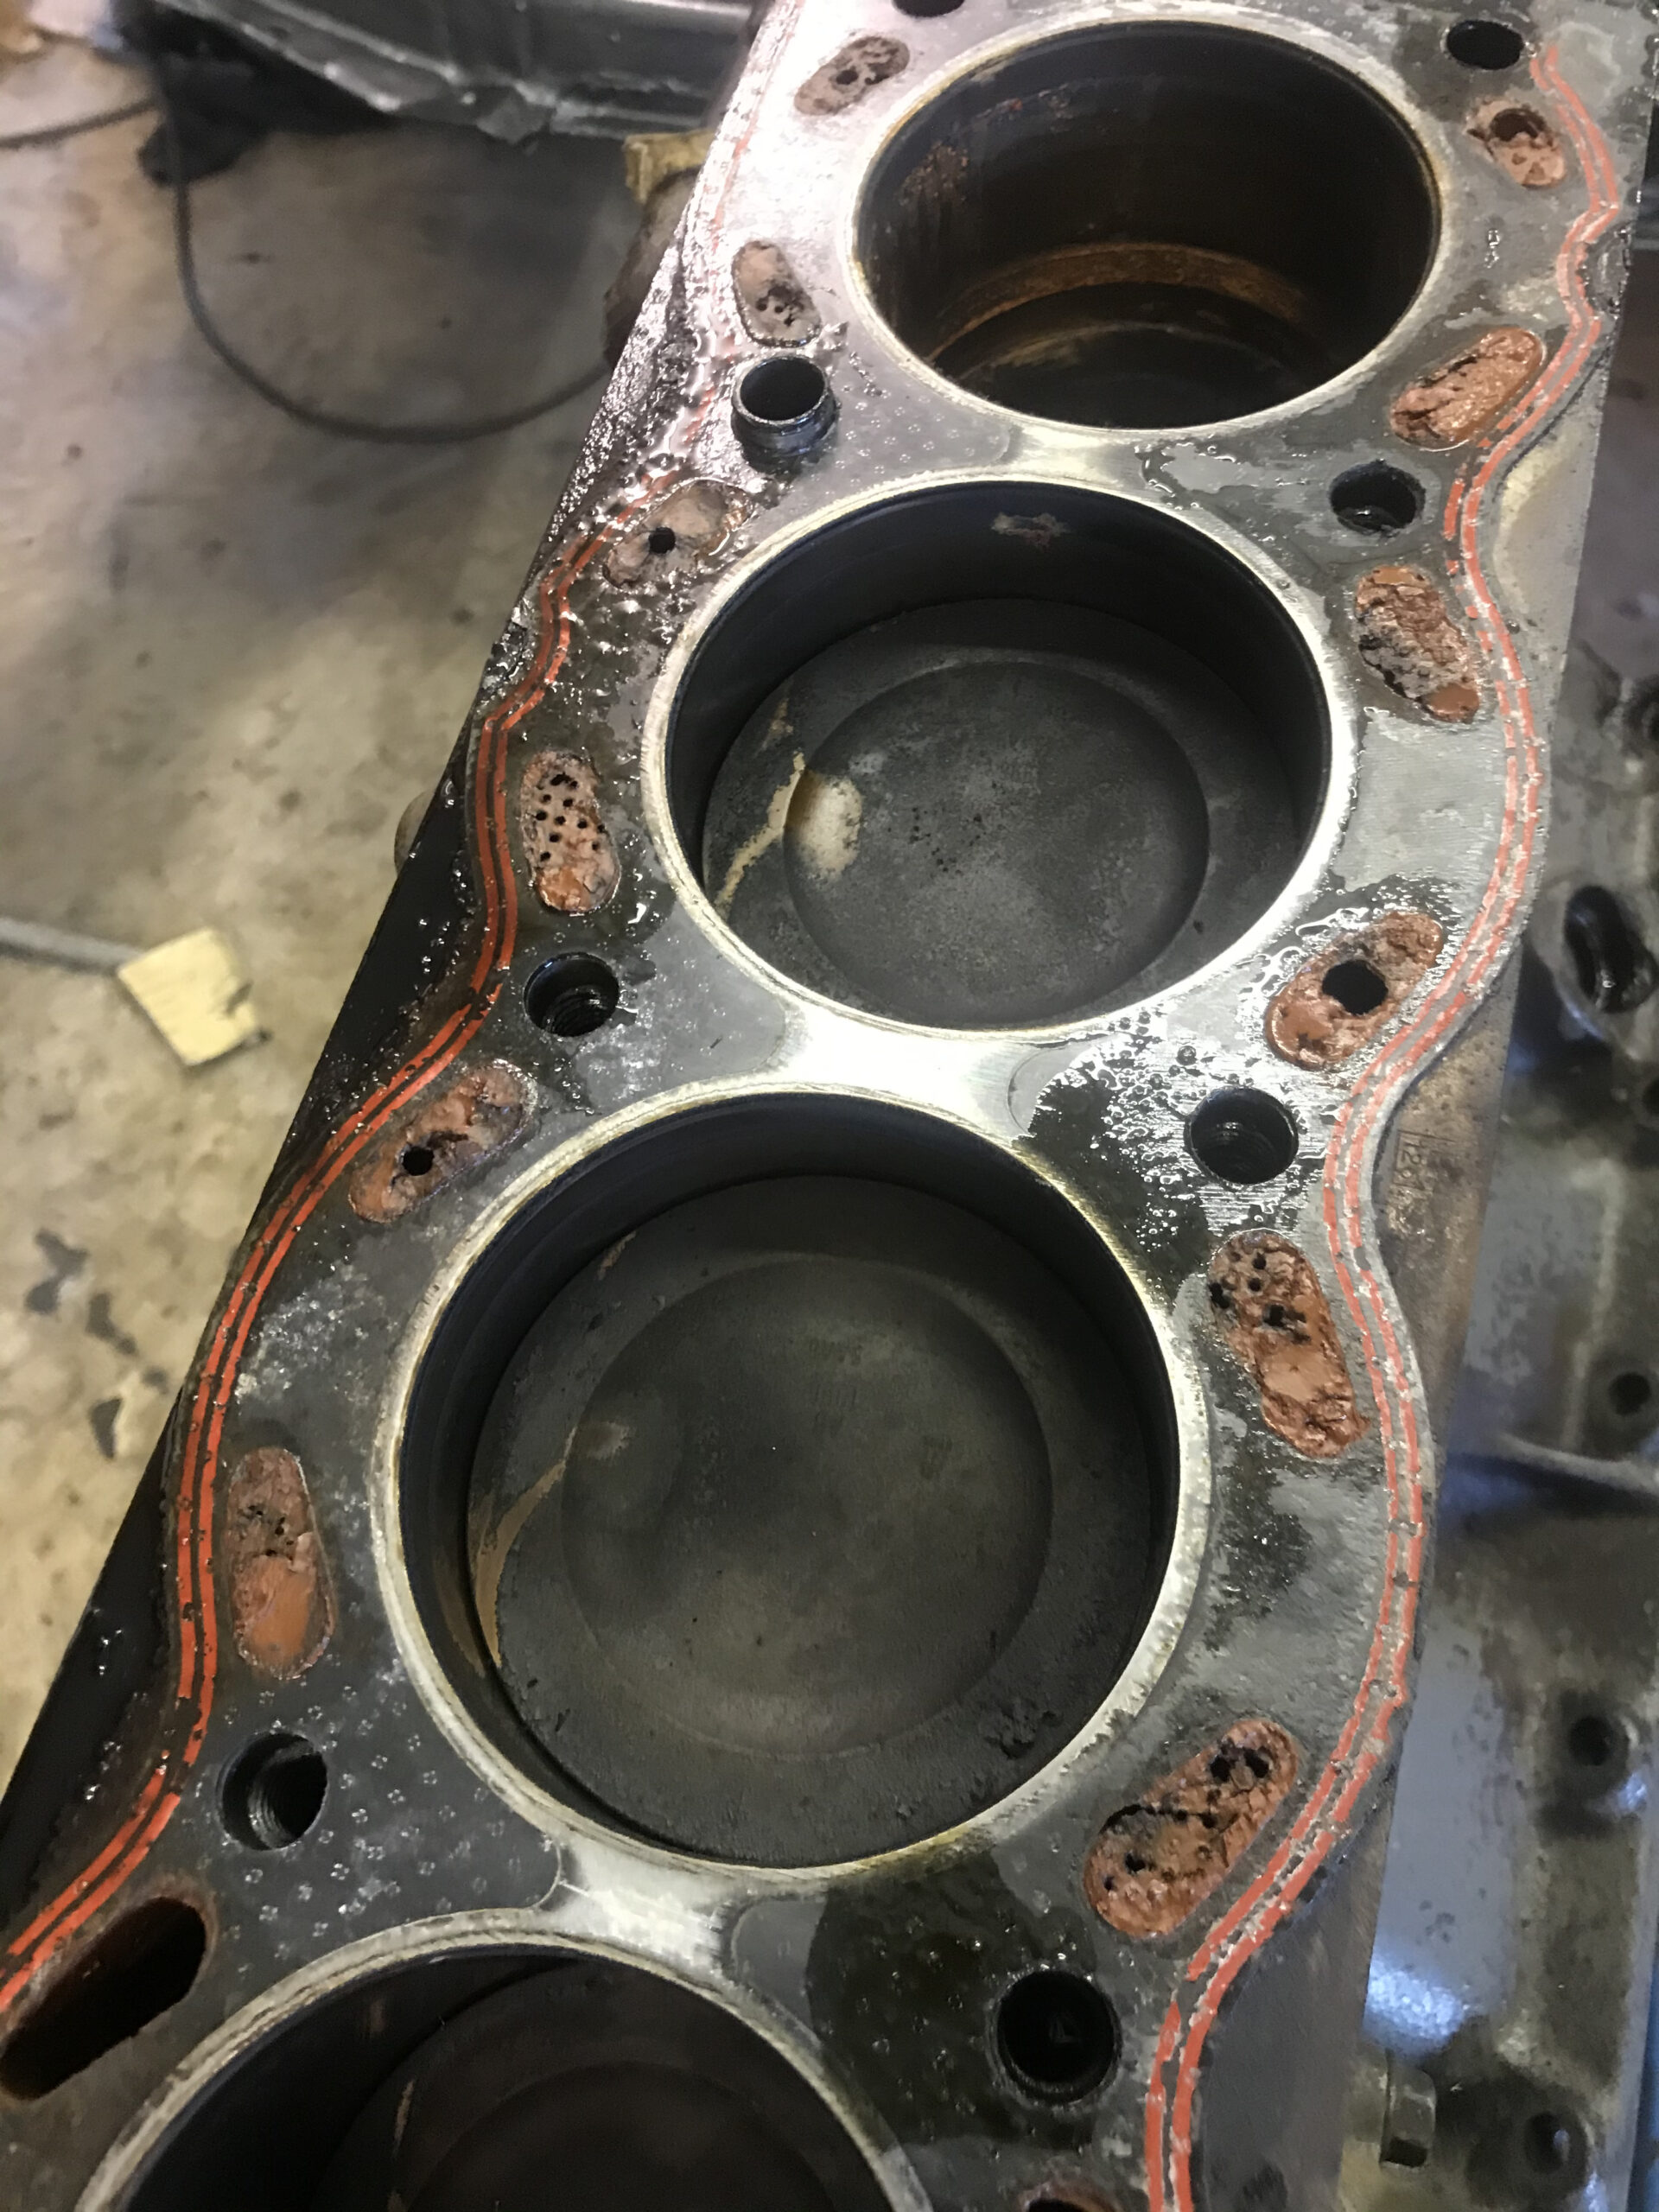
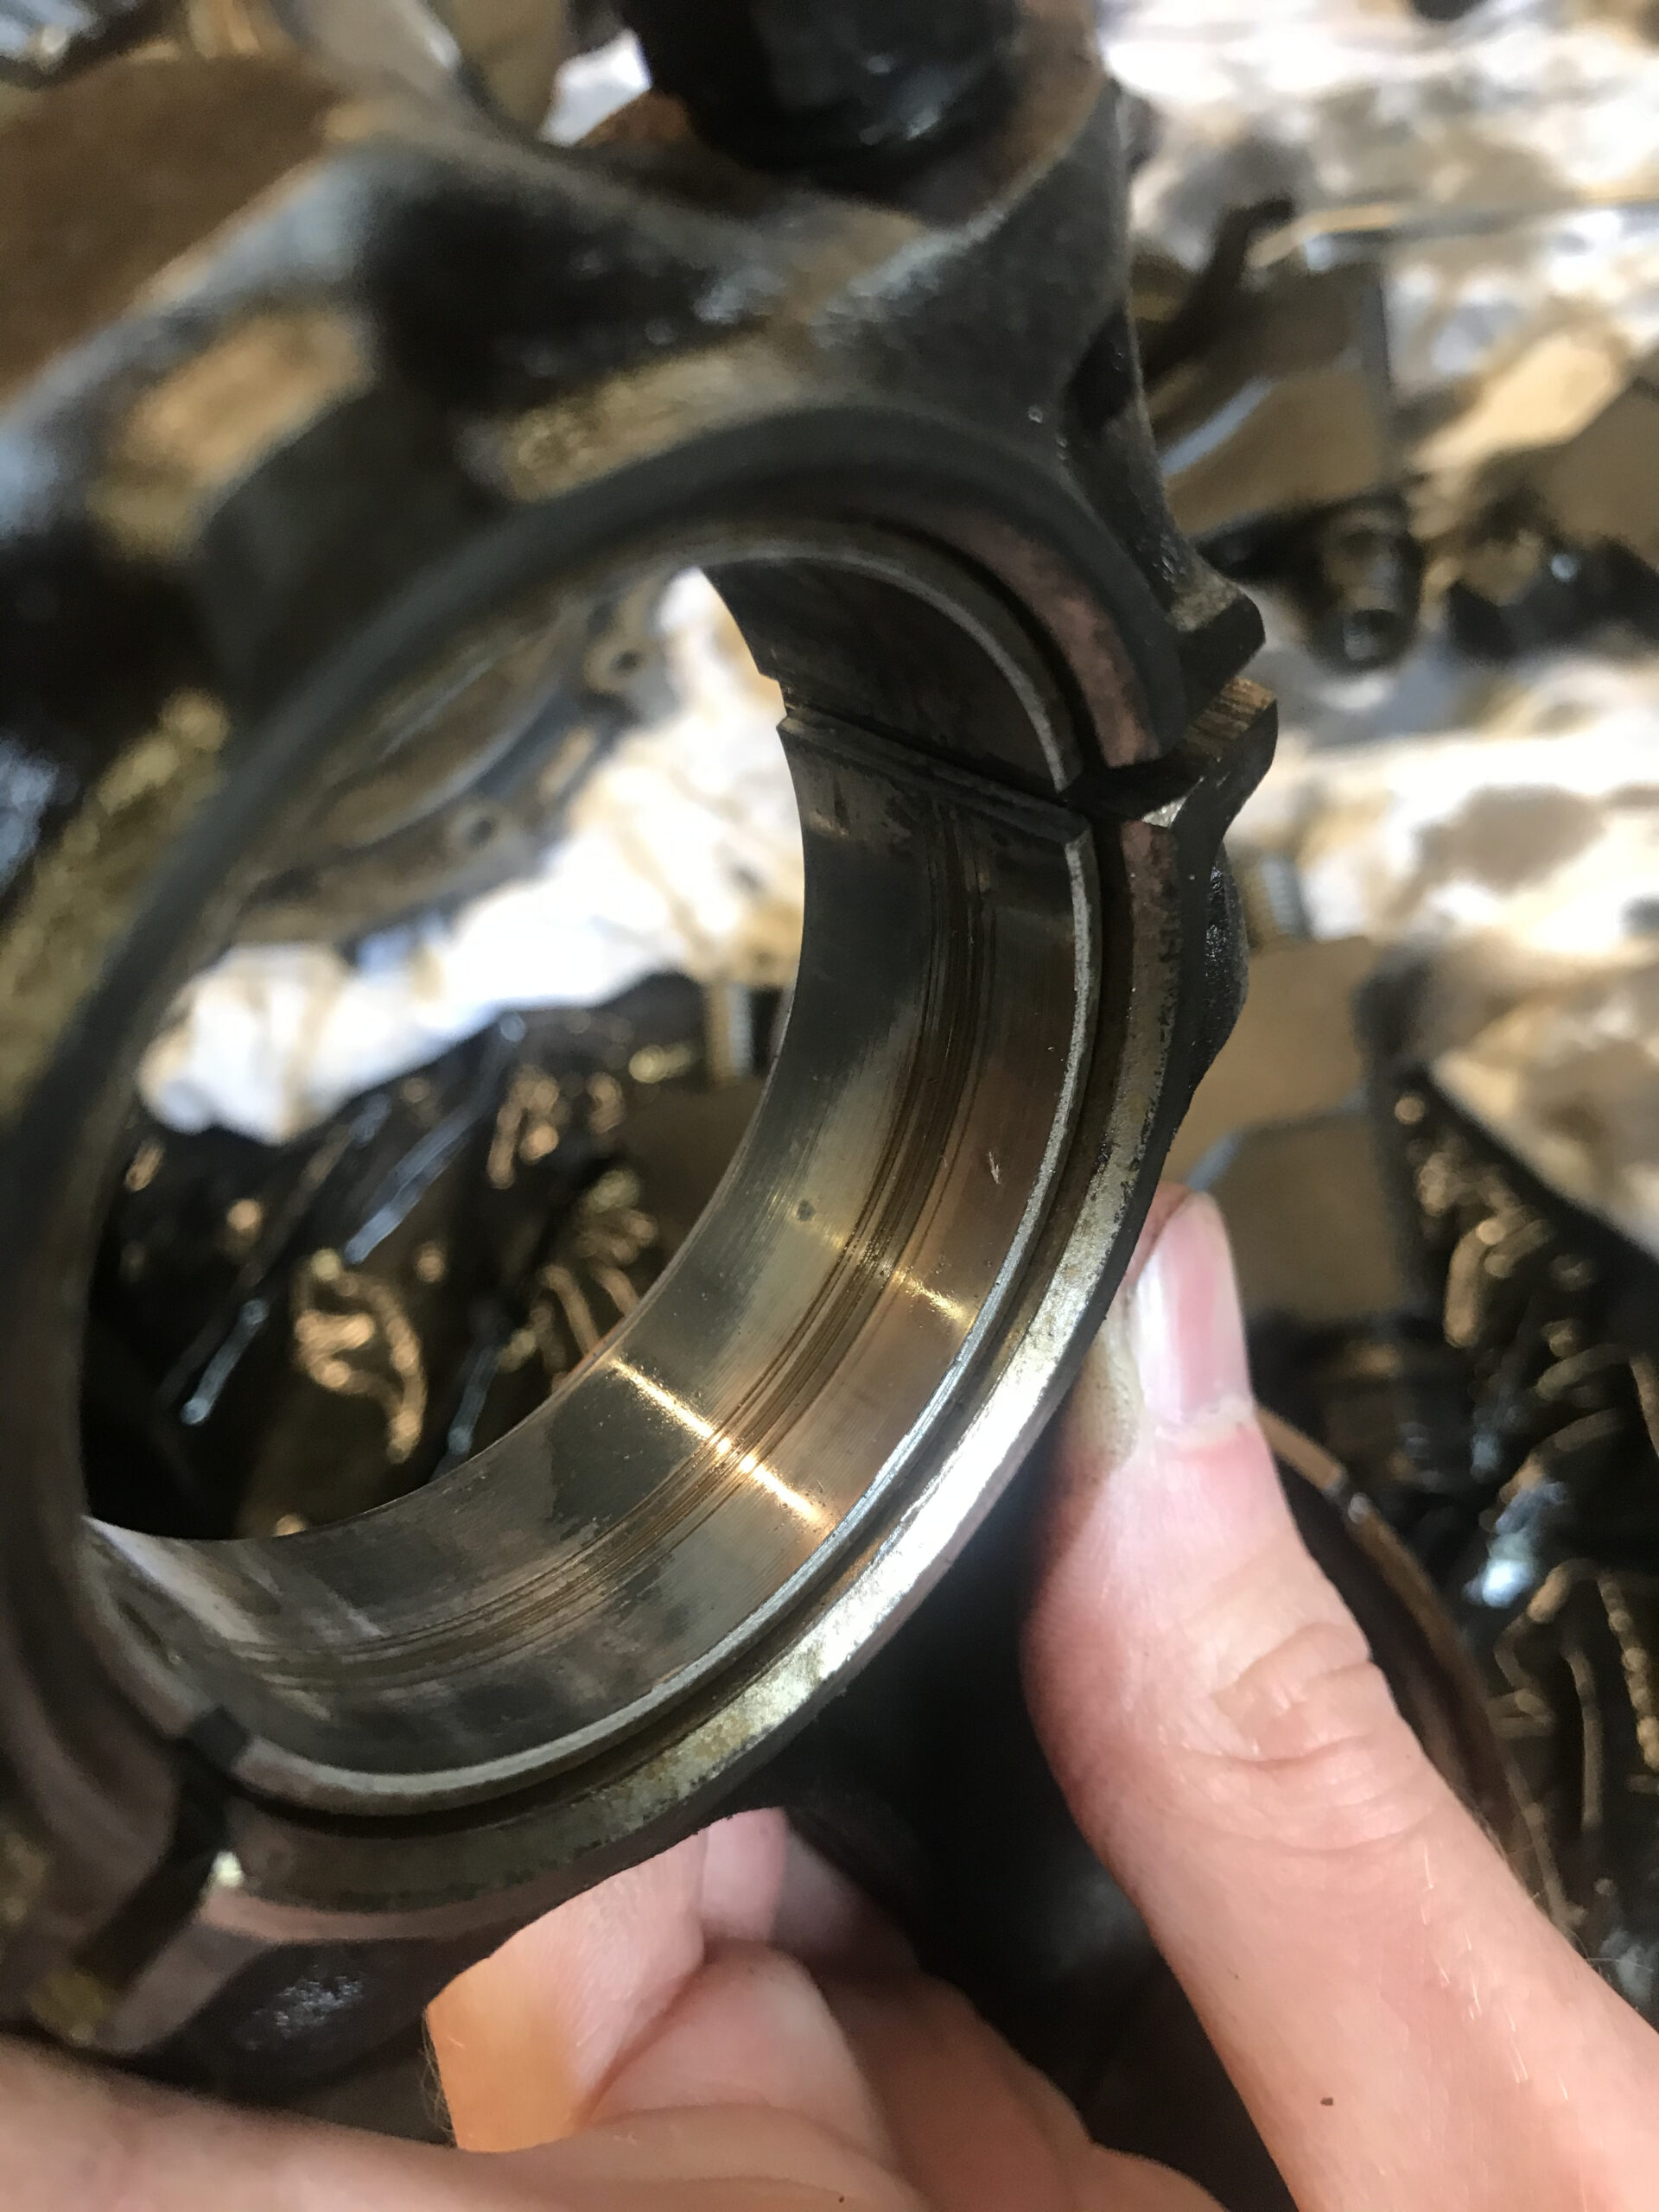
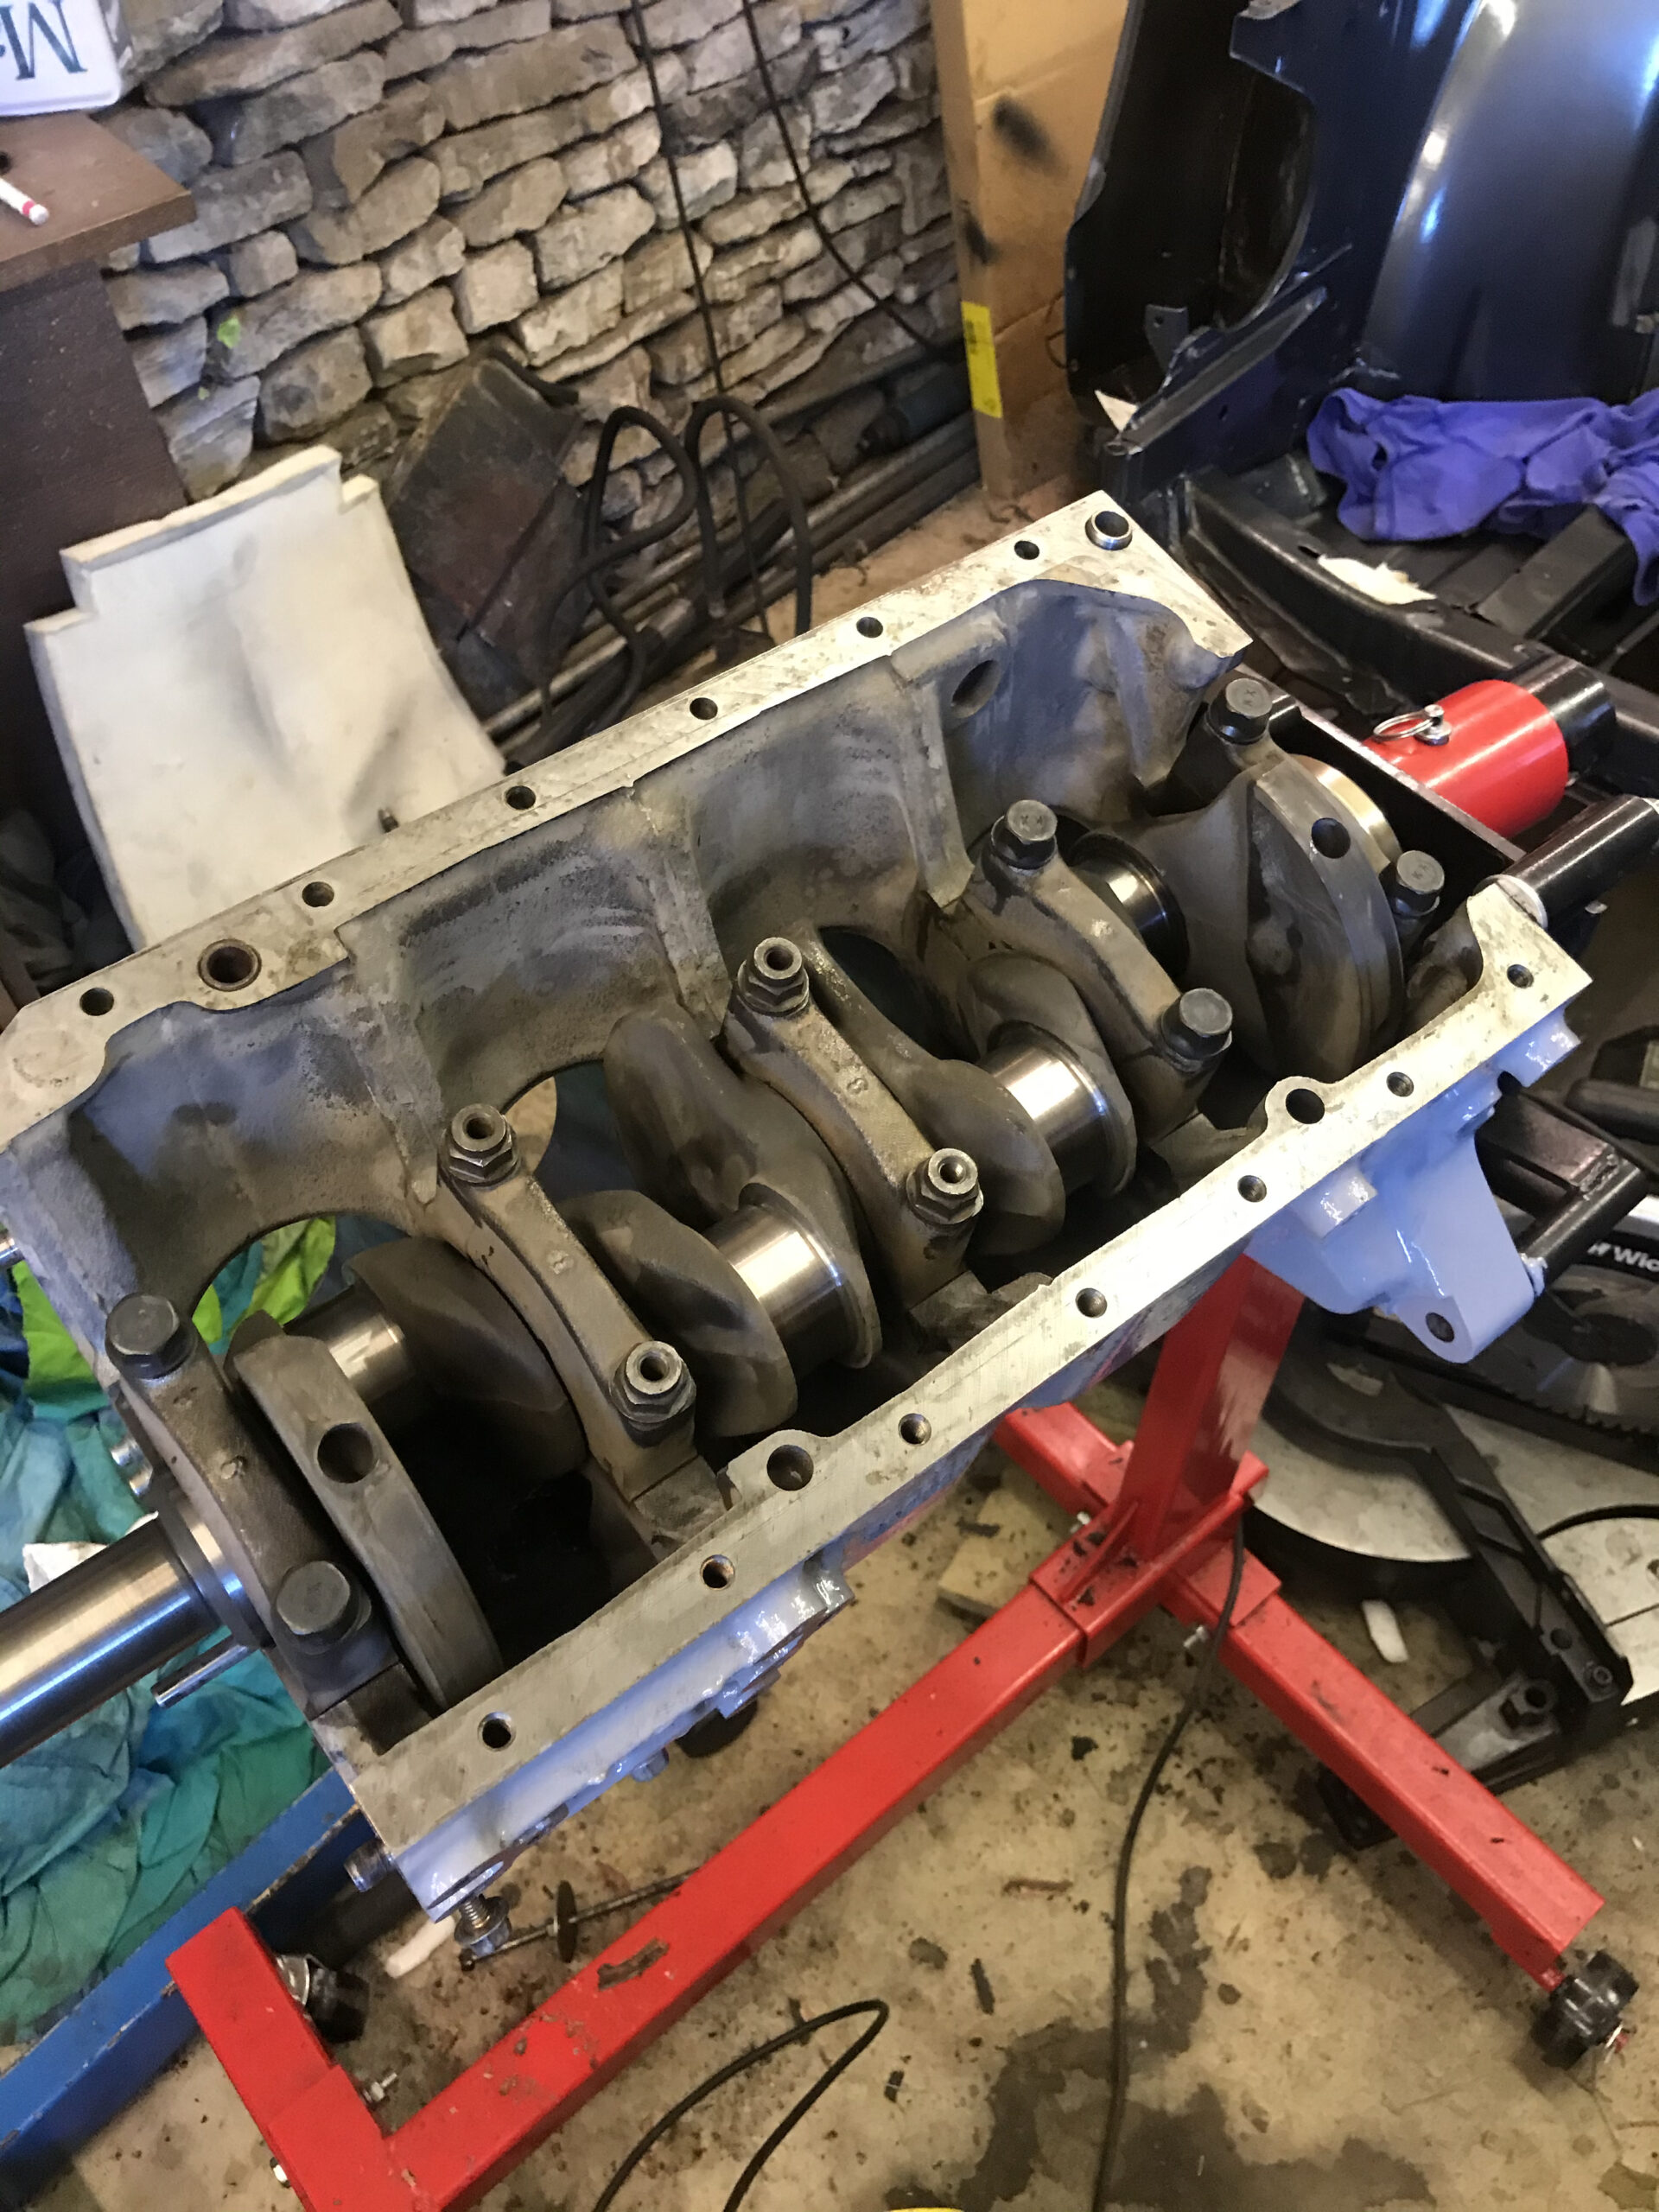
Stripped the engine down to find no visible head gasket failure, but pretty tired bearings.
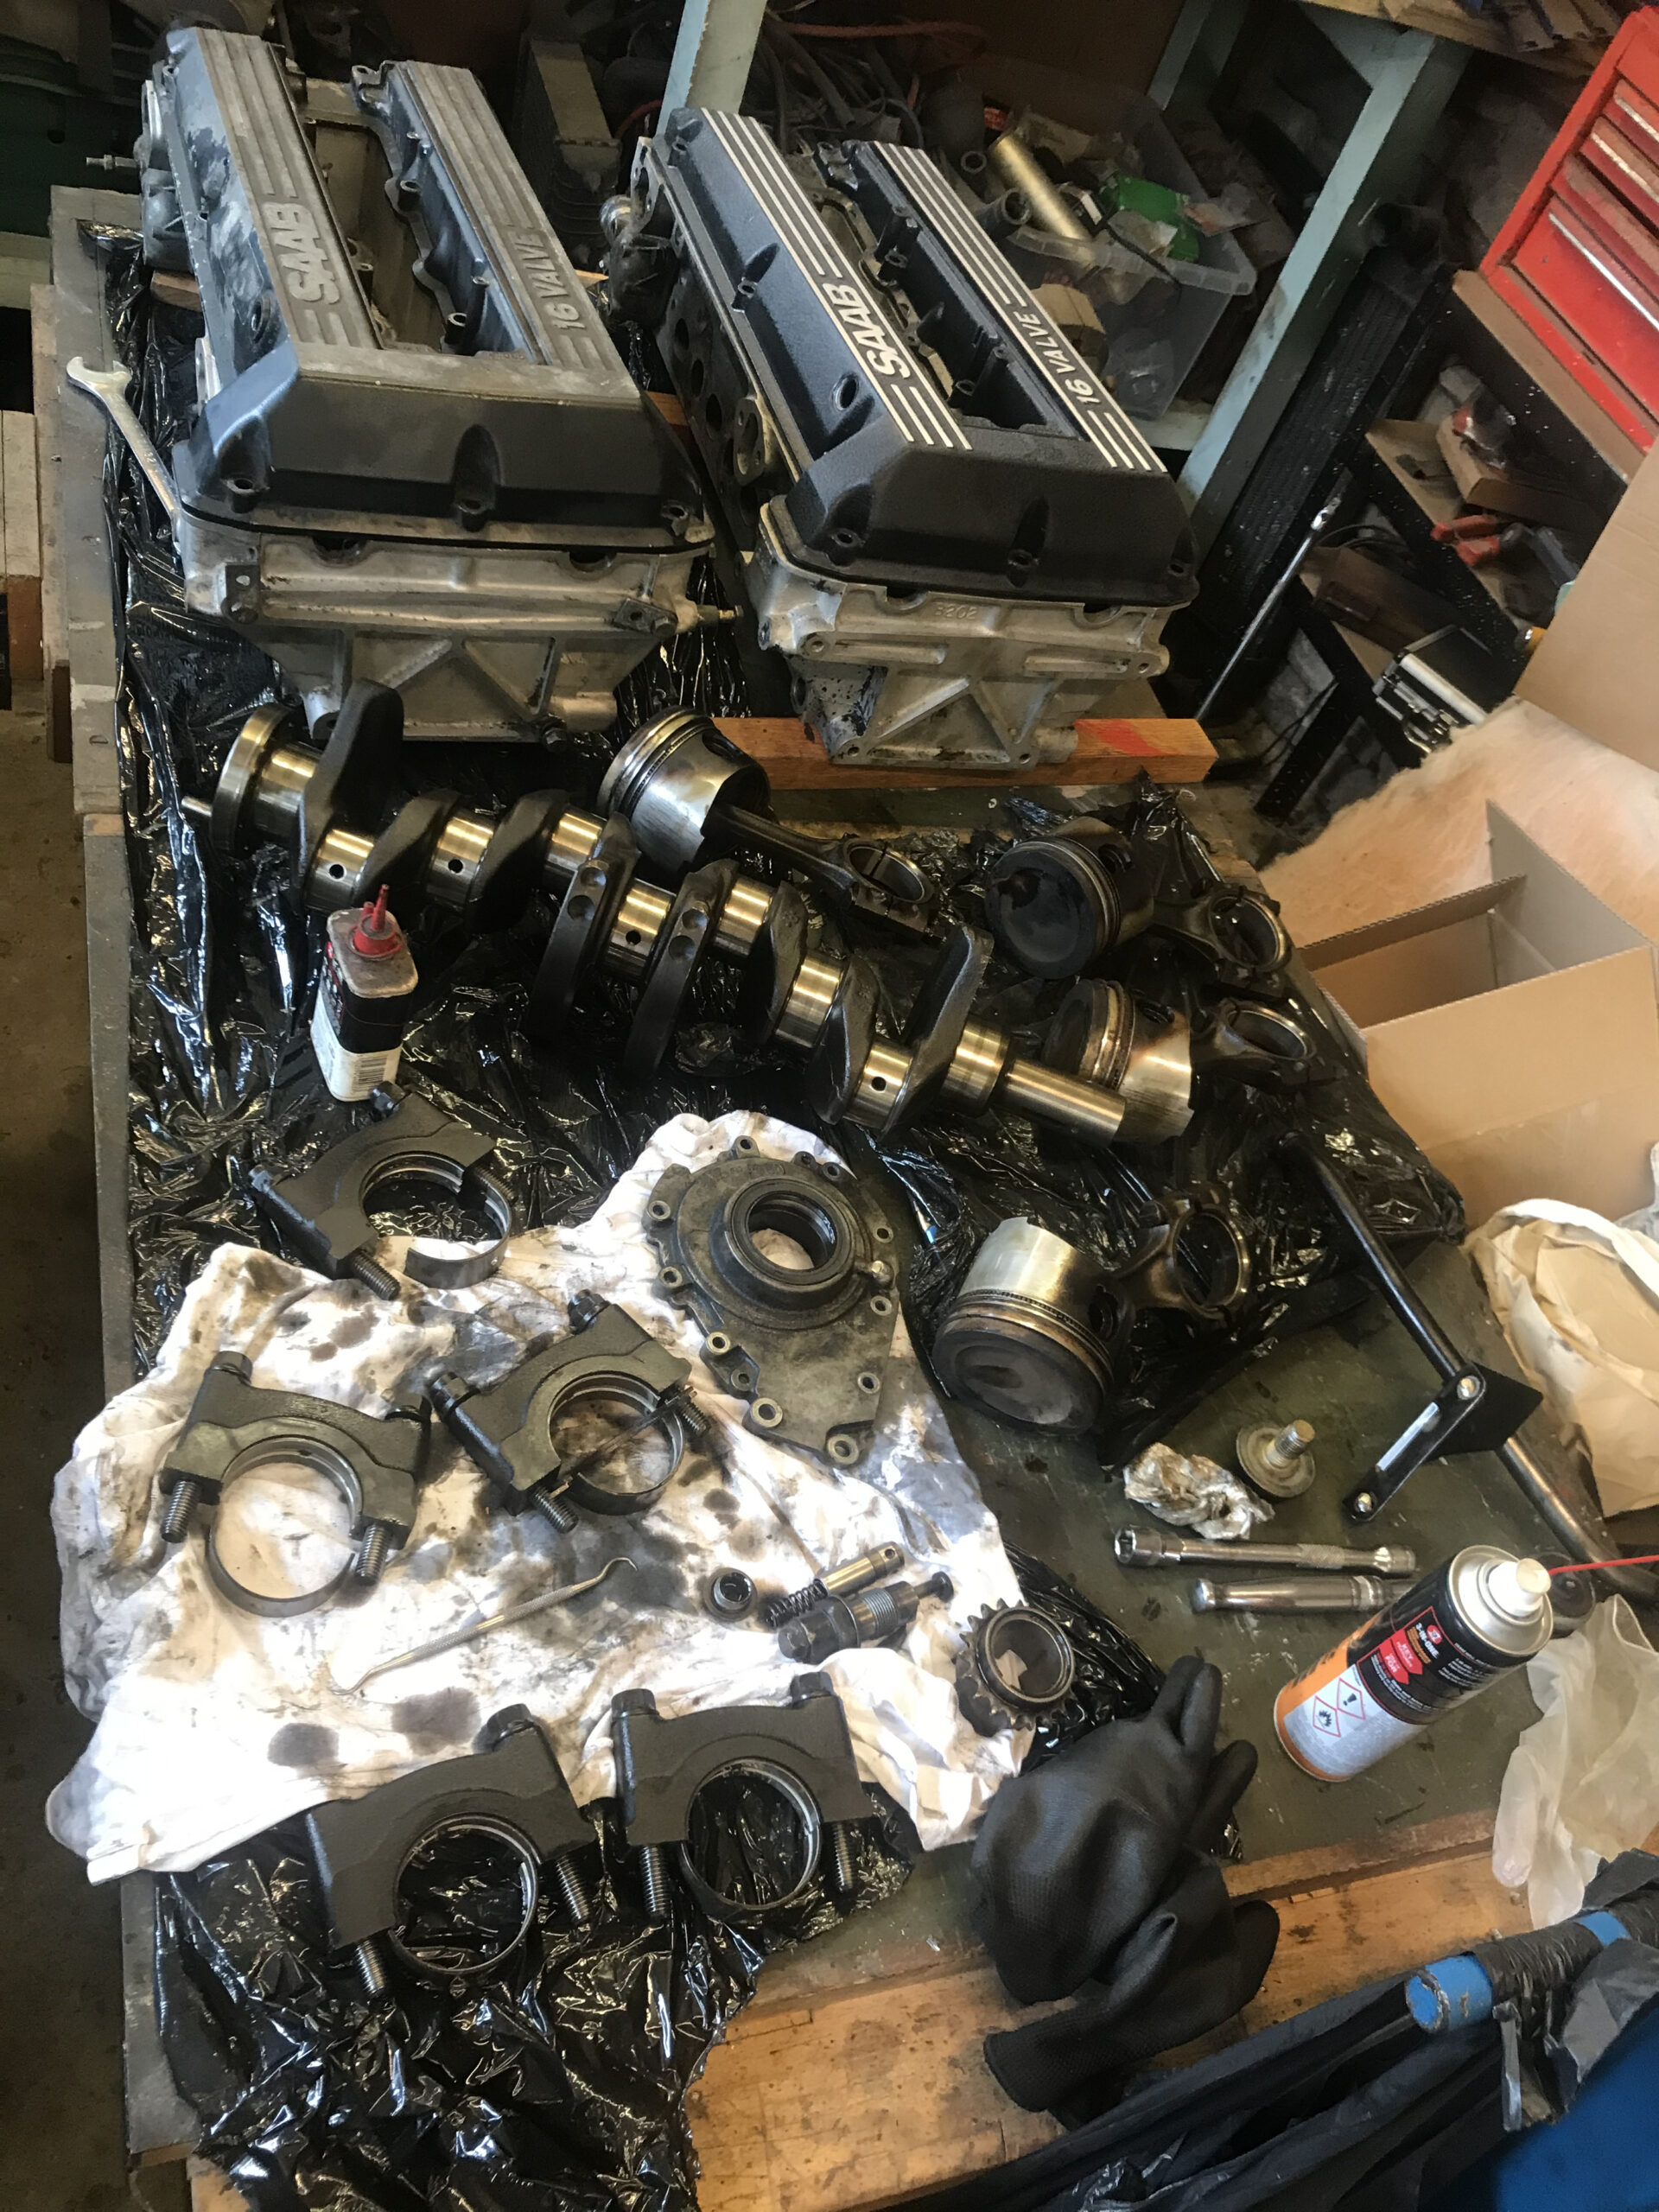
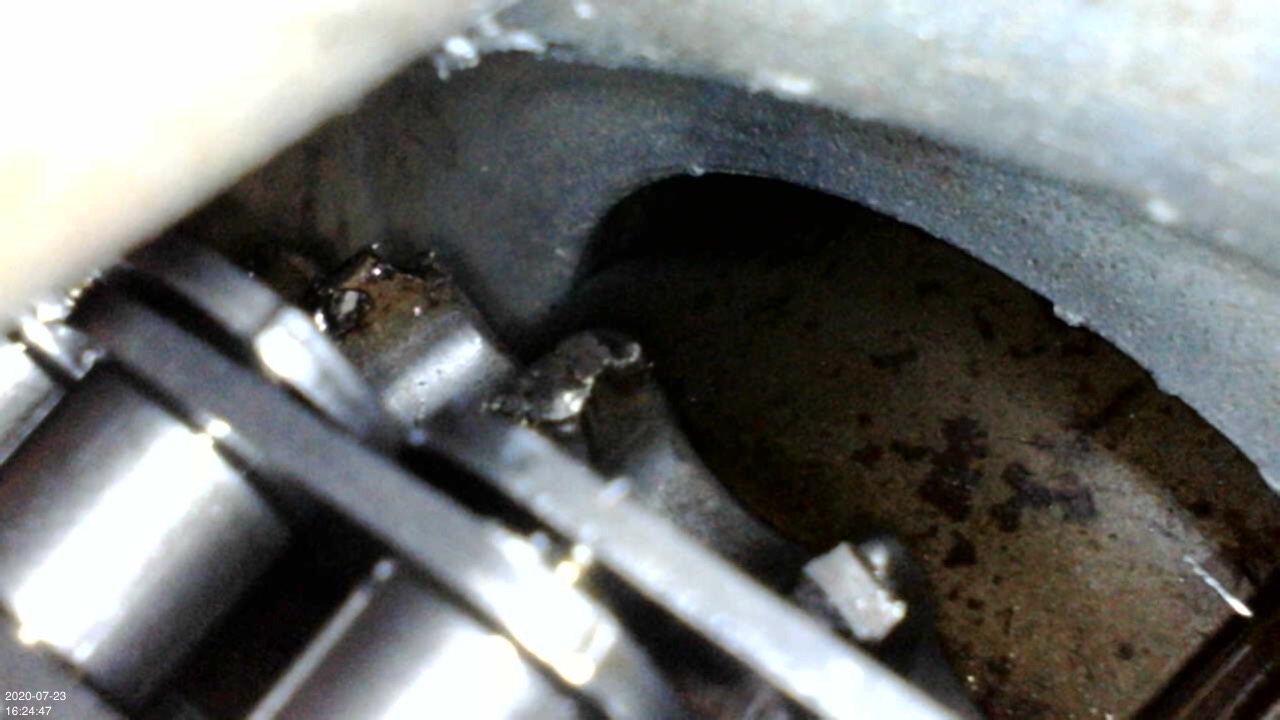
The block, crank and head went to the machine shop where the head was skimmed, block honed and crank journals polished. New standard size bearings and piston rings were sourced, along with a full timing kit. The chain guides had to be sourced from Sweden at great expense. I had a spare later head from Erika that I considered fitting but learned that the later heads have a different combustion chamber which combined with my earlier pistons would reduce the compression ratio. Keeping the existing head meant sourcing new plastic nipples for the cam oiler tubes which the later heads don’t have. These tiny bits of plastic were really hard to find, and I ended up having to pay £80 for them.


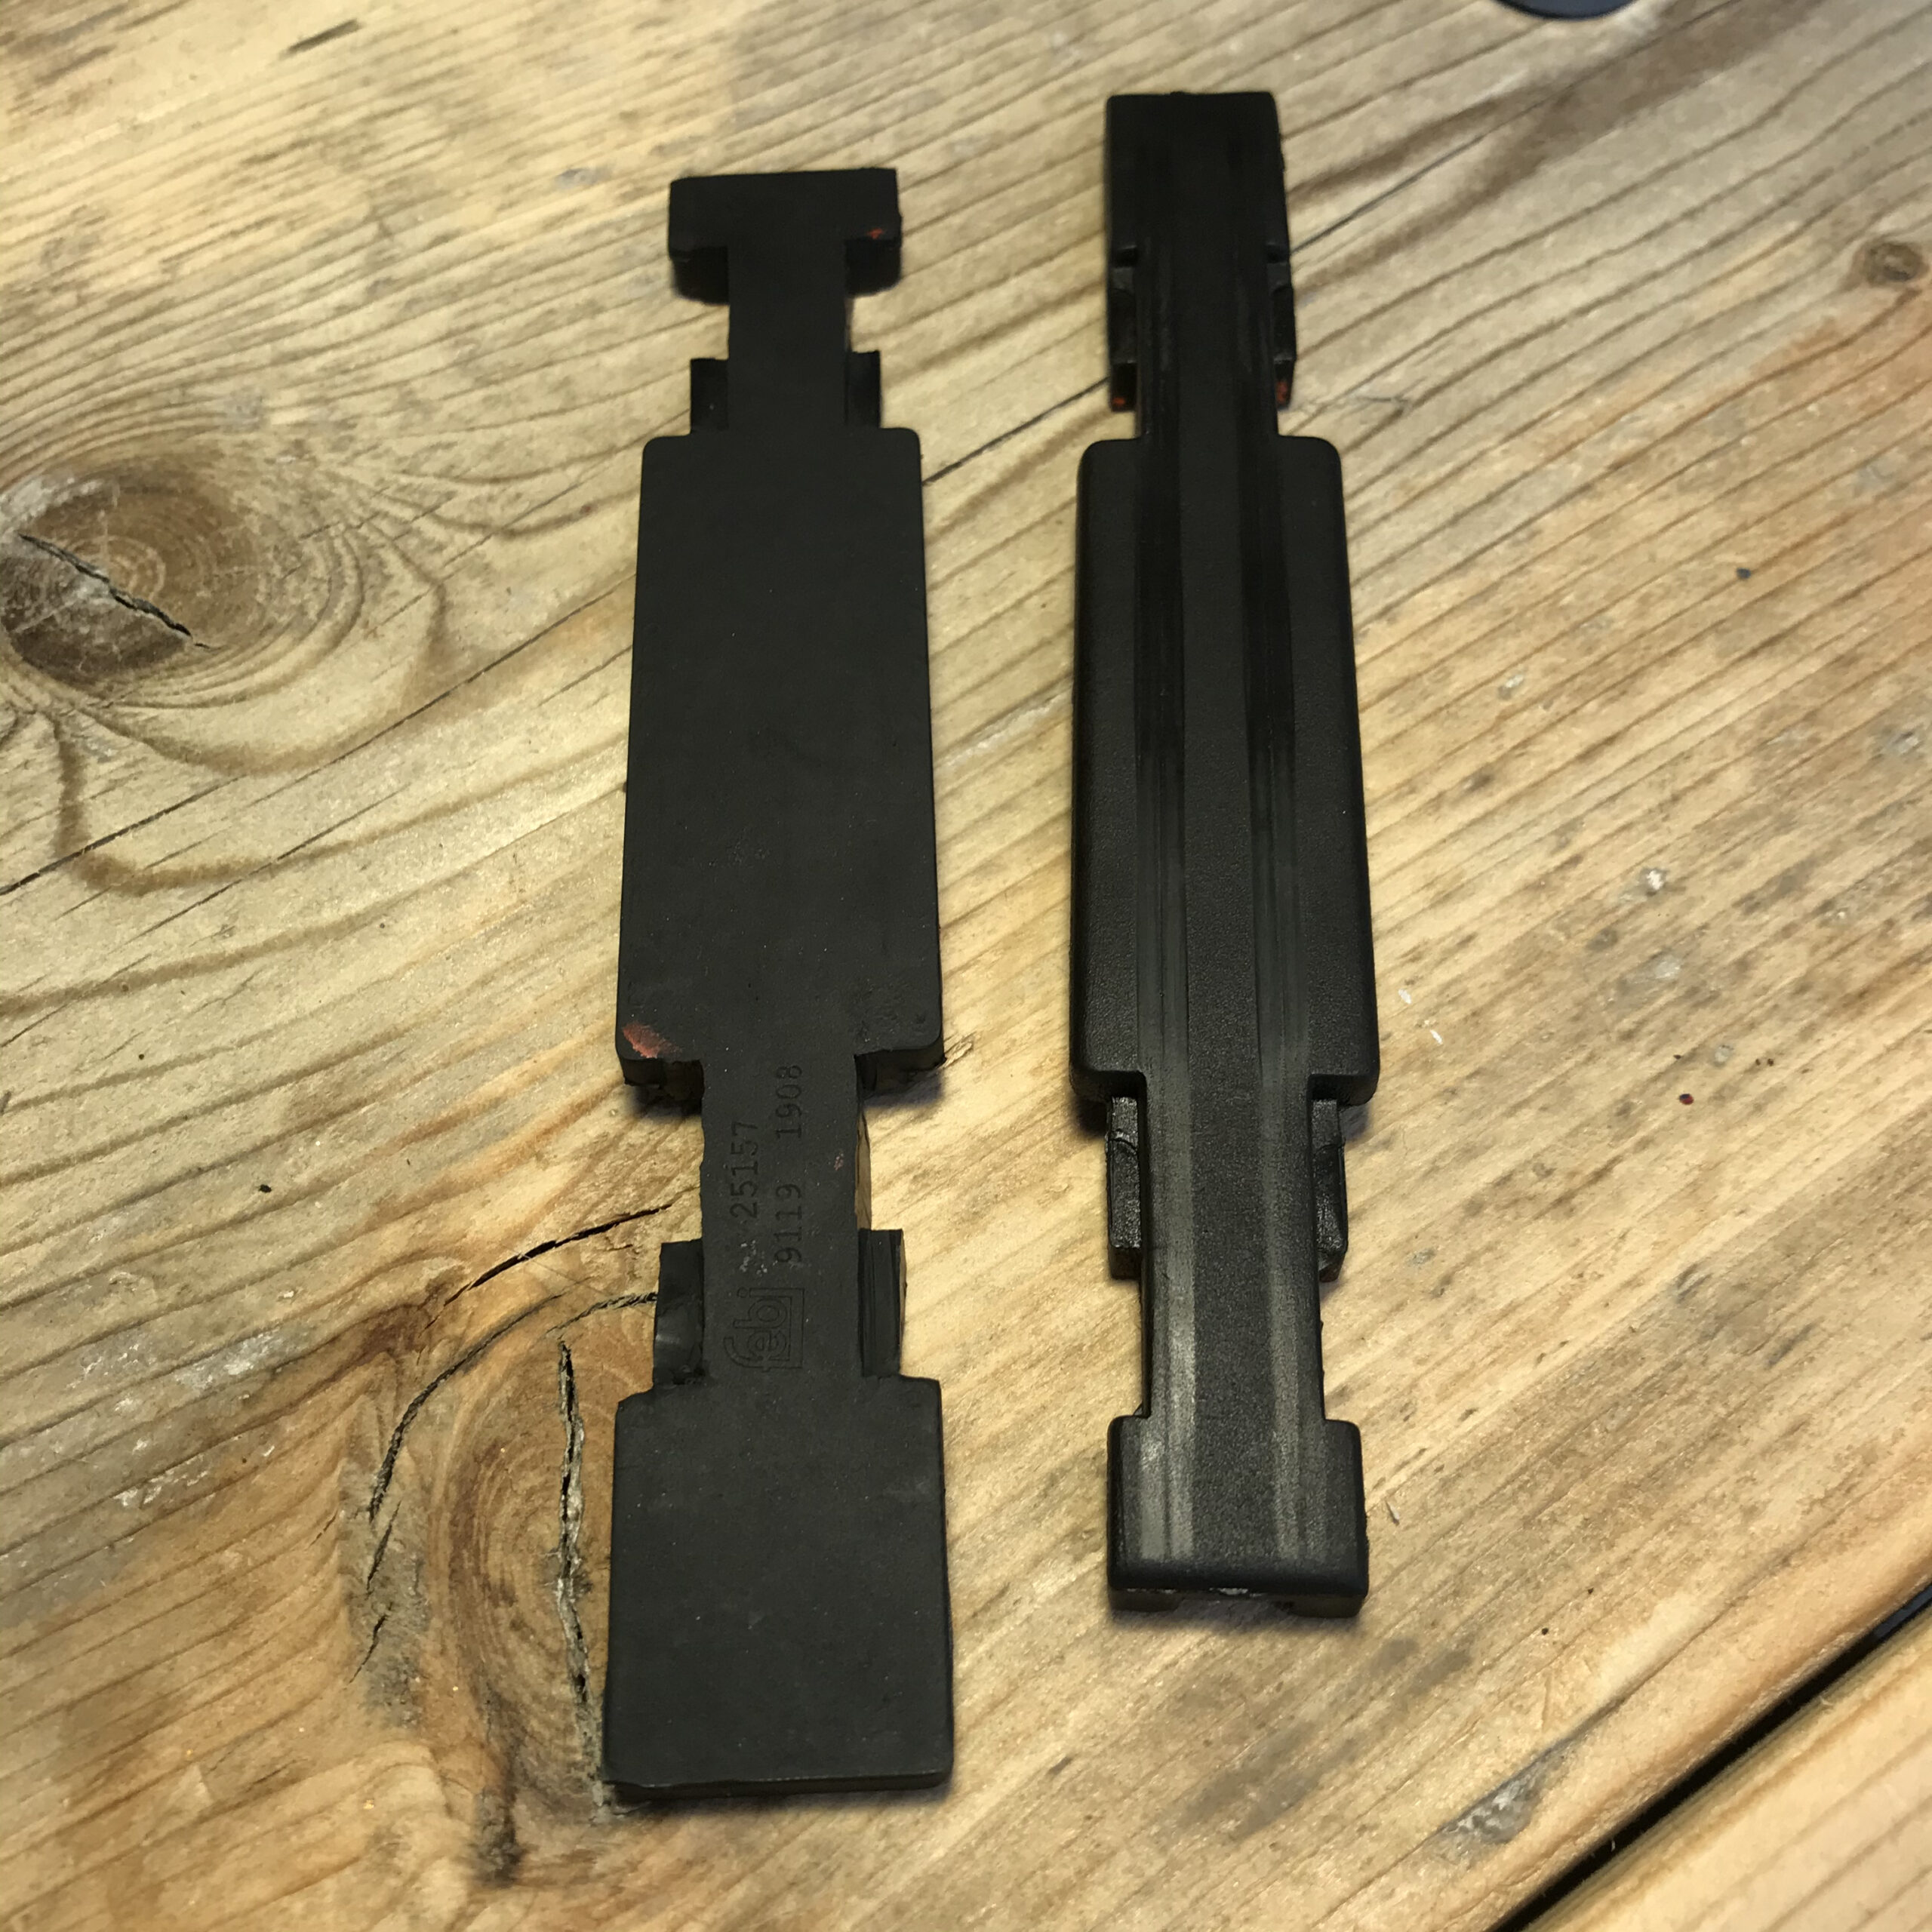
Turns out early cam covers have a different sized rubber chain guide, which I was unable to source so I trimmed down a later one to fit.

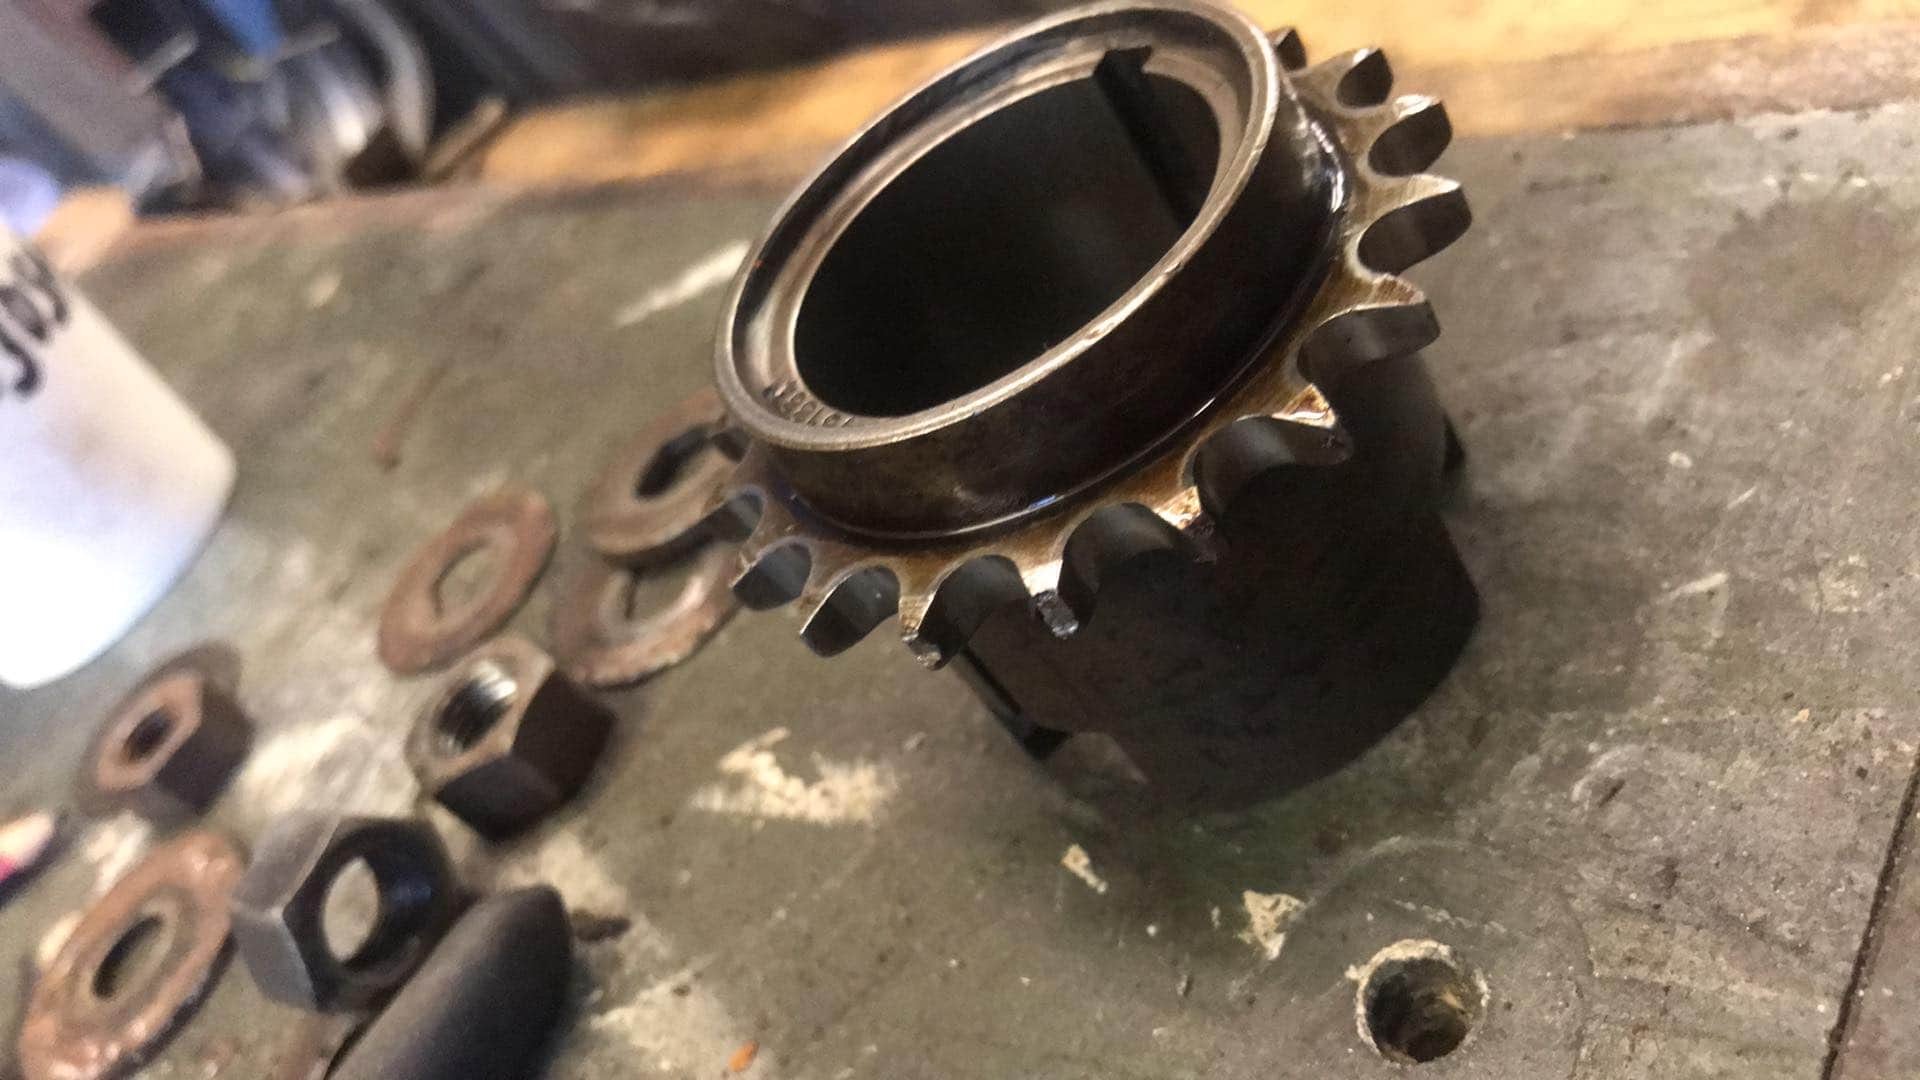
Had a bit of a disaster during the rebuild. I’d fitted the head and the cams but not the cam sprockets, when for some reason I thought I’d fit the crank pulley. As the torque wrench clicked at 180nm I realised my error. I’d just turned the engine over without the timing chain connected. Assuming I’d bent some valves, the head came off to assess the damage but in fact the loose timing chain had bunched up and instead stripped the tips of some teeth from the sprocket. So, the only damage was a new crank sprocket, a new head gasket and another set of head bolts.
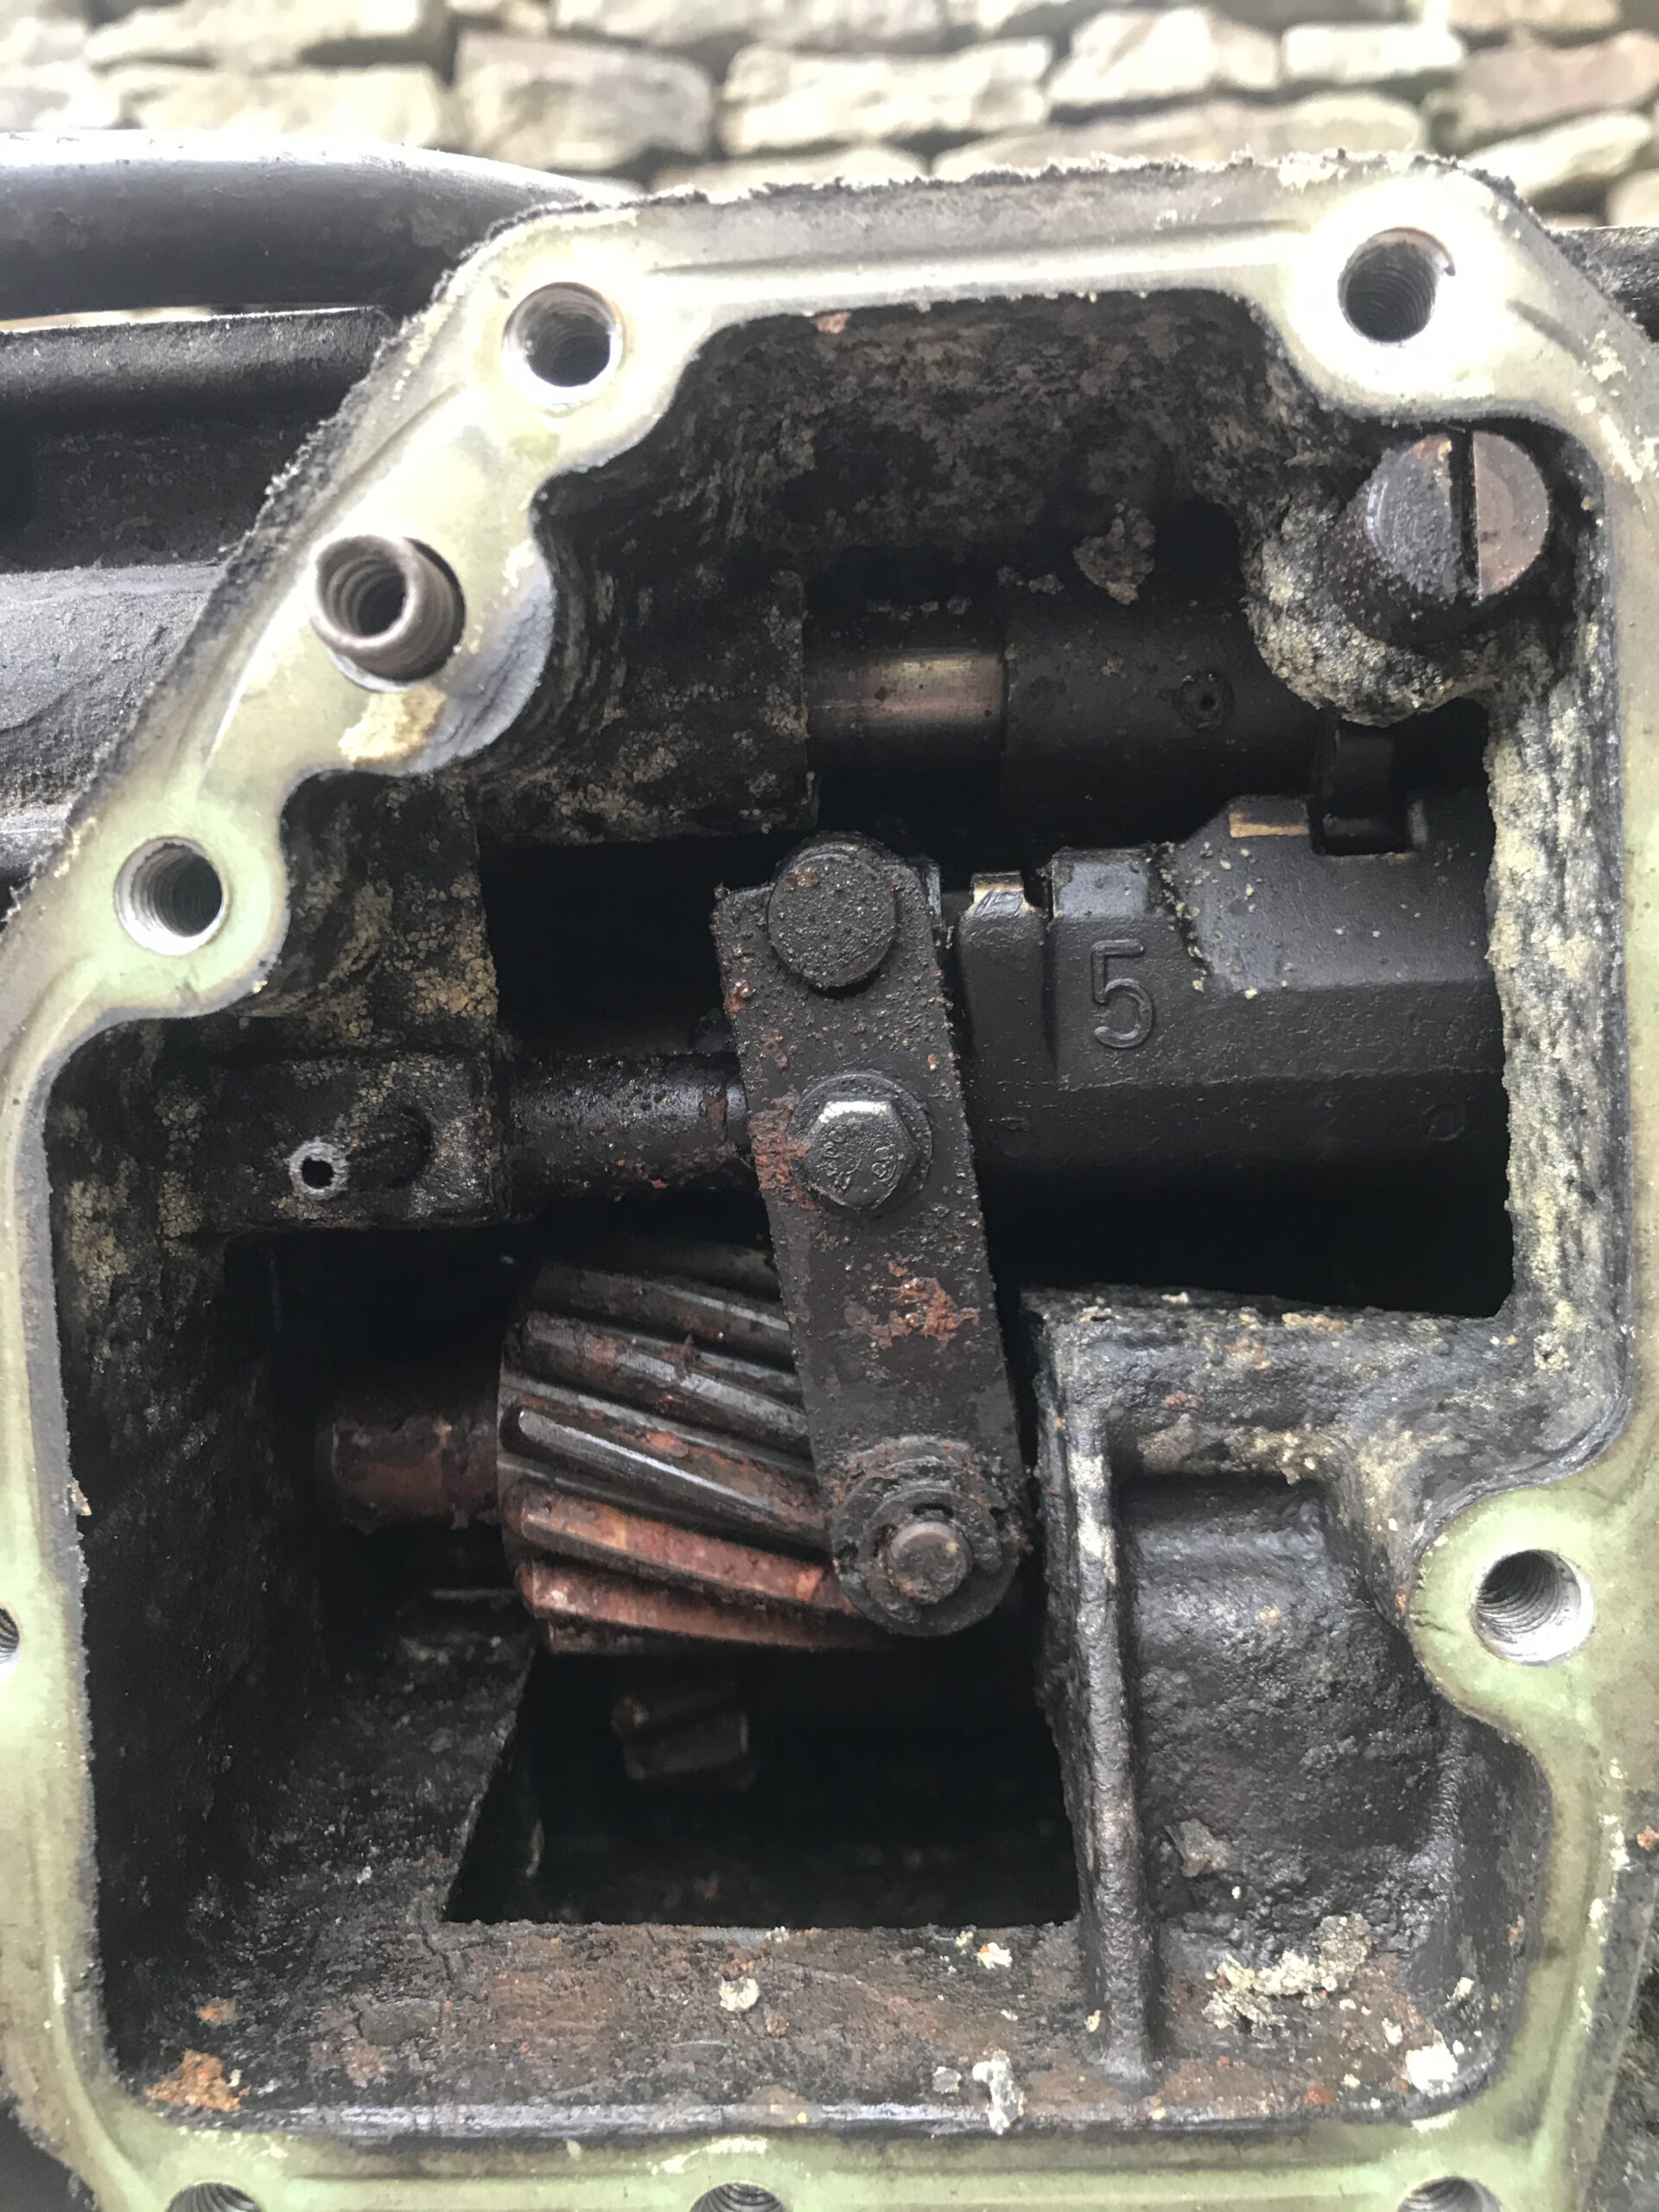
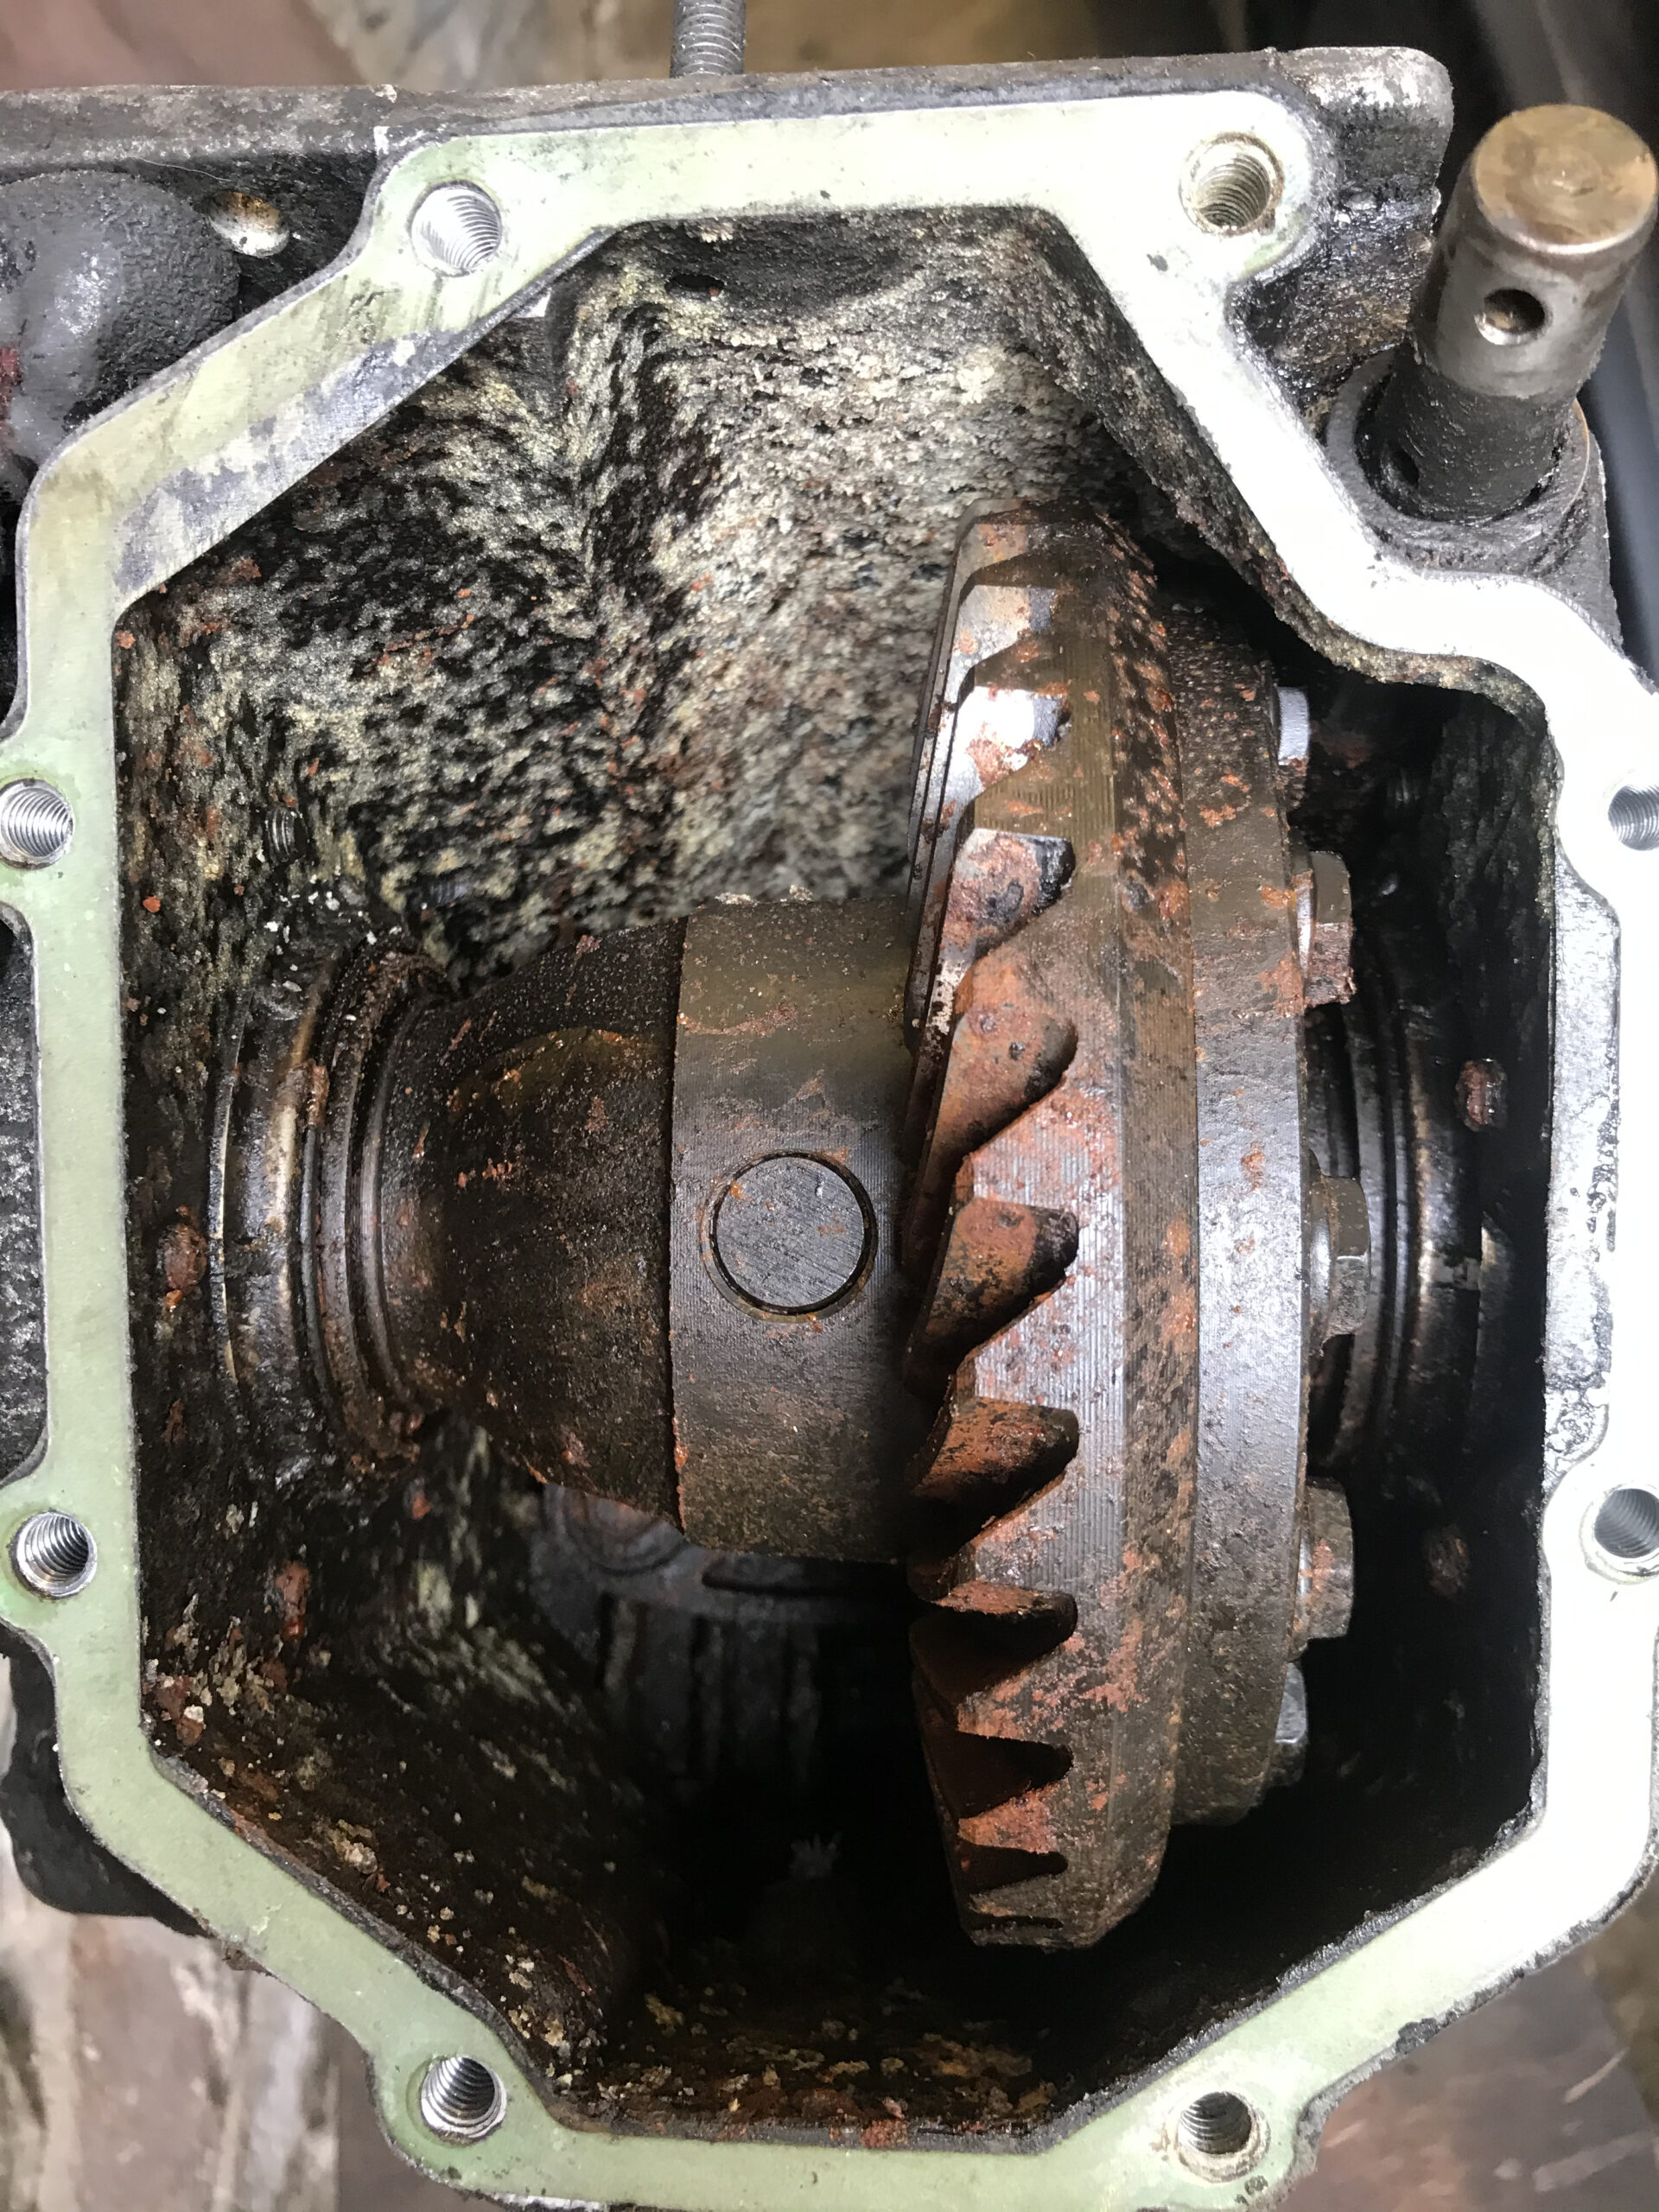
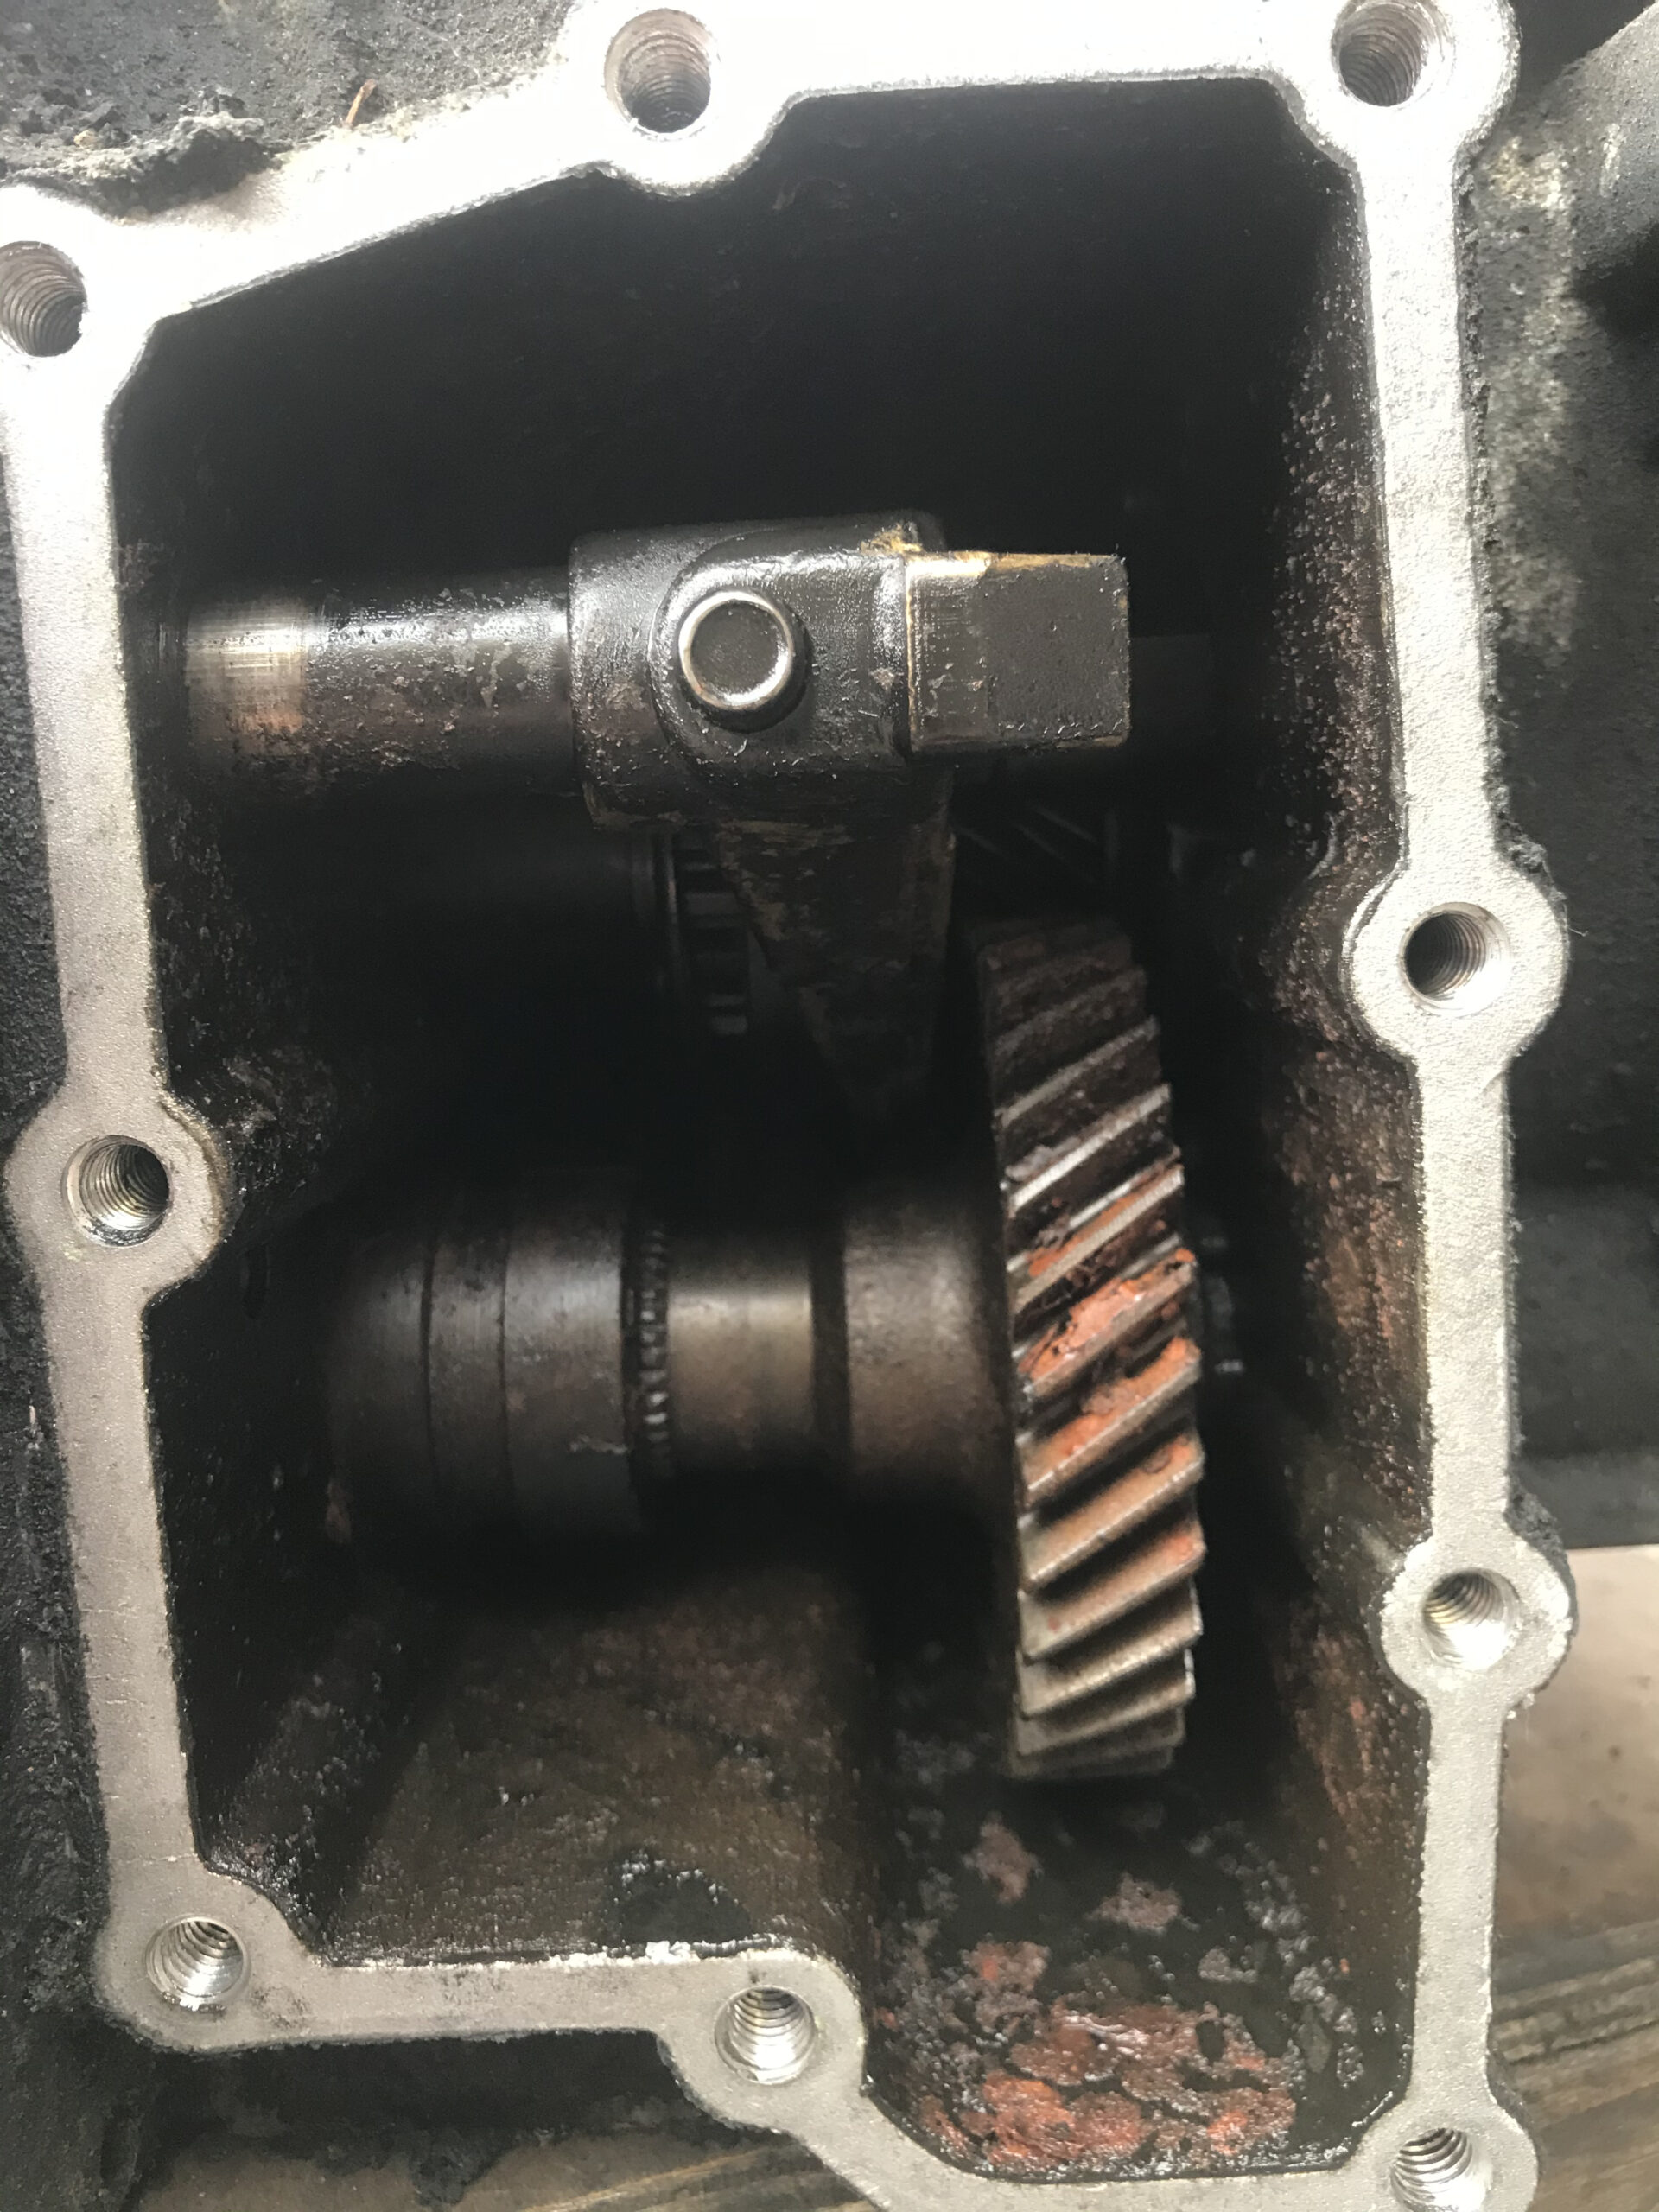
During this I dragged the supposedly good spare gearbox that came with the car out of the back of the garage. I’d never looked at it so was really disappointed to find it completely seized and basically ruined. Tried to free it off and eventually got the diff turning and gear selector working but still no drive, so £1500 later a freshly rebuilt box was sent from TR Autos in Cornwall. This box got a steel diff cover fitted to hopefully help it handle the power.


Didn’t get many shots to document this, but the original oil cooler was looking tired. Drop in replacements are really expensive, so after some measuring I bought:
- Two M16x1.5 – AN6 adapters to go on the oil filter housing (use dowty washers on the M16 side)
- A cheap 9 row AN10 oil cooler
- Two AN10 to AN6 reducers to go on the cooler
- And a few metres of AN6 braided line along with a load of fittings
The generic oil cooler dropped into the stock housing after some modification to the mounting tabs. A complete replacement for ~£100, instead of ~£280 for the DO88 kit.

Turbo upgrade
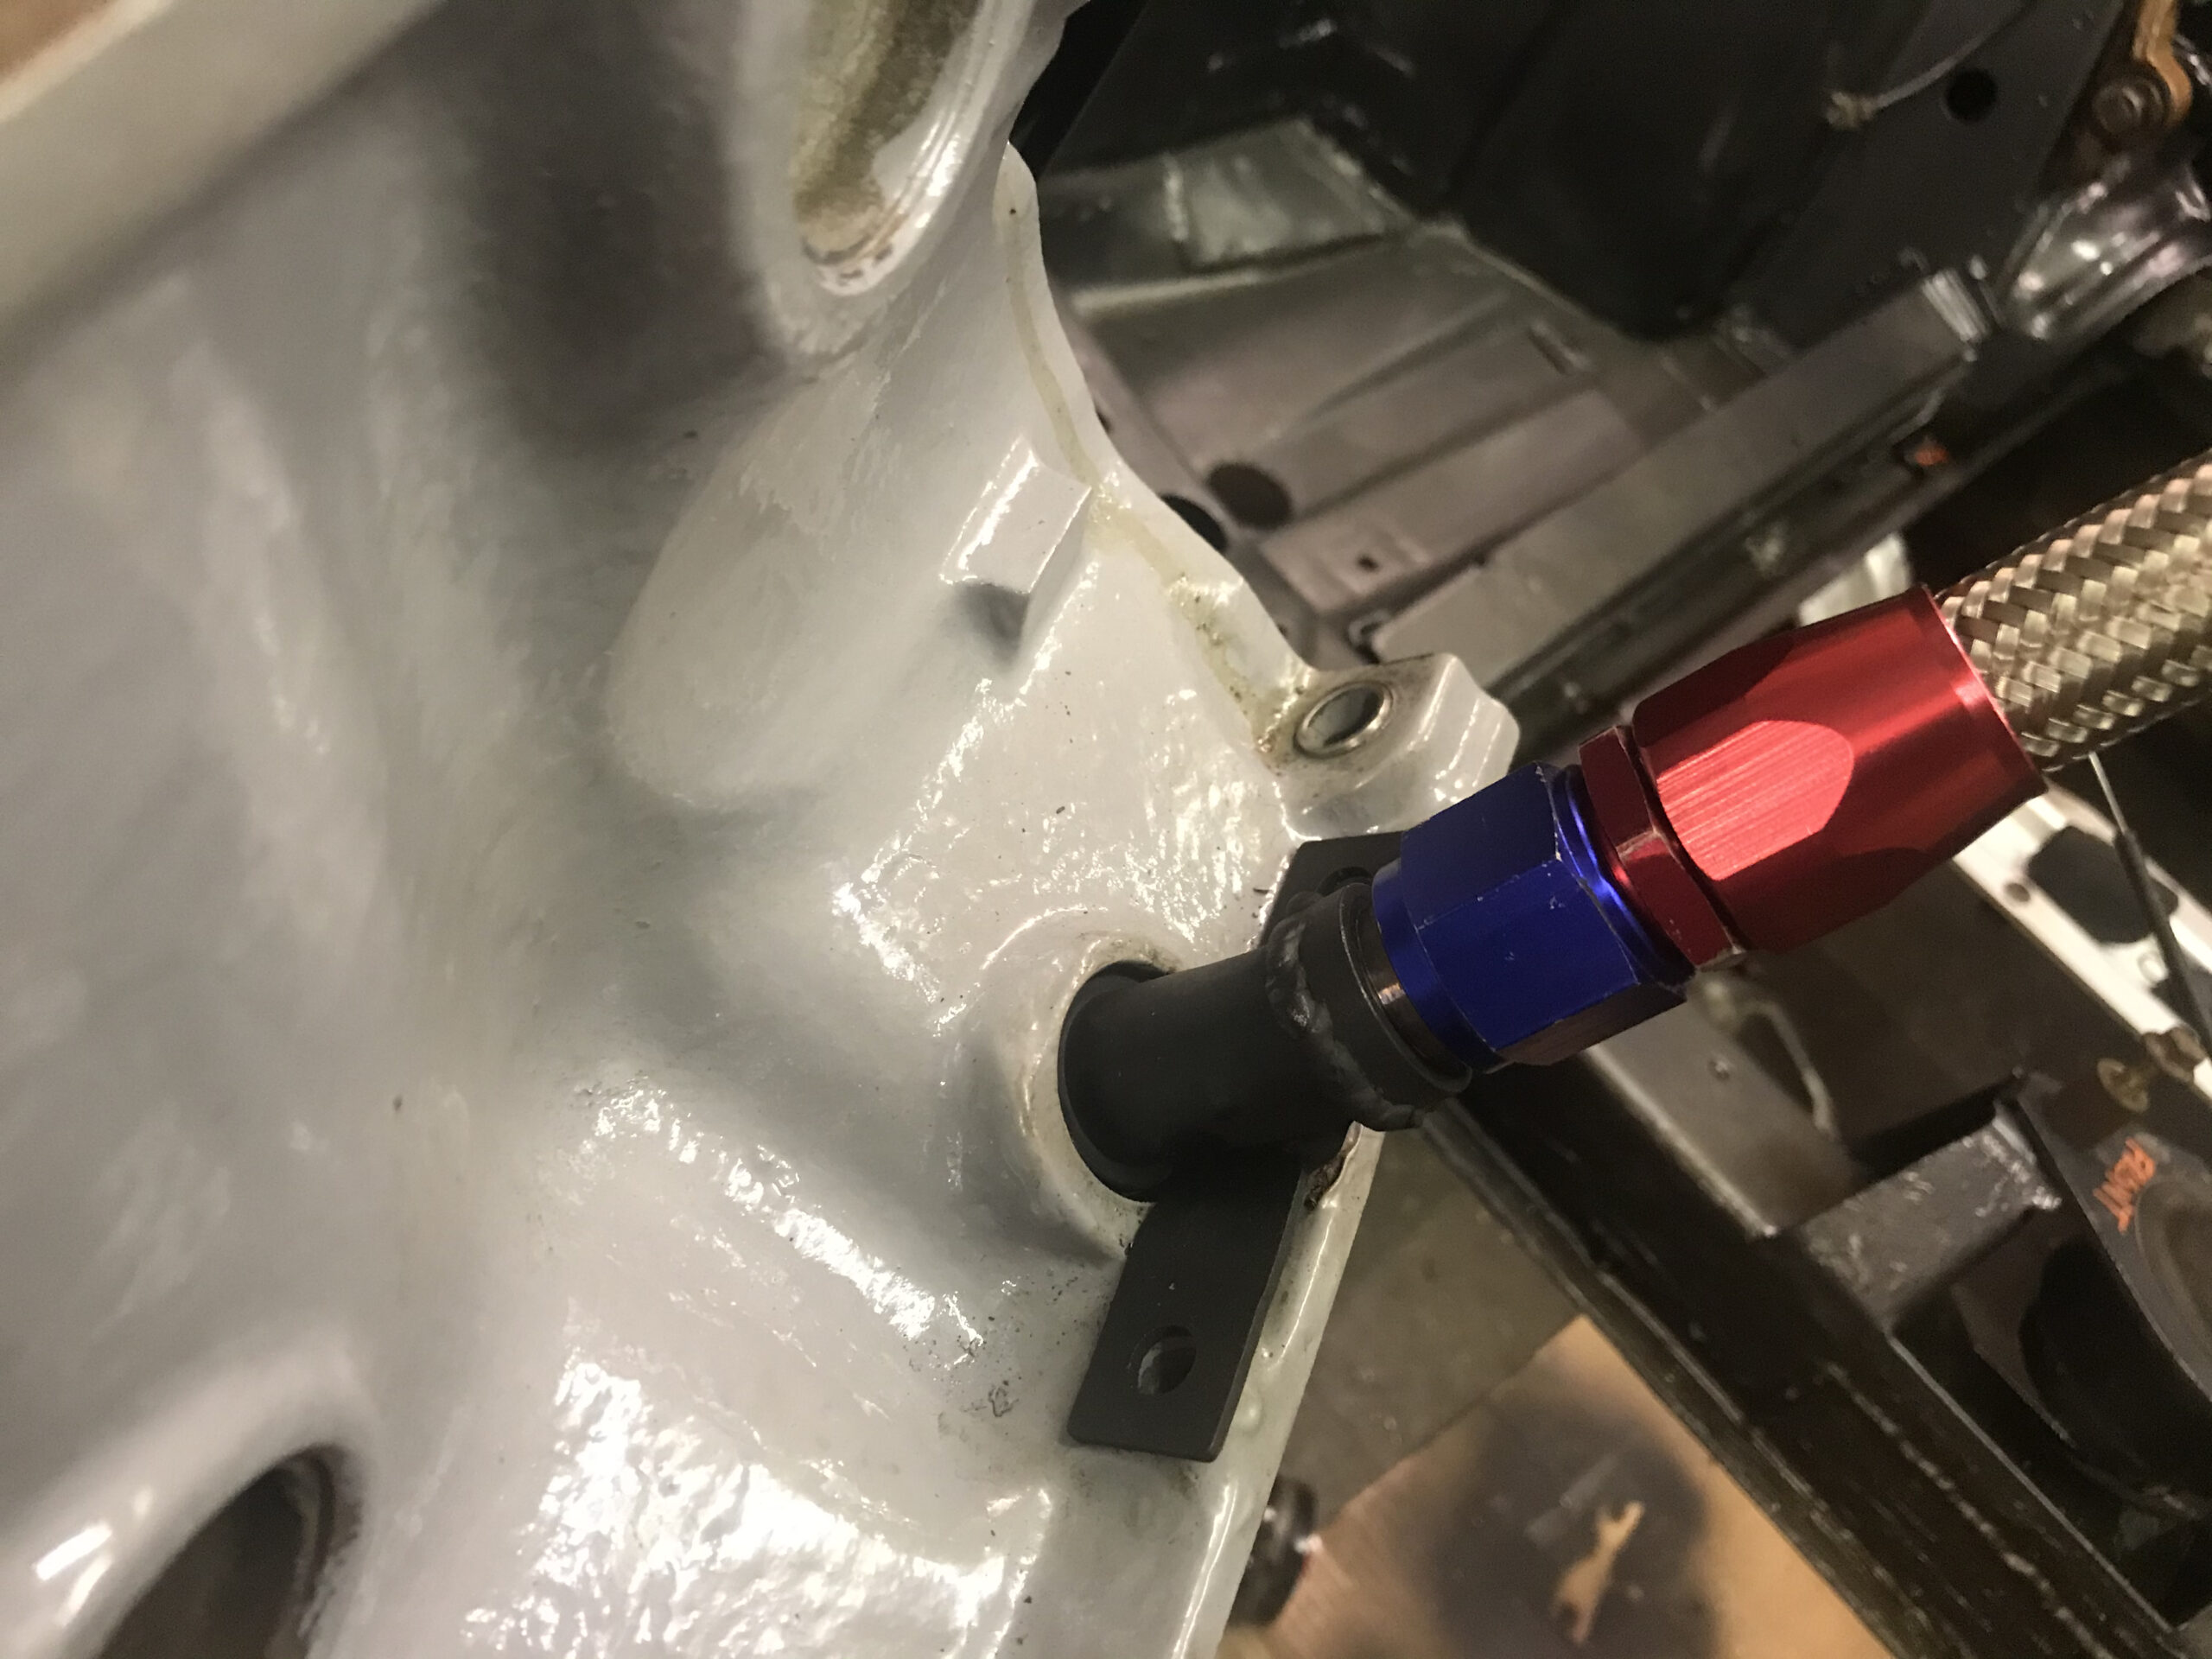
The old standard Garrett T3 turbo was also pretty tired, and for the price of a rebuild kit I lucked out on a Chinese 60 trim T3. Turned out this was much bigger than the standard one! The standard hard oil drain and feed pipes wouldn’t quite fit, so I made up some flexible ones with AN fittings. To make the drain fit the block I welded a AN bung to the cut down stock drain, with a tab to fasten it to the gearbox bolts.


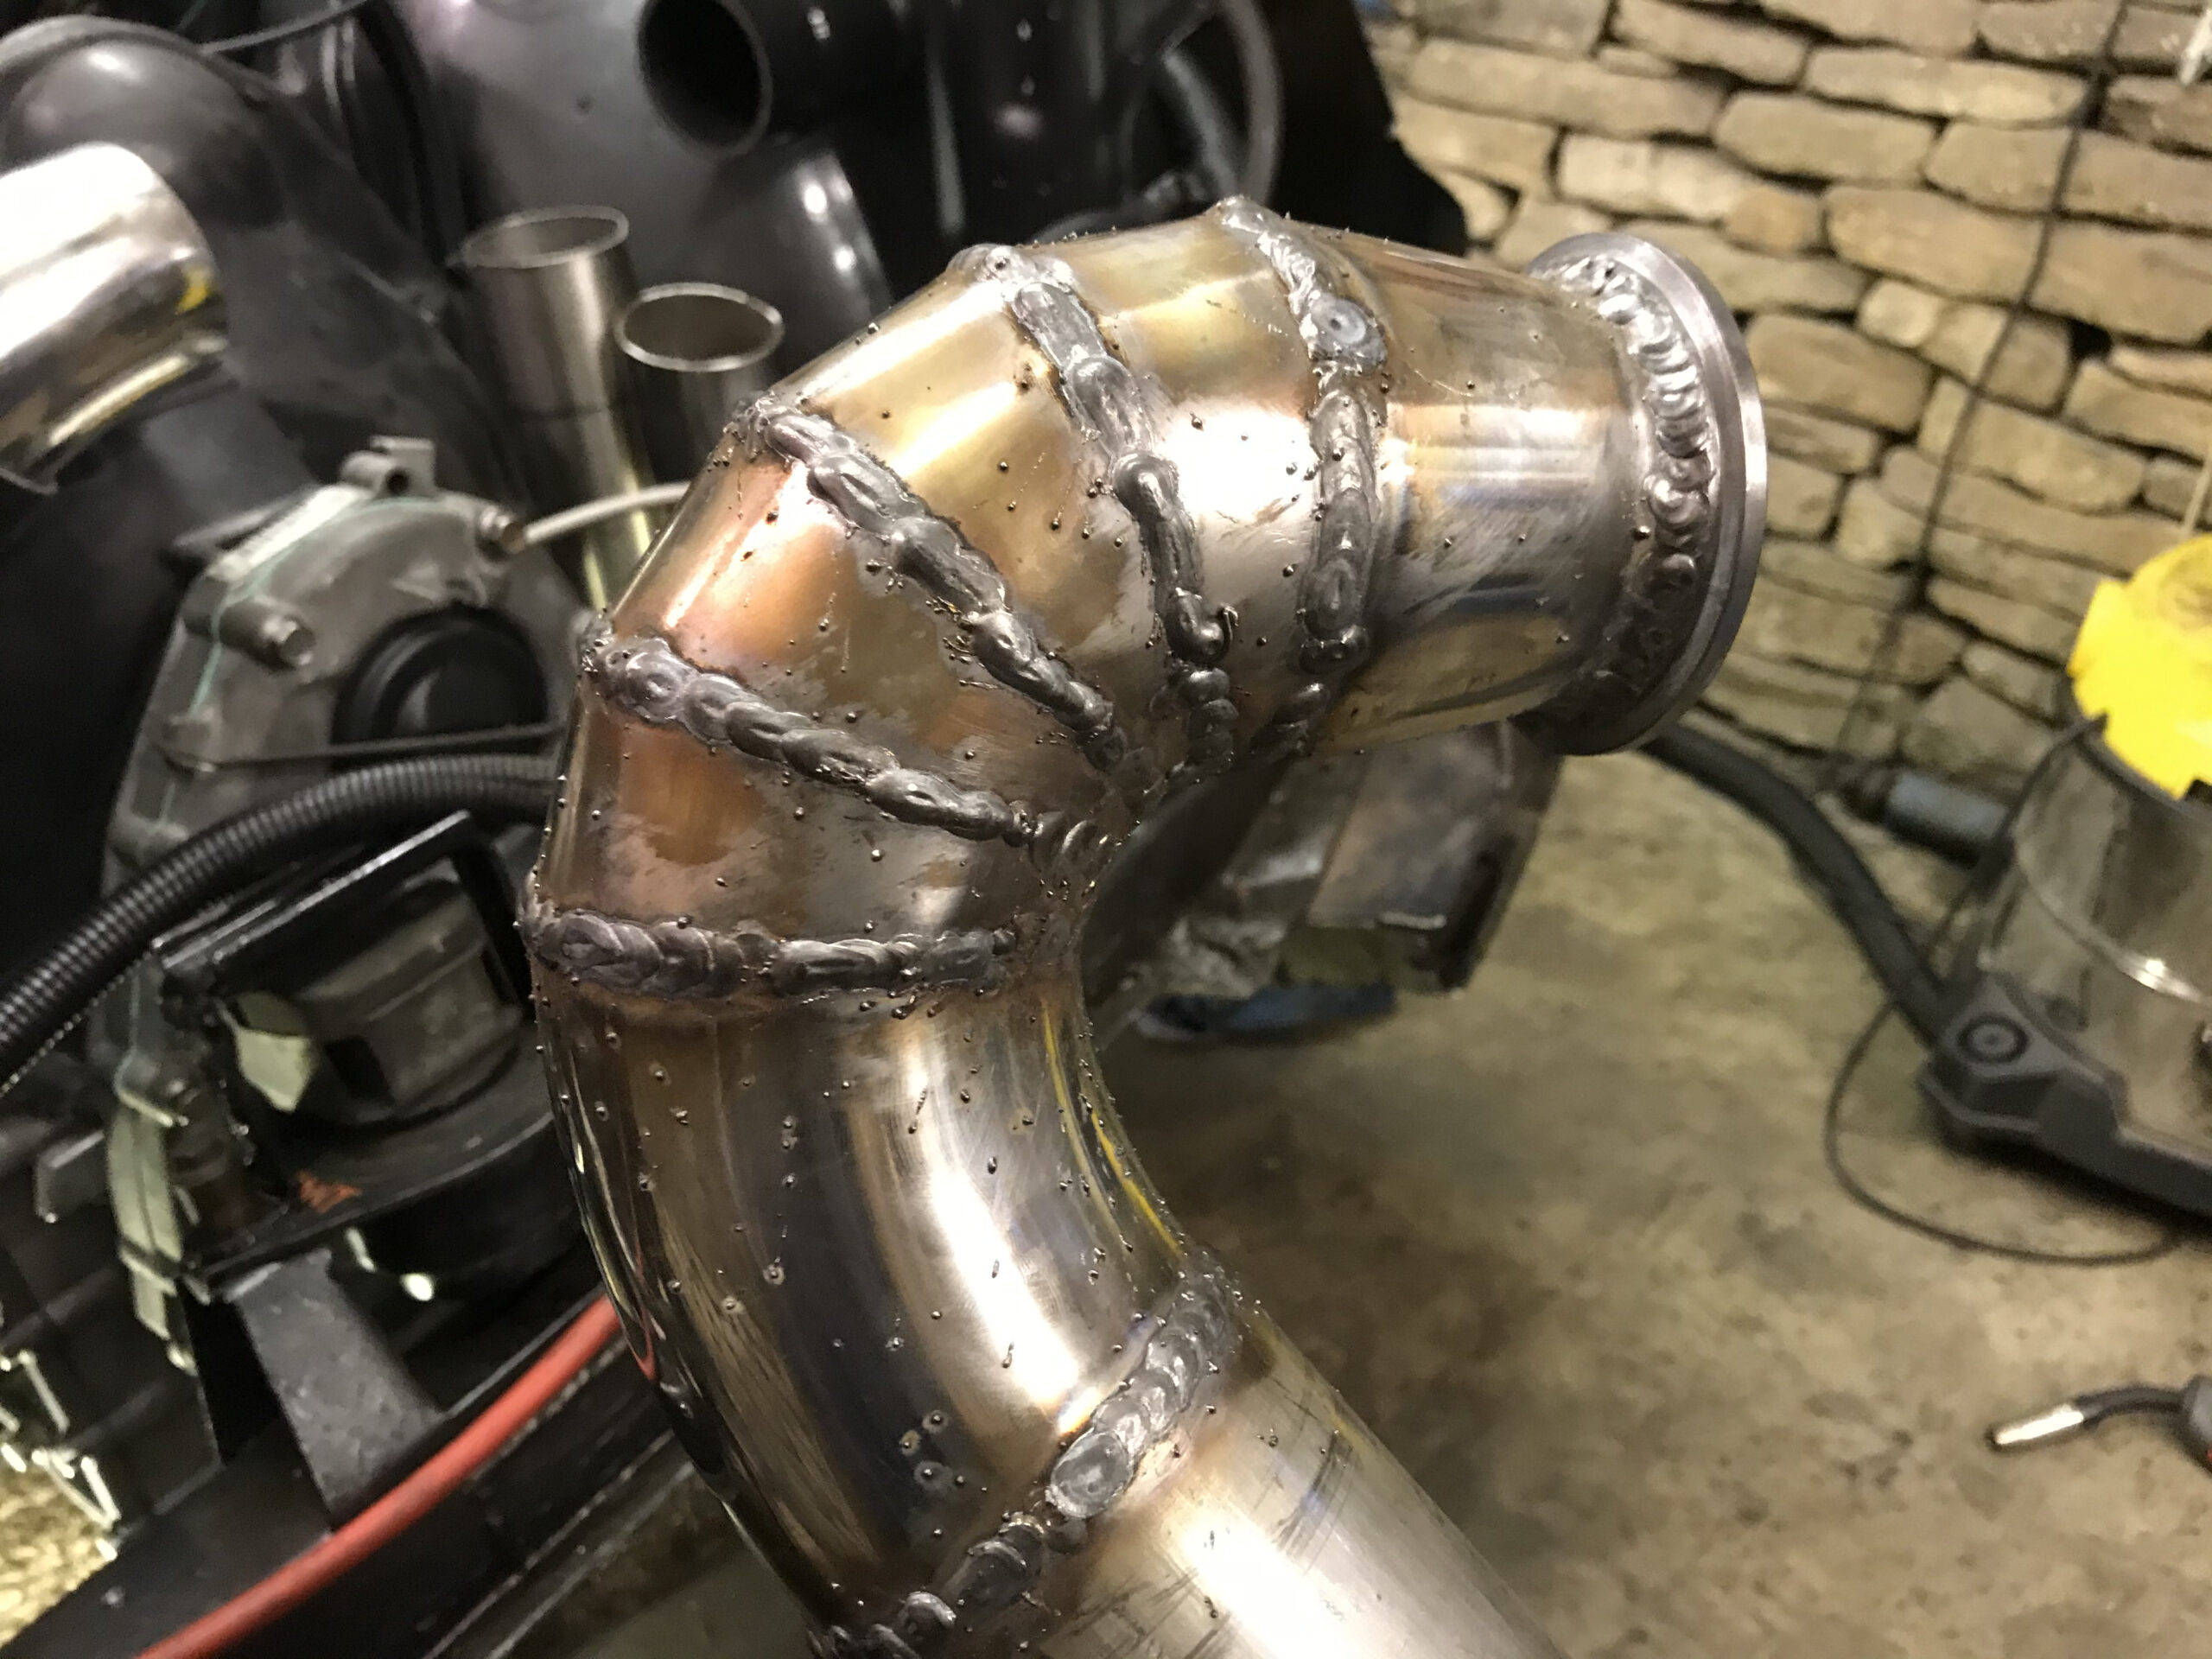
I also made a 3″ downpipe…

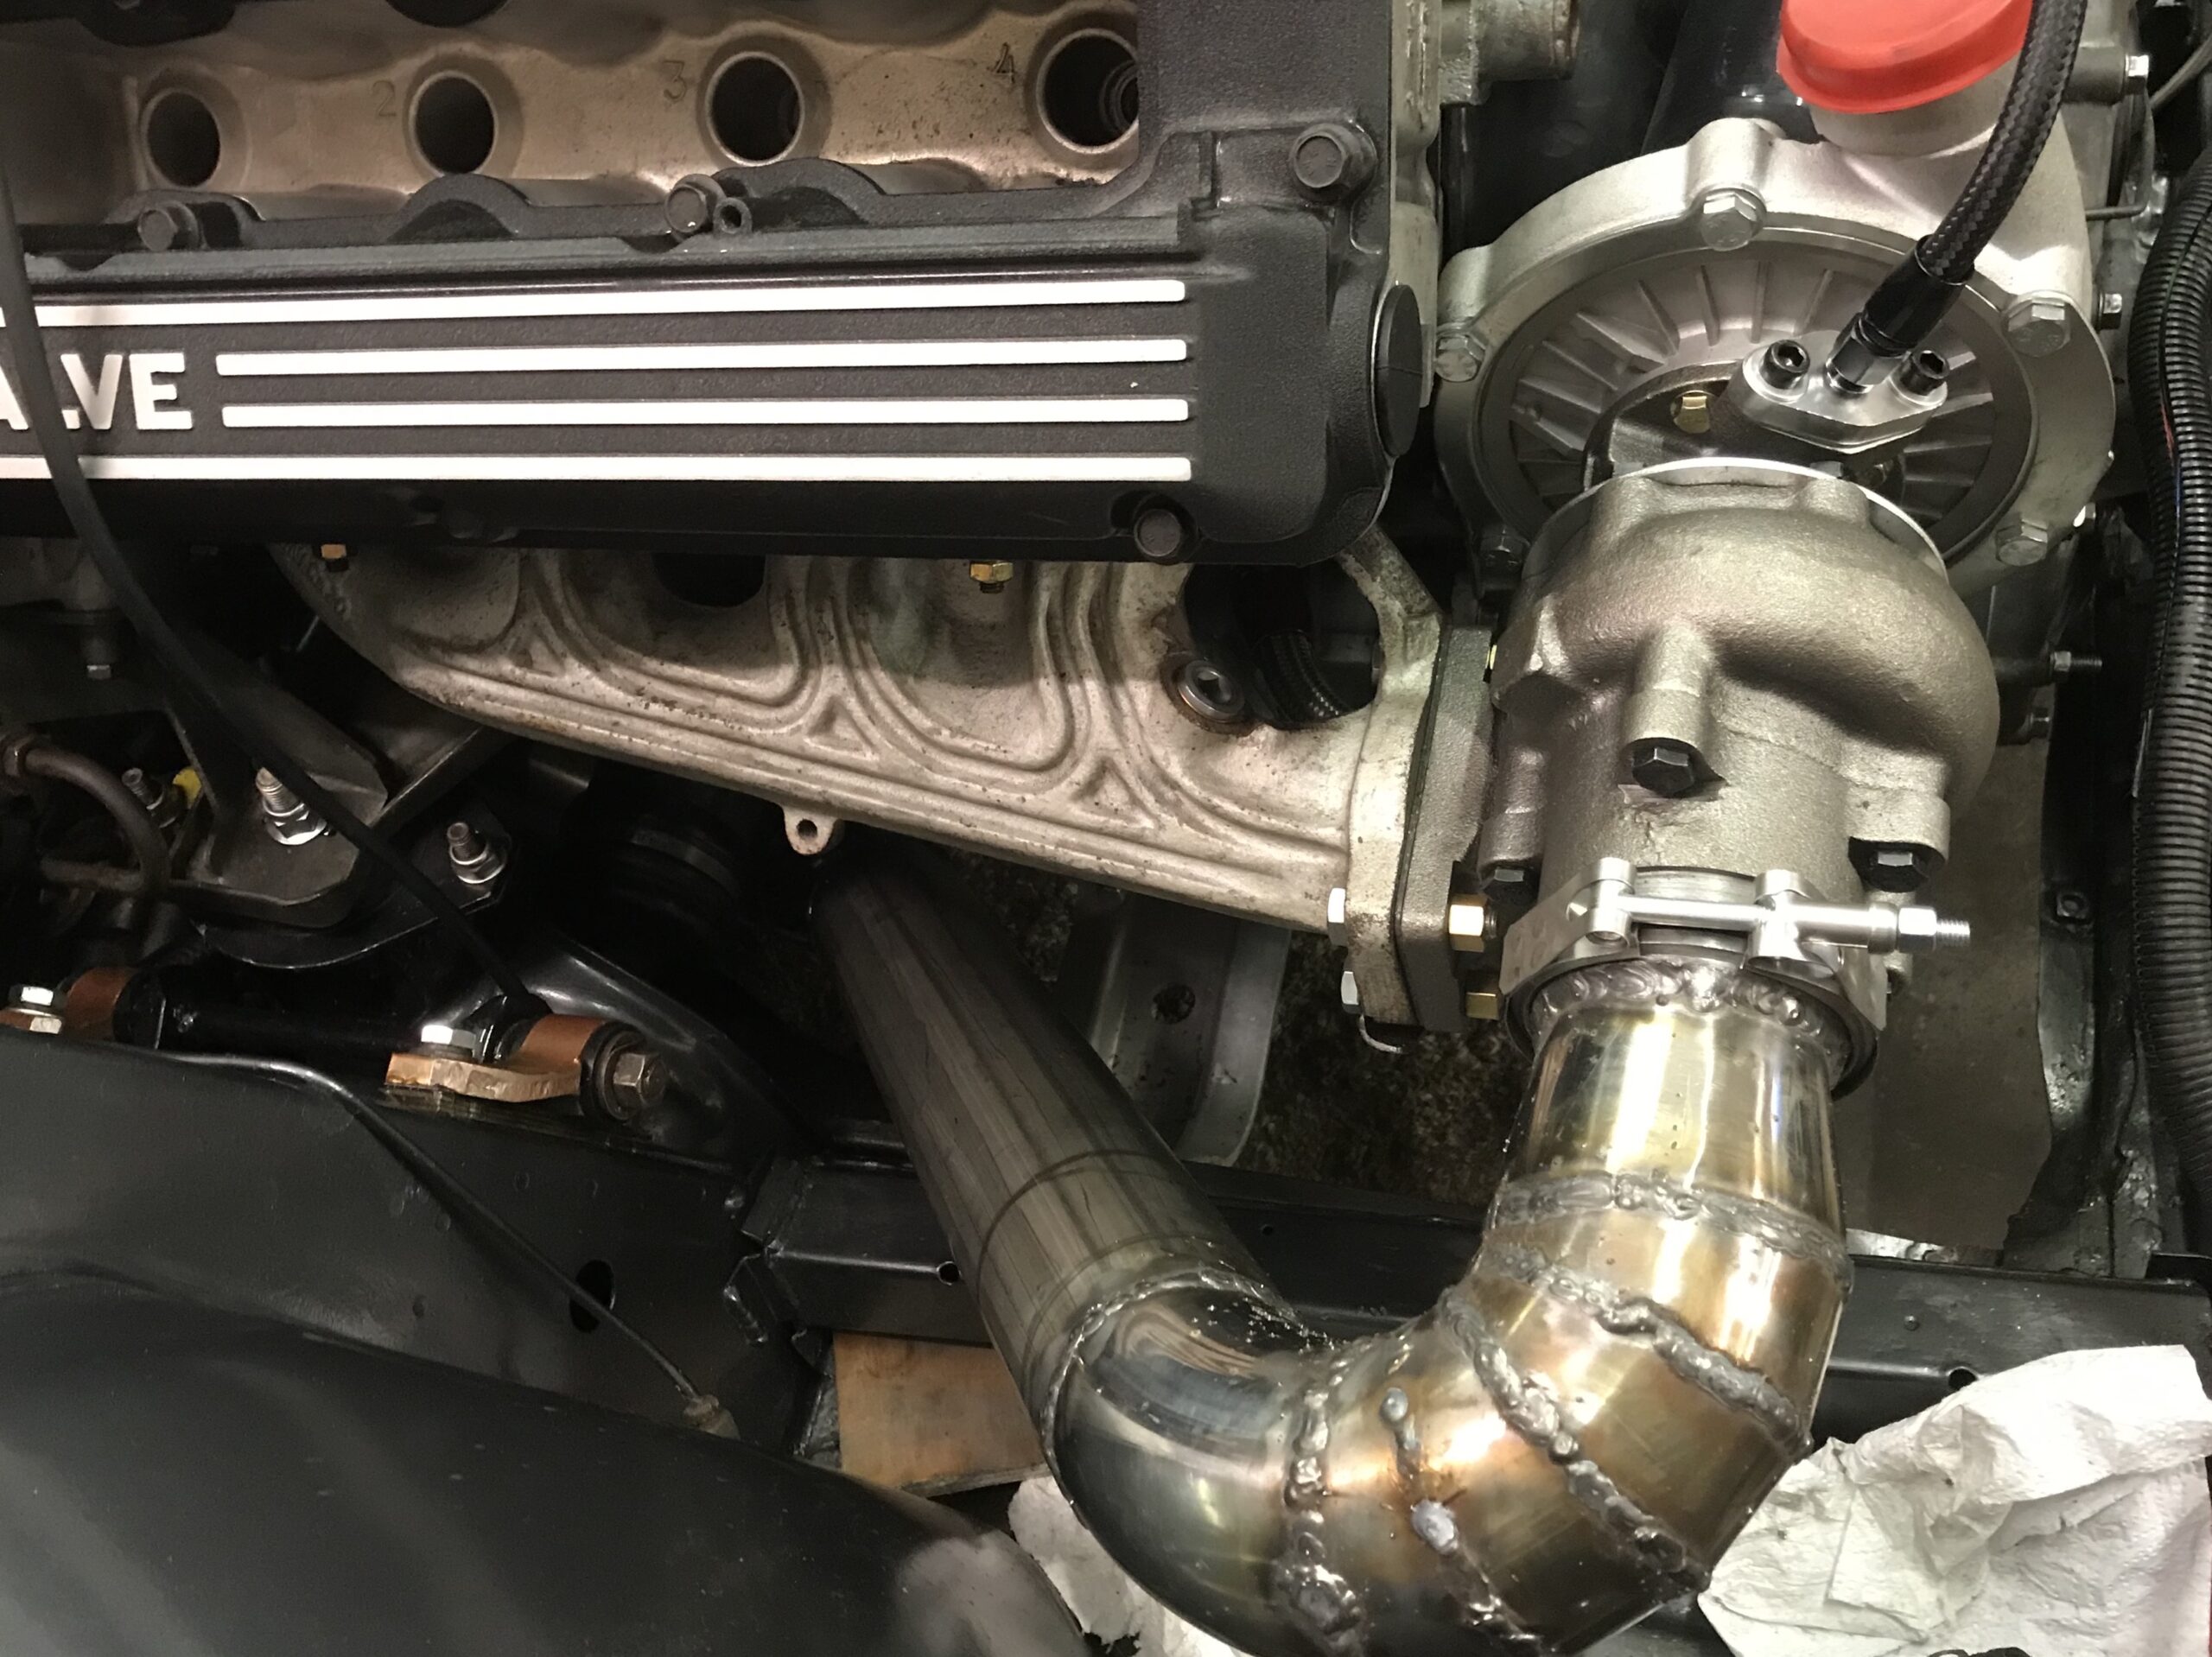
And 3″ intake pipework:
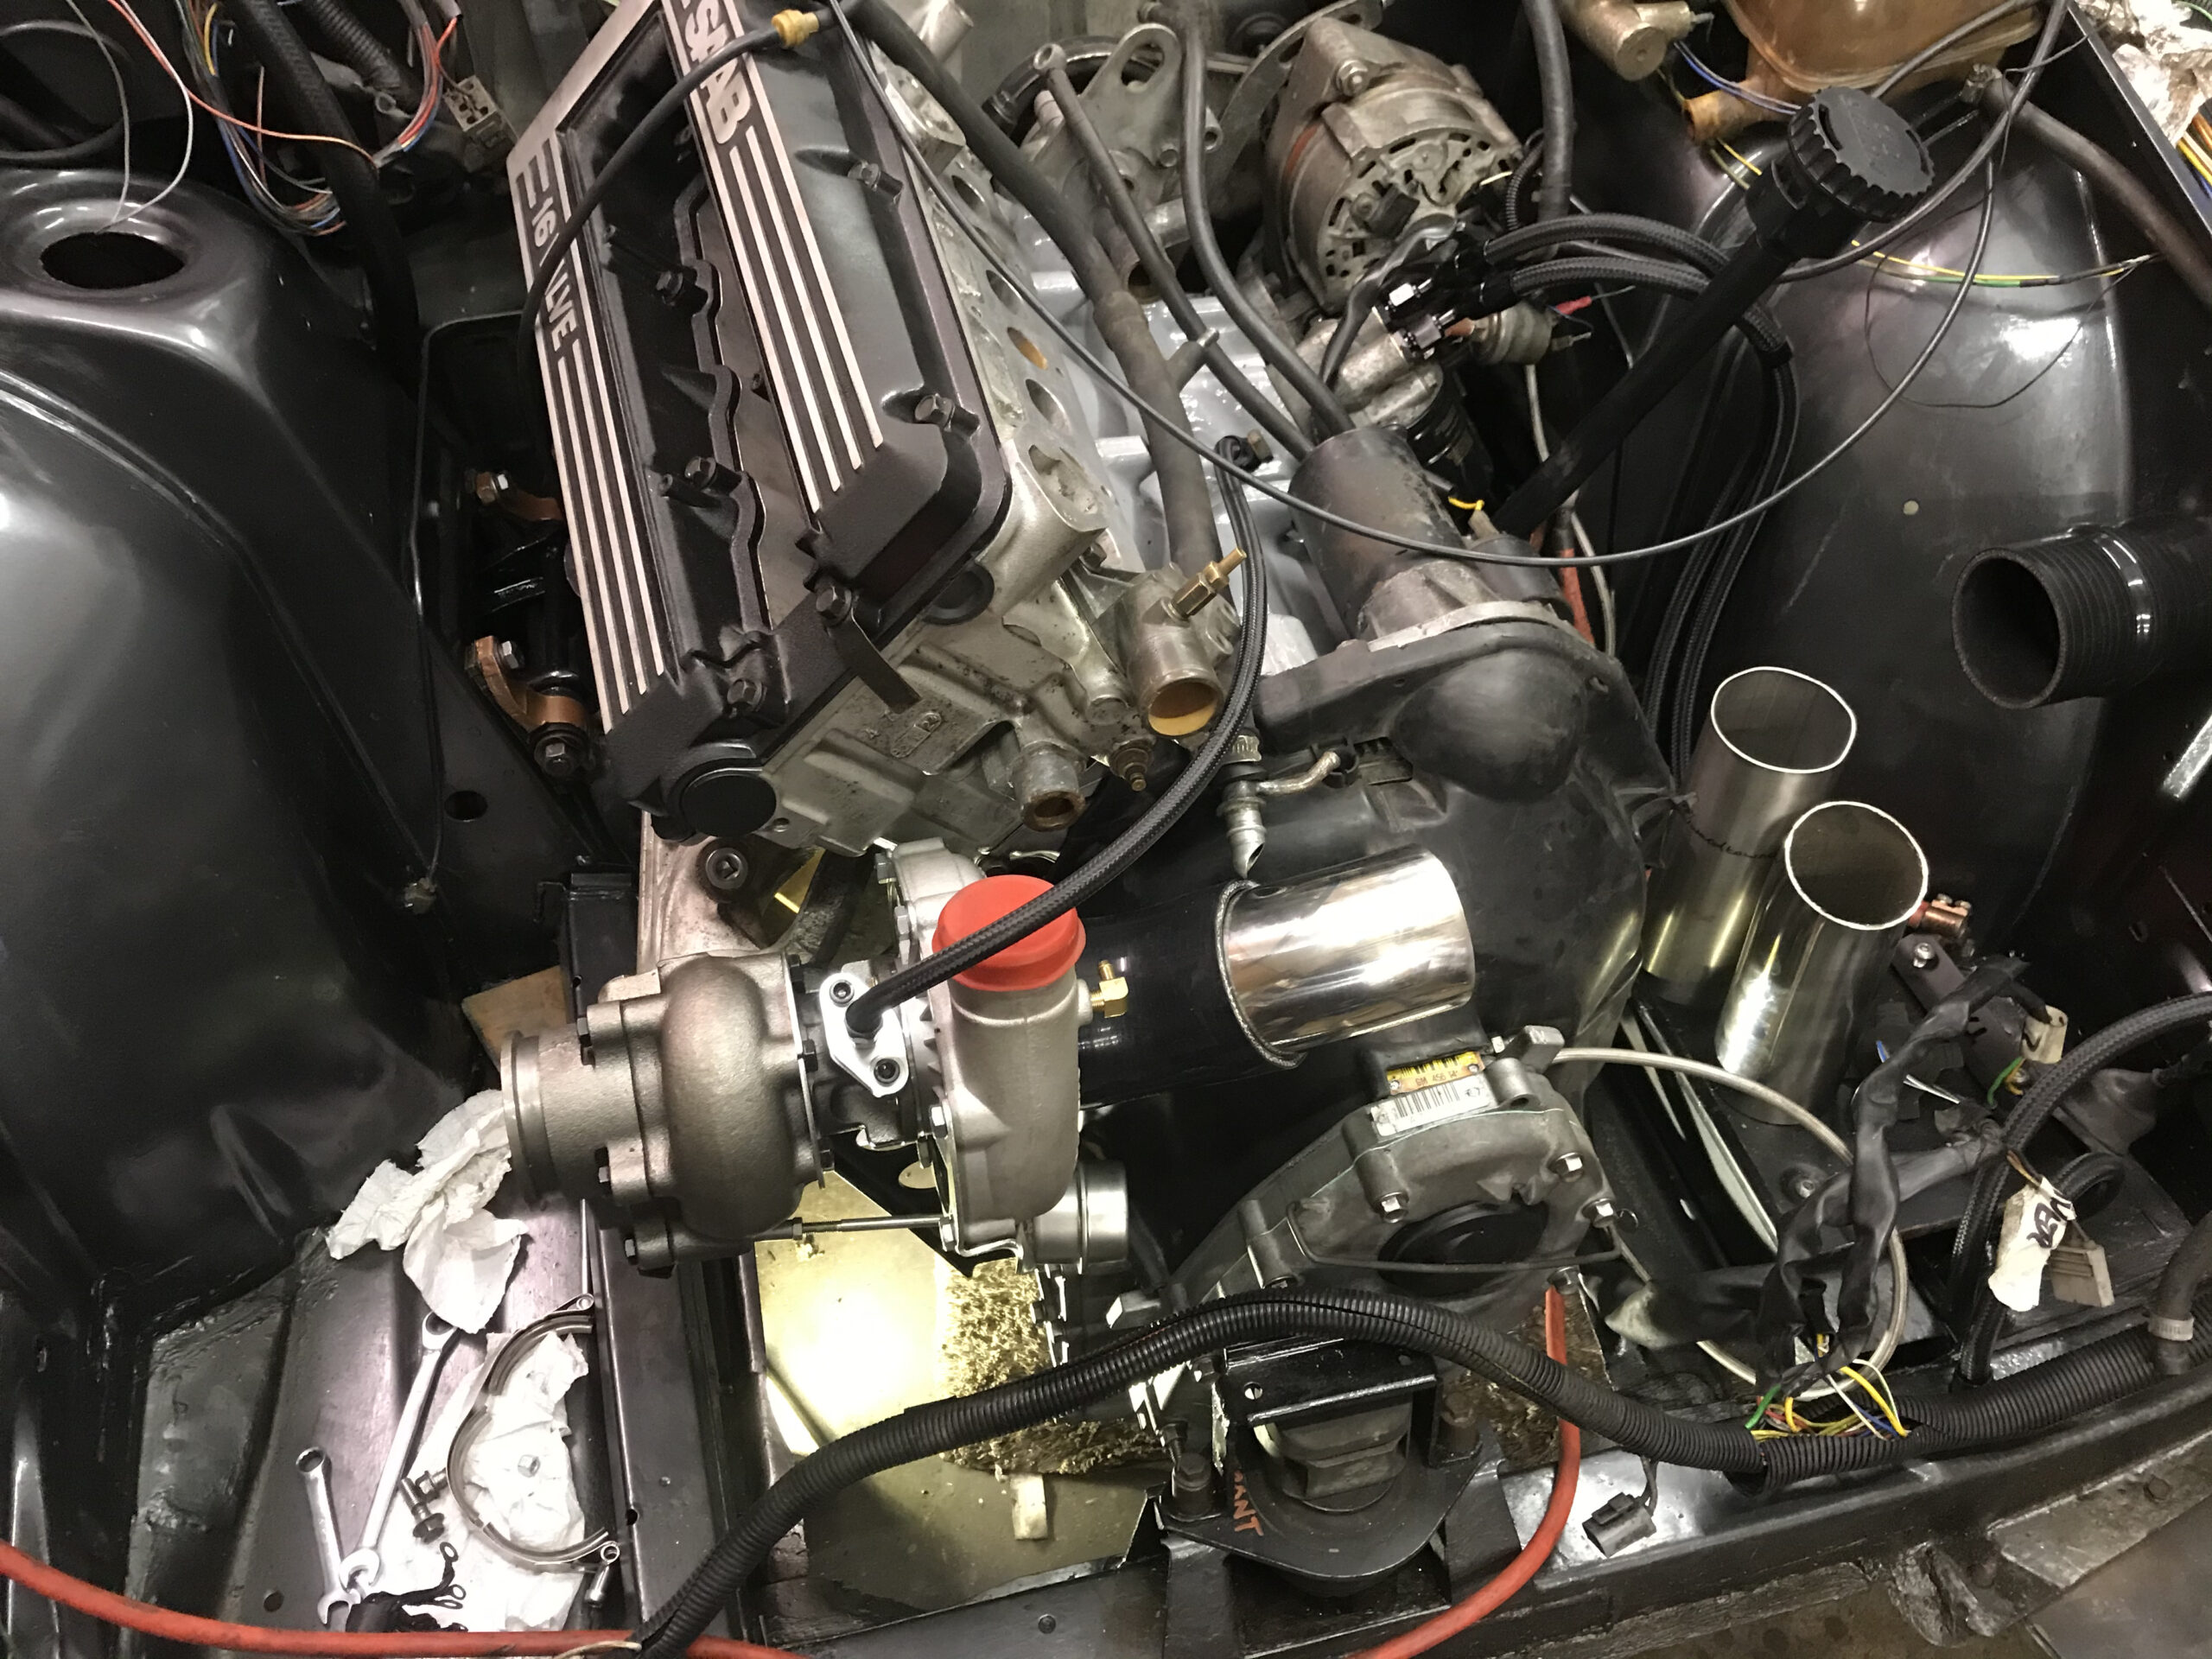


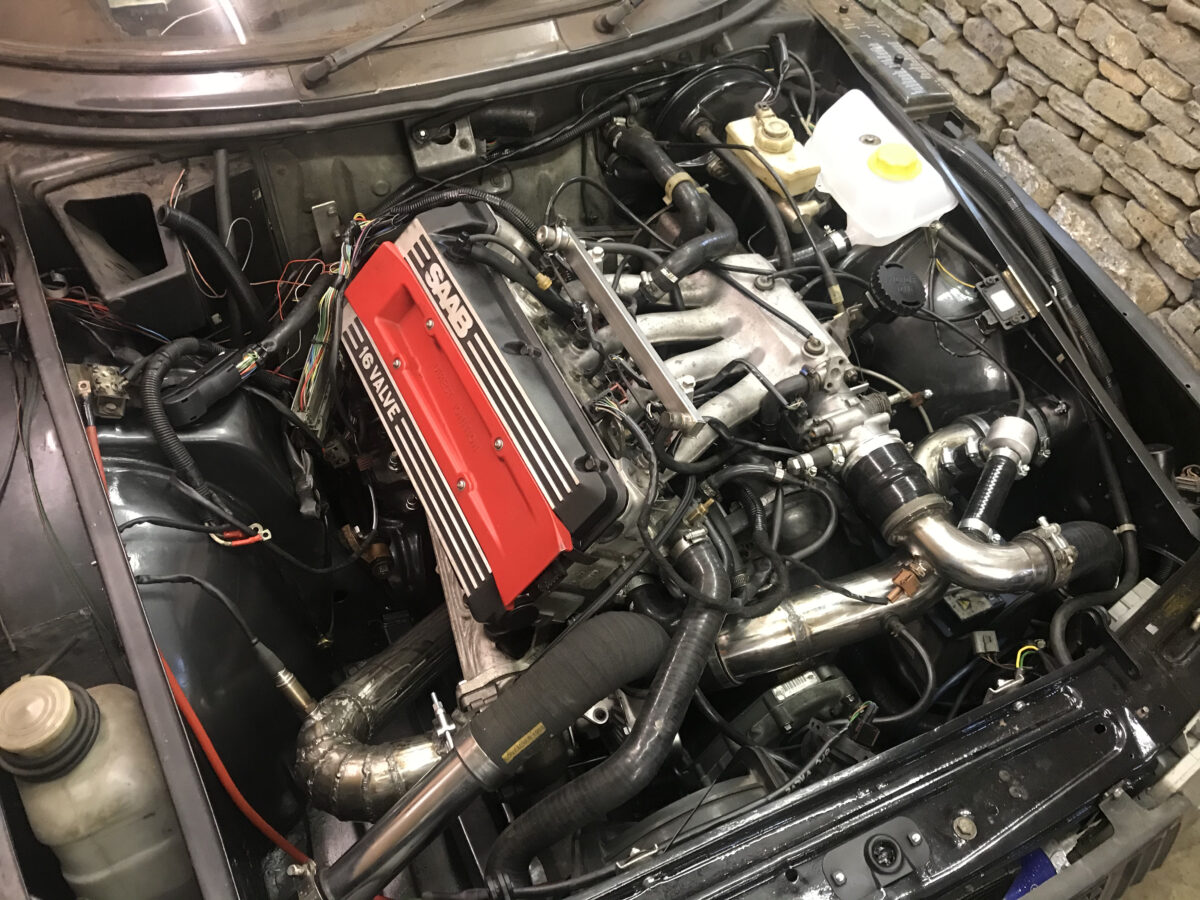
And that’s it! All back together.