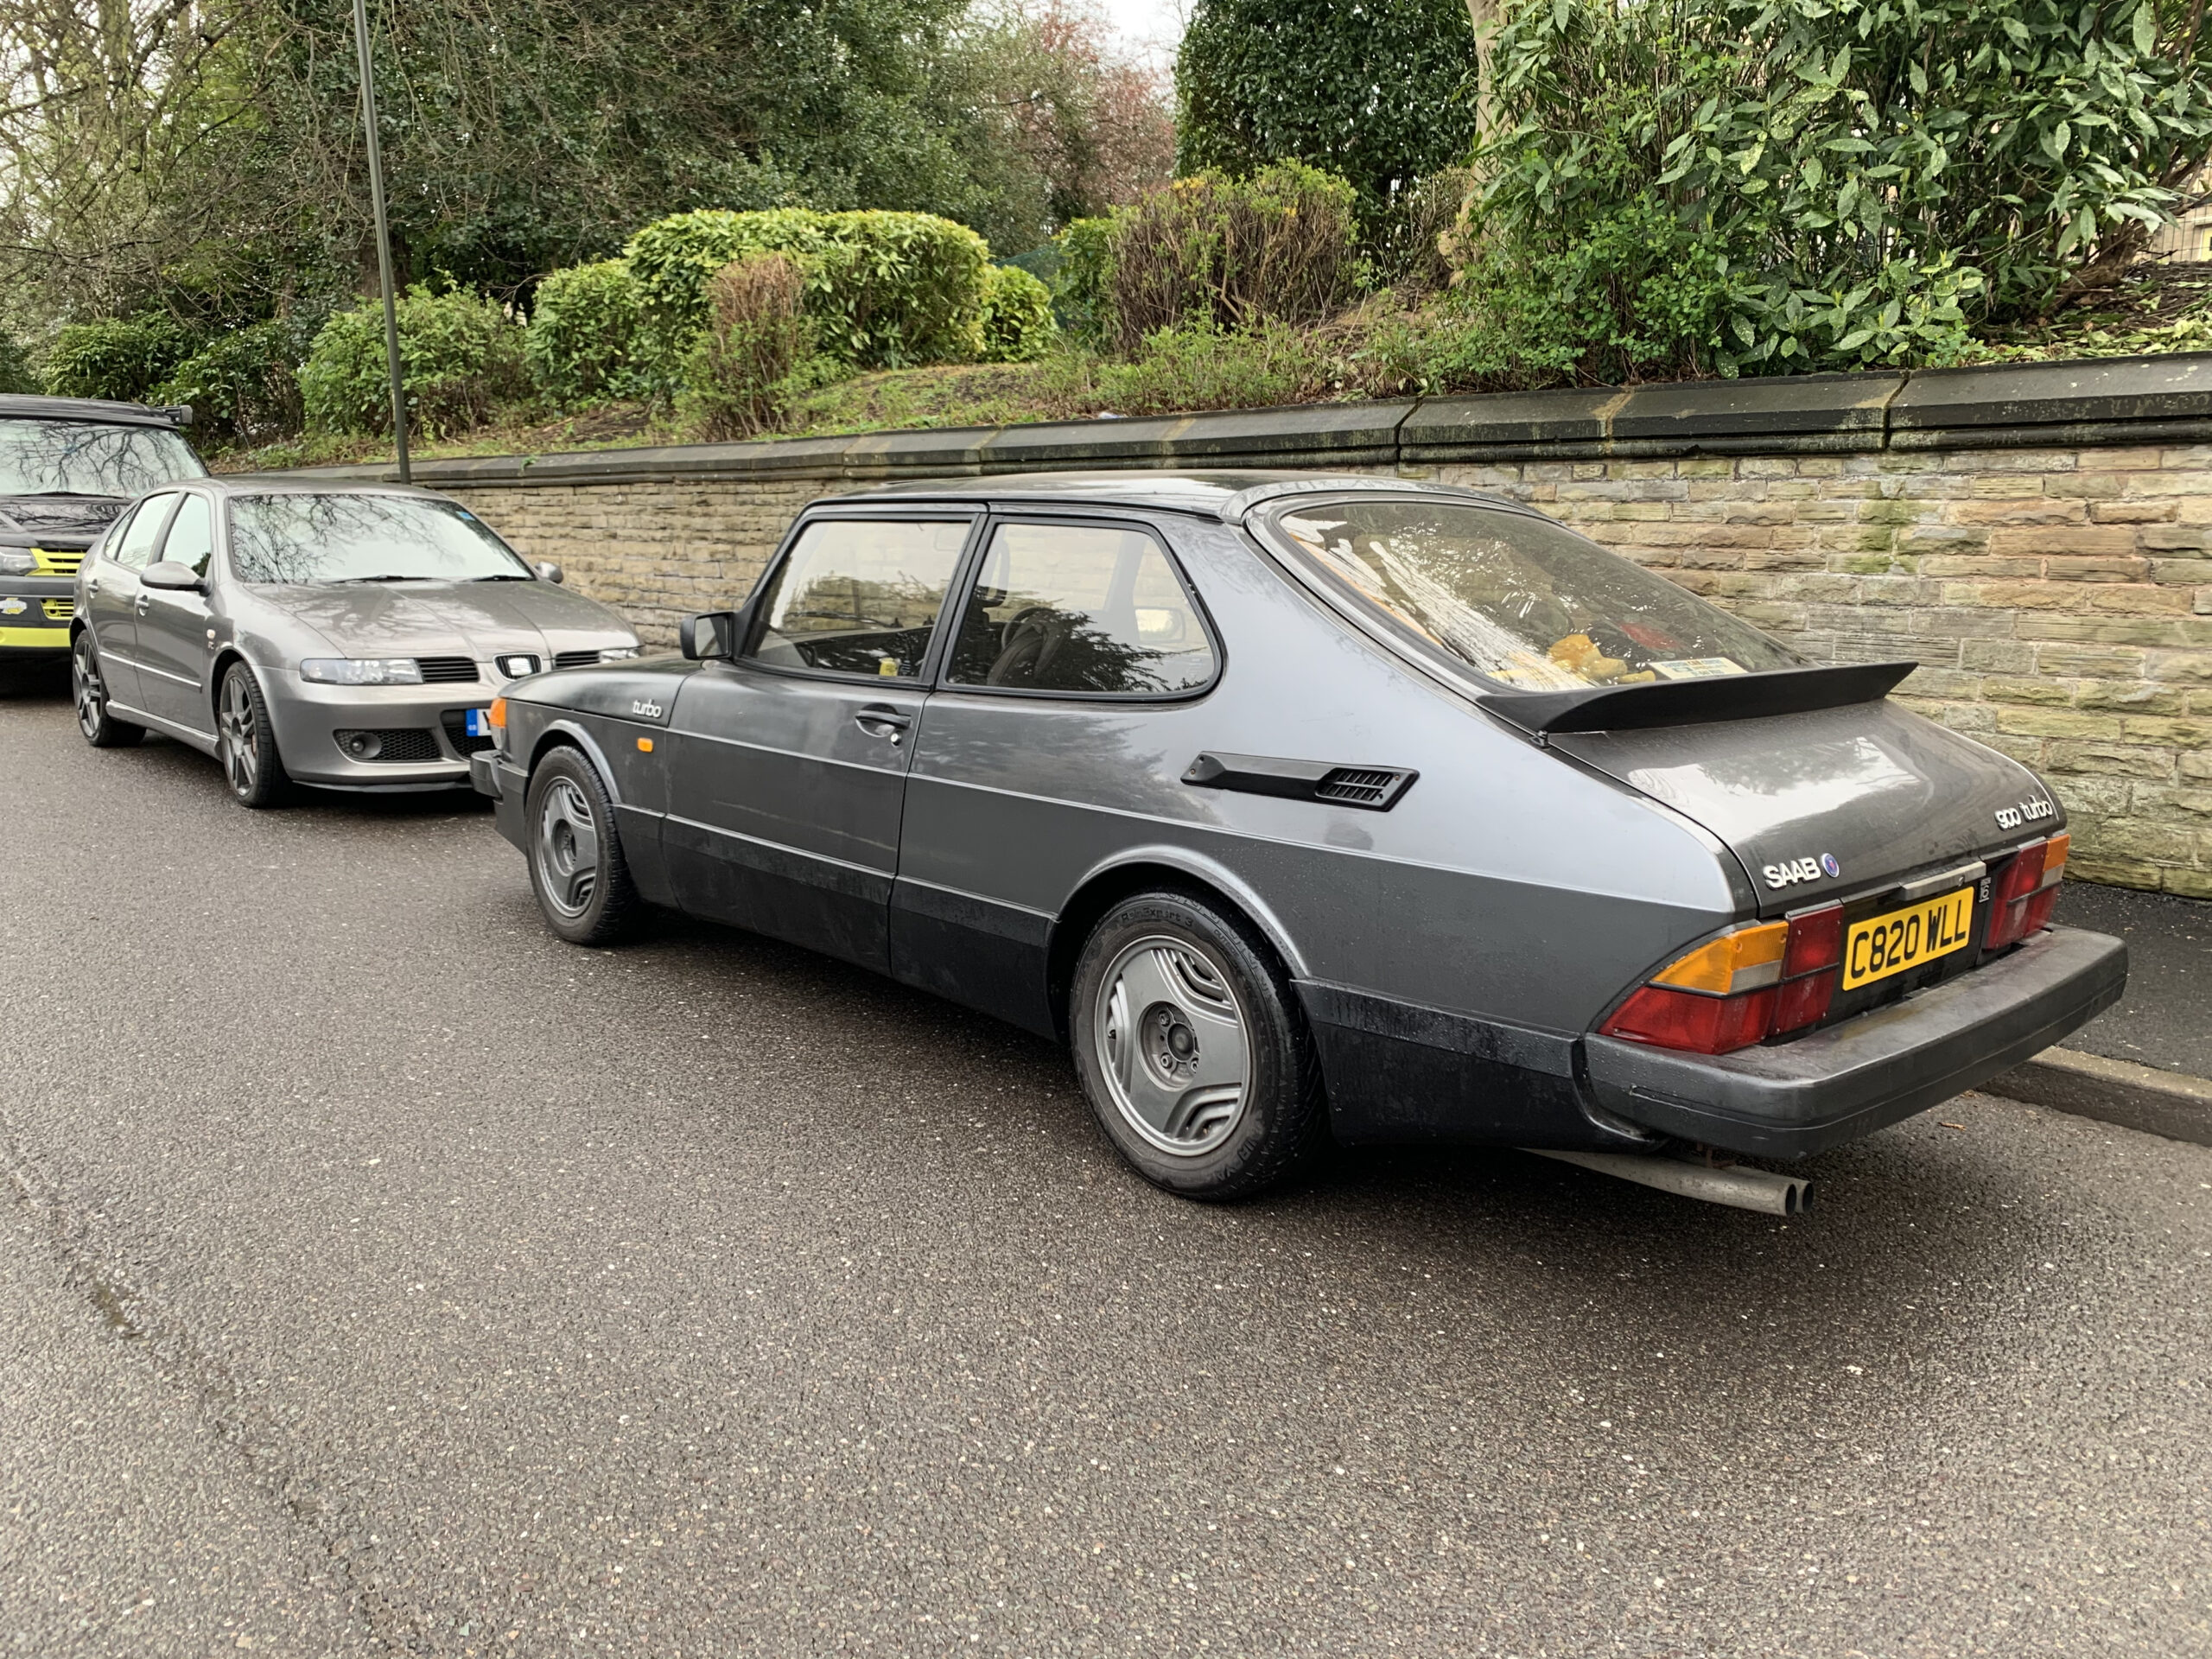
I never really liked the four spoke SAAB Momo wheel she came with, so I treated her to a Momo Prototipo. Suits almost anything and a bit more ‘race car’ than before.
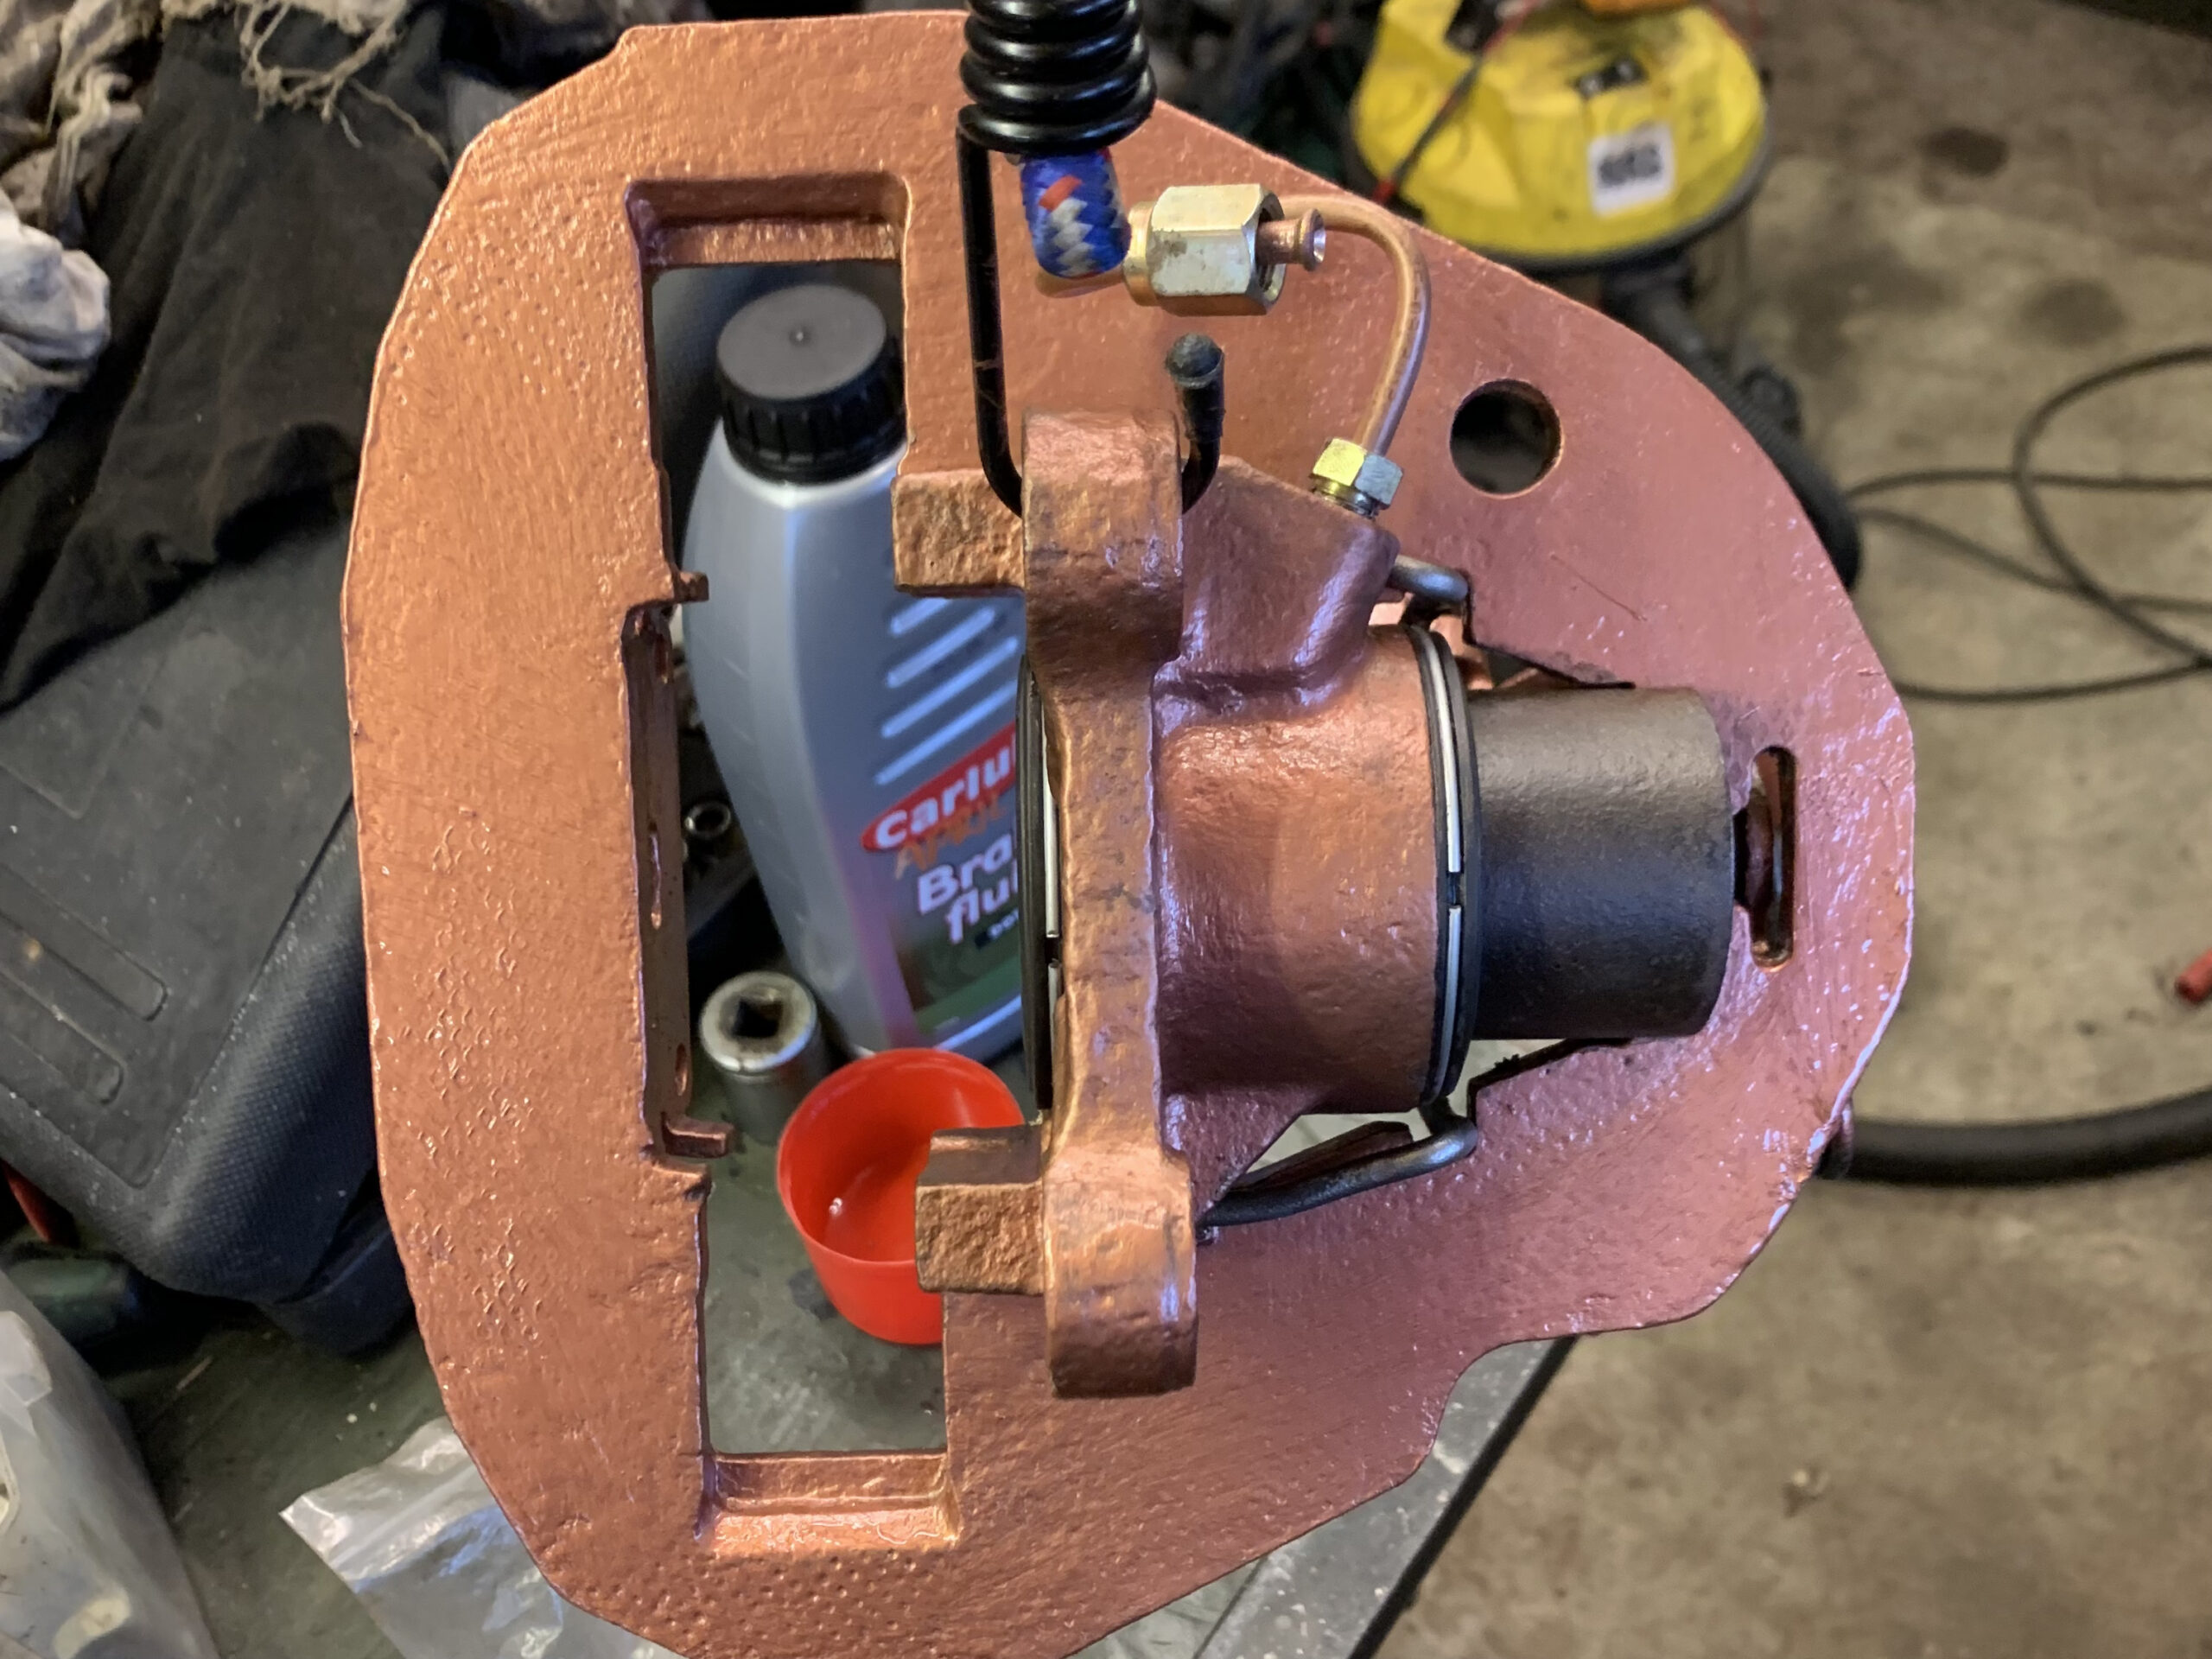
No surprise, barely a week after I got Helga back on the road was there a puddle on the floor by her left front wheel – the caliper’s seals had failed. Helga’s got a really rare brake setup – front handbrake with vented discs. I think these were only offered on turbo cars for one year before the switch to rear handbrake. So, with no chance of finding replacements, a rebuild was in order.
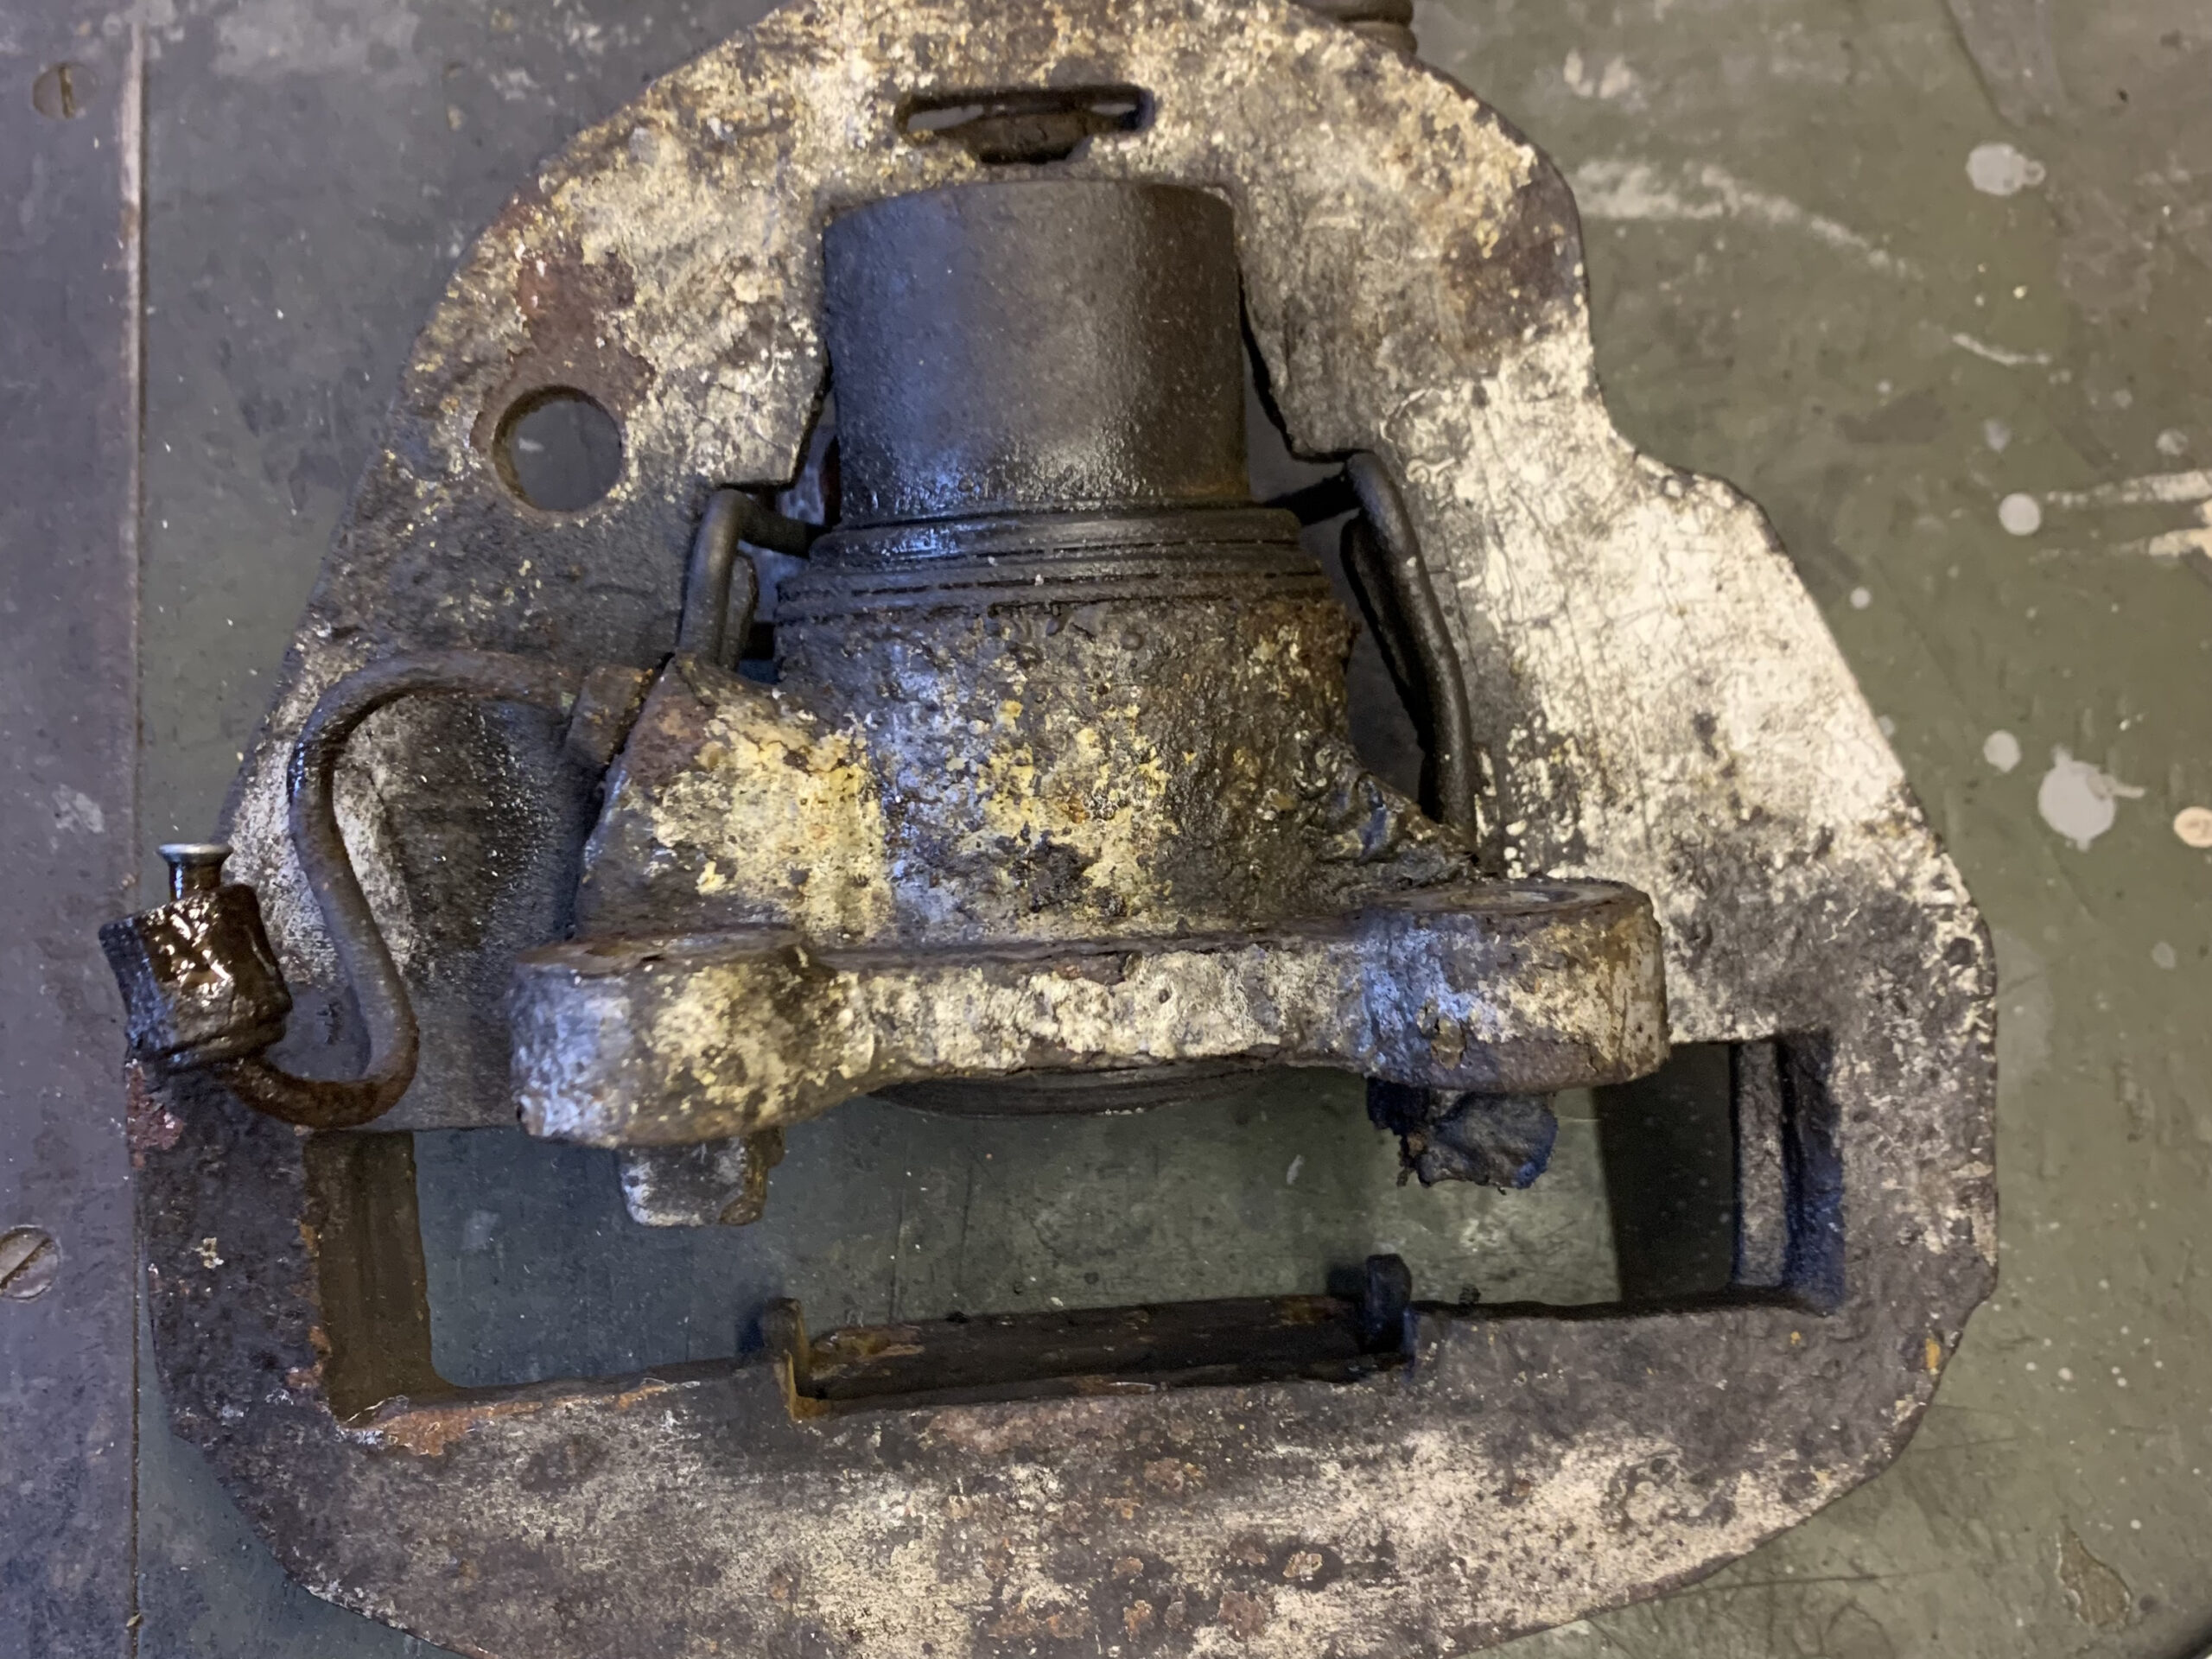
These calipers work in a really weird way, with two opposing pistons on the rear side of the disk floating in a flat yoke.
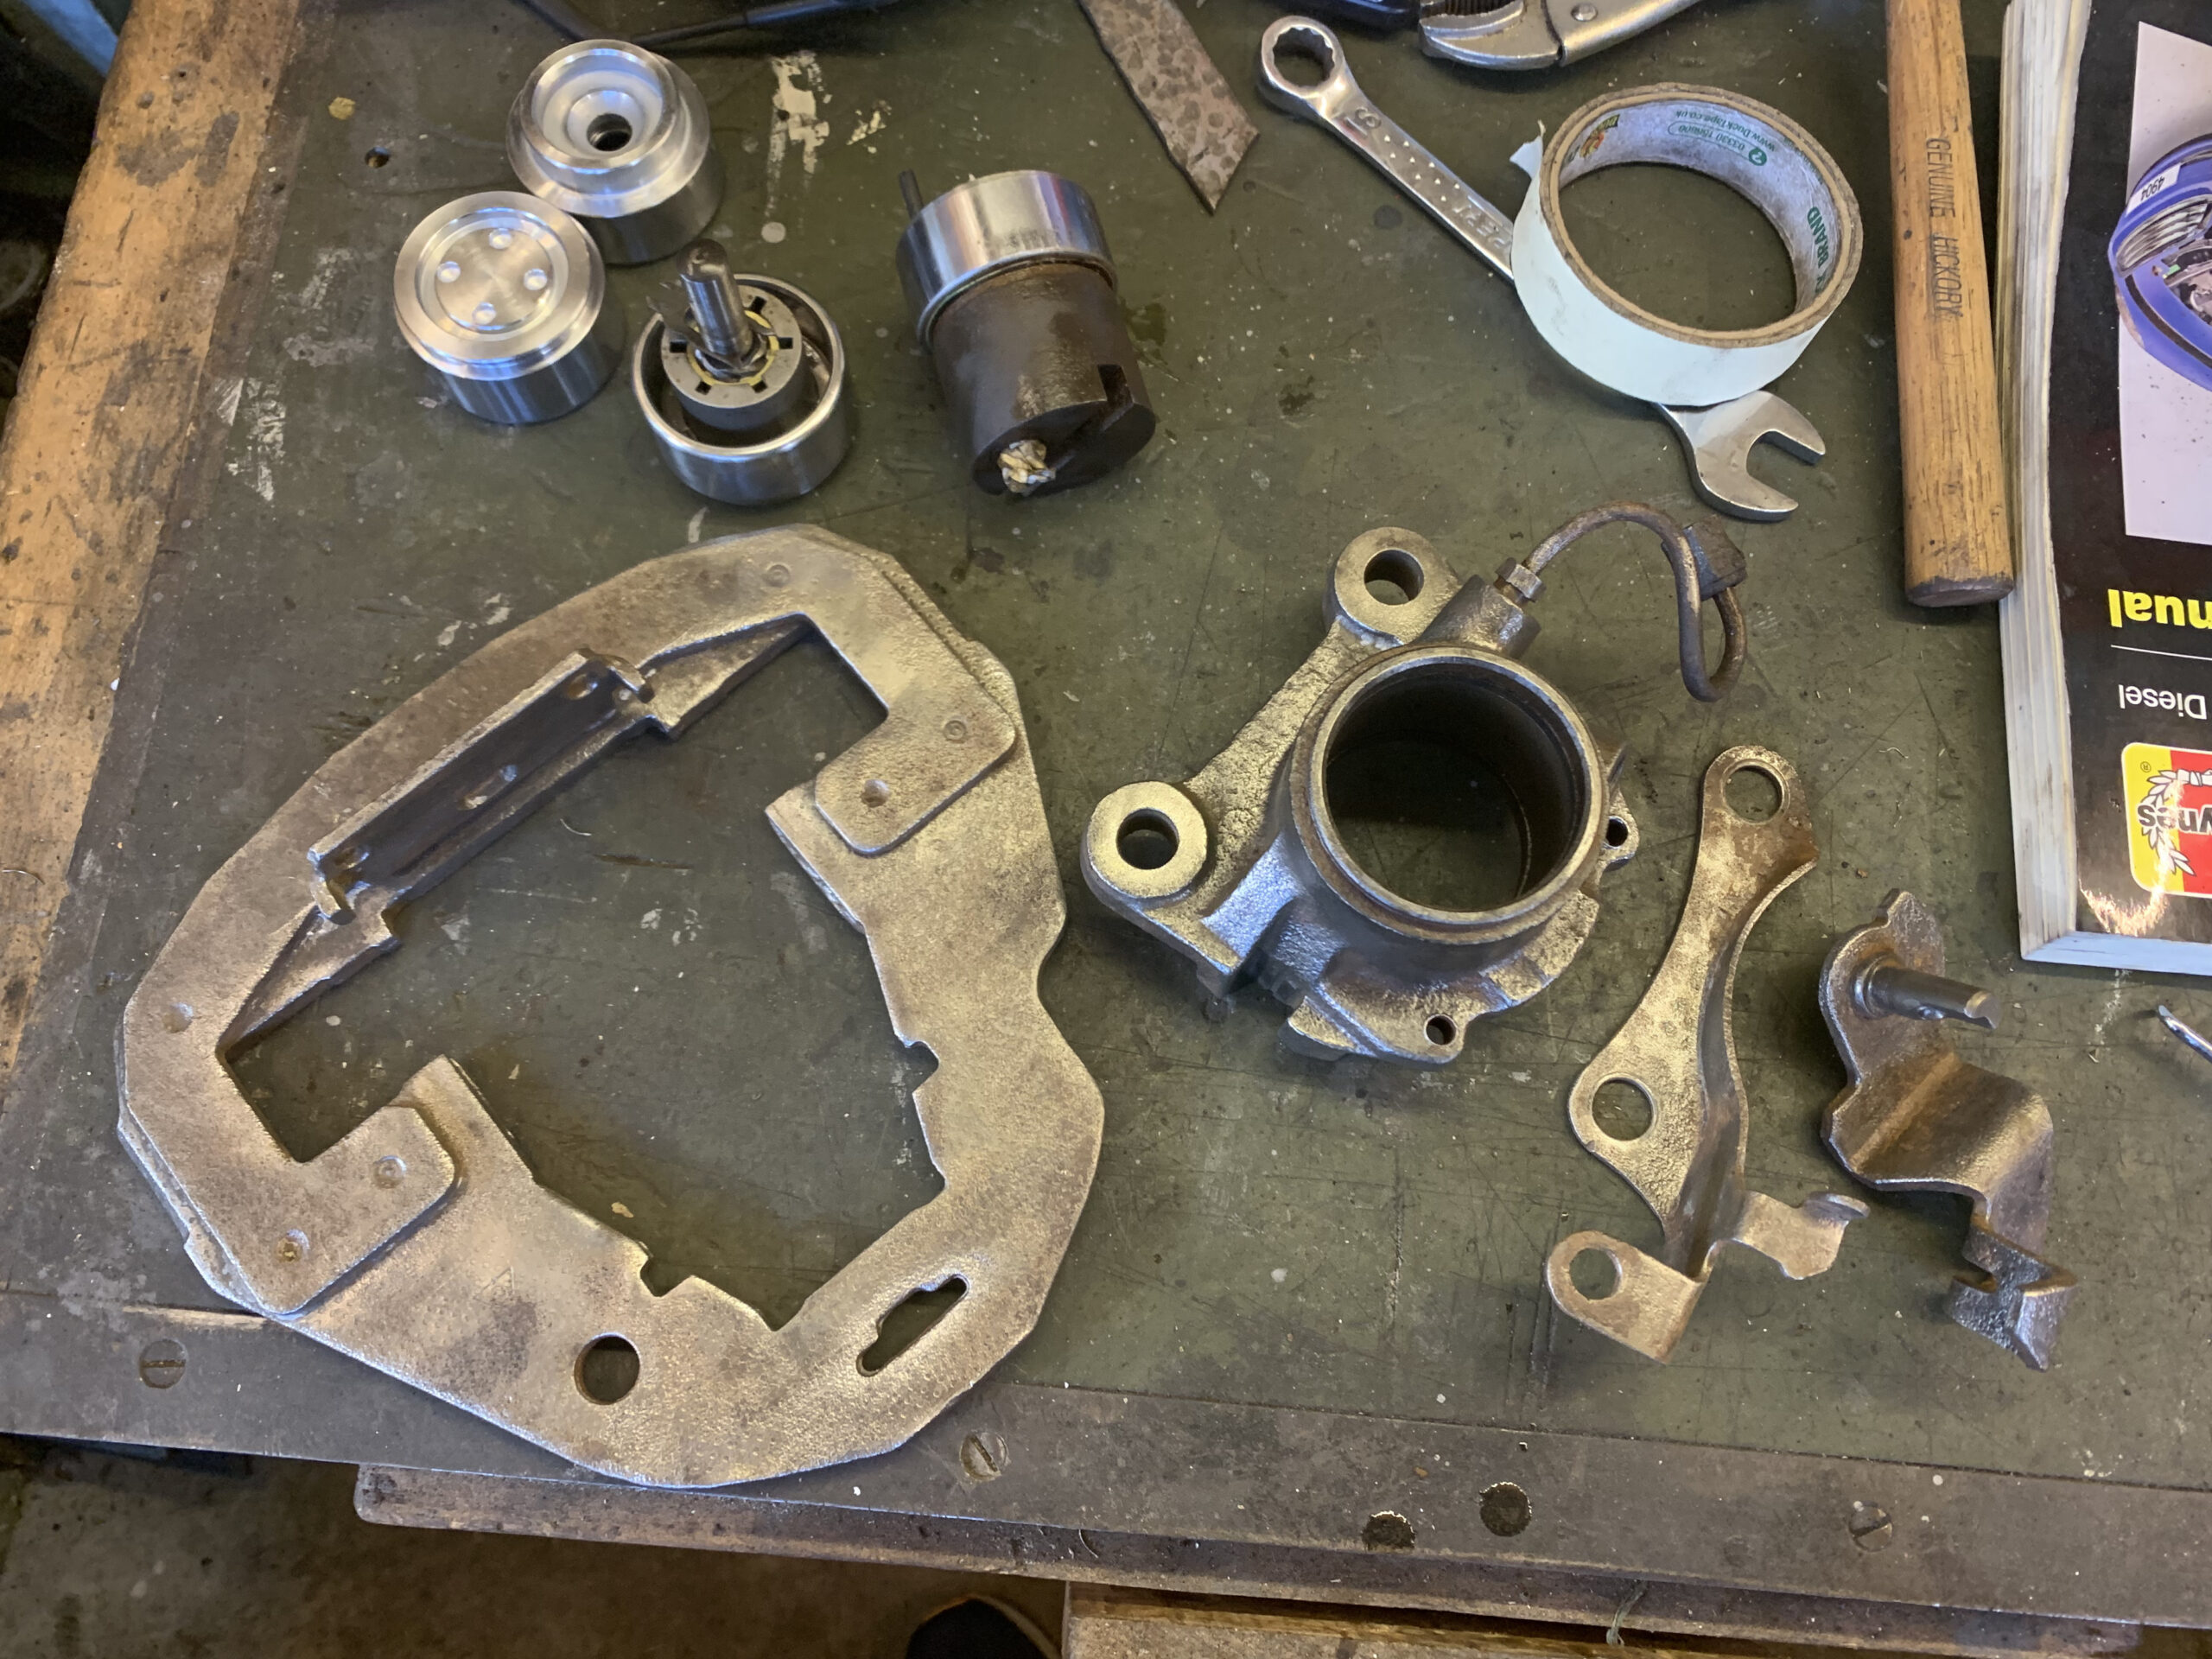
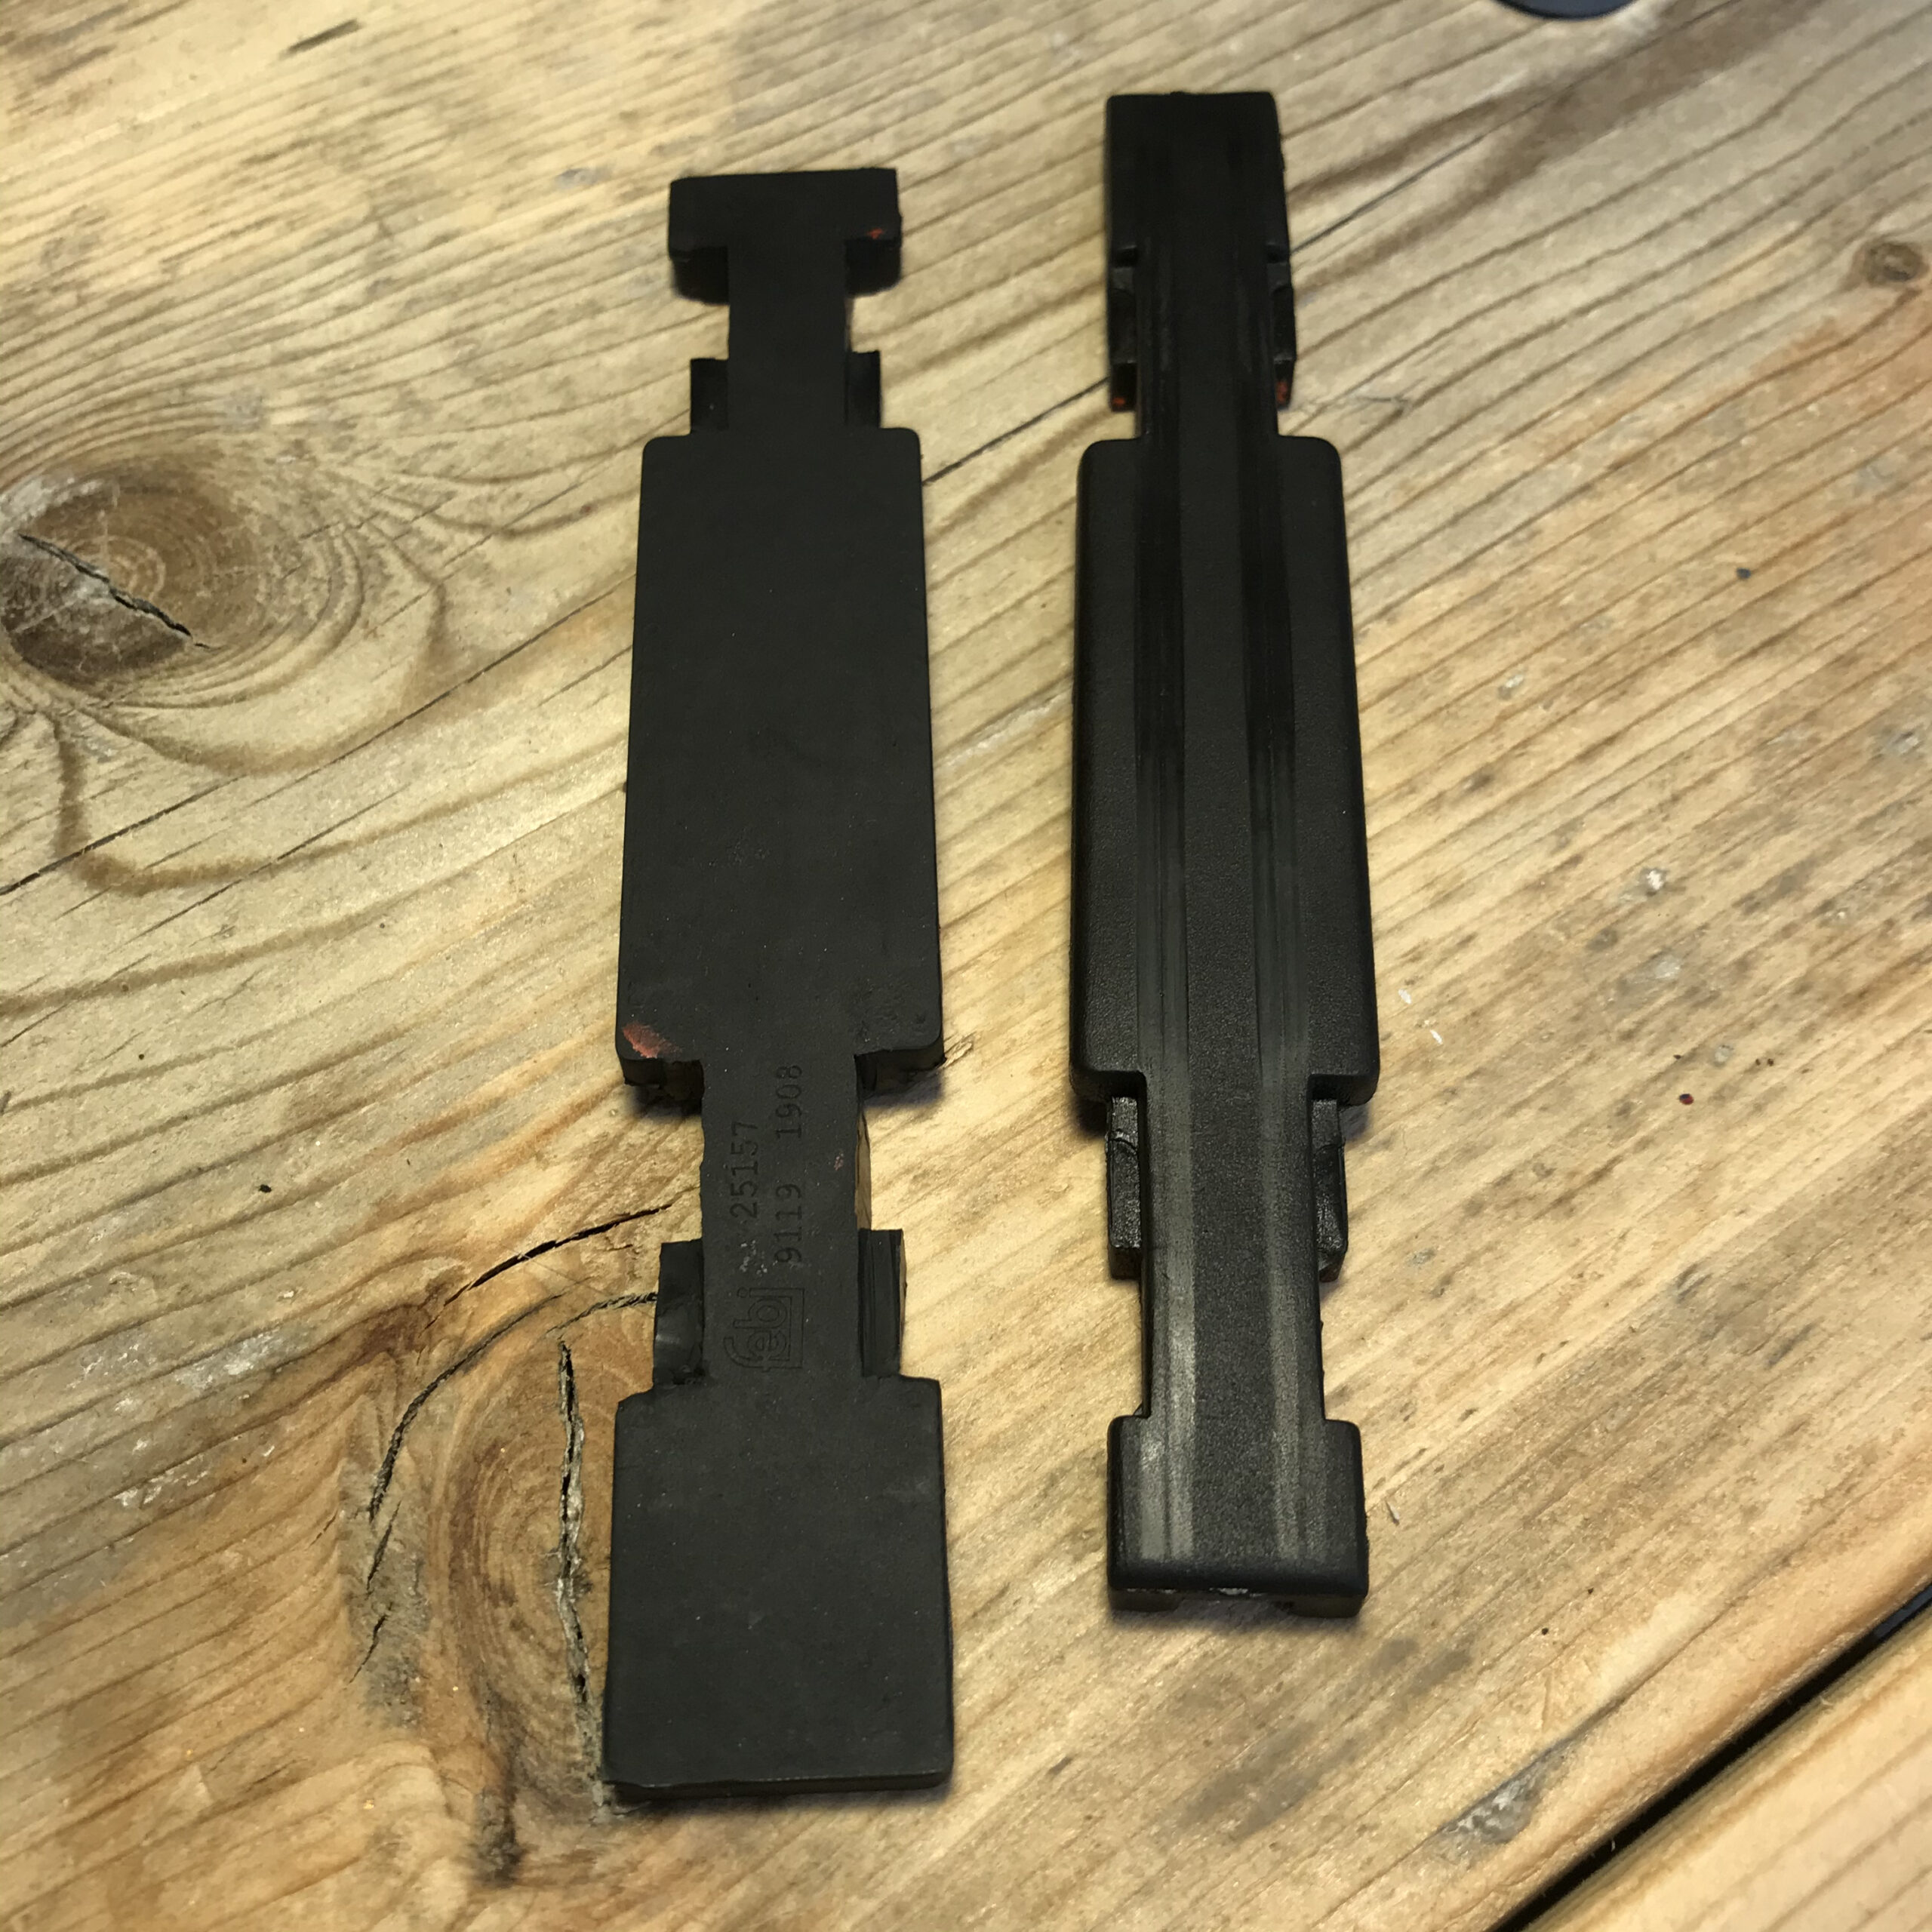
The main parts came apart in a pretty straight forward manner, but as you can see the replacement pistons don’t have the extra gubbins for the handbrake mechanism attached so I had to figure out how to swap them over. The rearmost piston wasn’t too hard, because it pried apart with a paper gasket between the pieces but it was very hard to get the screw mechanism out of the inner piston without damaging it. To hold it in, I sharpened the end of a bunch and gave it some wallops all the way round to deform the edge and retain the lip of the inner mechanism. Hard to explain, easy to see in the photo.

Prising apart the rearmost piston 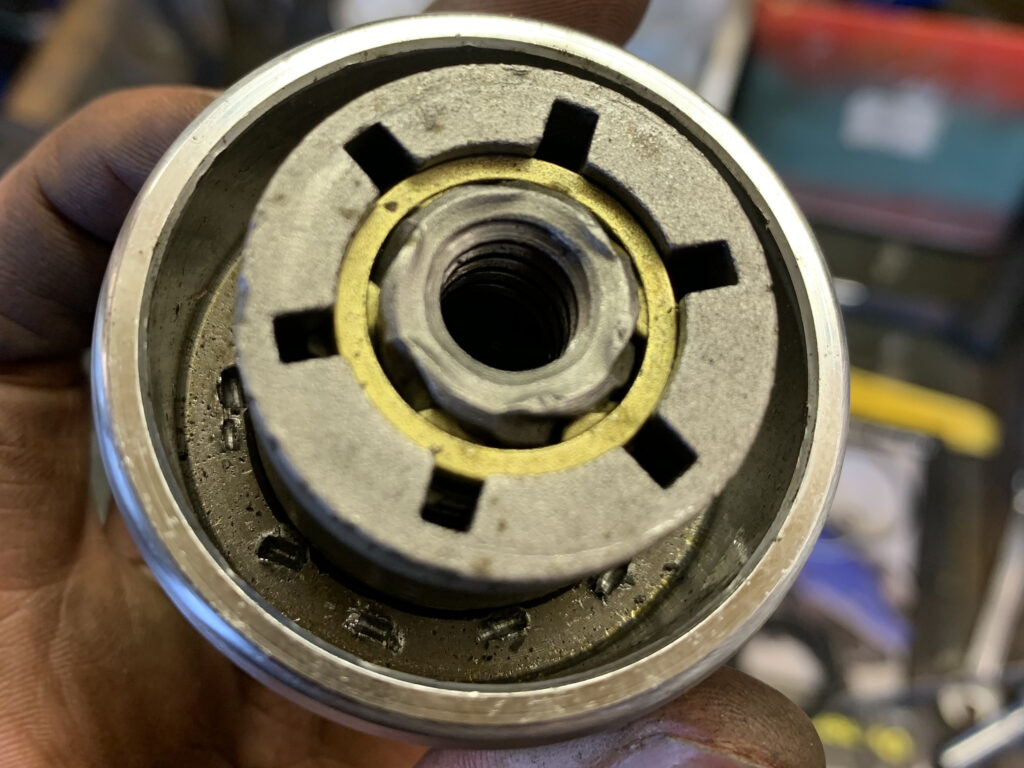
Inner piston assembly is stamped in place
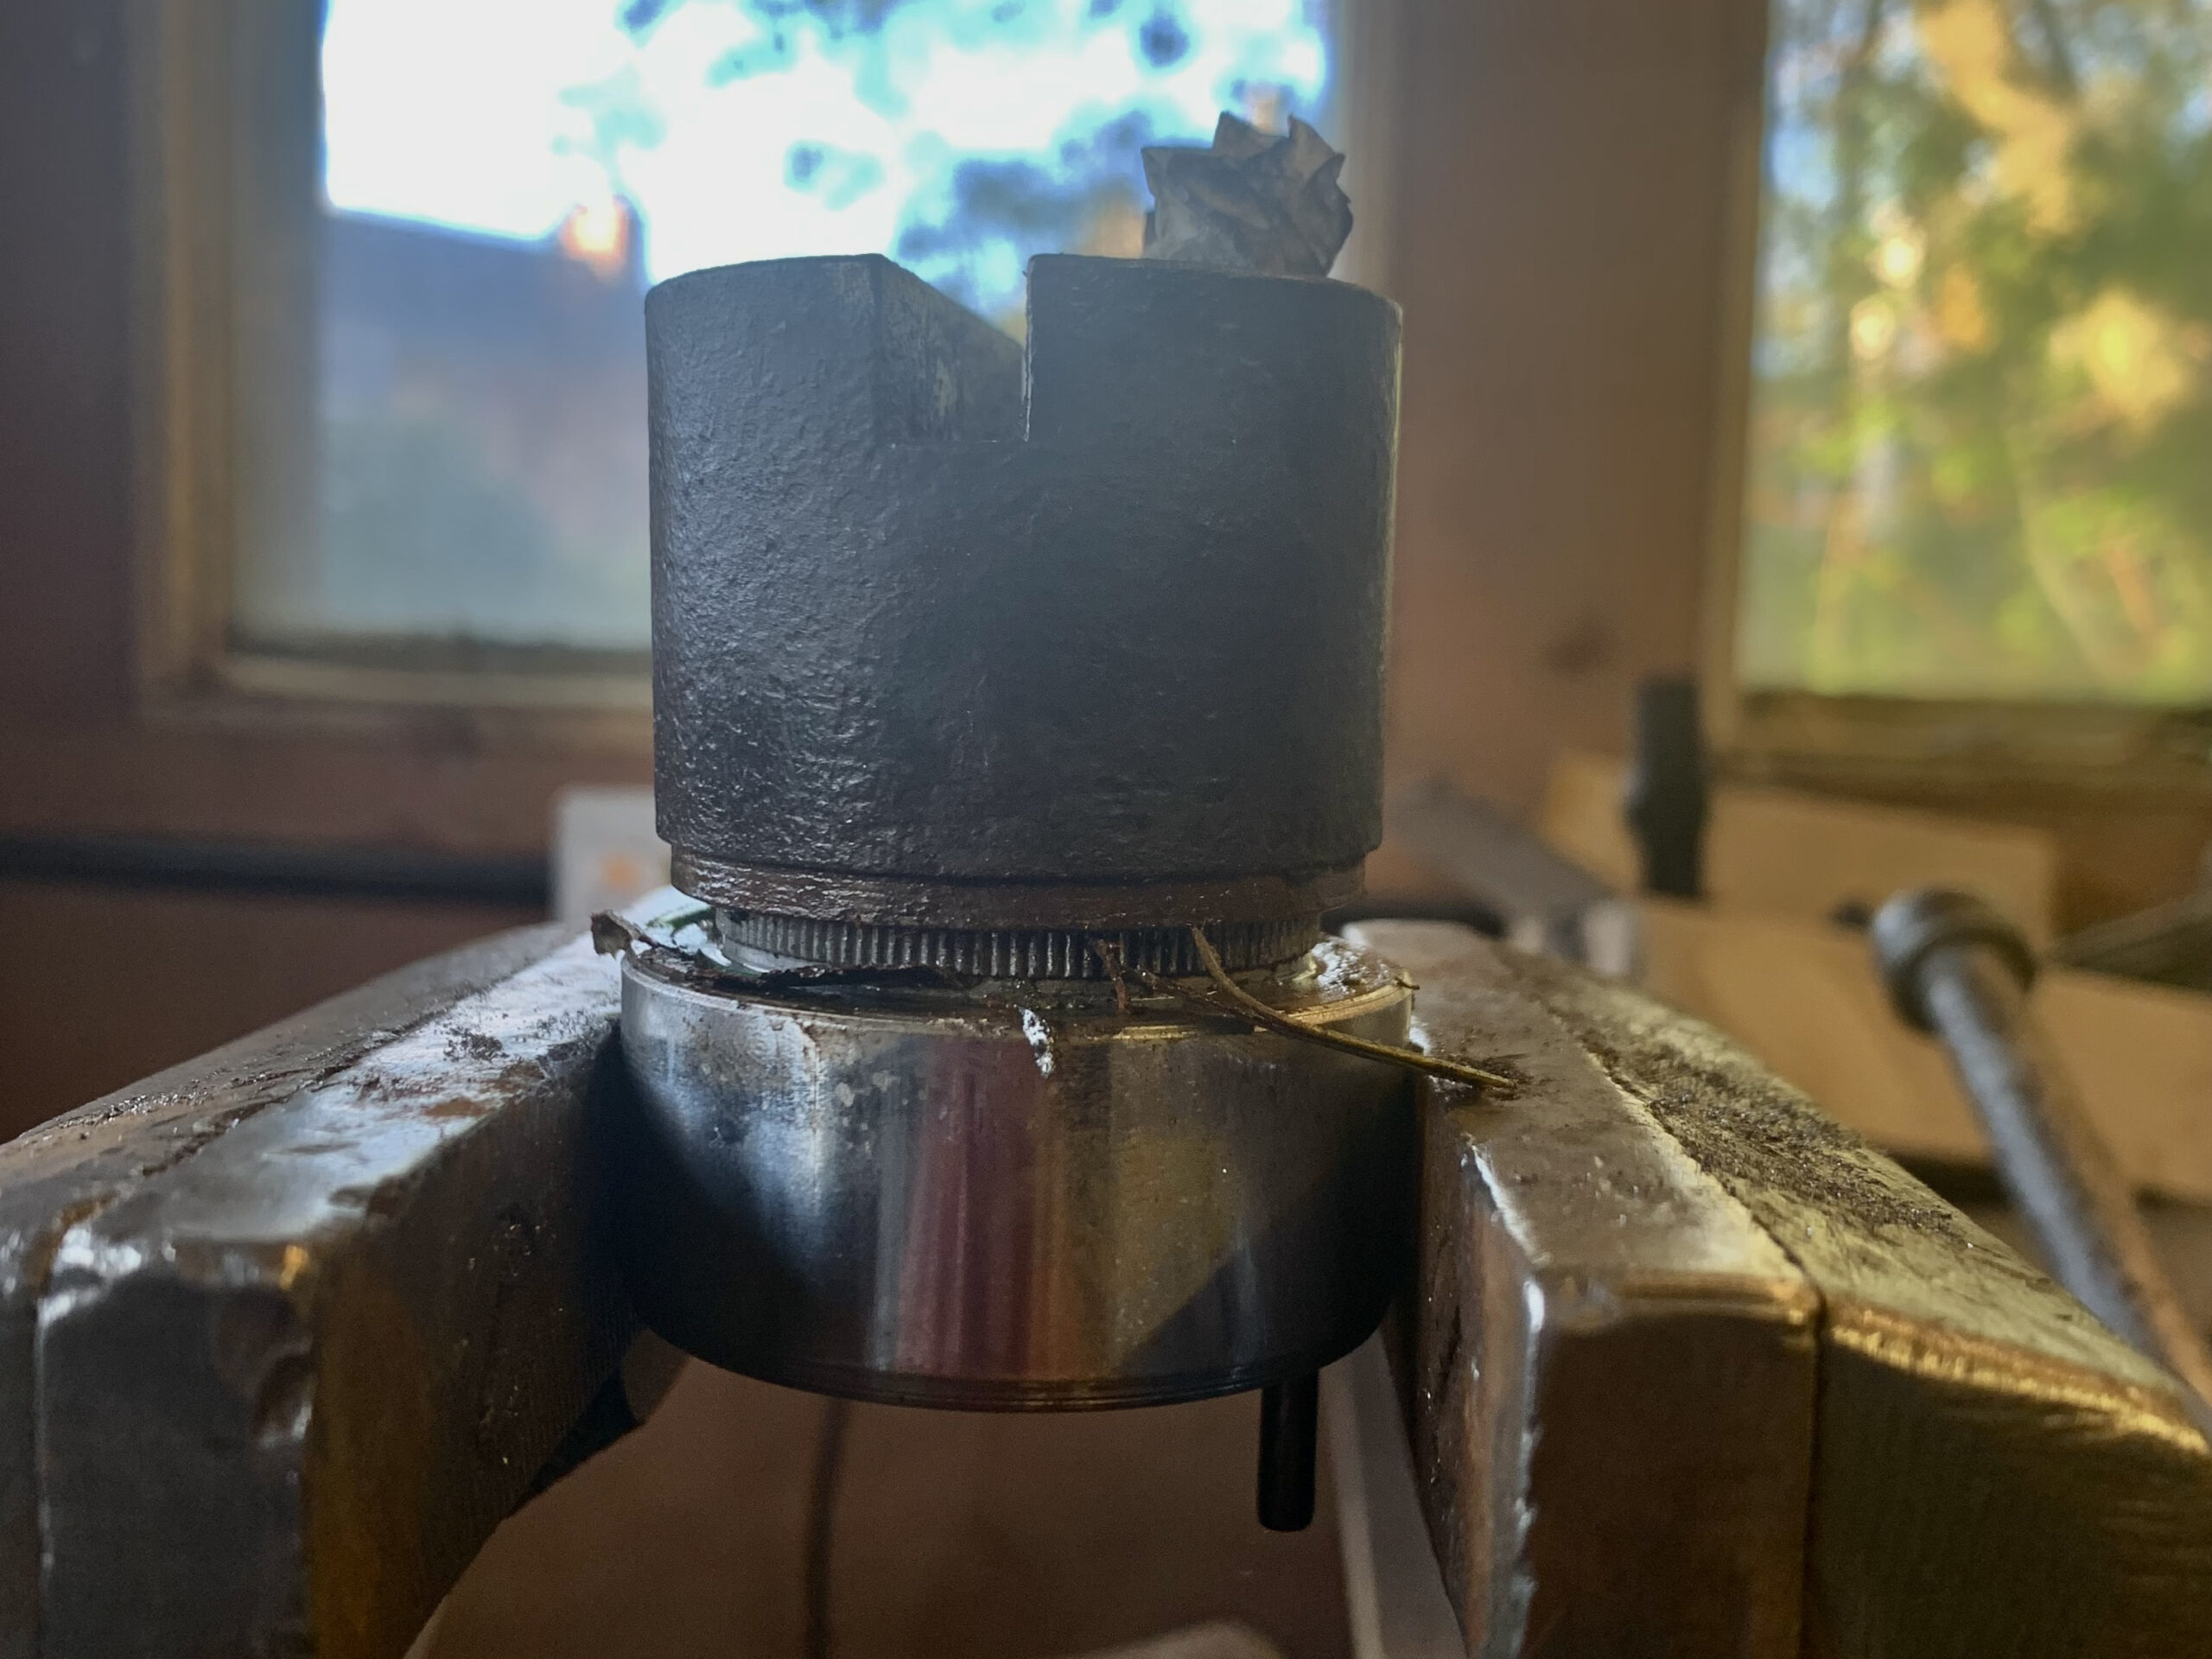

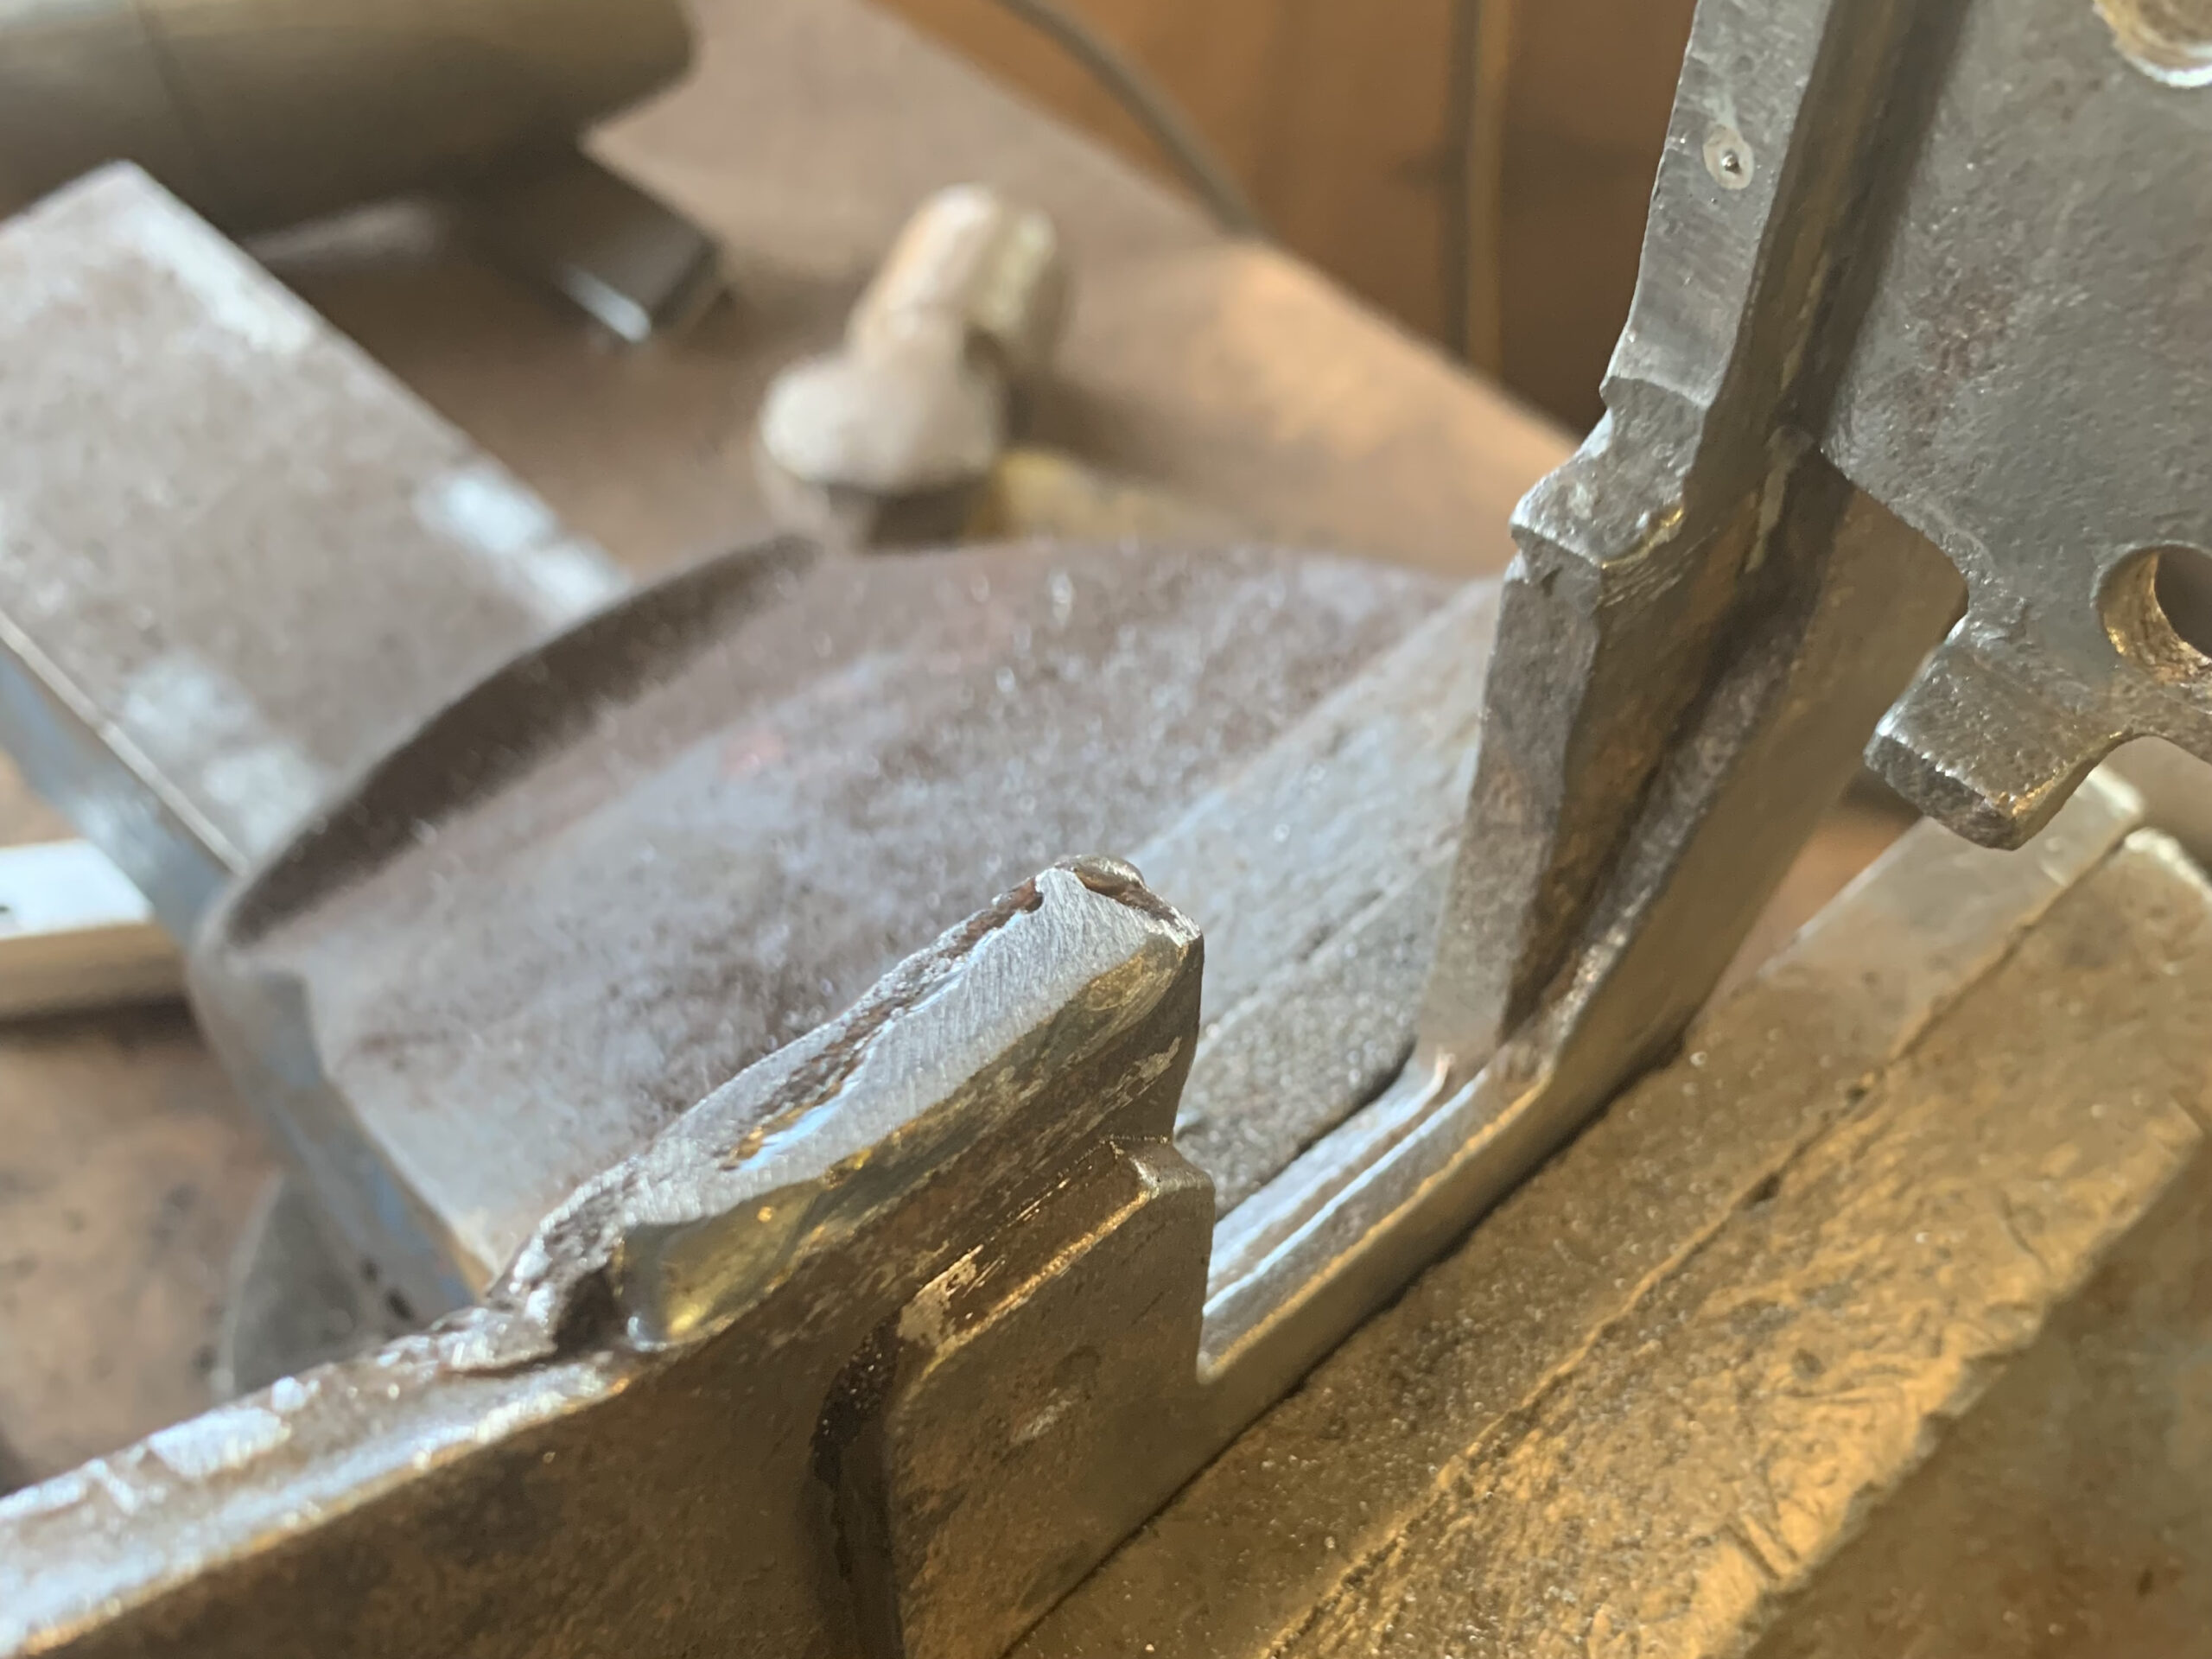
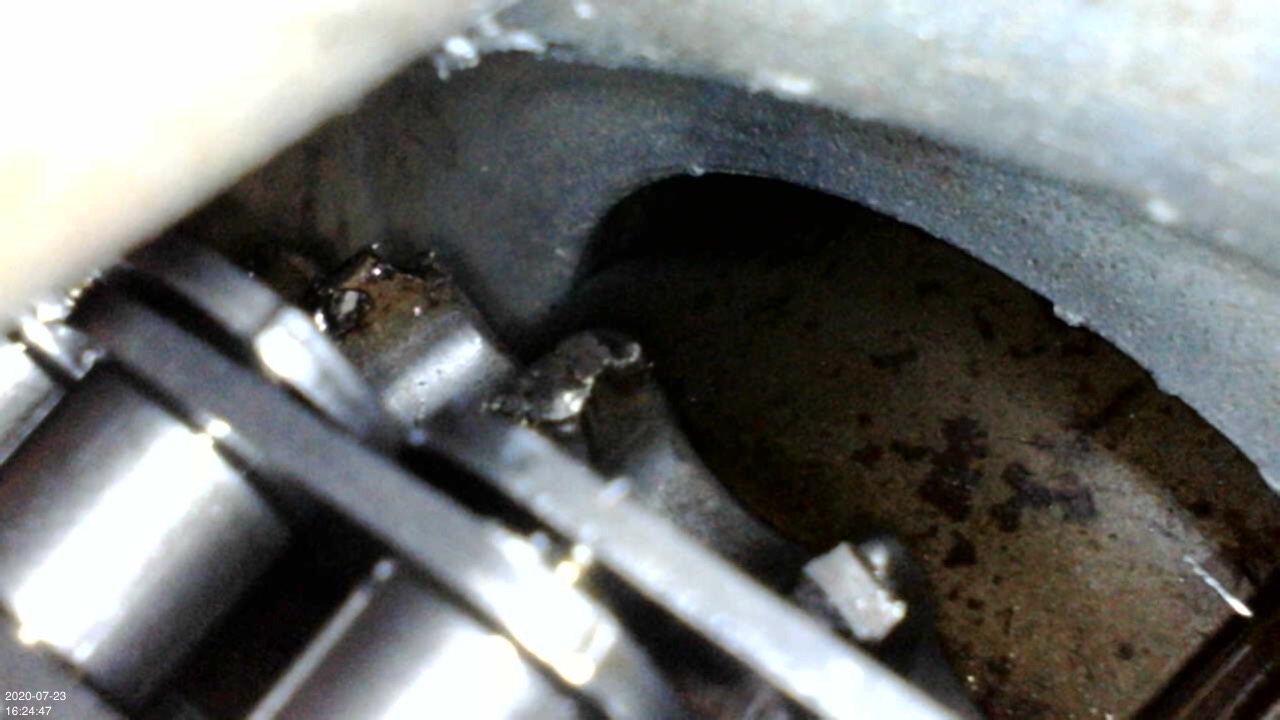
Over time the yoke that the caliper slides on wears, allowing the caliper to rock back slightly when you reverse. To fix this, I ran a bead of weld on the sliding edge and filed it flat until the caliper slid easily without wobble.
After that, it was just a case of painting with high-temp paint, reassembling with new seals and making up a new hard line.
I was trying to get the car back together in time to go camping, but surprise surprise the 90 degree AN fittings I’d used on the turbo oil feed decided to spring a leak the night before. Not at the connection but the swivel portion which is odd. Even more annoyingly the line is now a tiny bit too short so I’ve got to make up a whole new one. Trying the braided PTFE hose this time instead of rubber core. Hopefully soon I’ll have done enough miles to drop the running in oil and can start mapping her.

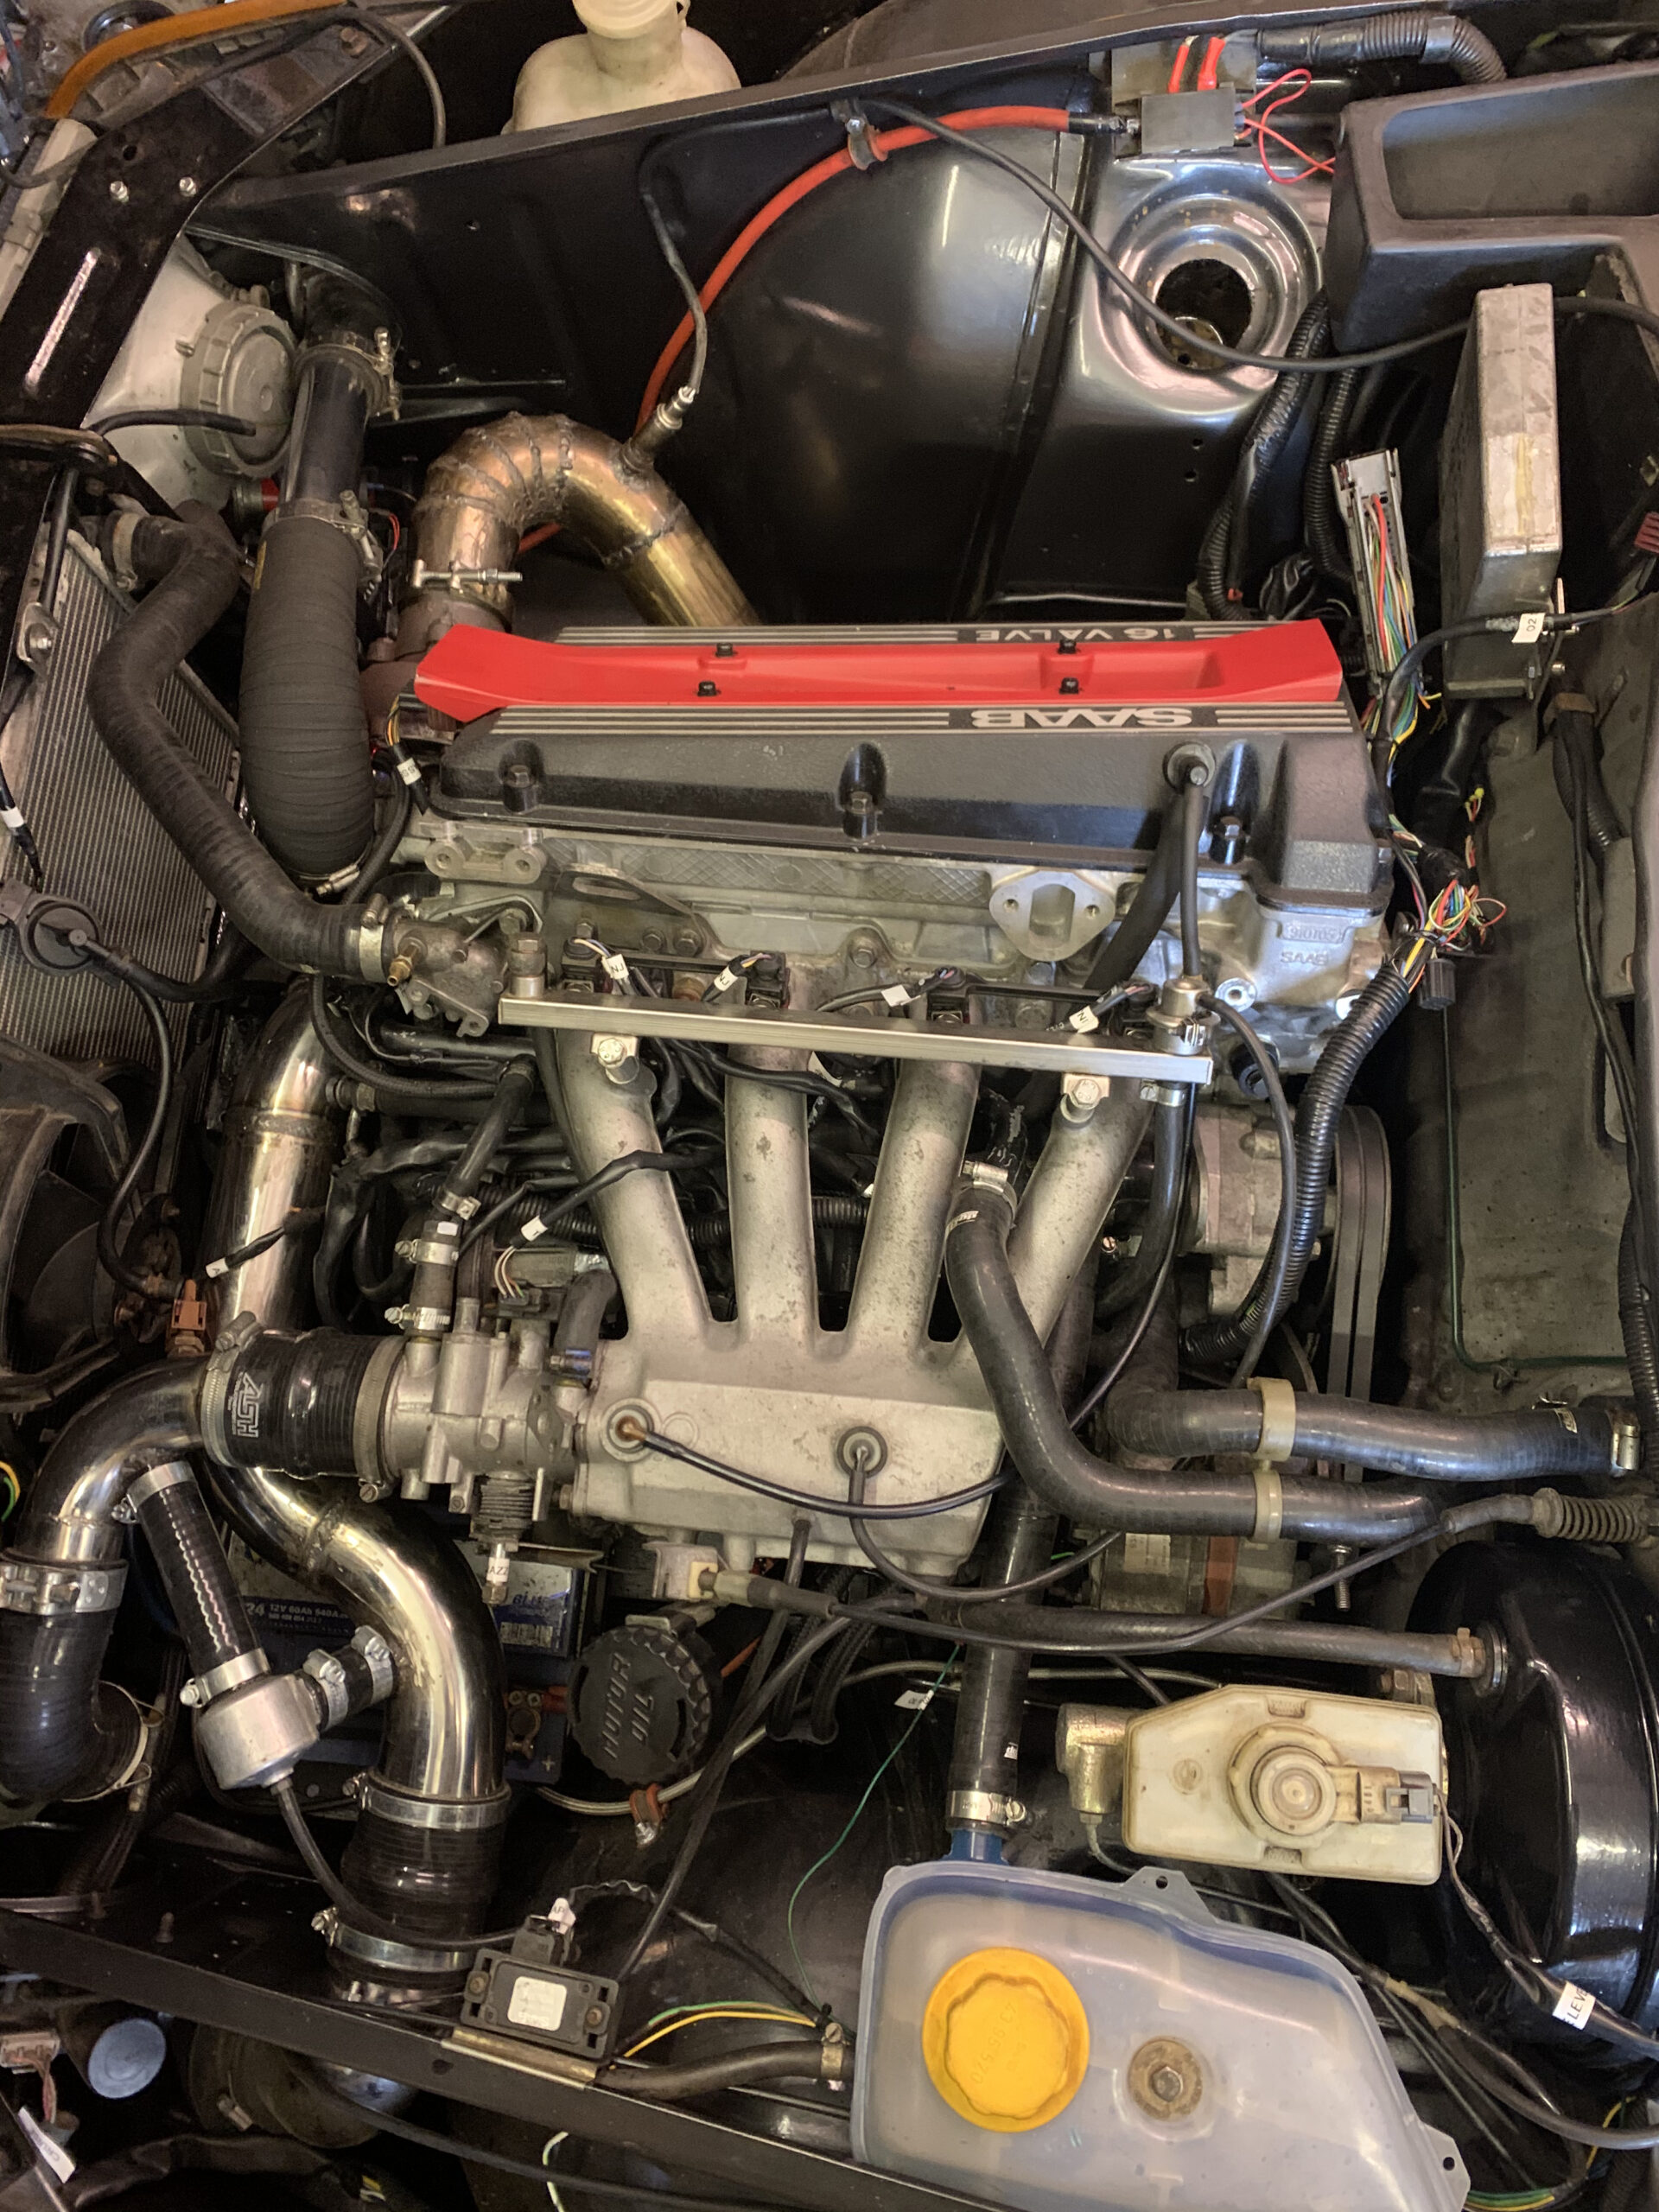
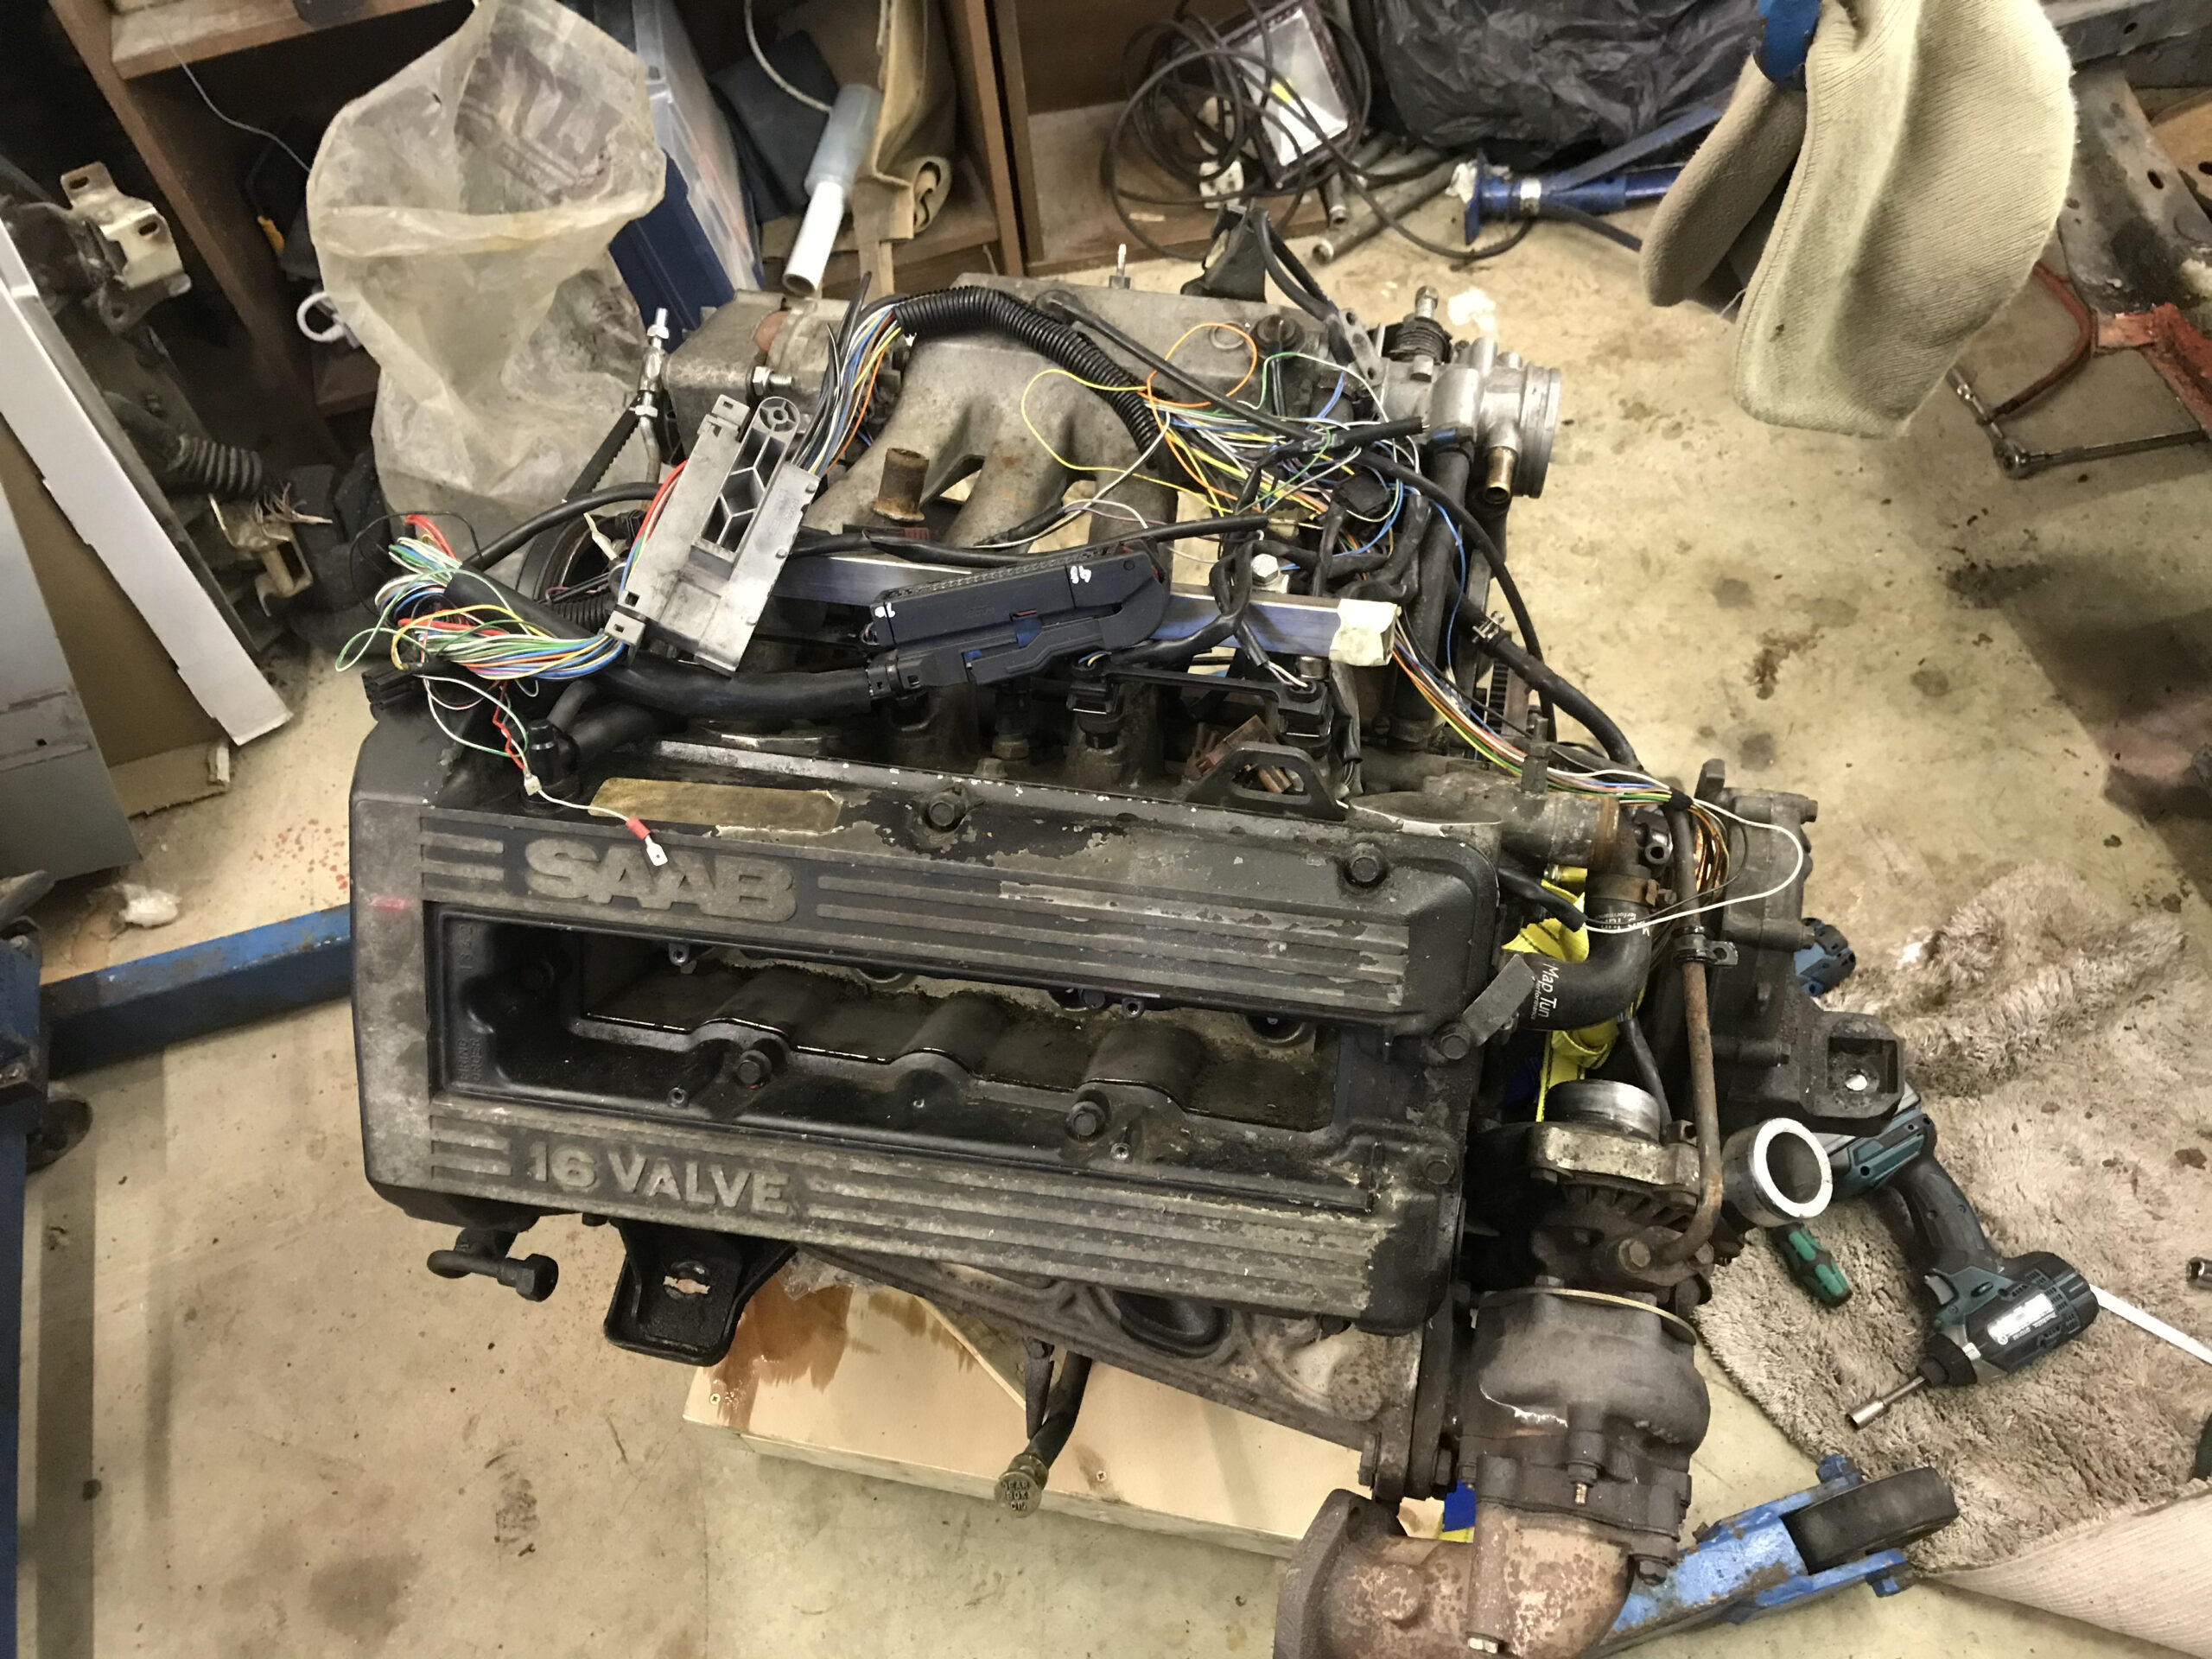
After ruining my rebuilt engine I started looking out for a replacement piston. This proved pretty difficult because early 16vs had a different combustion chamber shape. In the end I found a later style B202 taken from a 9000 with 87k miles for only £120 delivered, which is great!
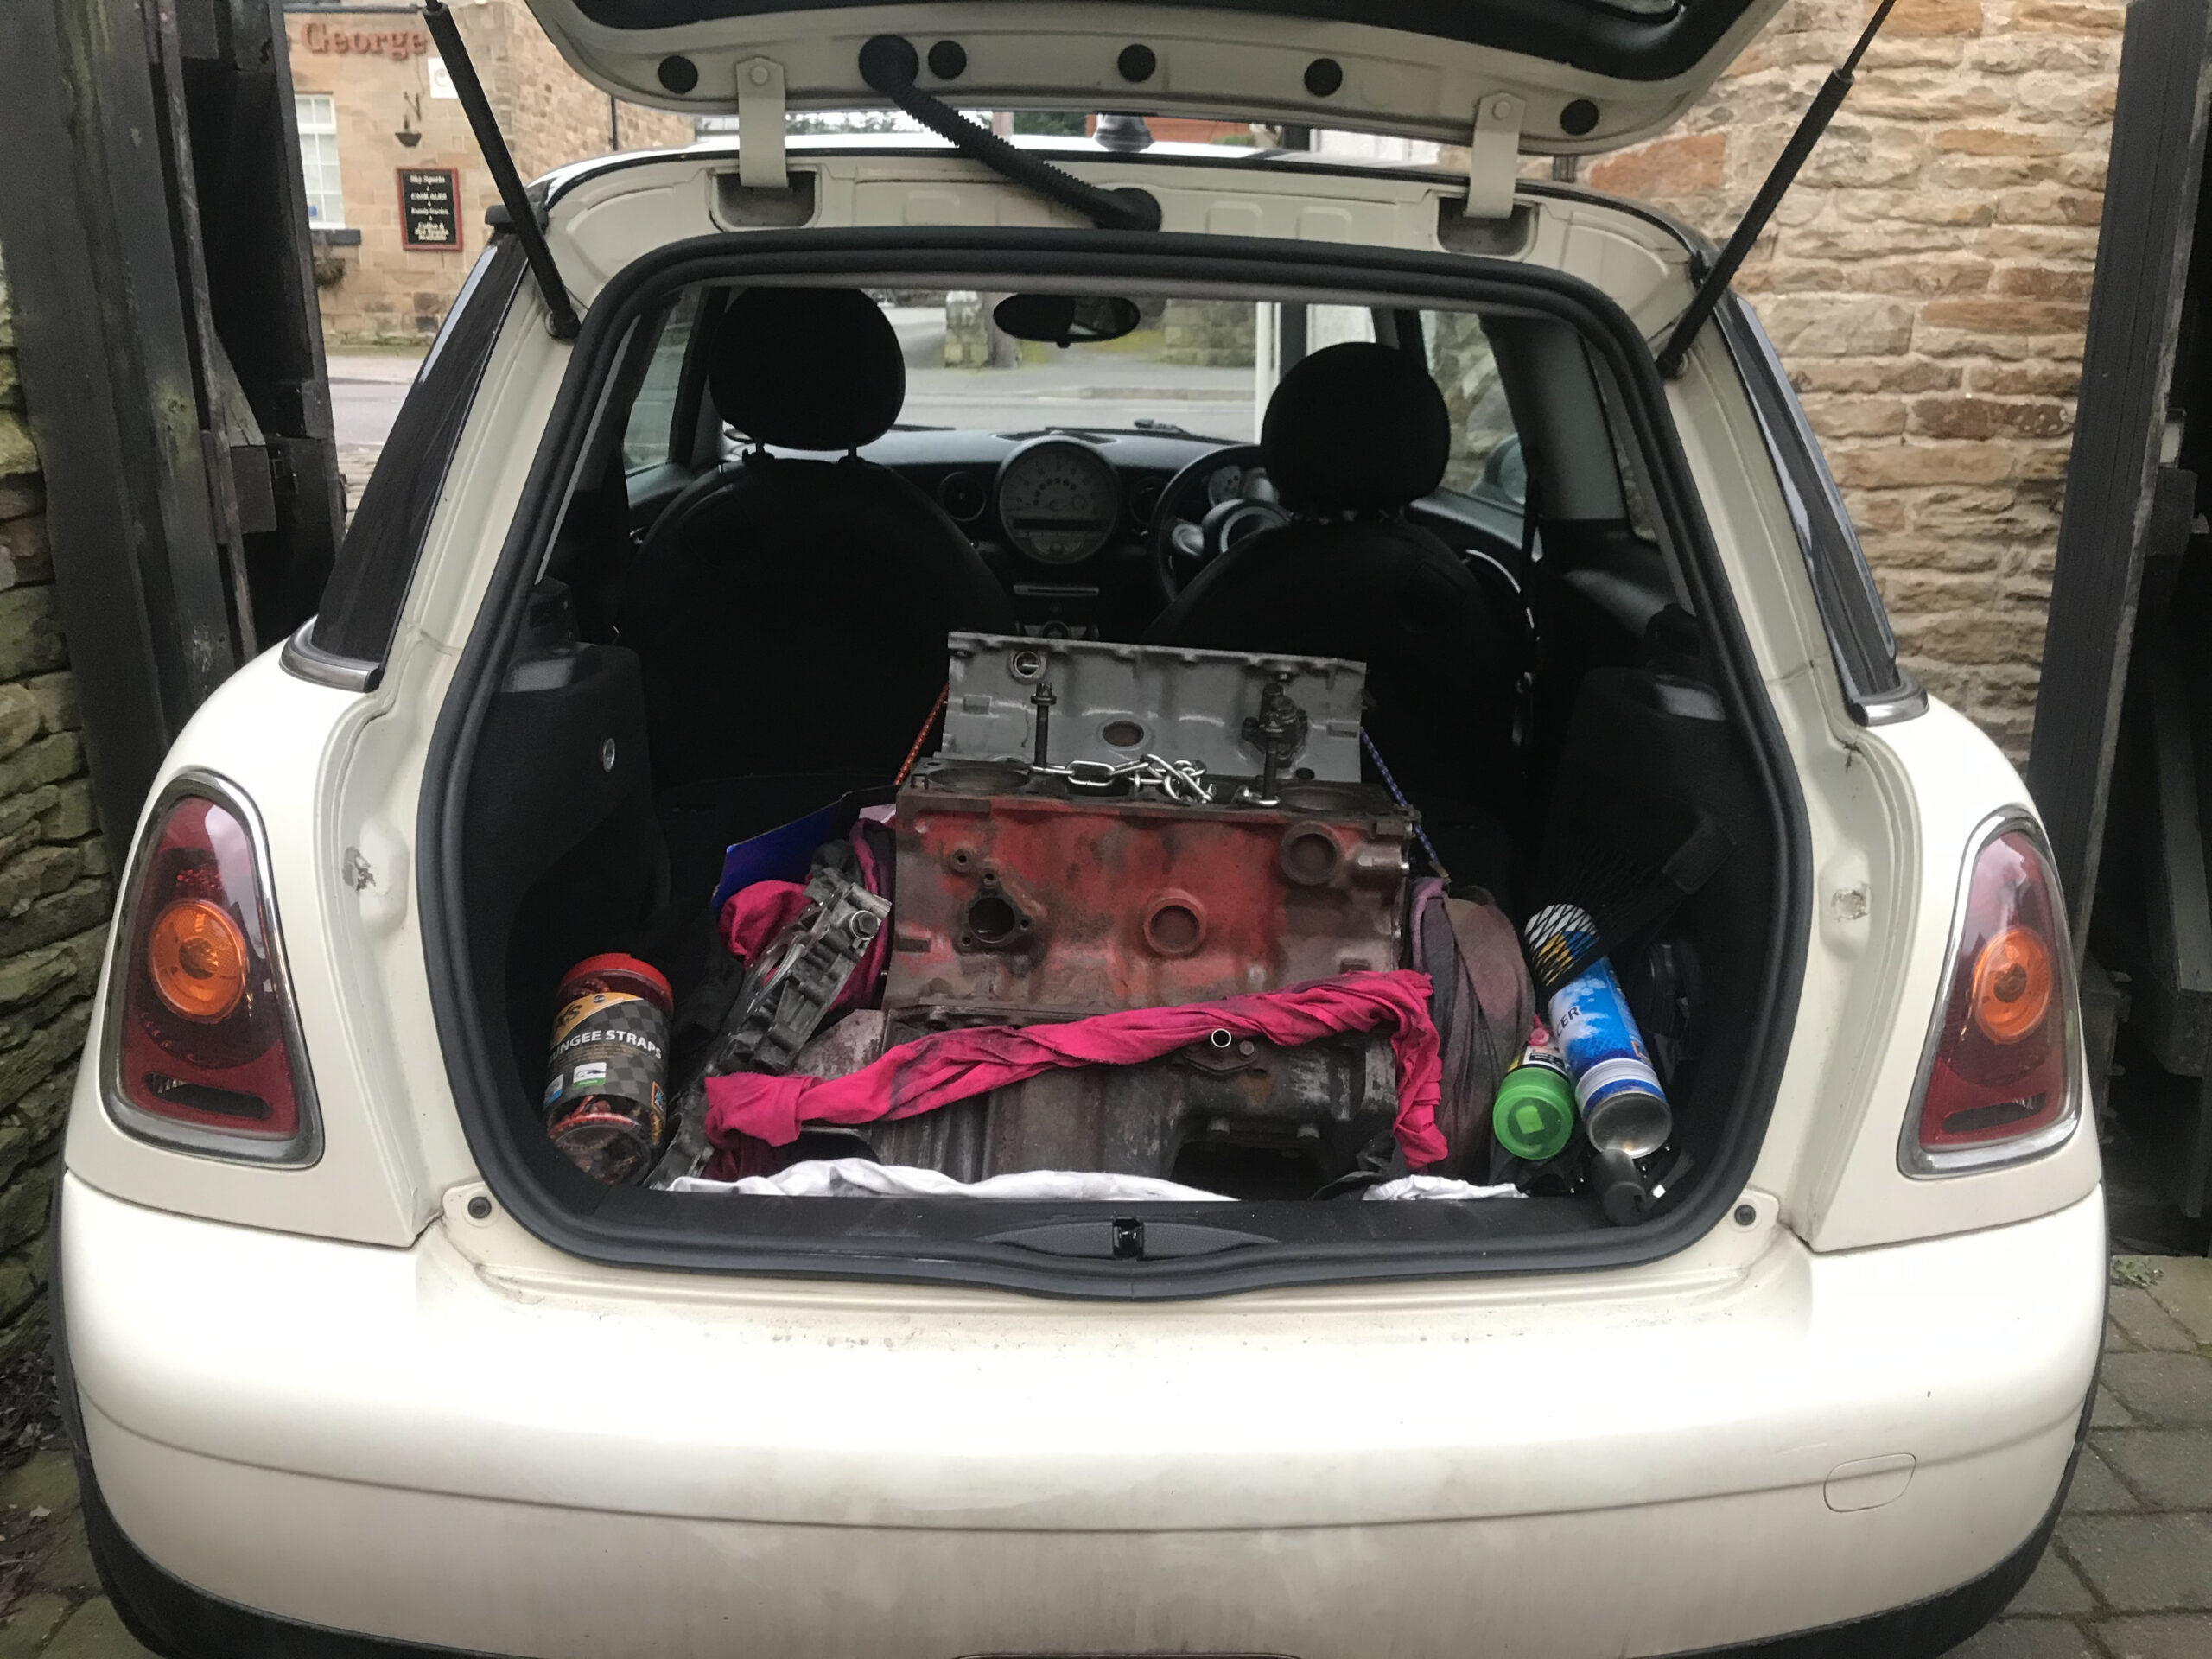
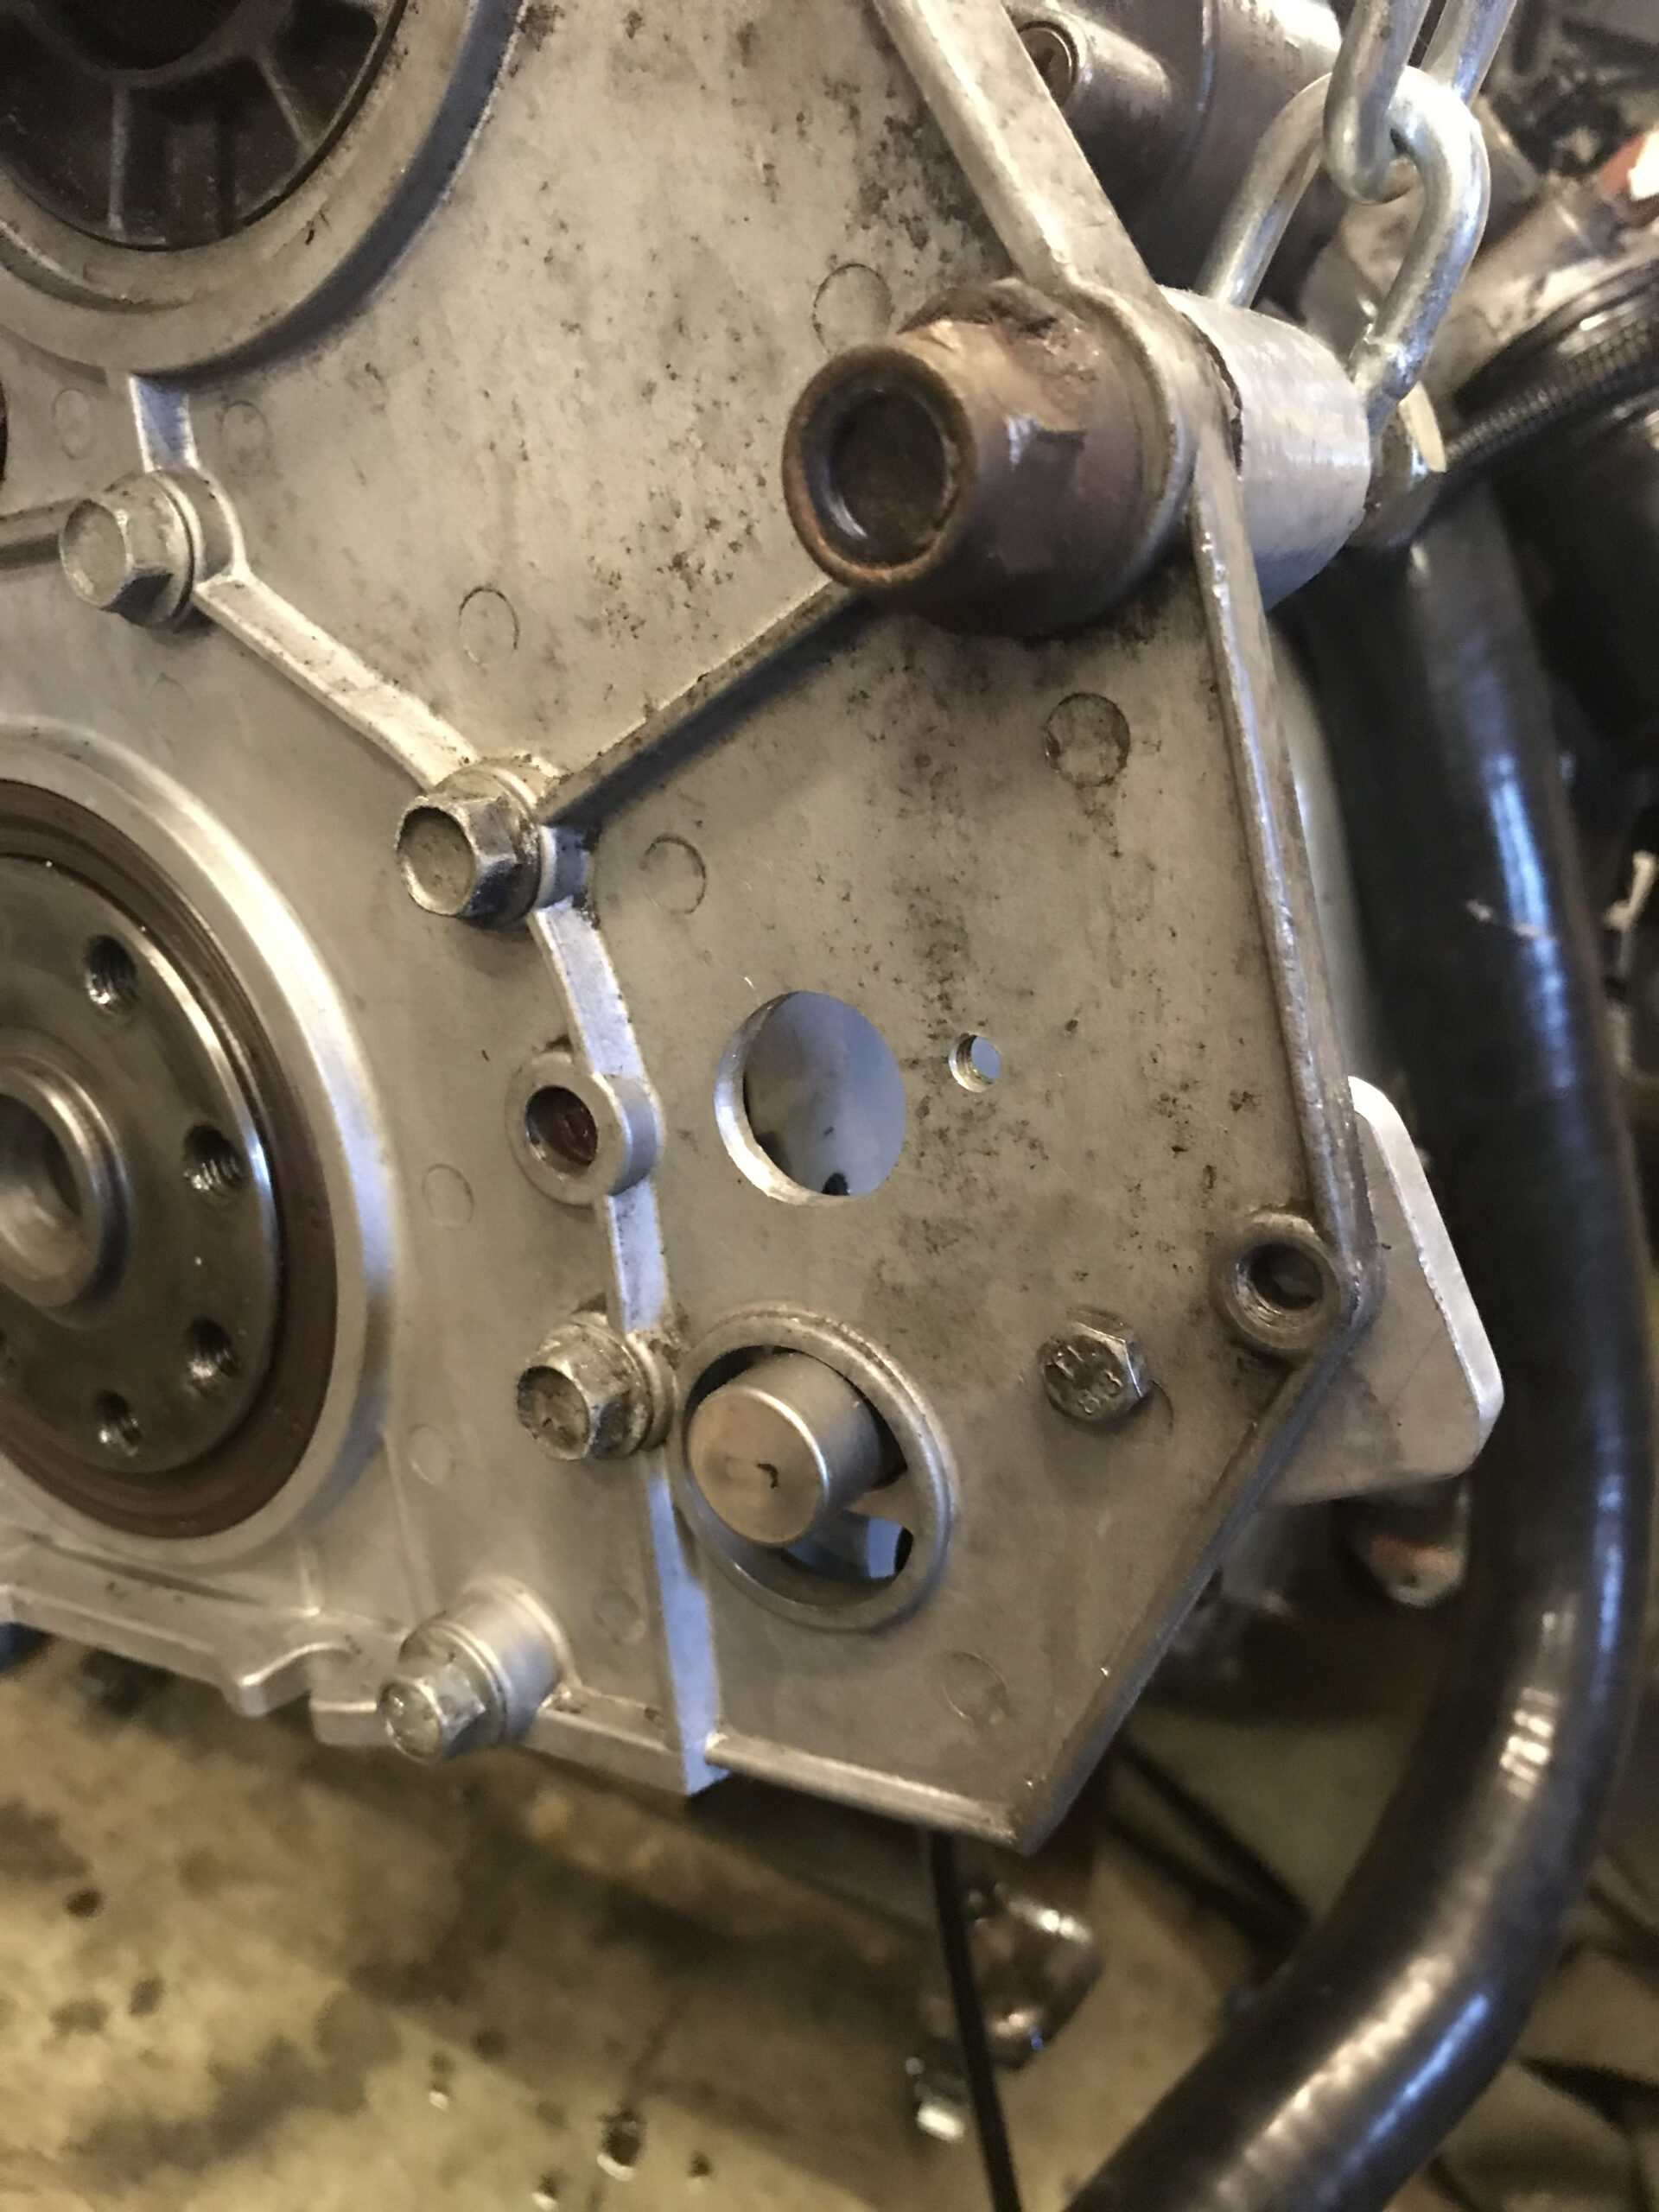
The 9000 engine isn’t a straight fit in the 900, all of the ancillaries are mounted differently due to the fact the engine is transverse with an end-on gearbox in the 9000. Basically the block end plates, manifolds, oil pick up pipe and all ancillaries must be swapped over but the bare block, head and internals are identical.

Thanks to lockdown it was a while before it could be delivered, but on a freezing day in February it arrived and I was stripping and cleaning it. It had been stored with the cam cover off so at the very least I was planning to replace all of the gaskets and thoroughly clean out the head.
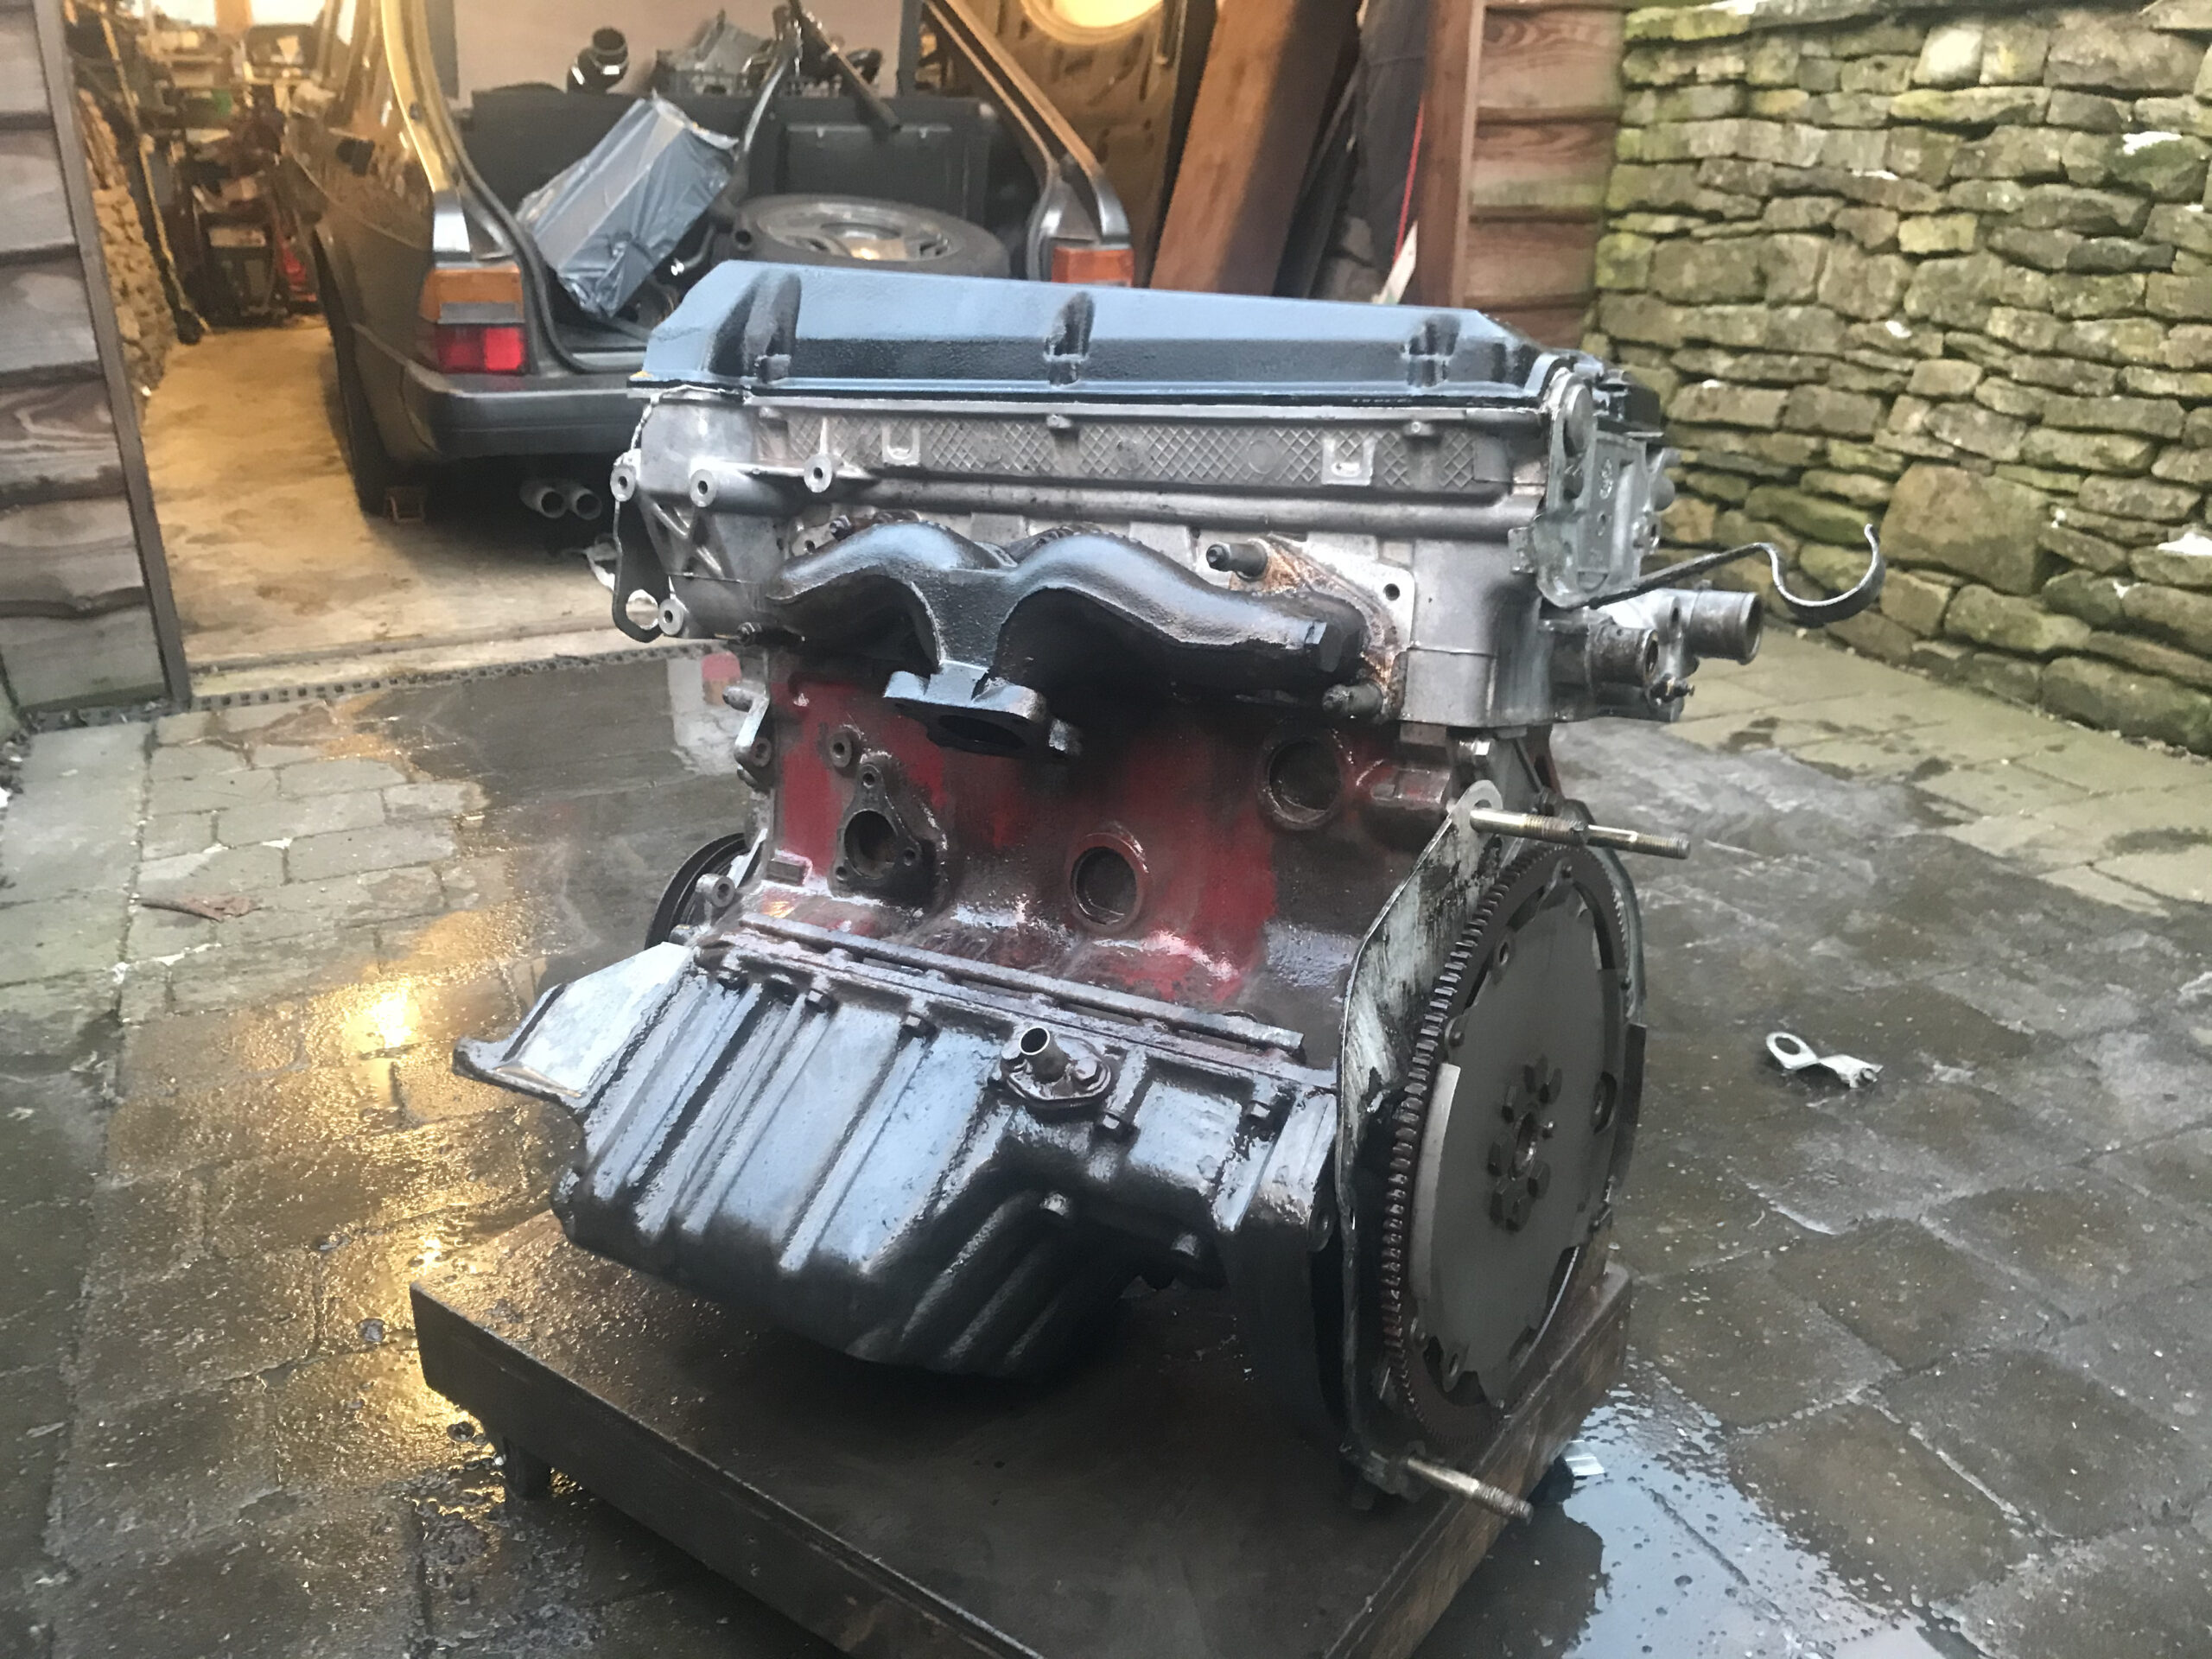
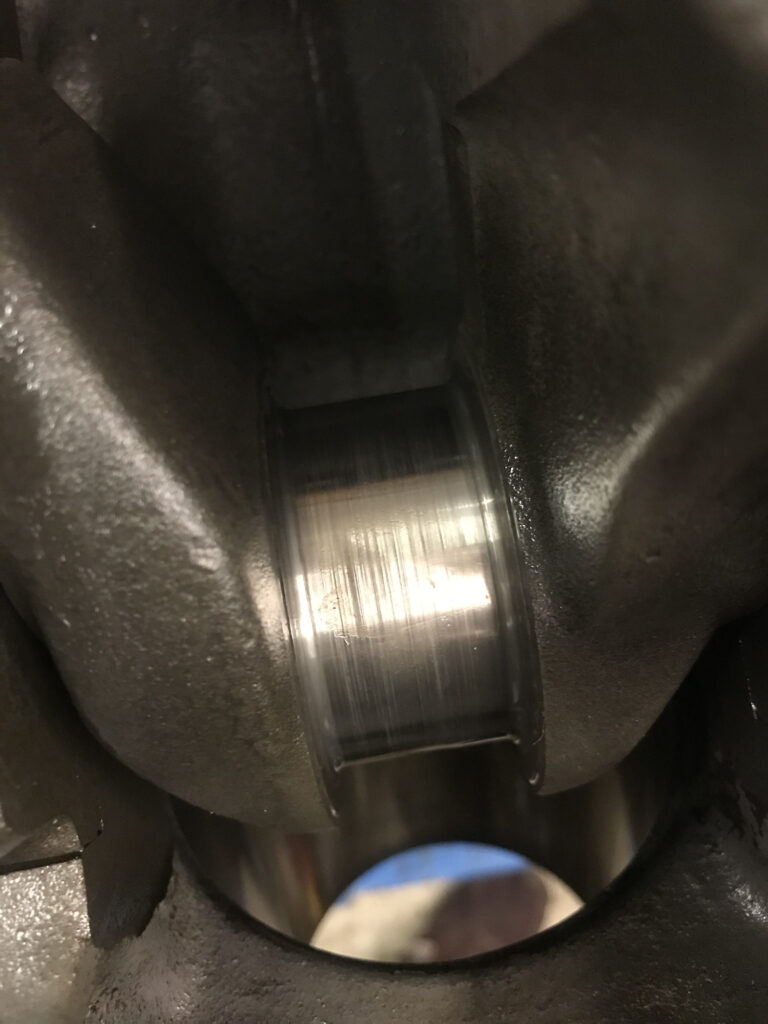
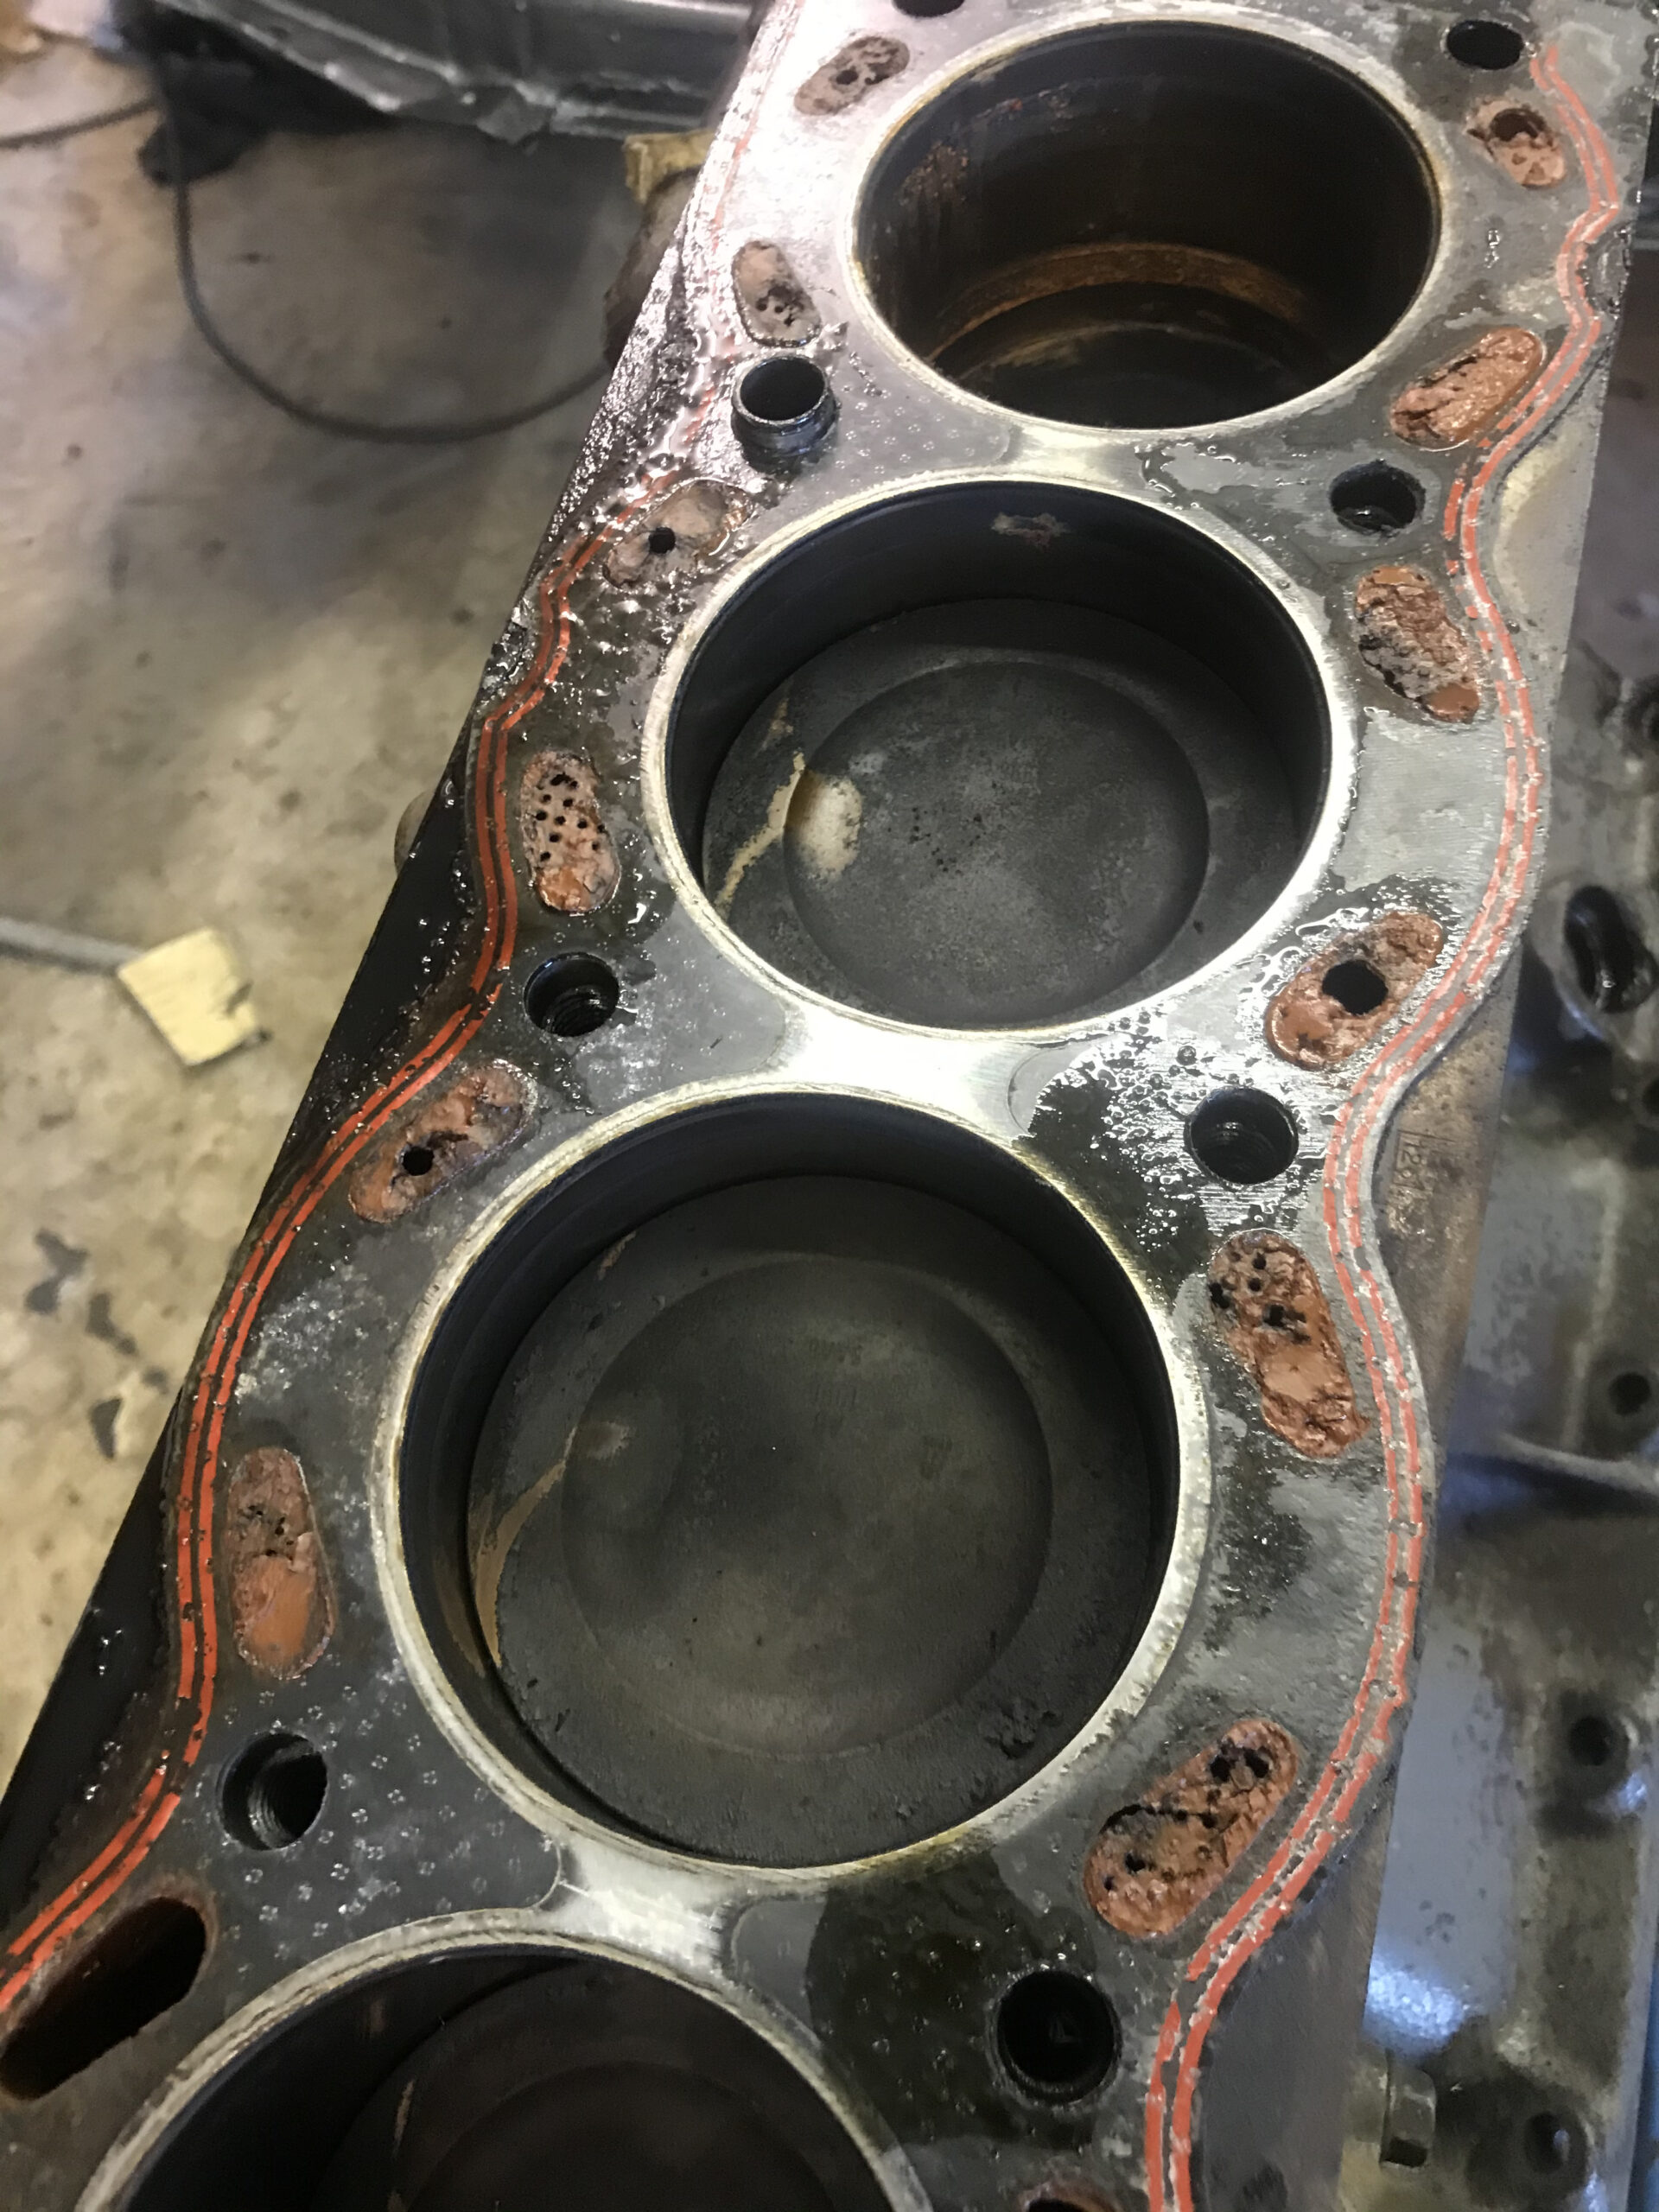
Unfortunately, once I removed the head I found that the bores were bizarrely worn. I’ve had the head off these engines with 200k+ miles and still been able to see the crosshatching in the bores, but for some reason these bores were worn smooth. I was told it was running great when removed, but I didn’t want to have gone to all of this effort for a worn out engine, so it was full rebuild time. Again.

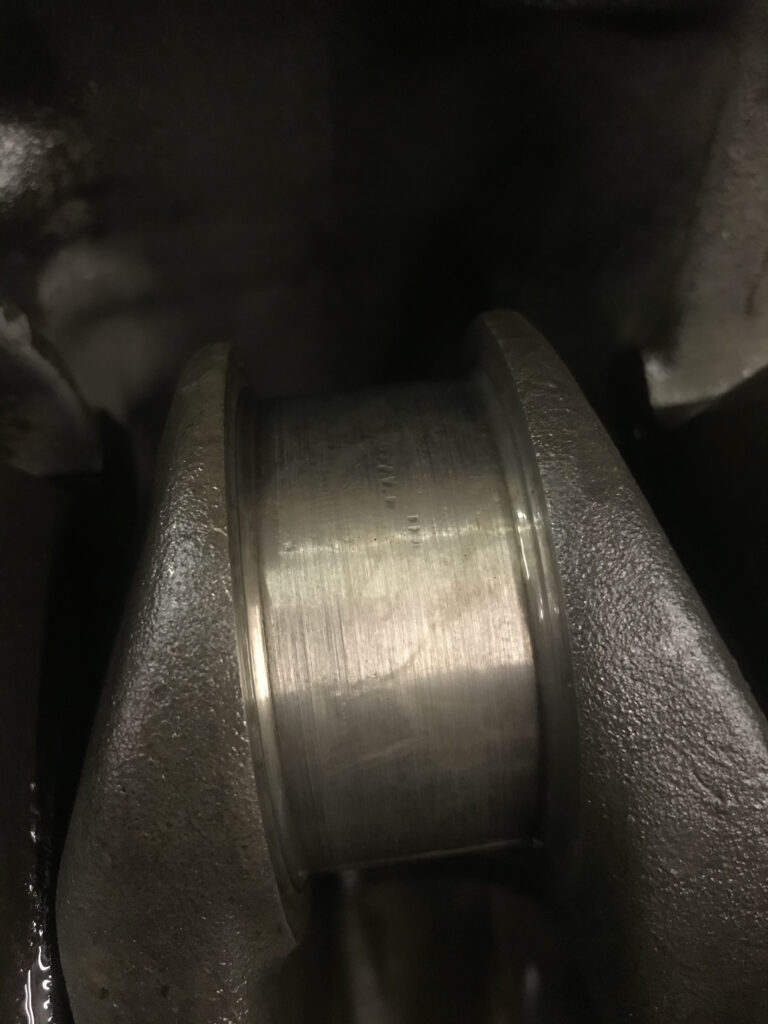
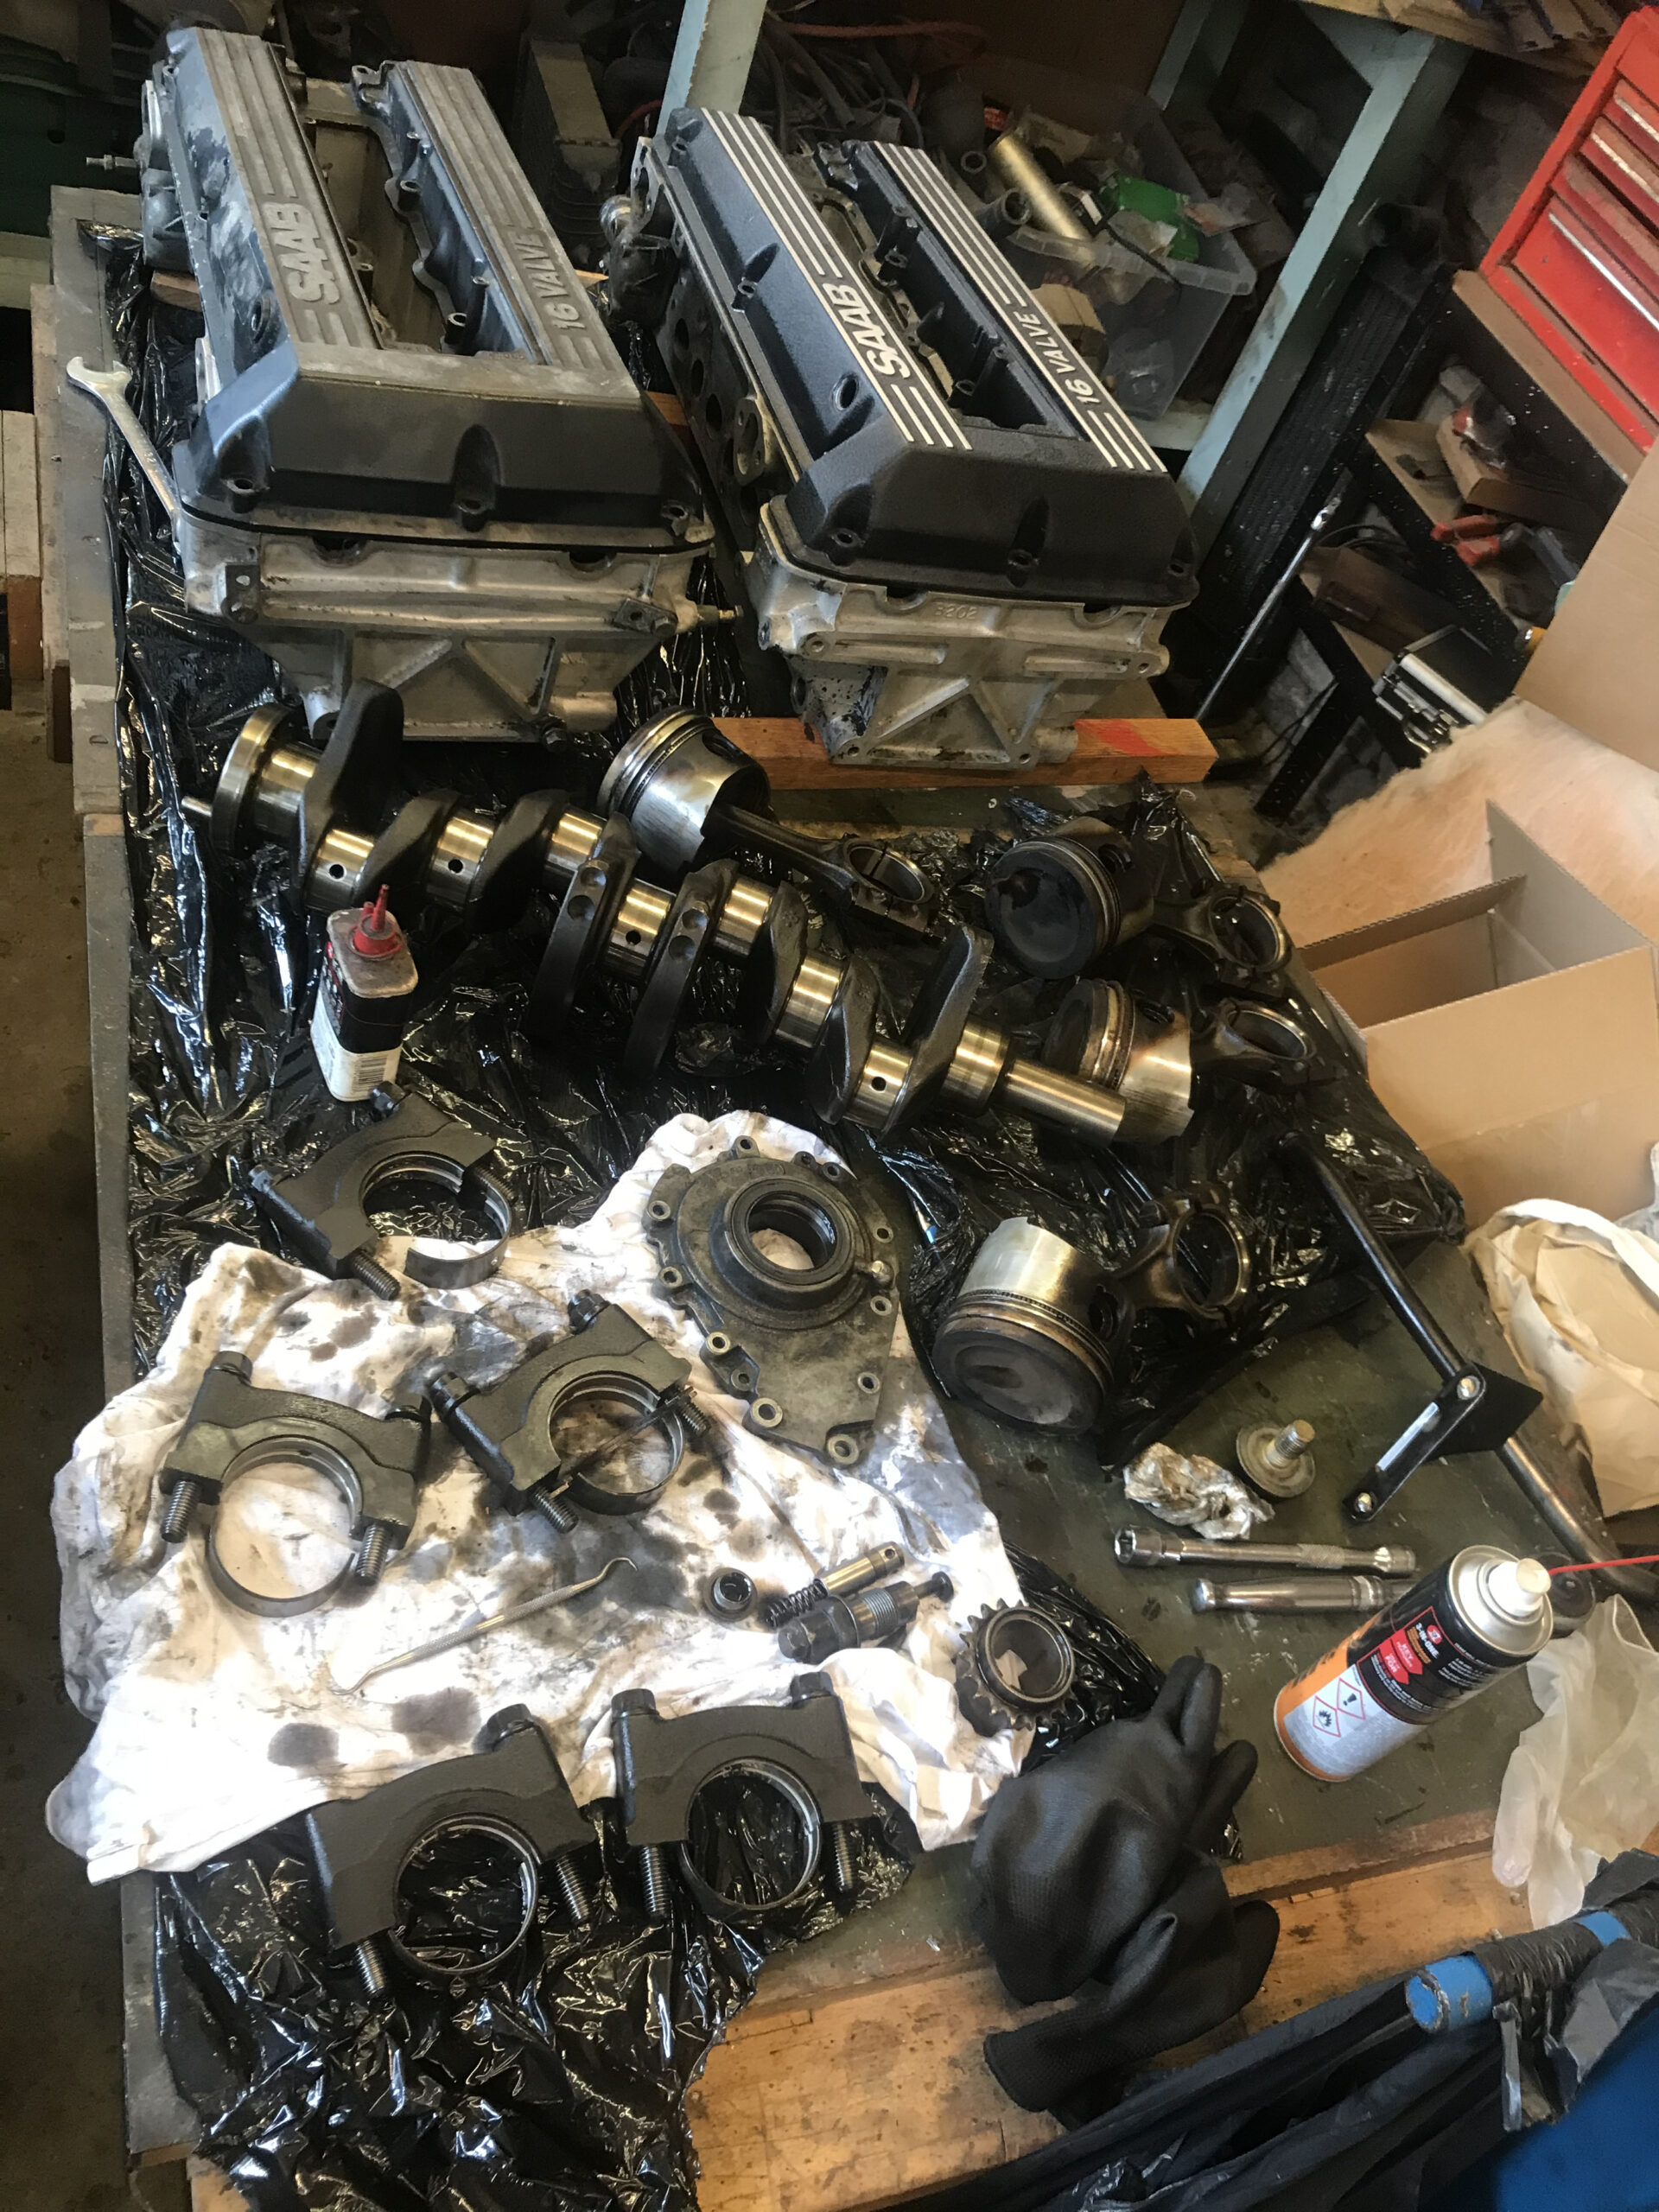
Both blocks and cranks were taken to the machine shop for them to choose whichever they felt was the easiest to save – scored from the cracked piston or generally worn.
In the end, happily the machine shop felt that the original block would be fine with another honing and no need for oversized pistons, while the new engine’s crank was the better starting point for polishing. I also had them skim the new engine’s head (which must be paired with the pistons due to the different combustion chamber shape – hence why I couldn’t keep the old head) after I cleaned and lapped in the valves.
So now it was time to build the new engine’s internals into my old block. Nothing much to note about that, it’s becoming pretty frustratingly familiar by now.
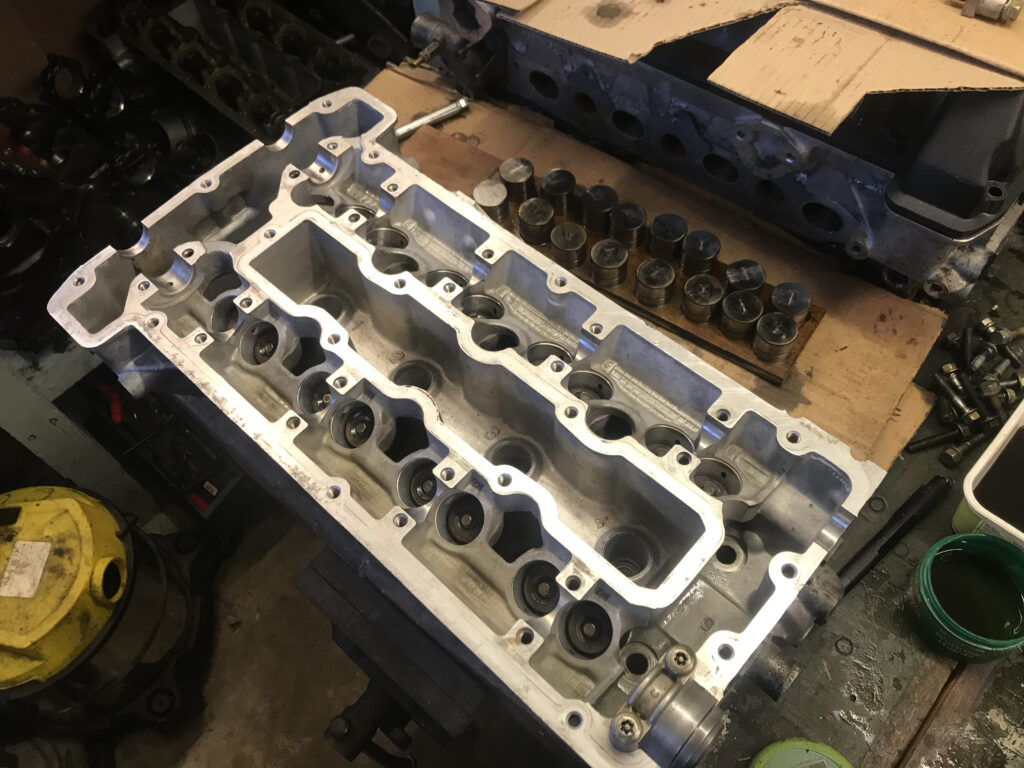
head skimmed, cleaned and valves lapped in 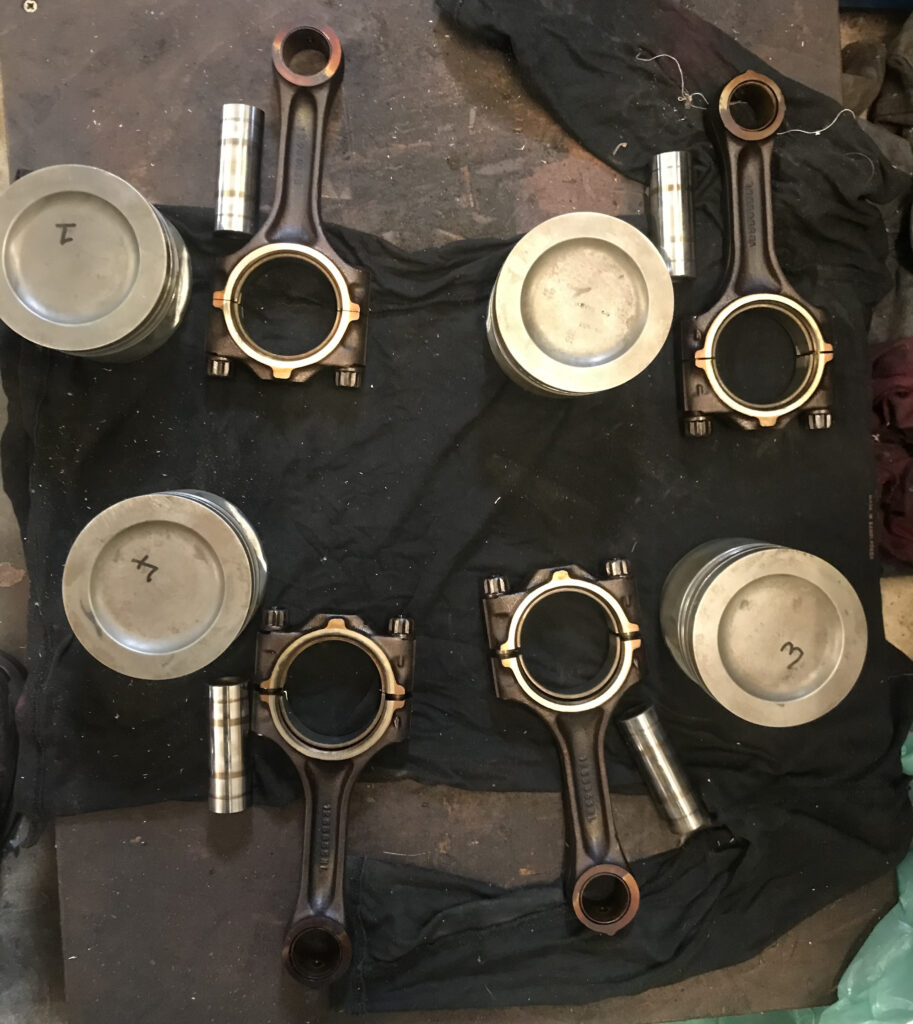
New pistons and conrods ready to go 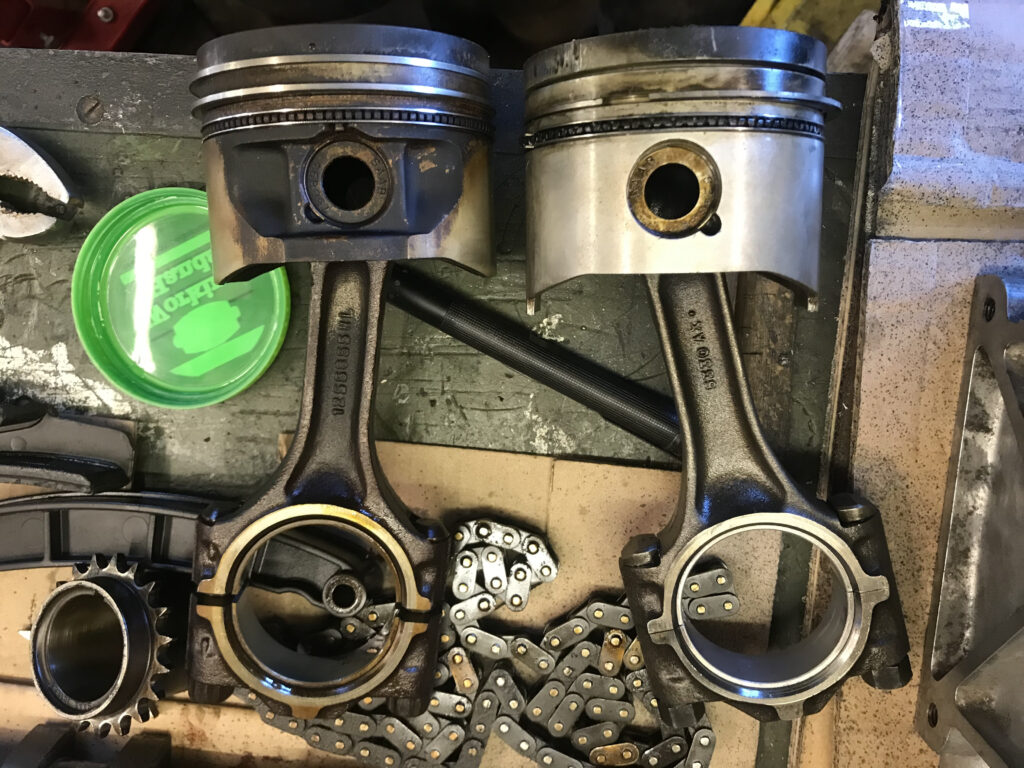
New vs old piston 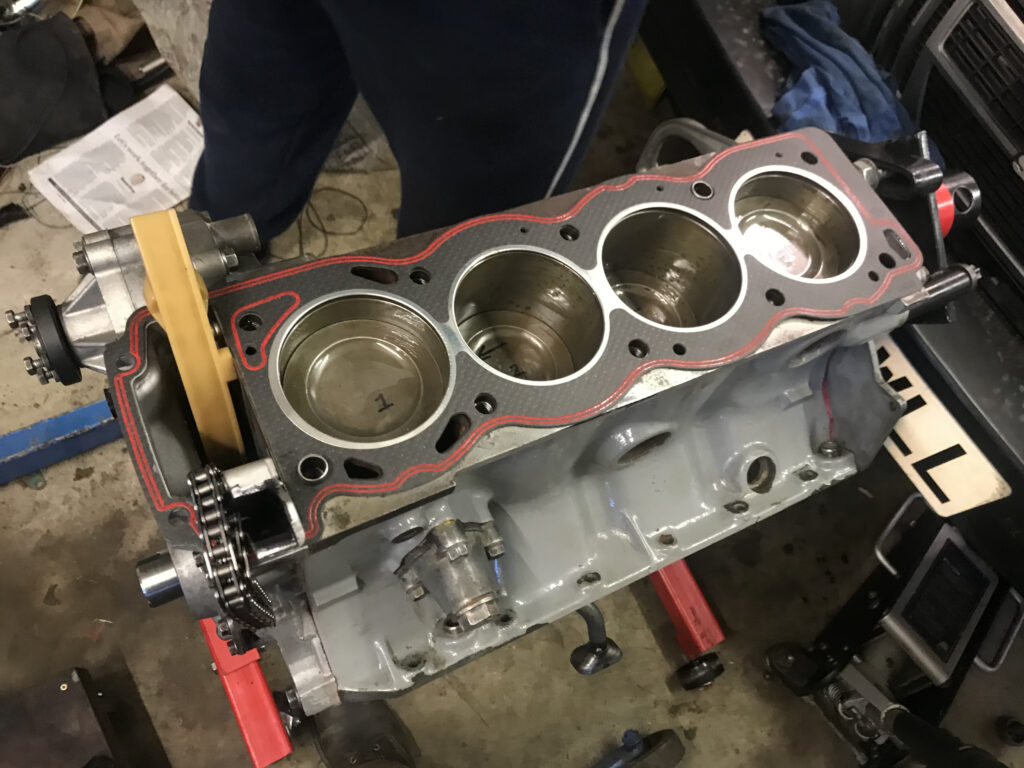
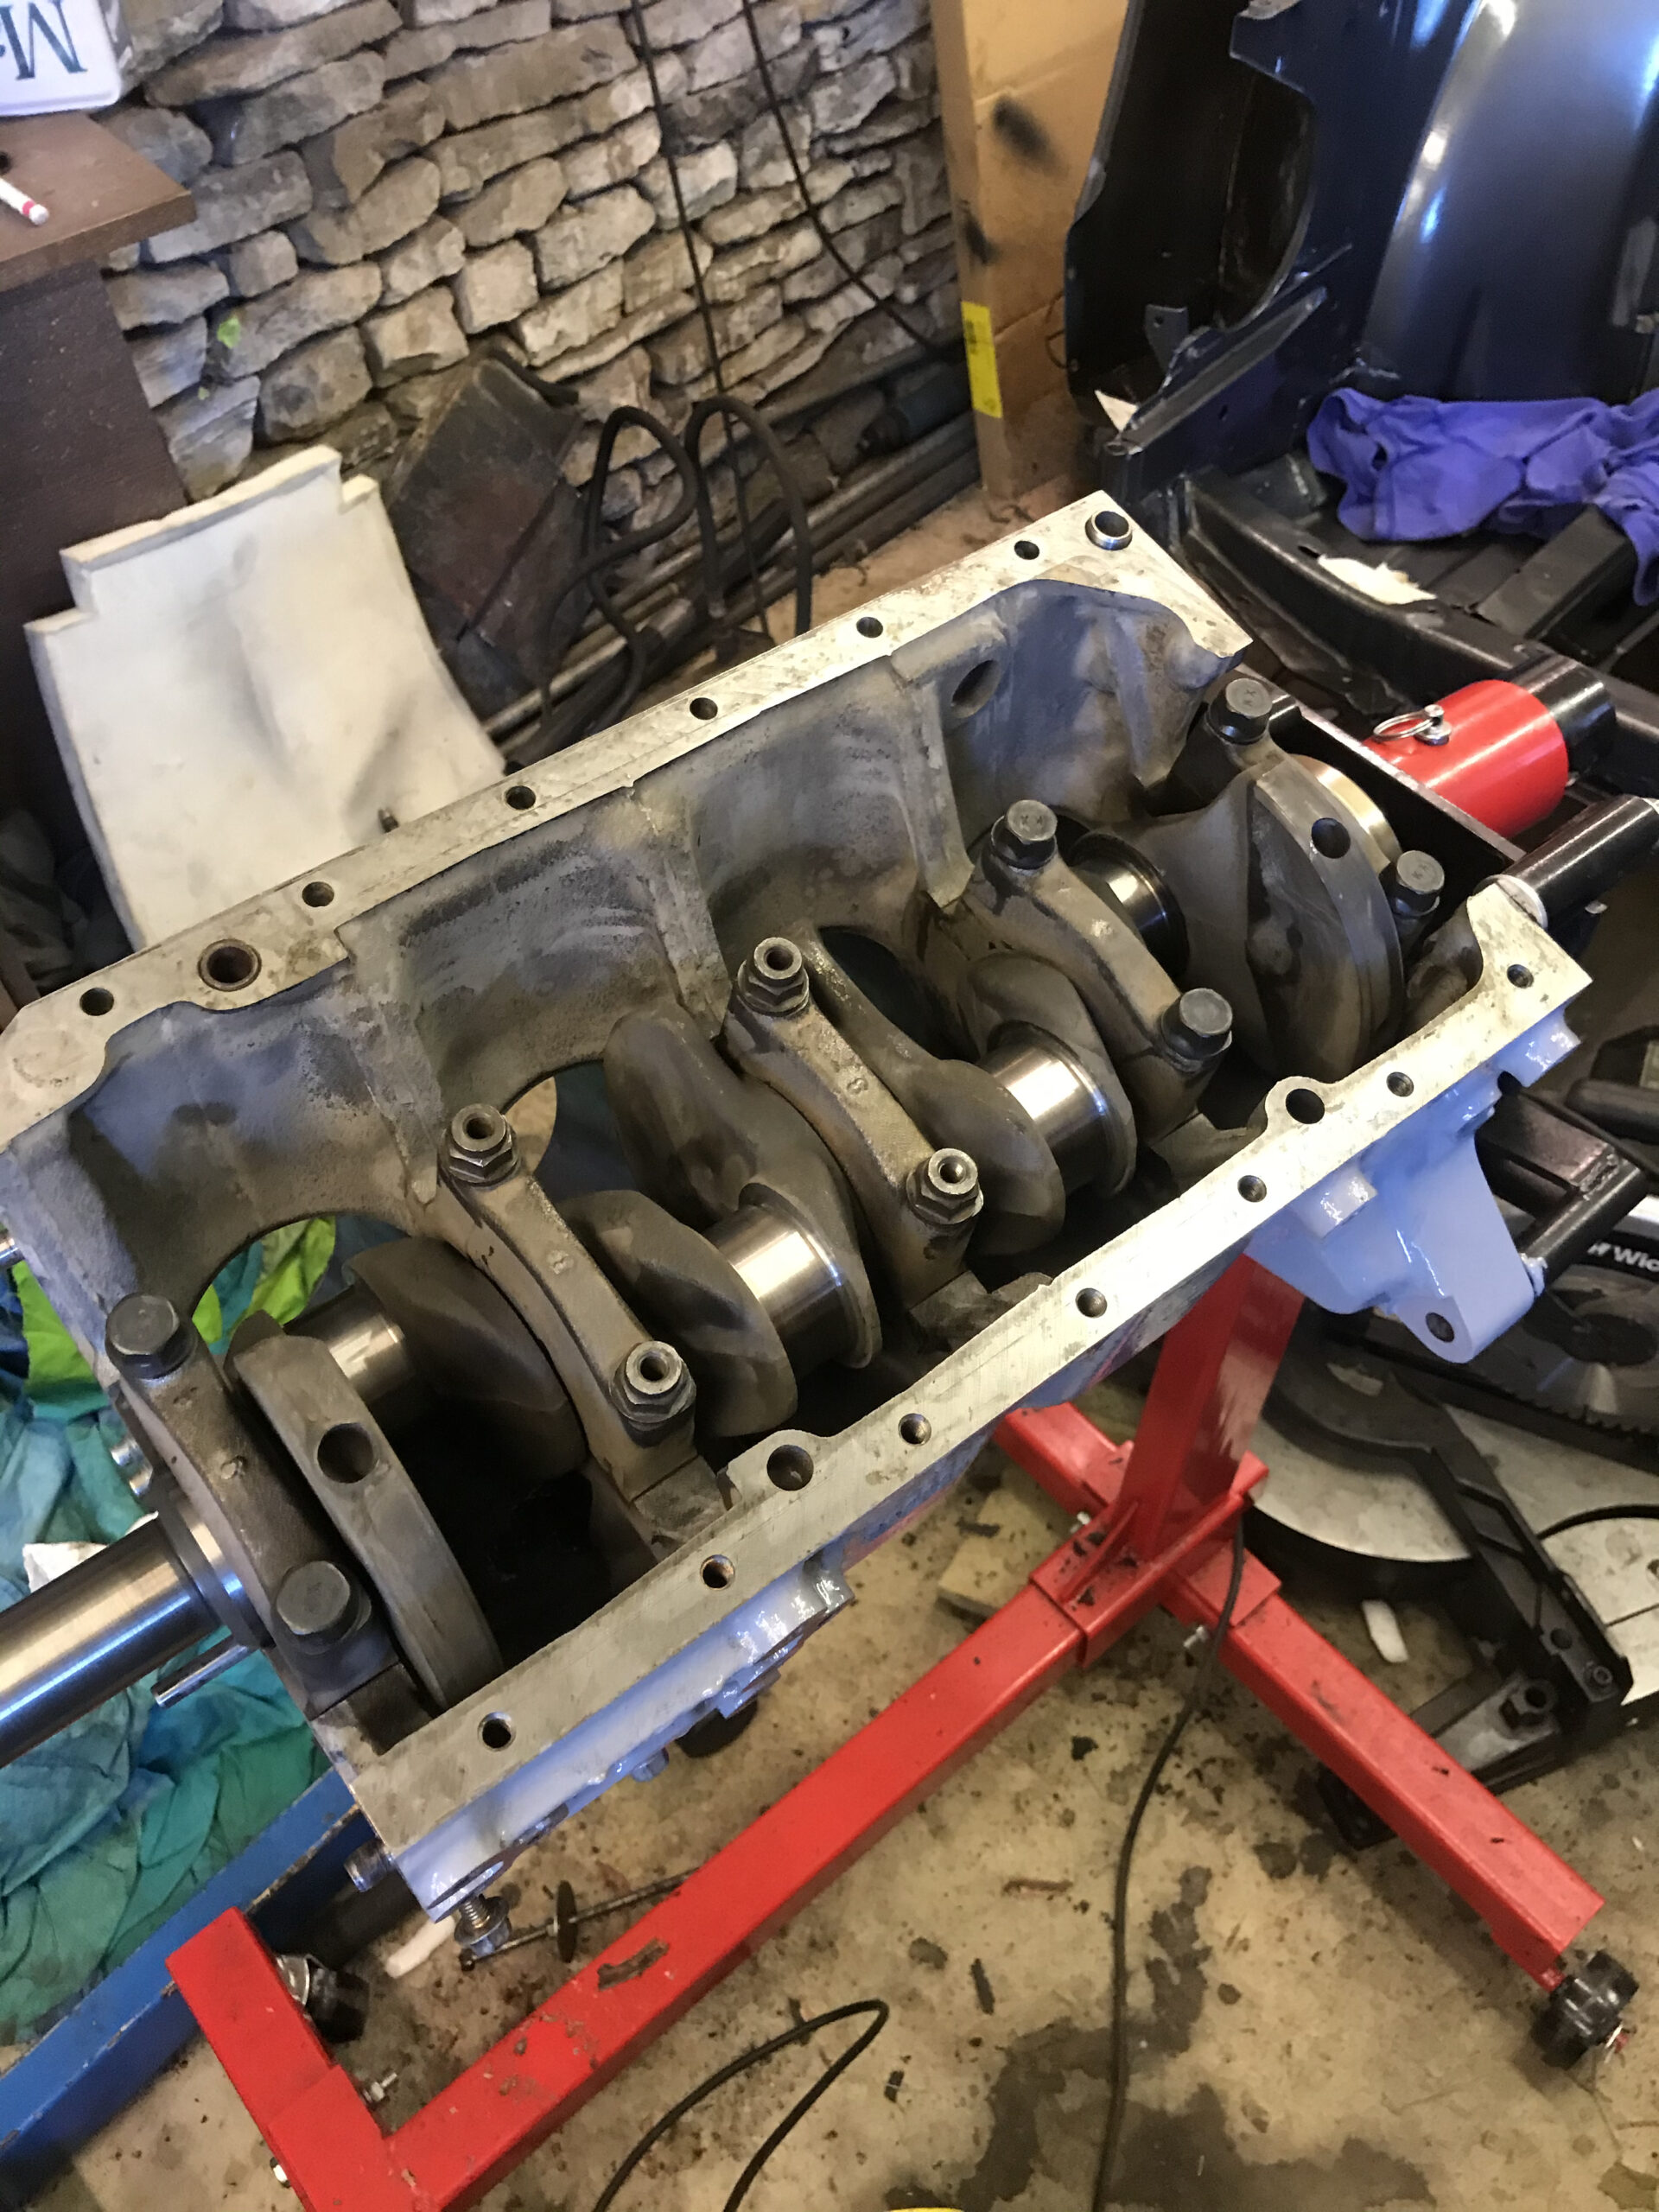
Going together
Once the engine it was in, I ruined the slave cylinder again at first startup (I’m getting good at this trick) by forgetting to remove the clutch spacers, which meant the piston over extended, popped out and mashed up it’s seal. Not hard at all to replace but pretty frustrating.
Other than that setback, it started up first time with good oil pressure so I’m running it in on base boost before I can start to tune. There’s a list of snags to sort but nothing too major.
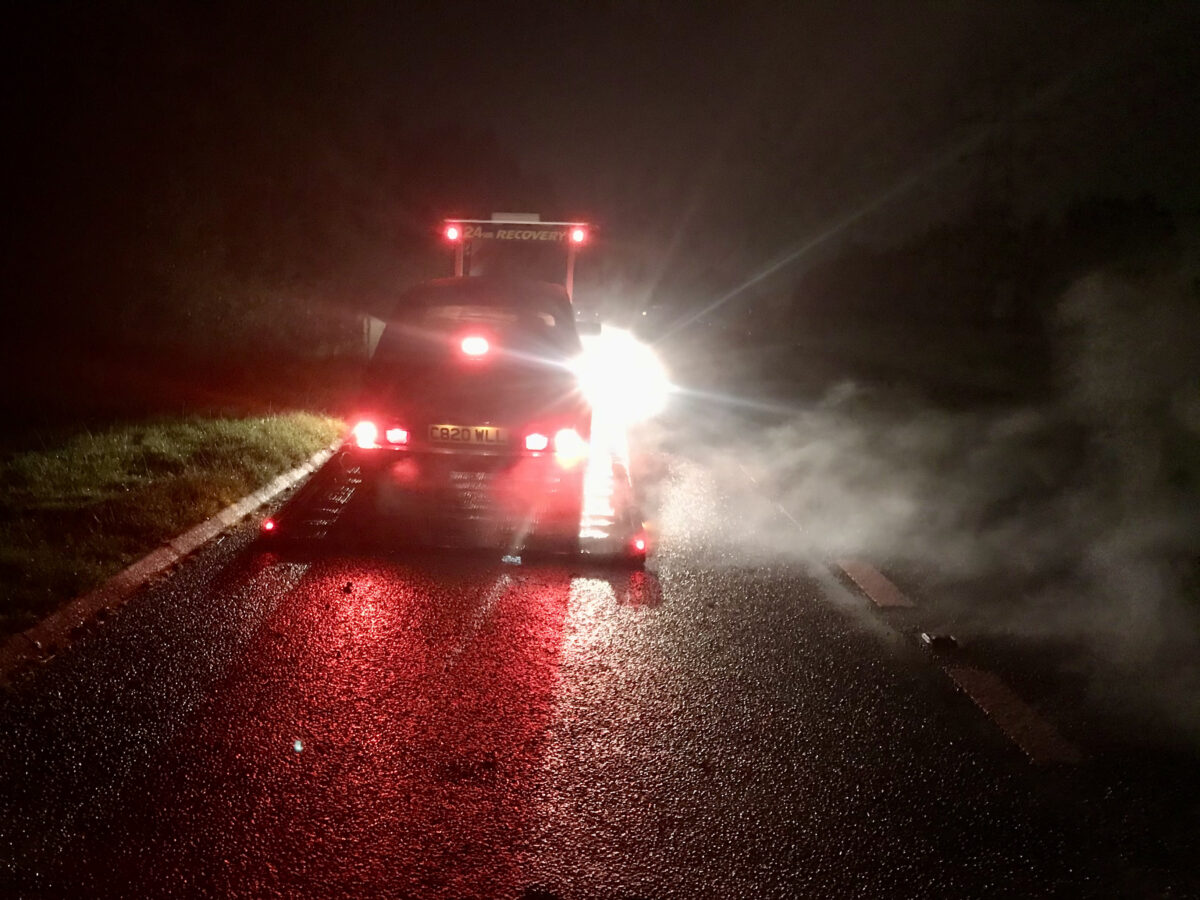
So, on the very first drive after the engine rebuild I was gradually increasing the boost when I suddenly felt the power drop. A glance in the mirror and I couldn’t see anything behind at all but steam – the head gasket had failed in a big way. Cut the engine straight away, coasted into a lay-by and called the breakdown company.

Pulled the head, replaced the head gasket which had blown on cylinder 1 and she was running again, but making huge smoke once she started warming up. The compression was about 30% lower on cylinder 3, so I thought perhaps I’d cracked the head. Embarrassingly it was weeks before I realised that the smoke was because the rear silencer was saturated in coolant. Flushing it with a hosepipe solved it, but she still wasn’t running right – running lumpy at anything above idle.
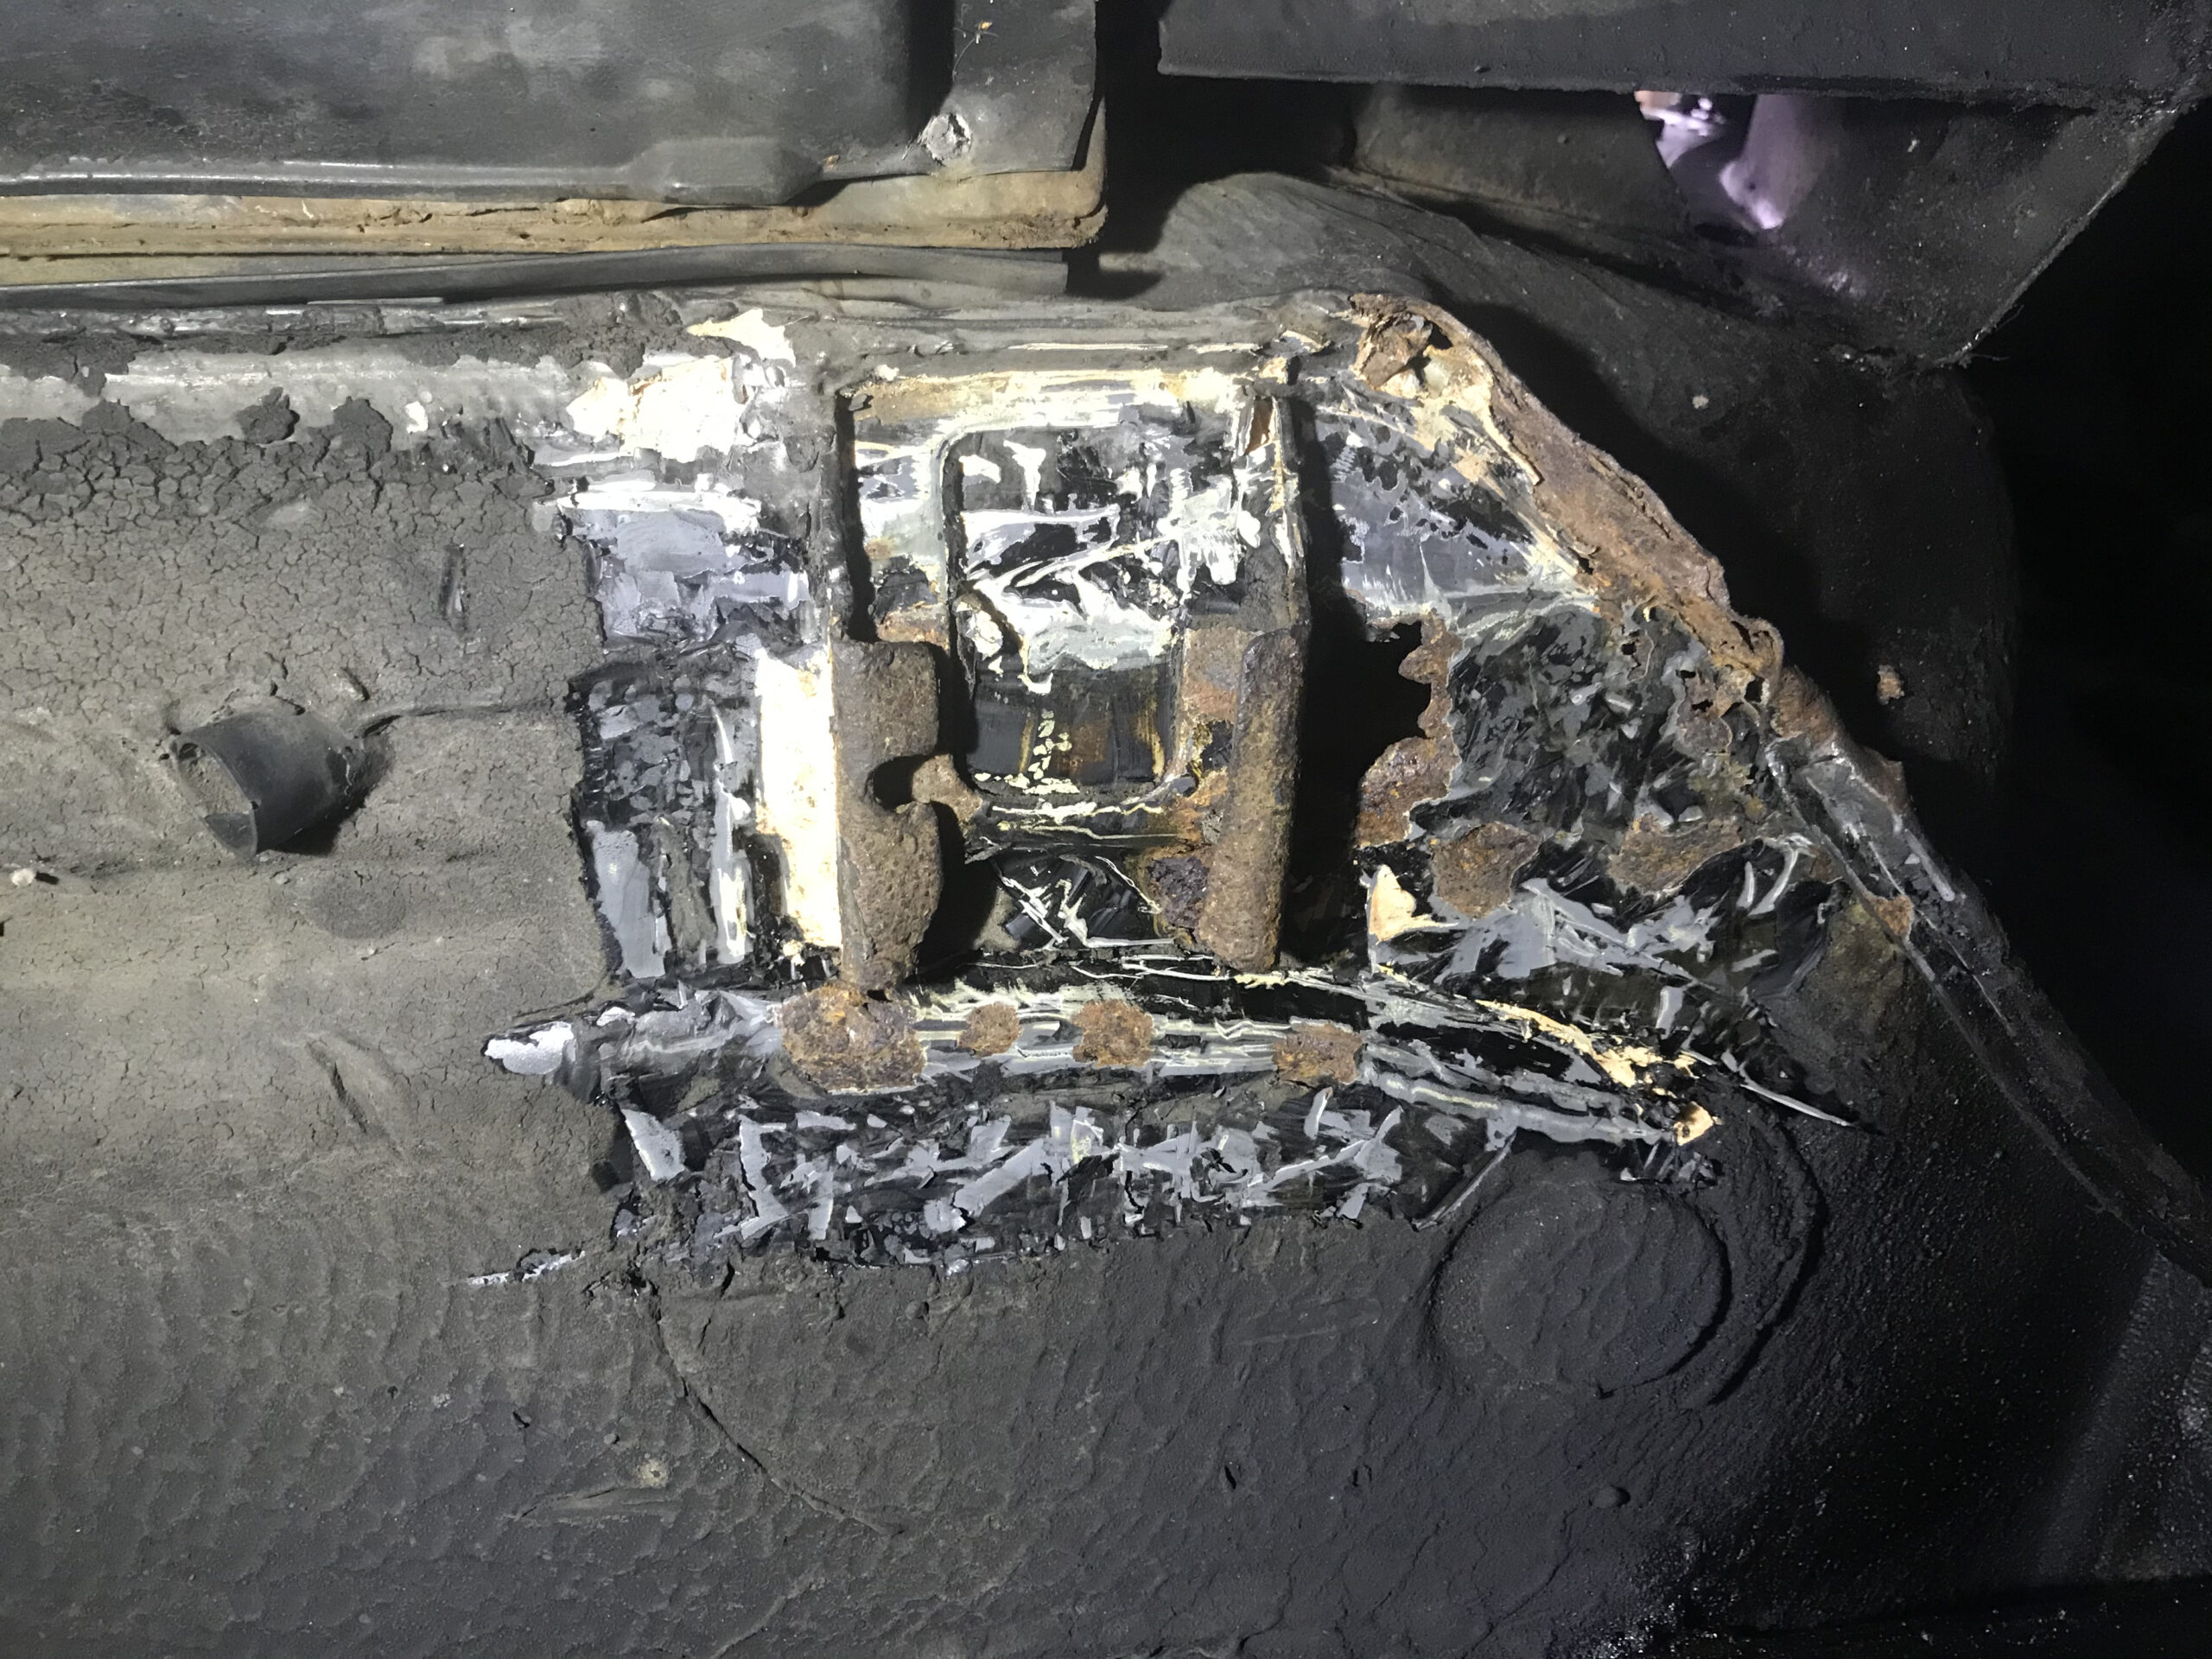
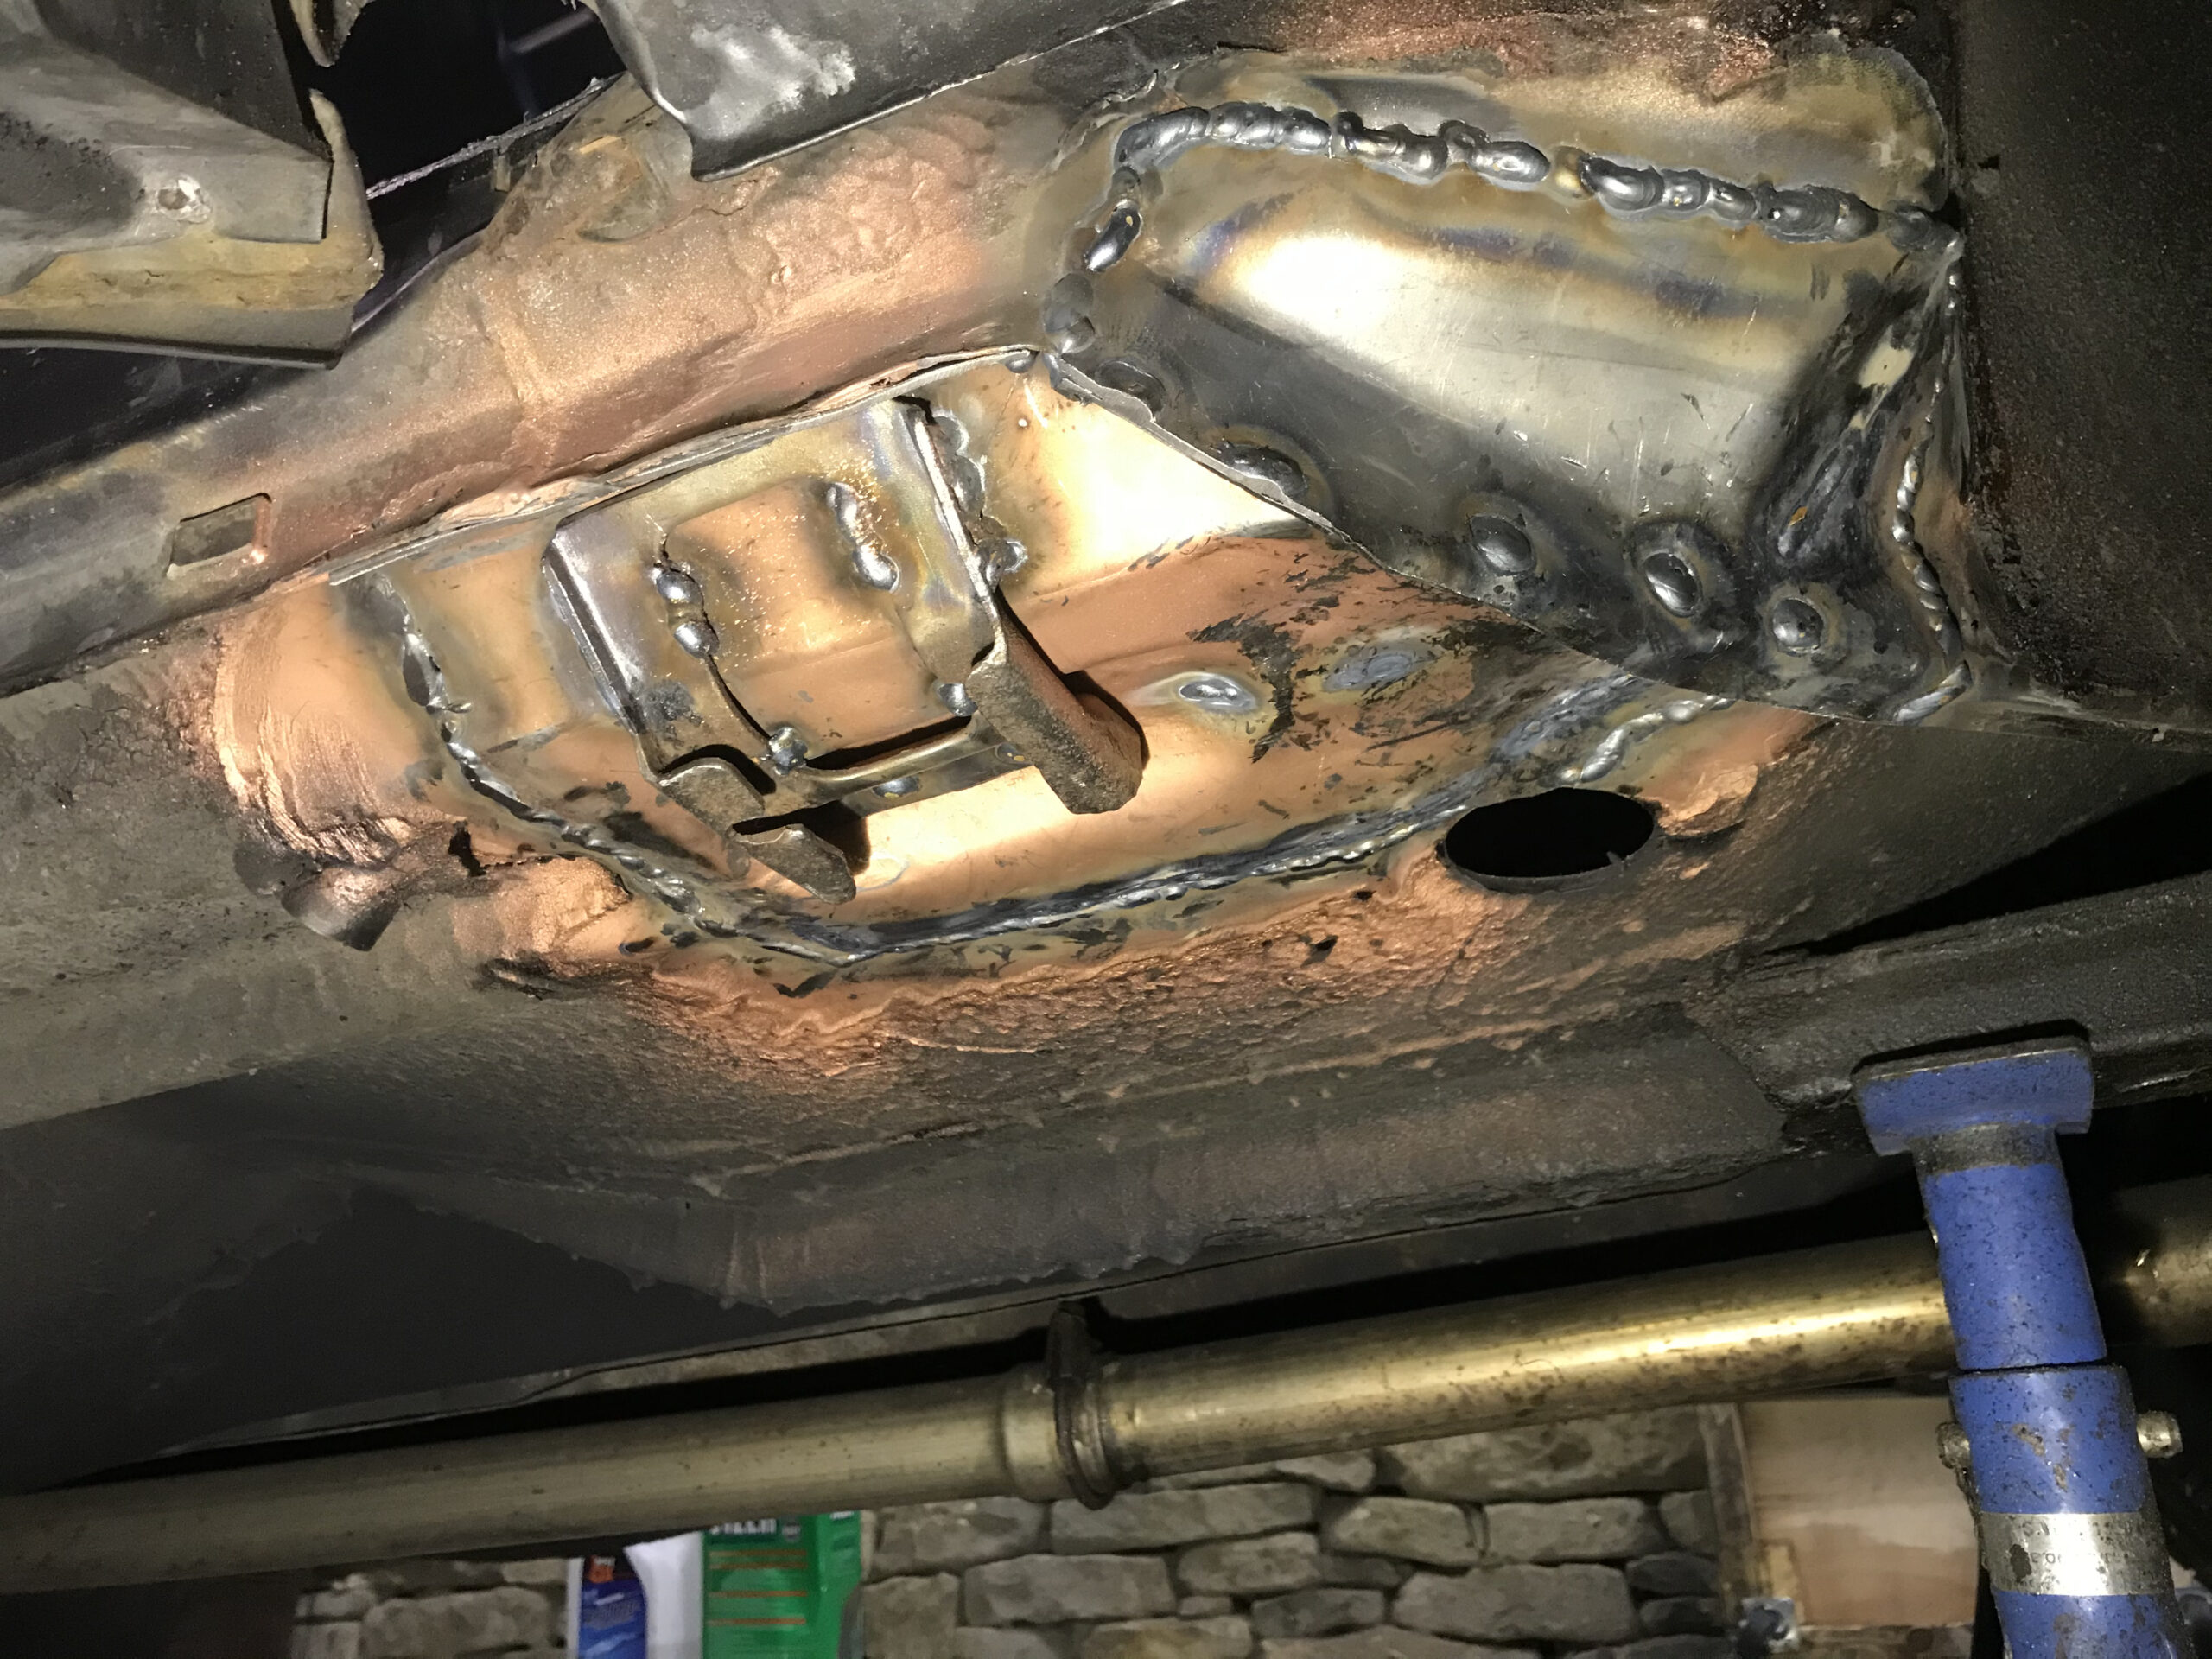
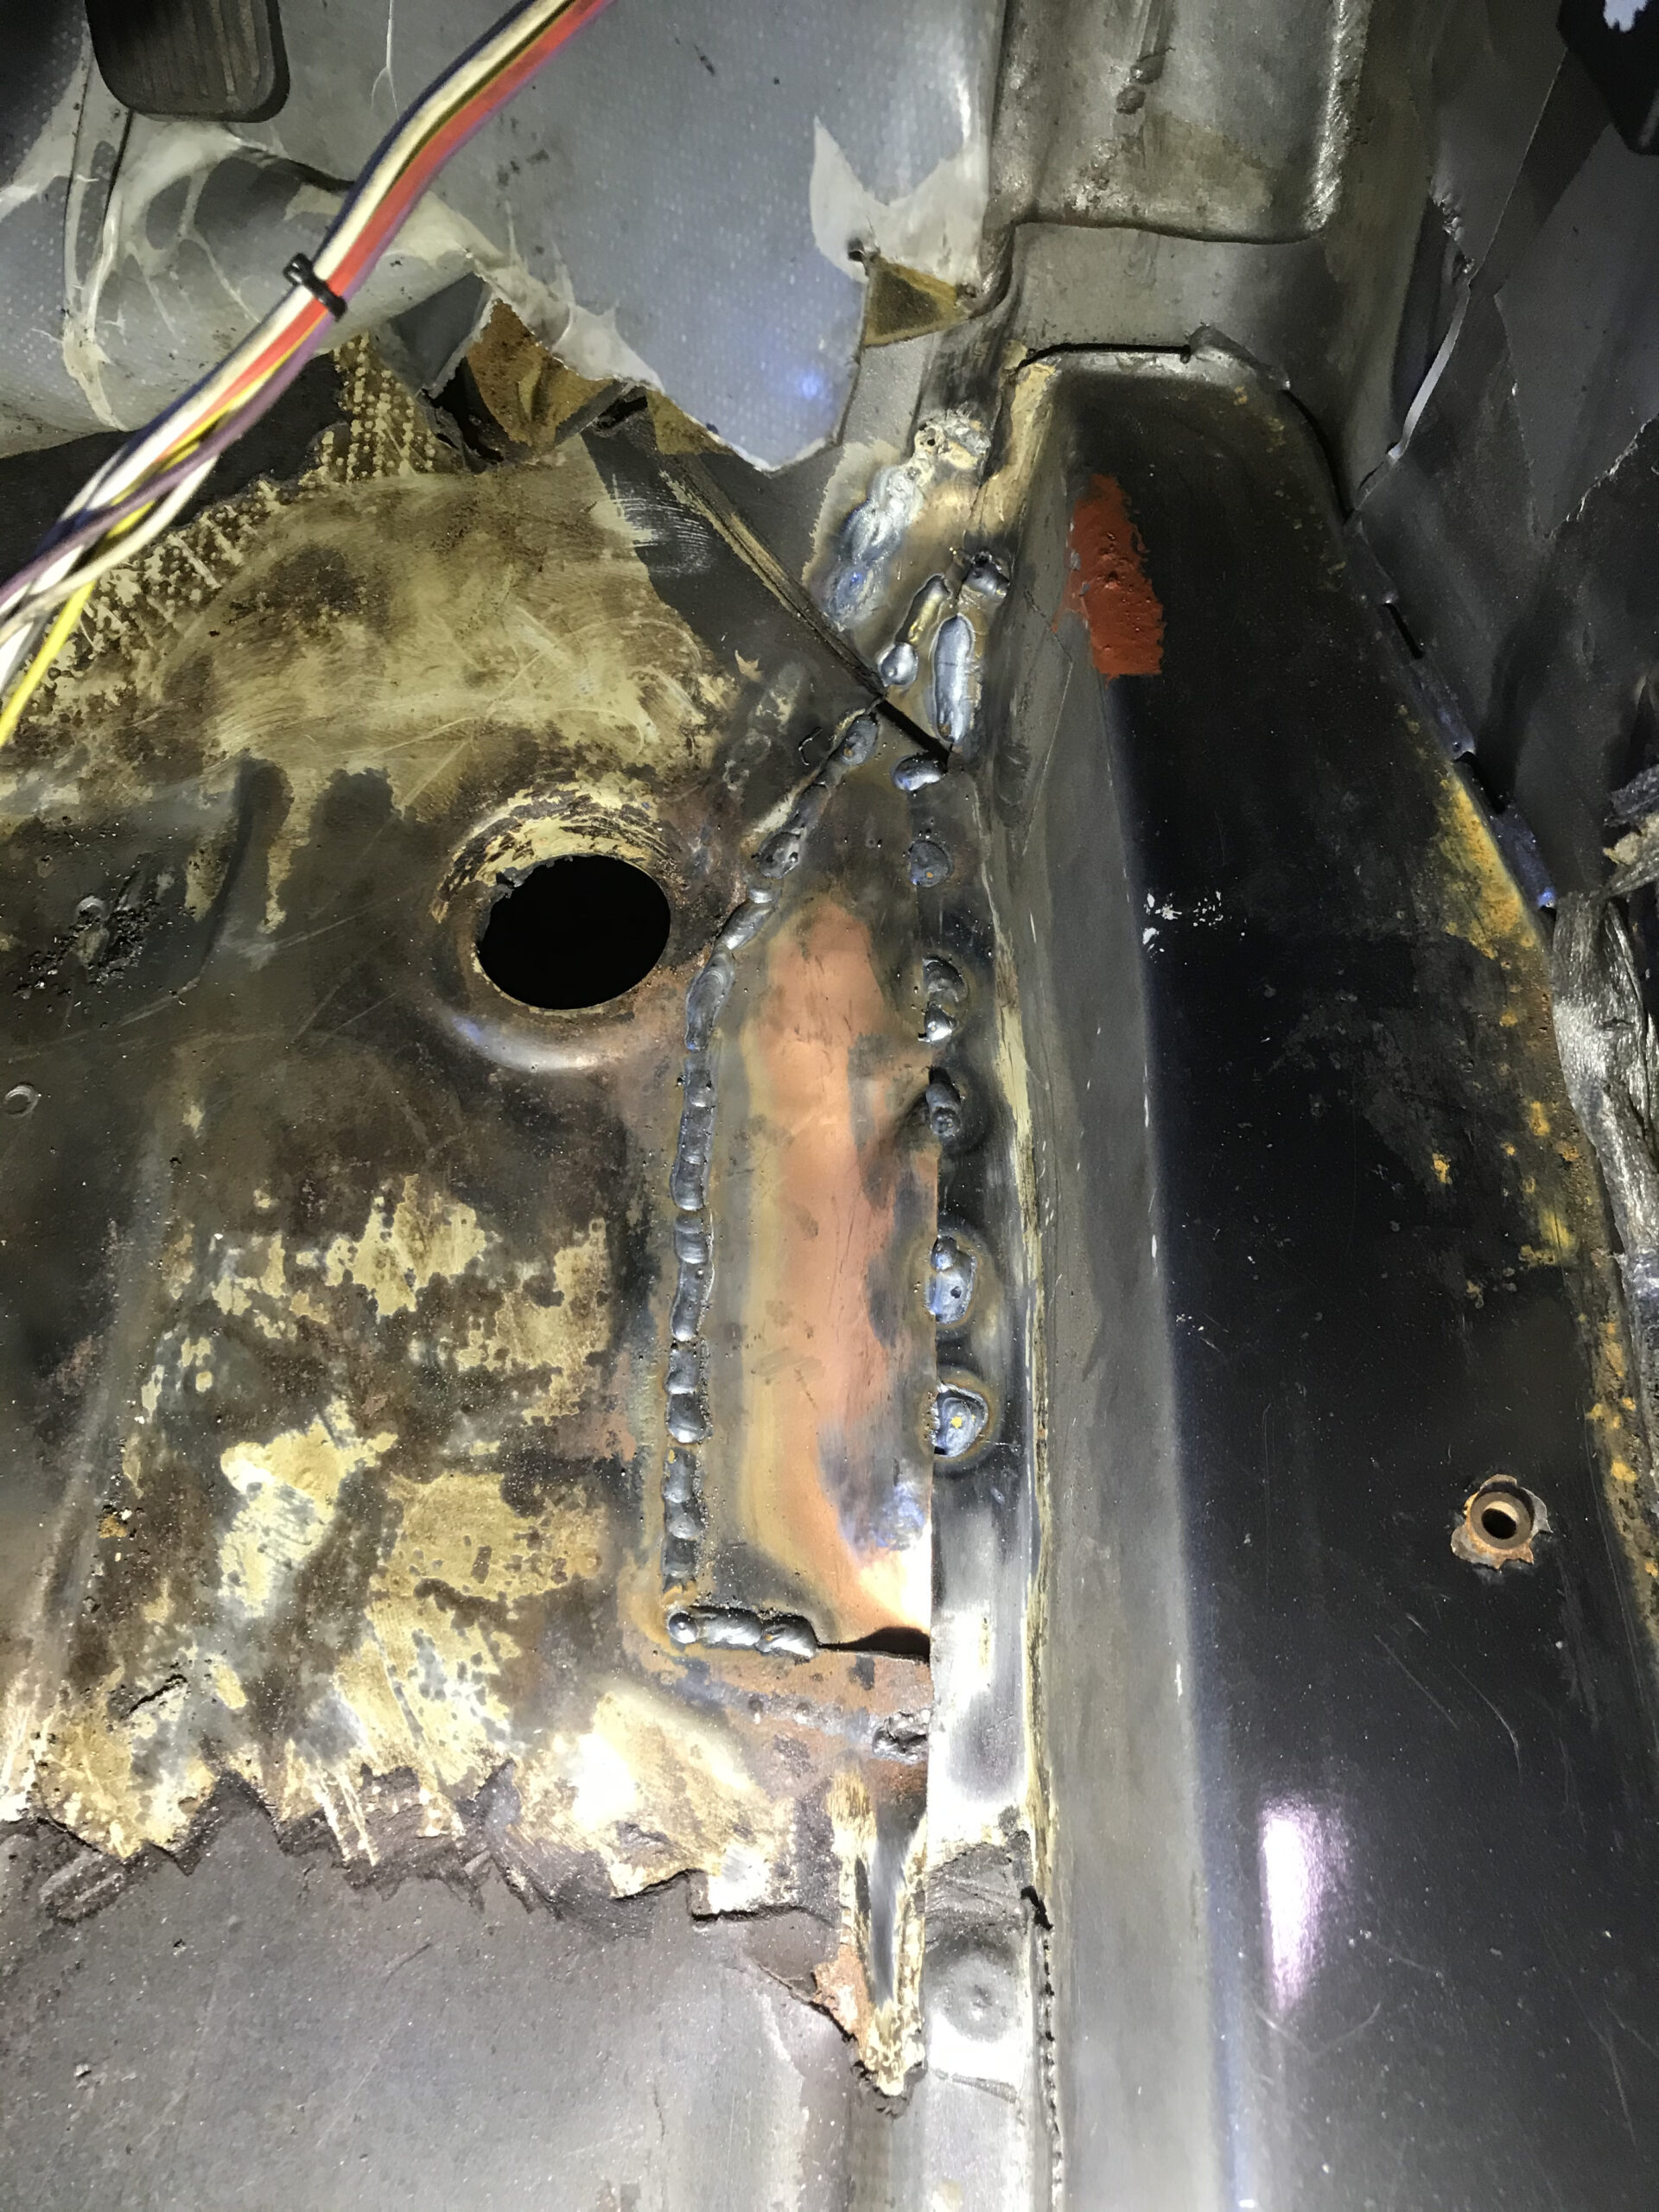
I decided to instead concentrate on fixing a little hole by the right front side jacking point:


Eventually I decided I was going to have to pull the engine back out and tear it down.

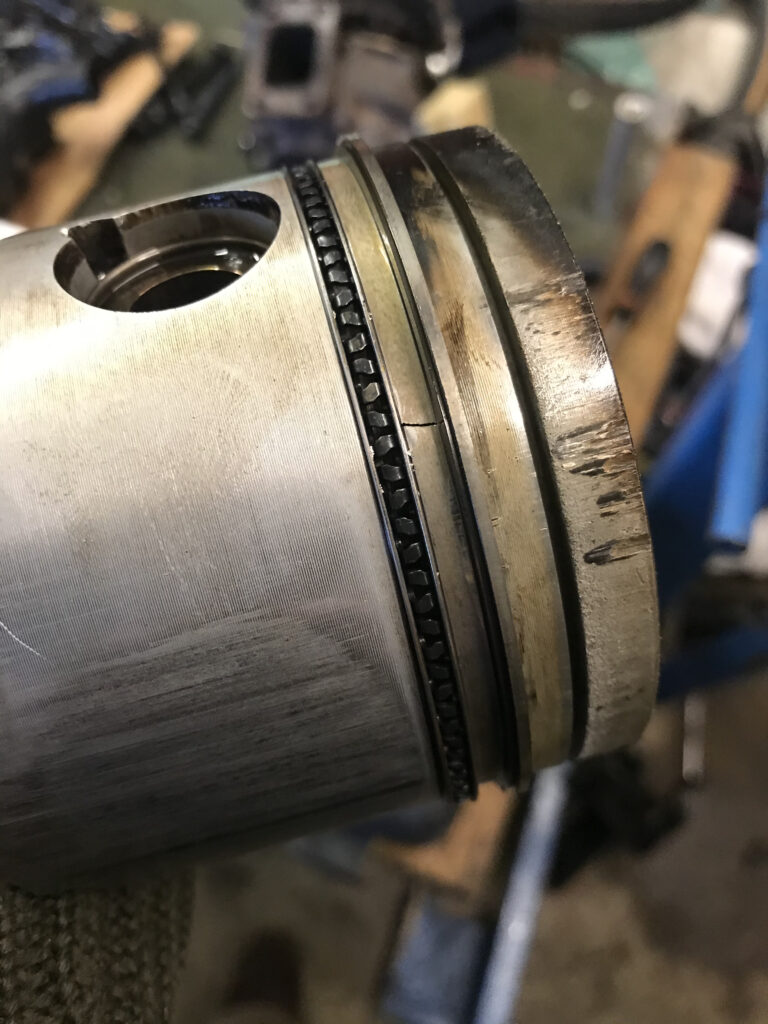

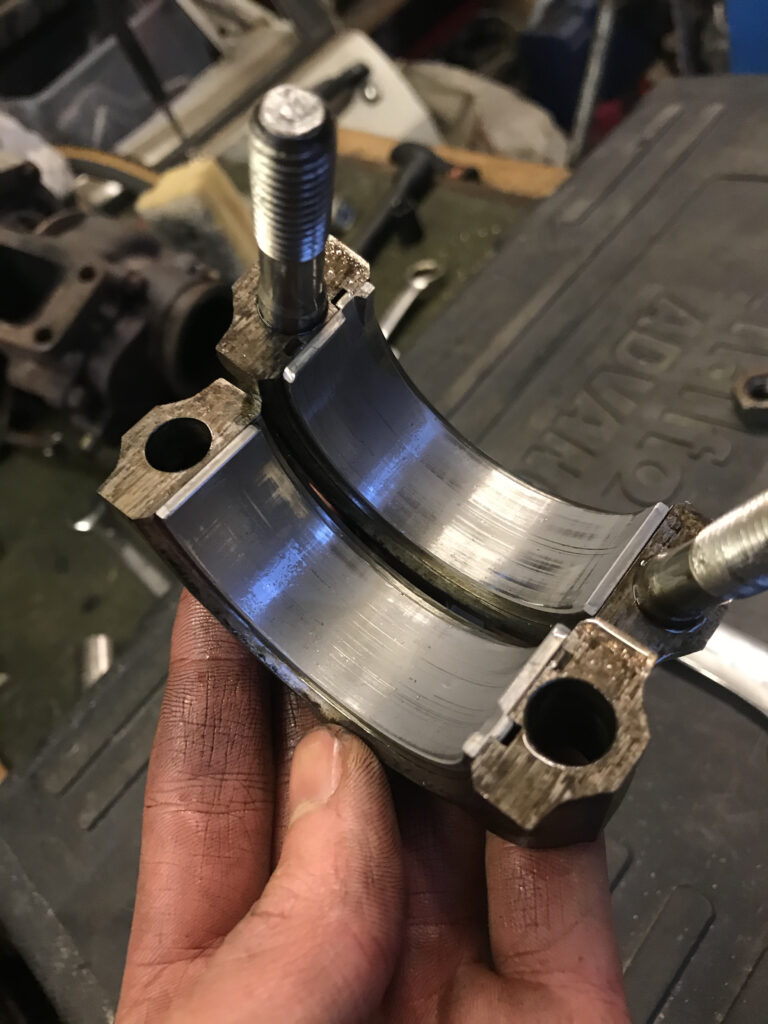
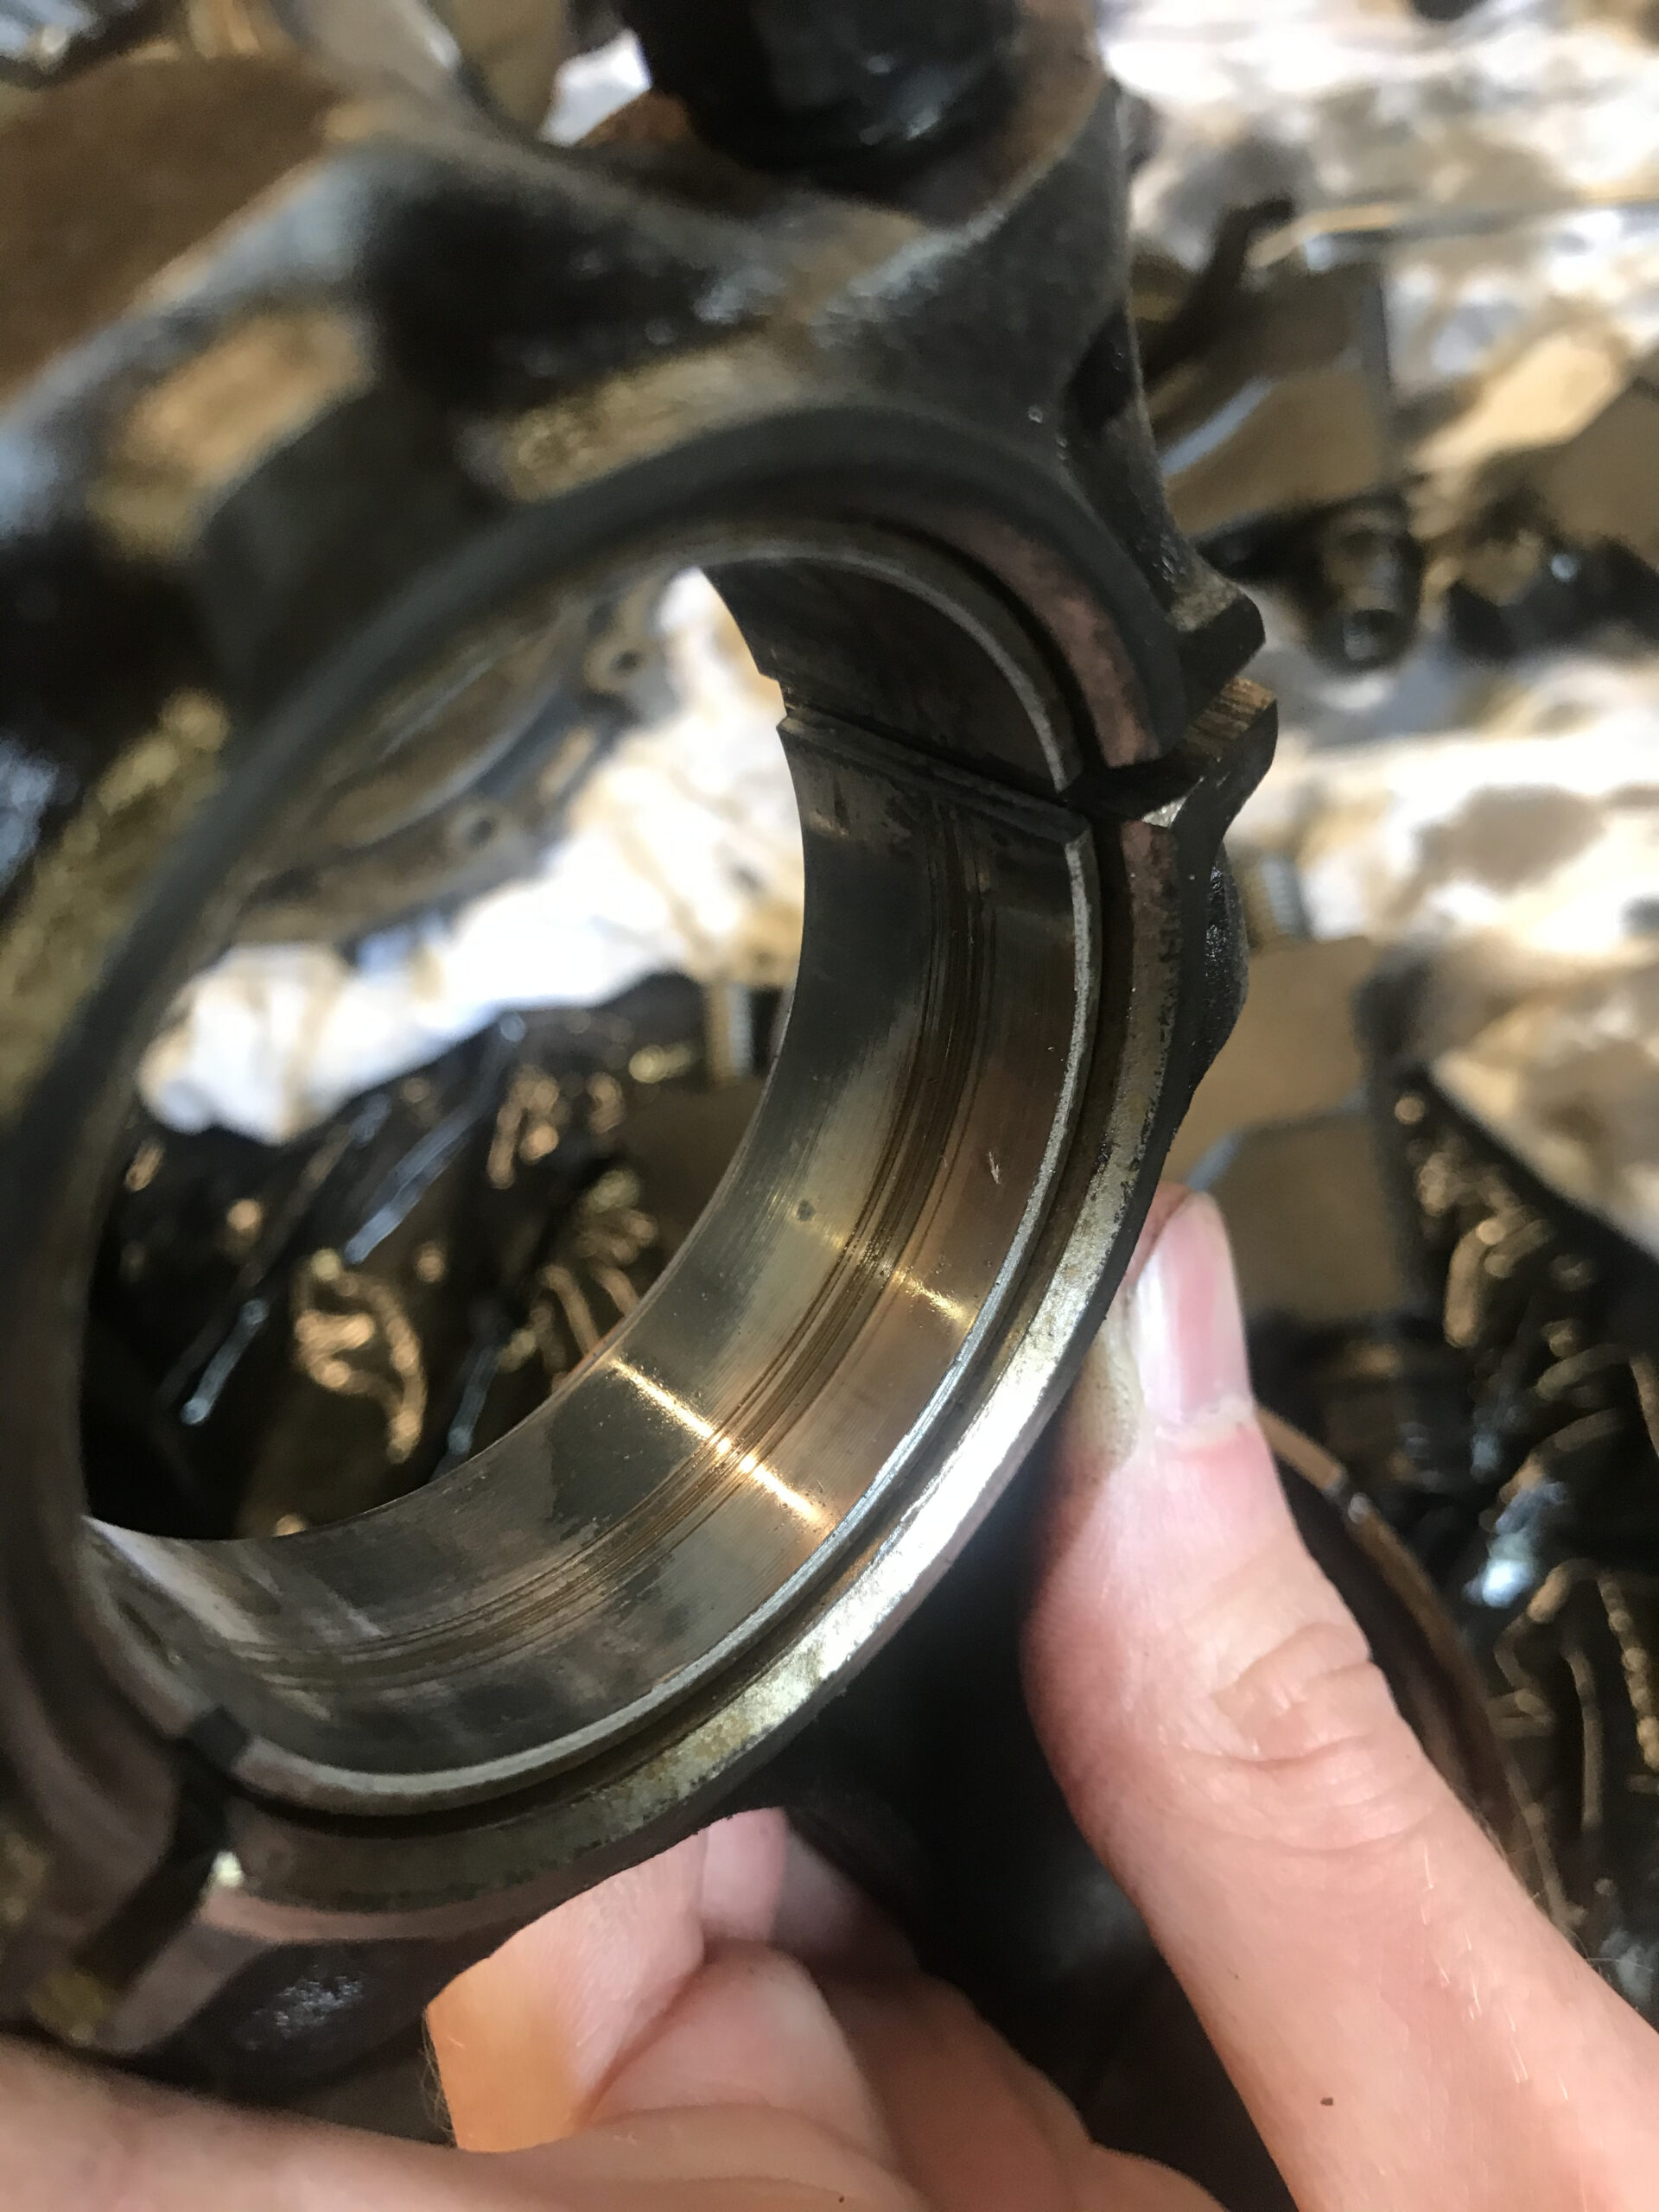
The first ring had broken on piston 3, chewing up the piston and the bore and somehow also cracking the lower ringland?! To boot, even the bearings and crank are scored, presumably either from bits of ring, or perhaps I didn’t get every bit of crank sprocket.
The cause of all this? Turned out in my rush to get the car back together, I’d refitted the crank position sensor in the original position, not the one I worked out it should be in when I did the T5 conversion. So, the ignition timing had been 18 degrees too far advanced.
Currently I’m just waiting for the engine shop to reopen so I can find out what can be salvaged.
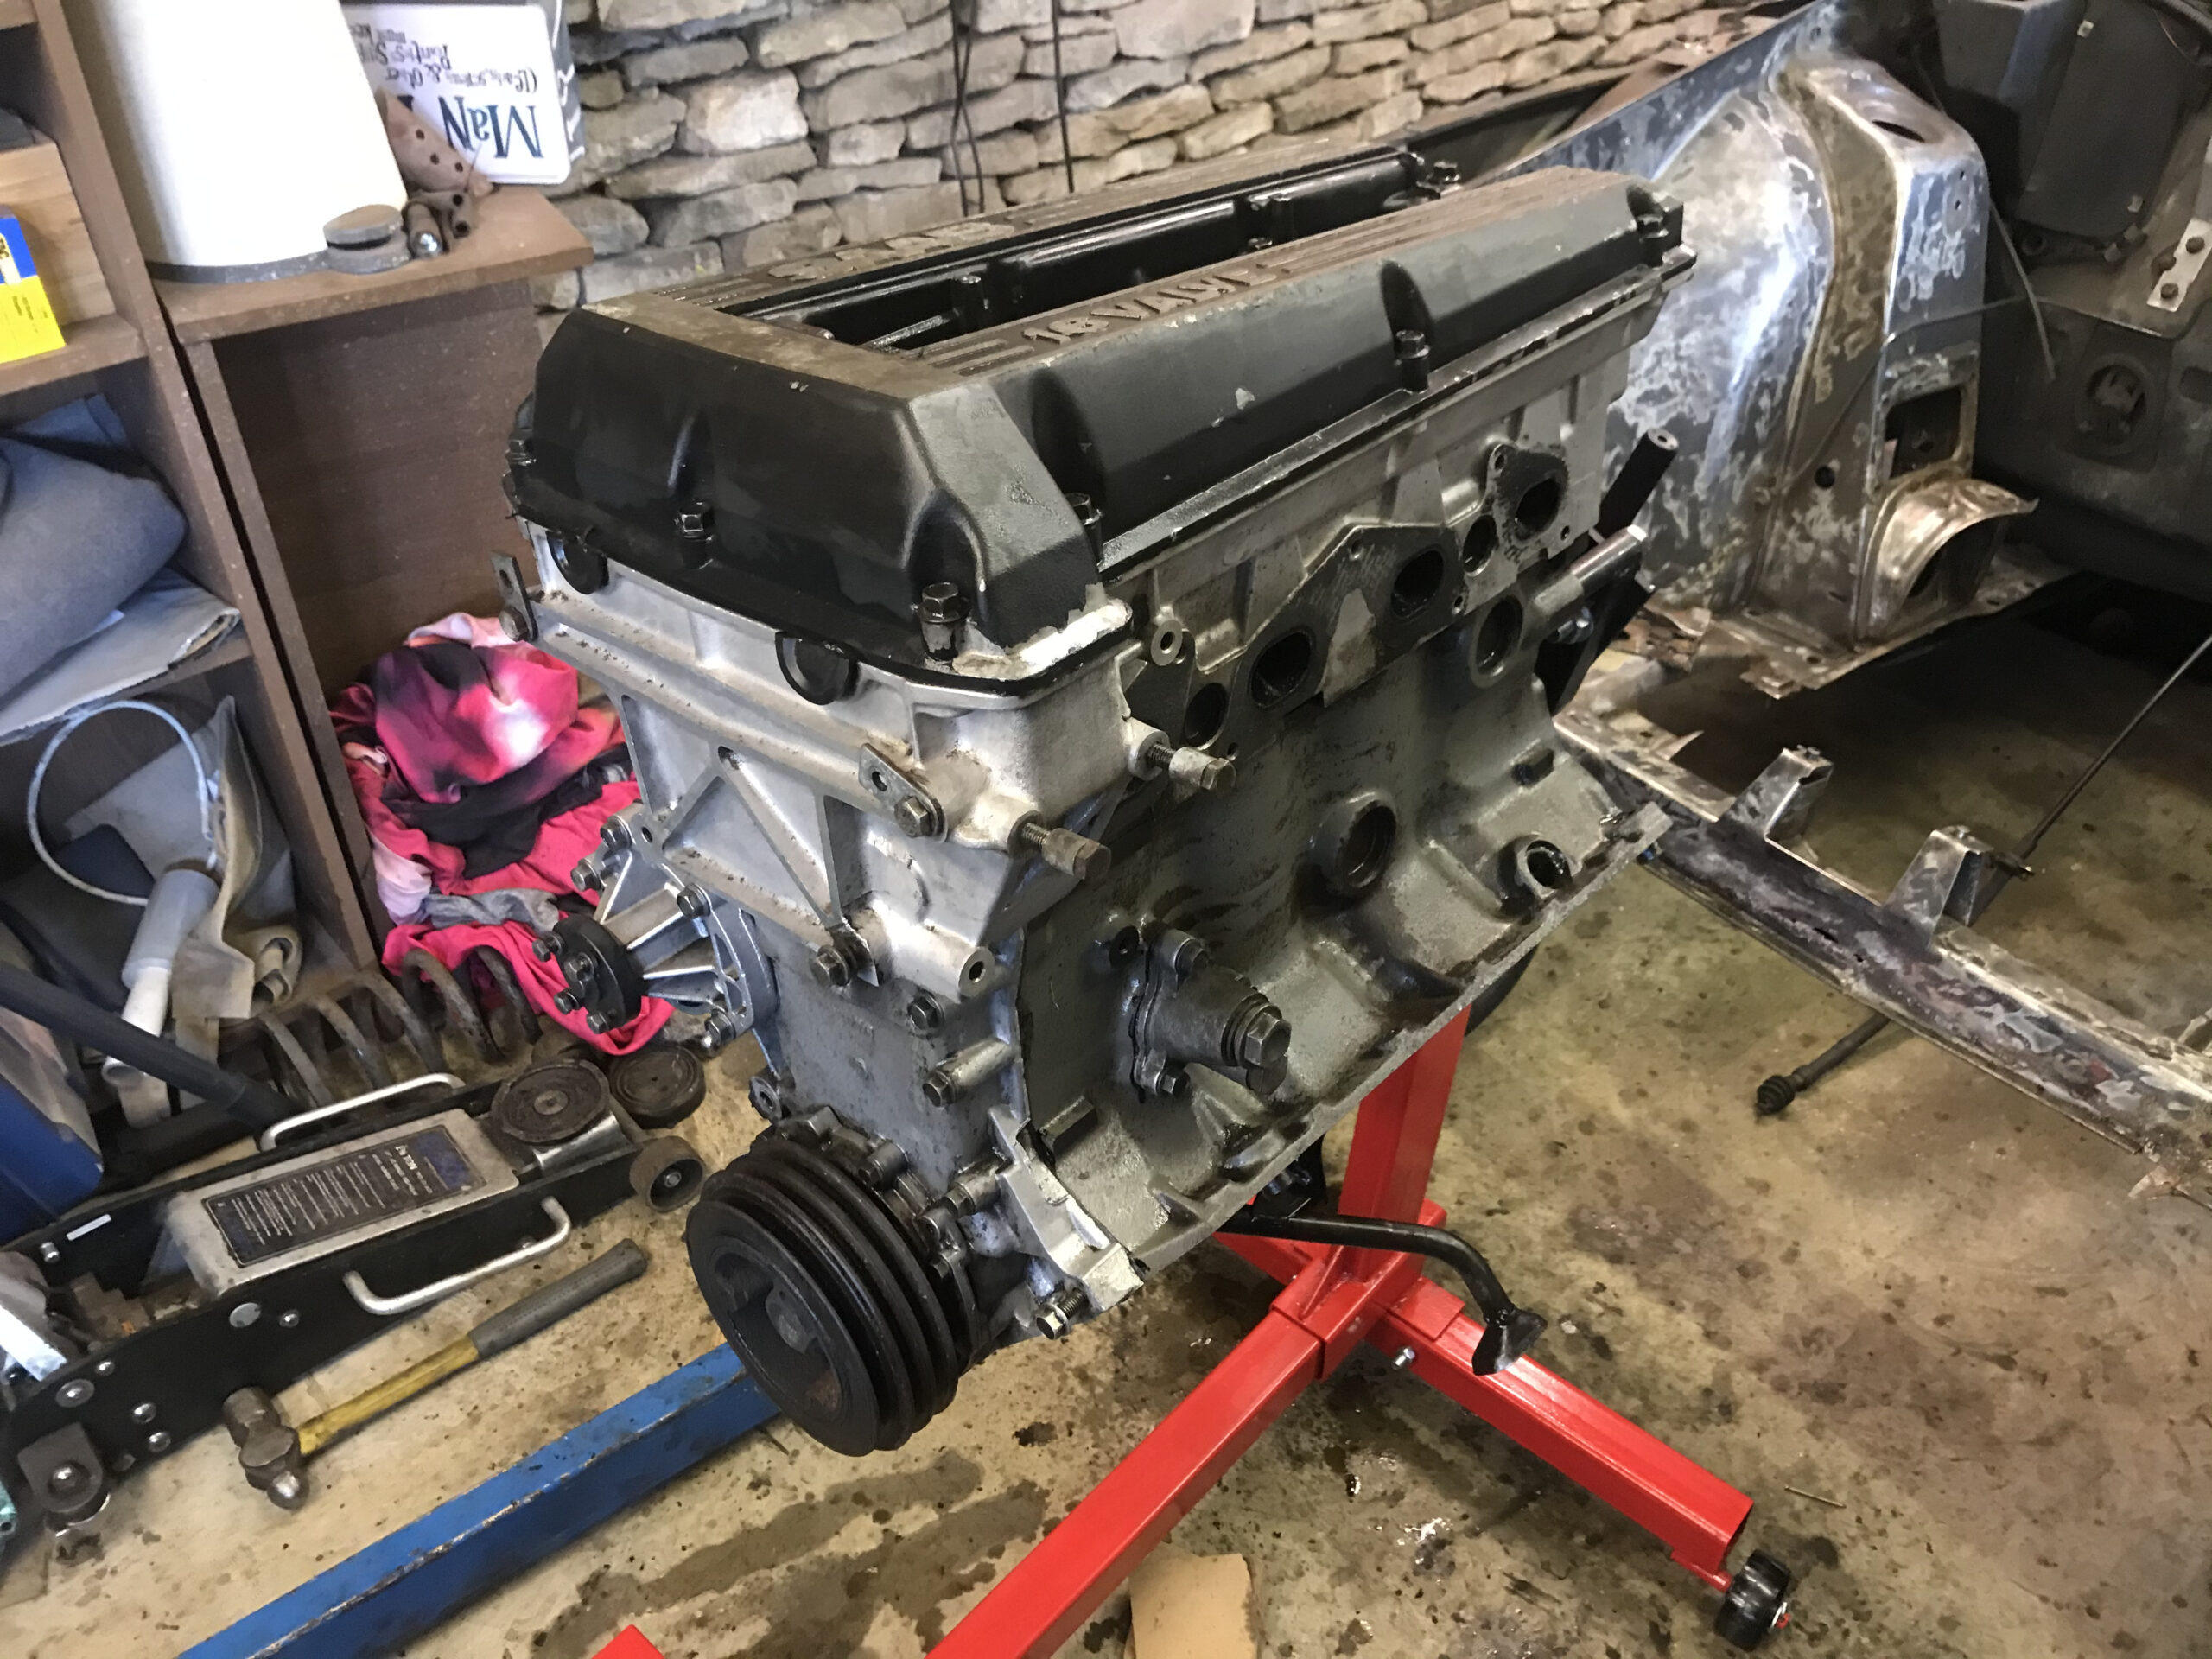
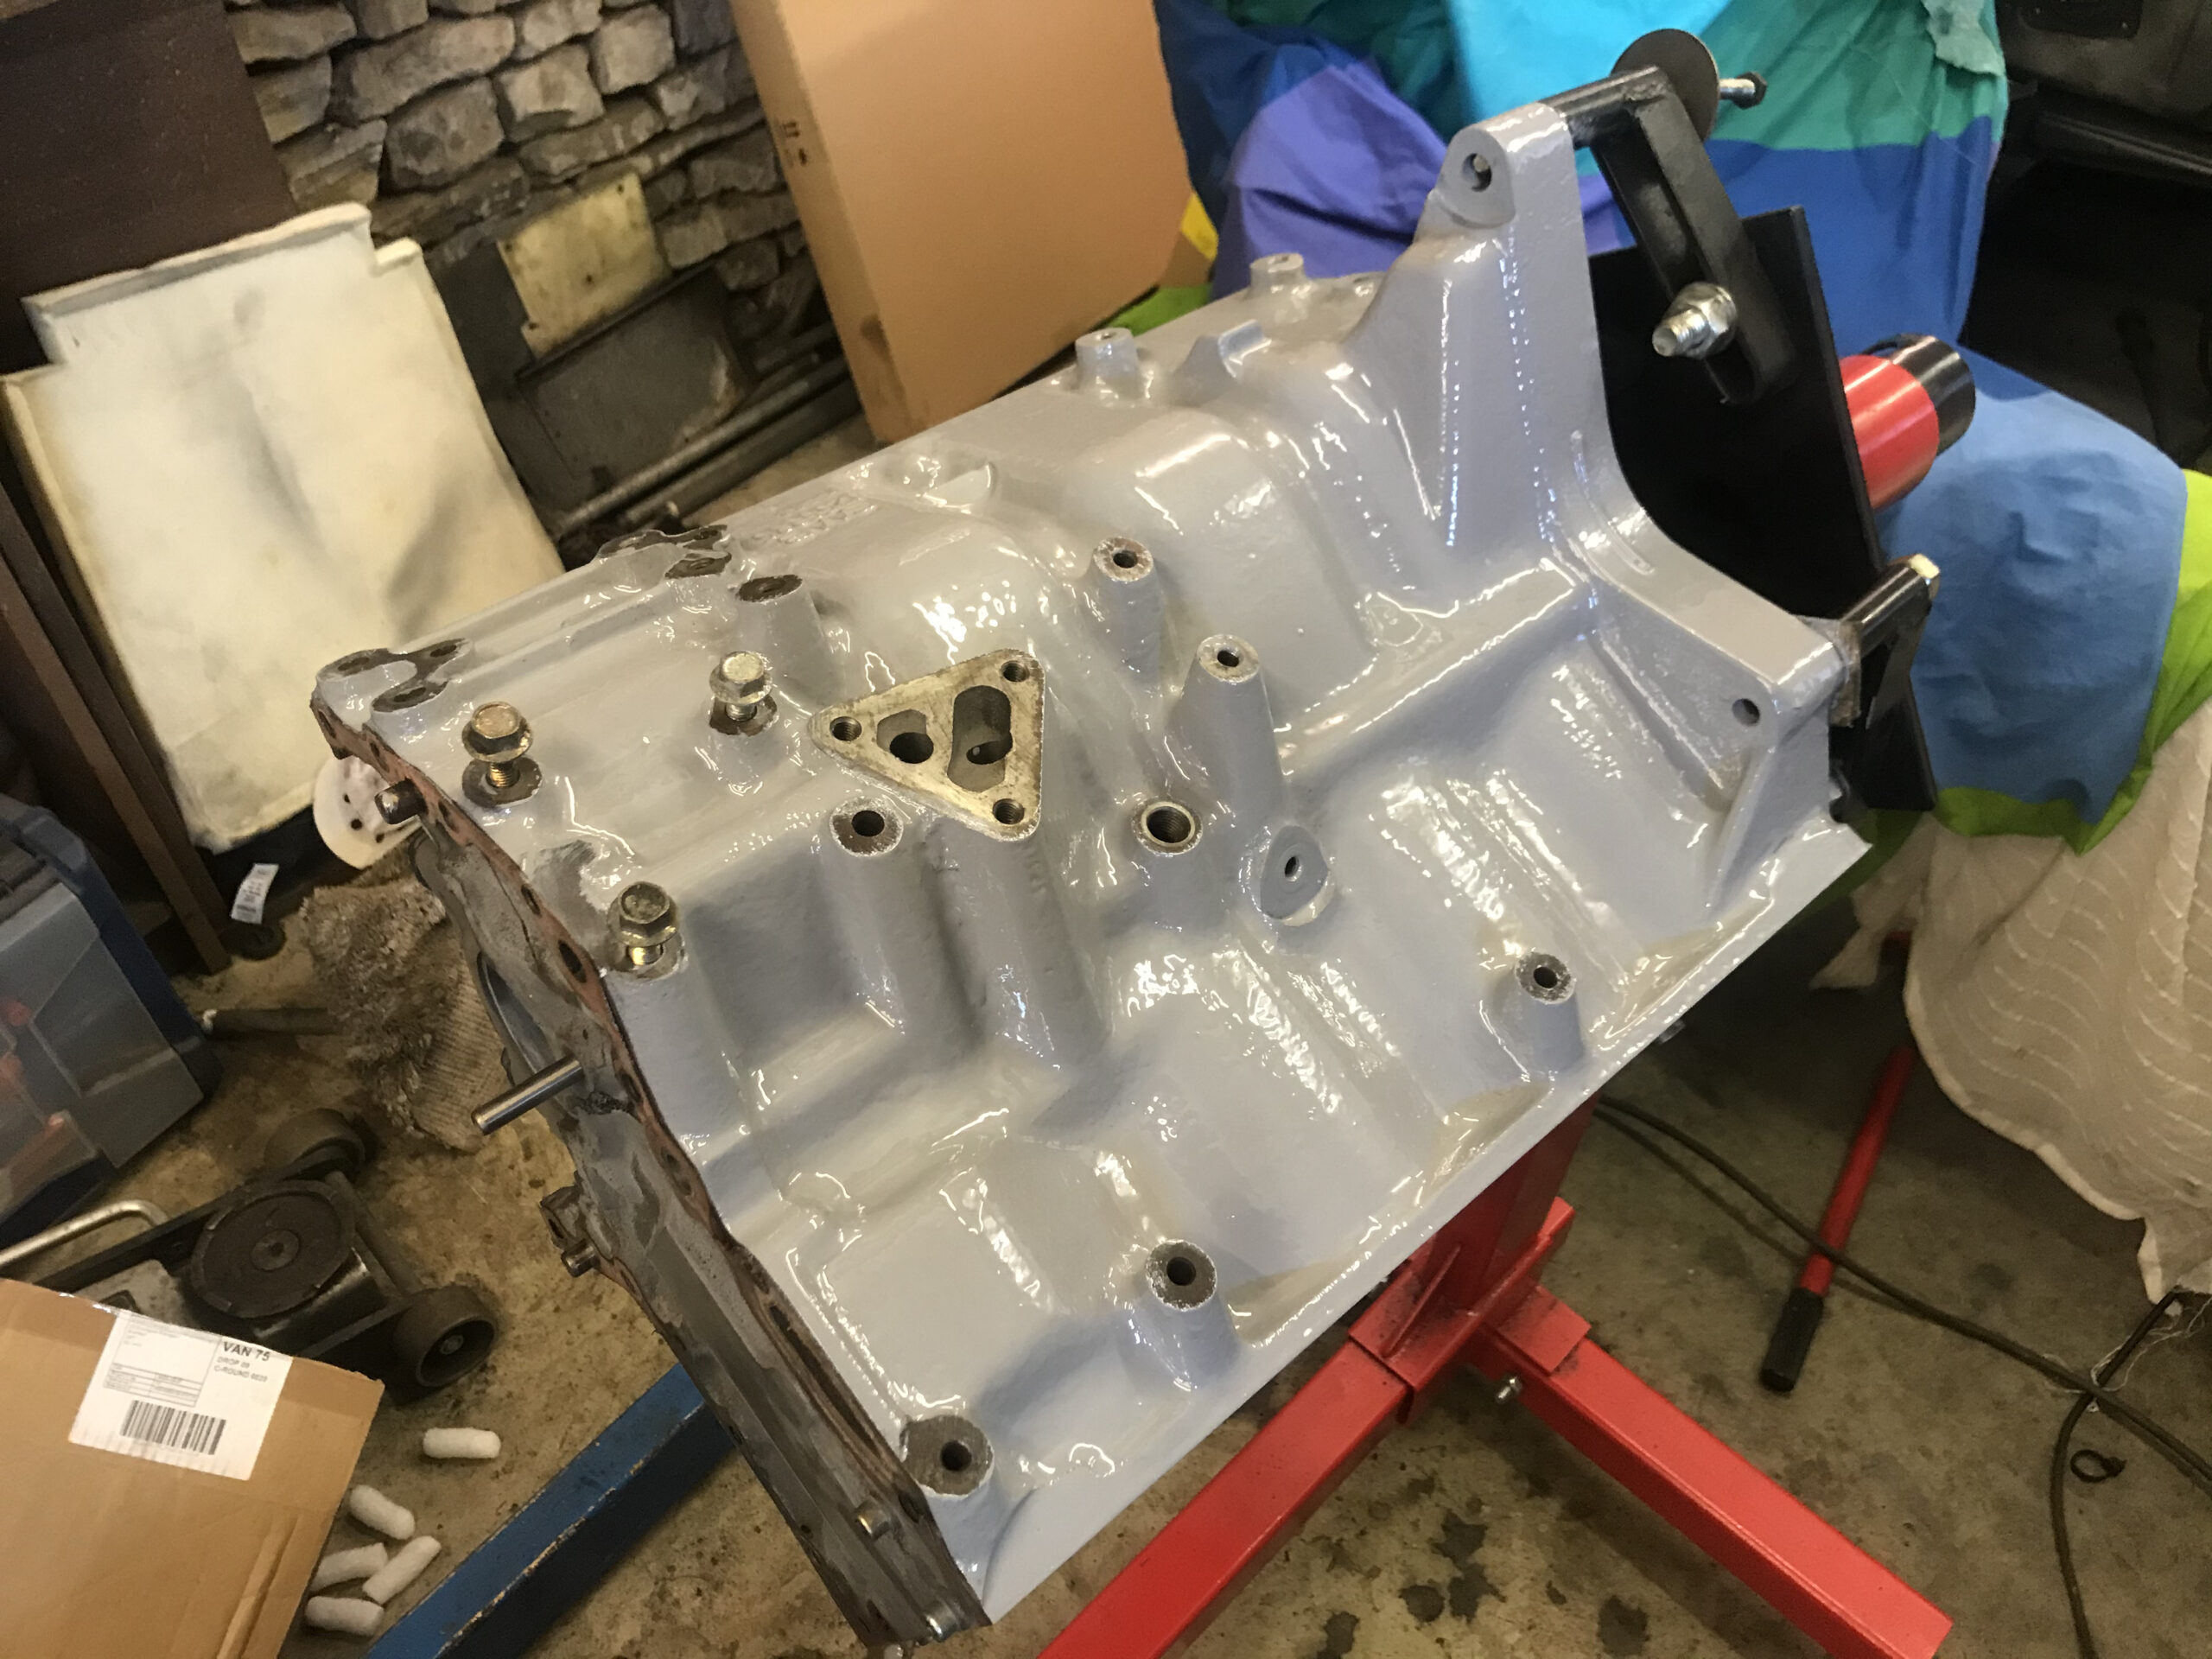
With the engine bay sorted it was time to start on the engine rebuild. I bought an engine stand and mounted it up.
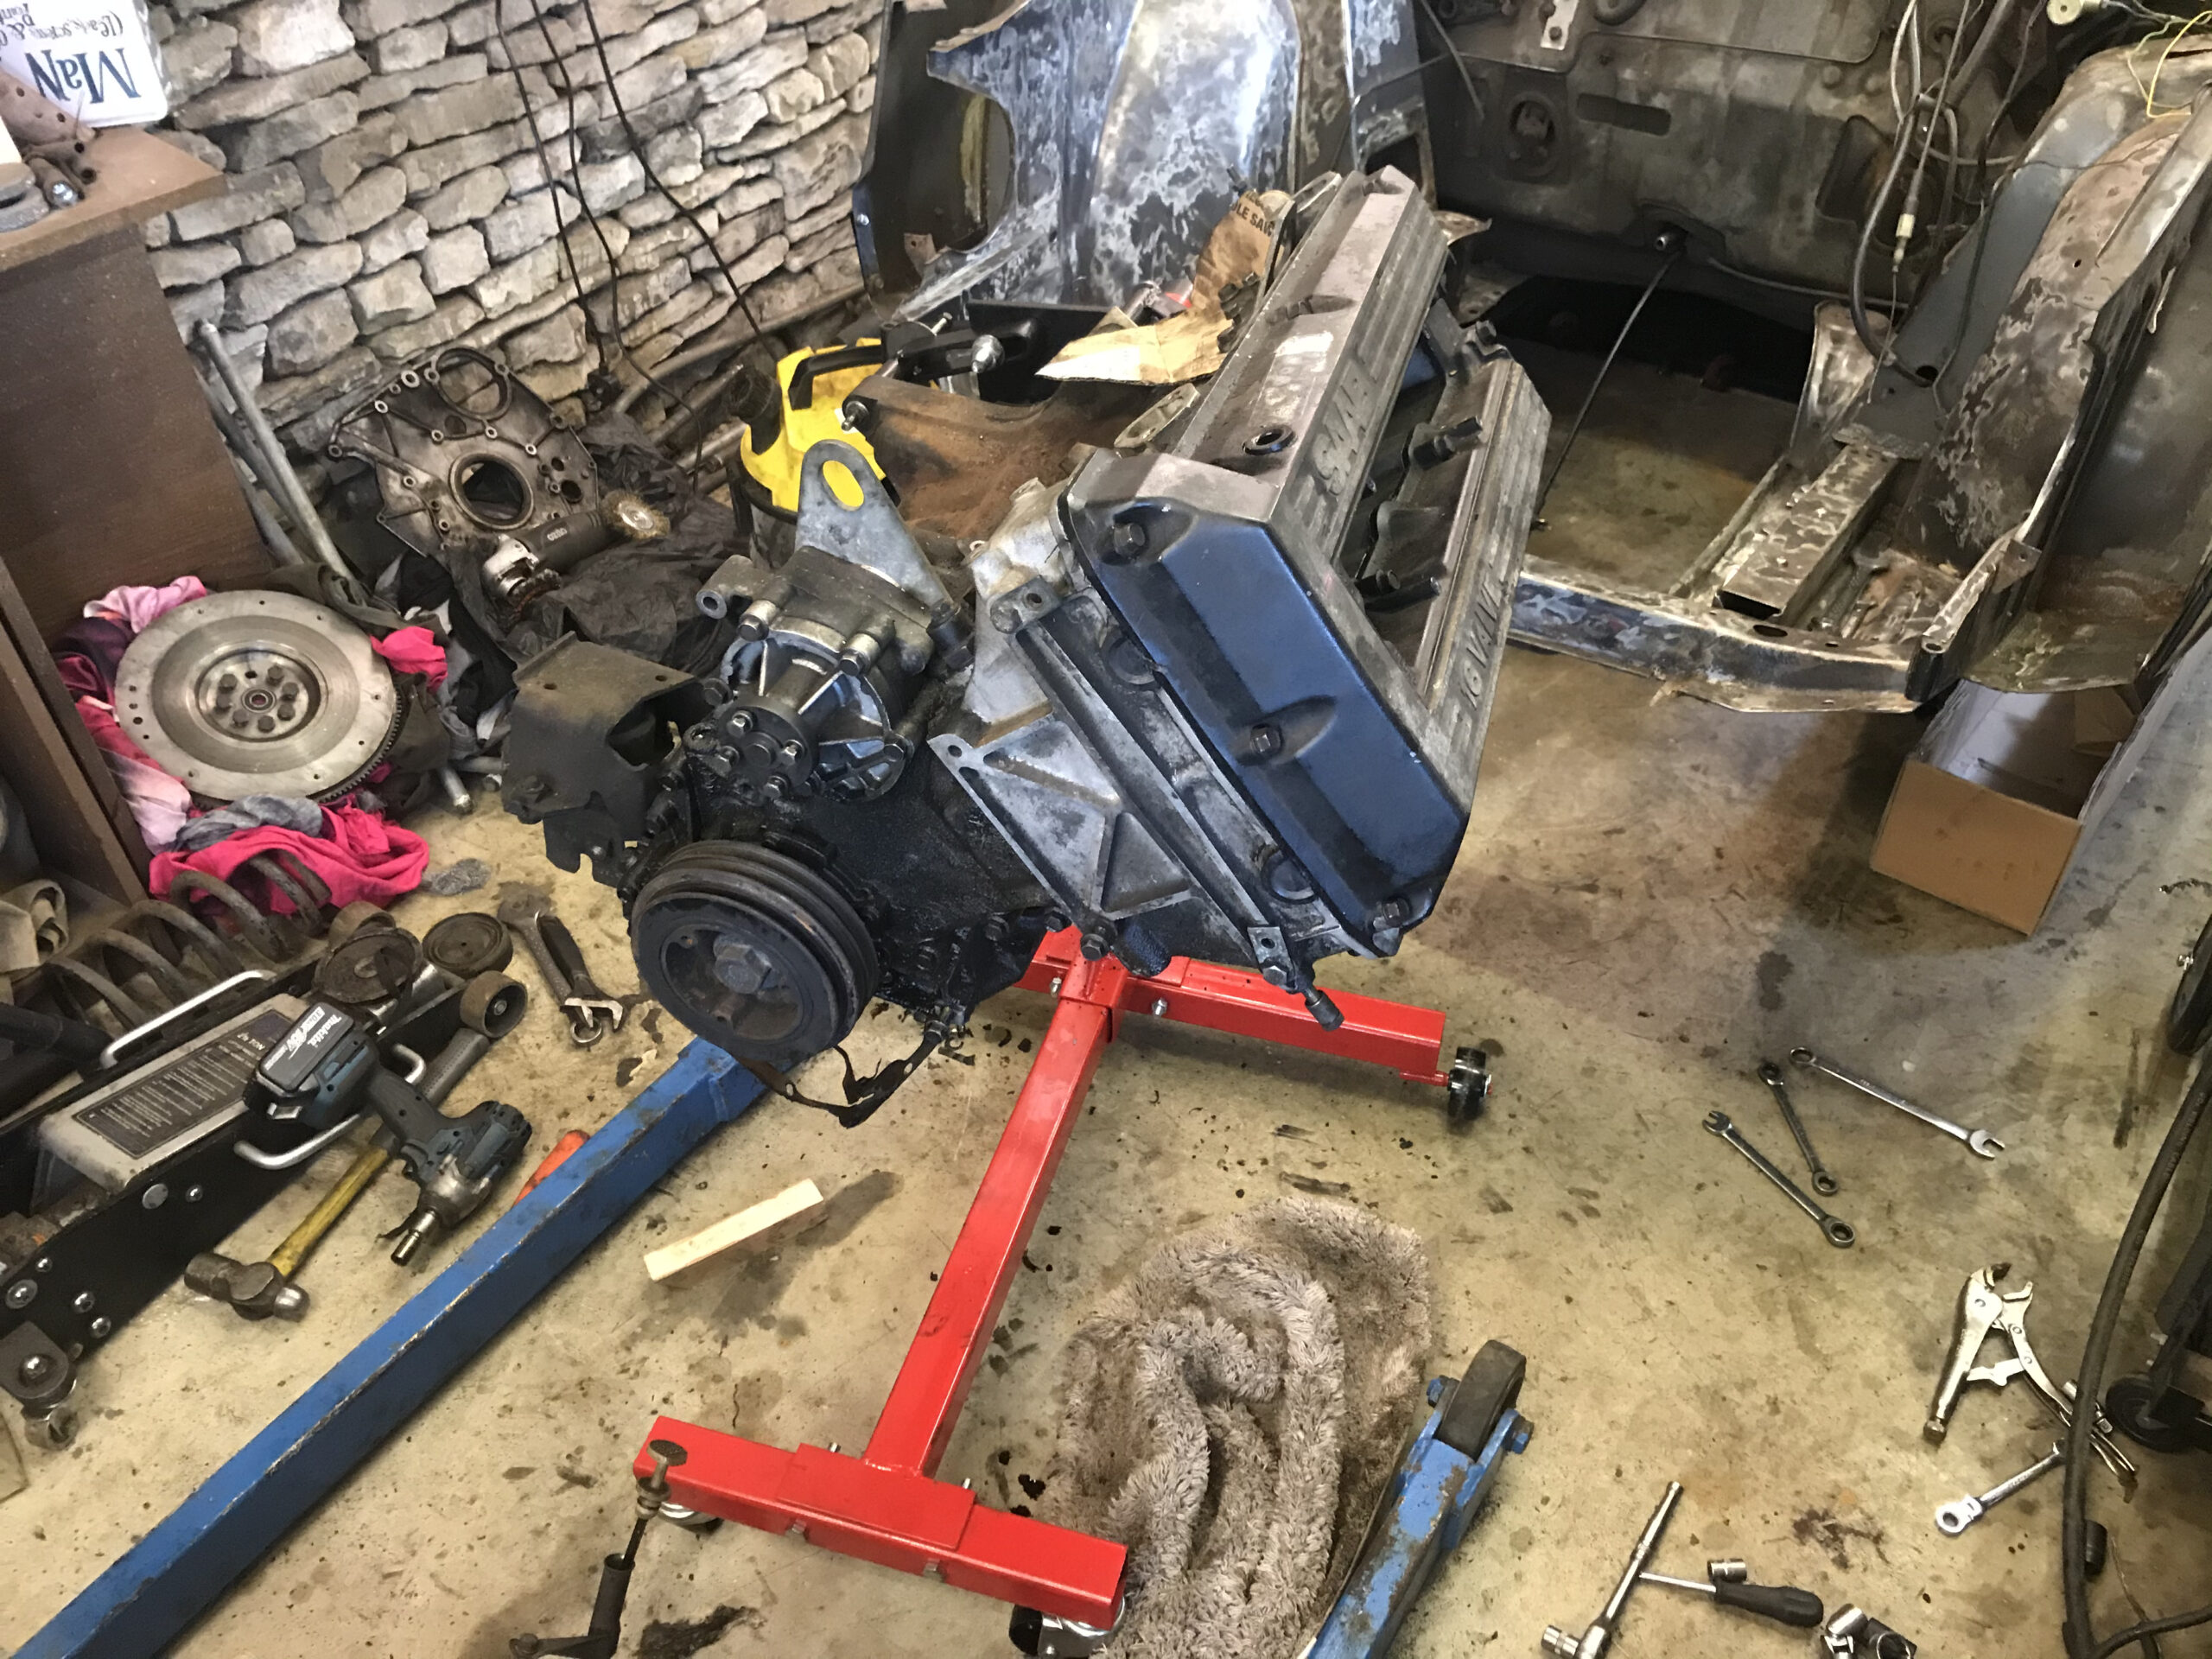
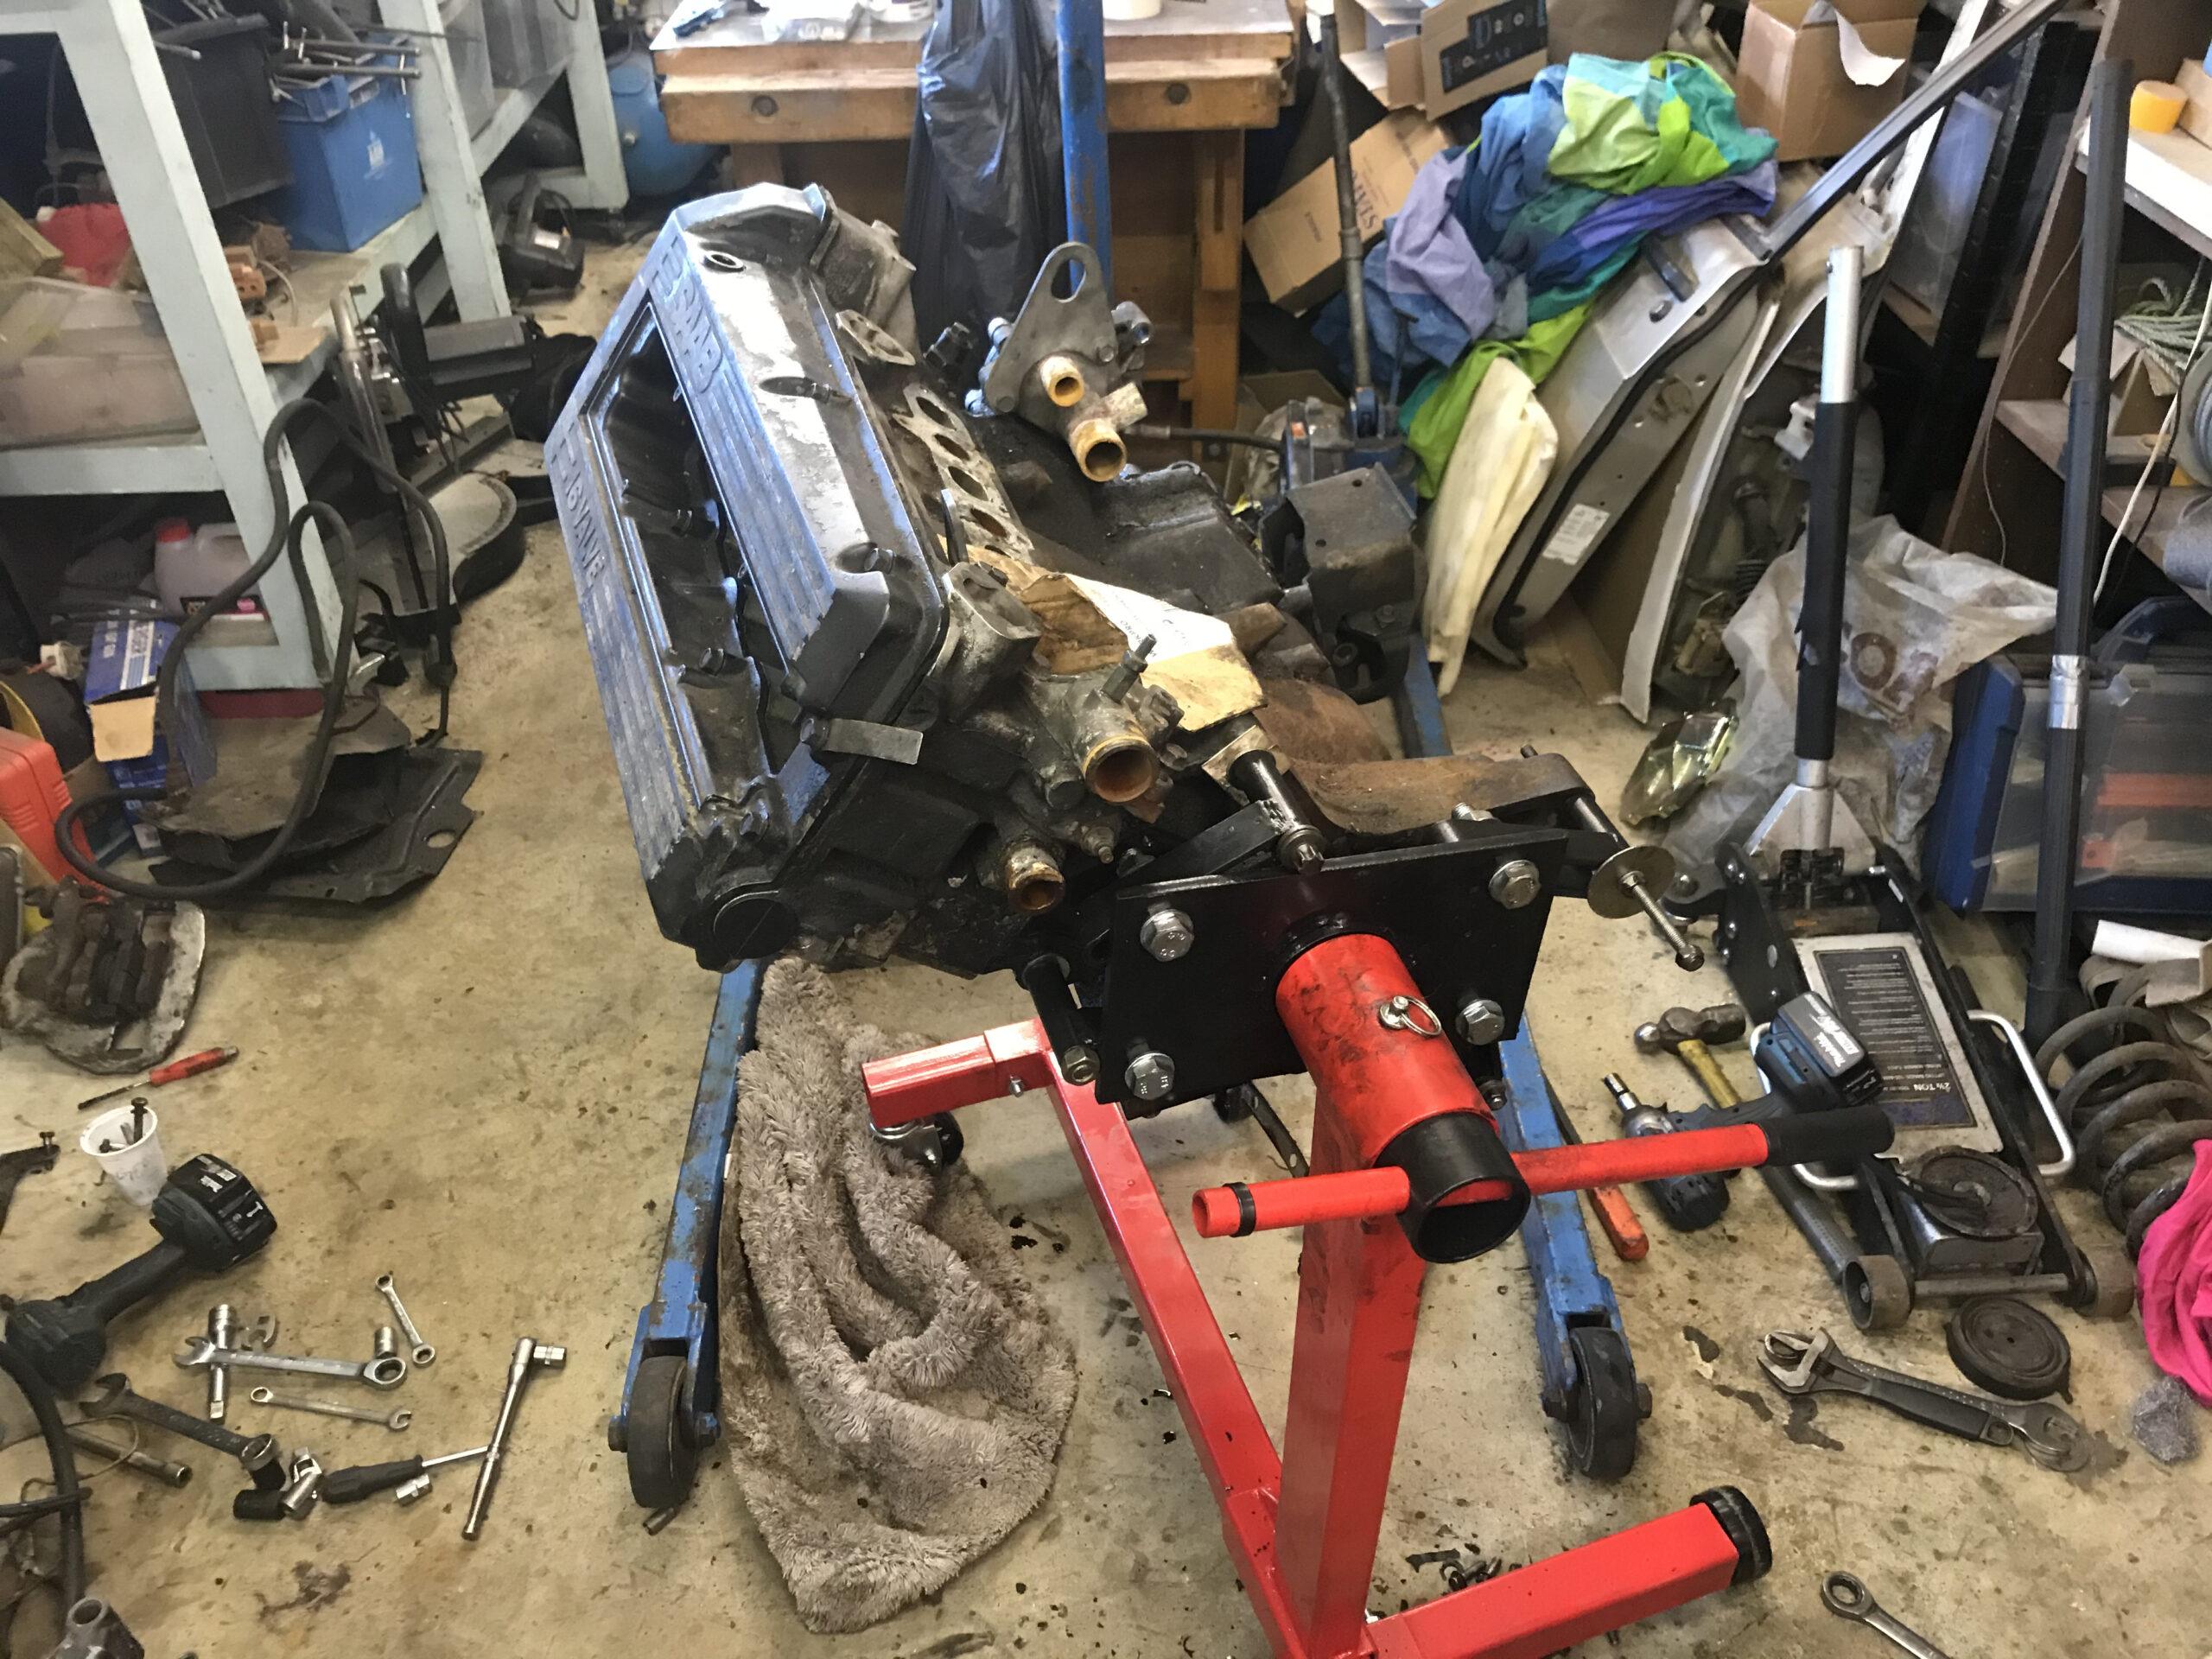
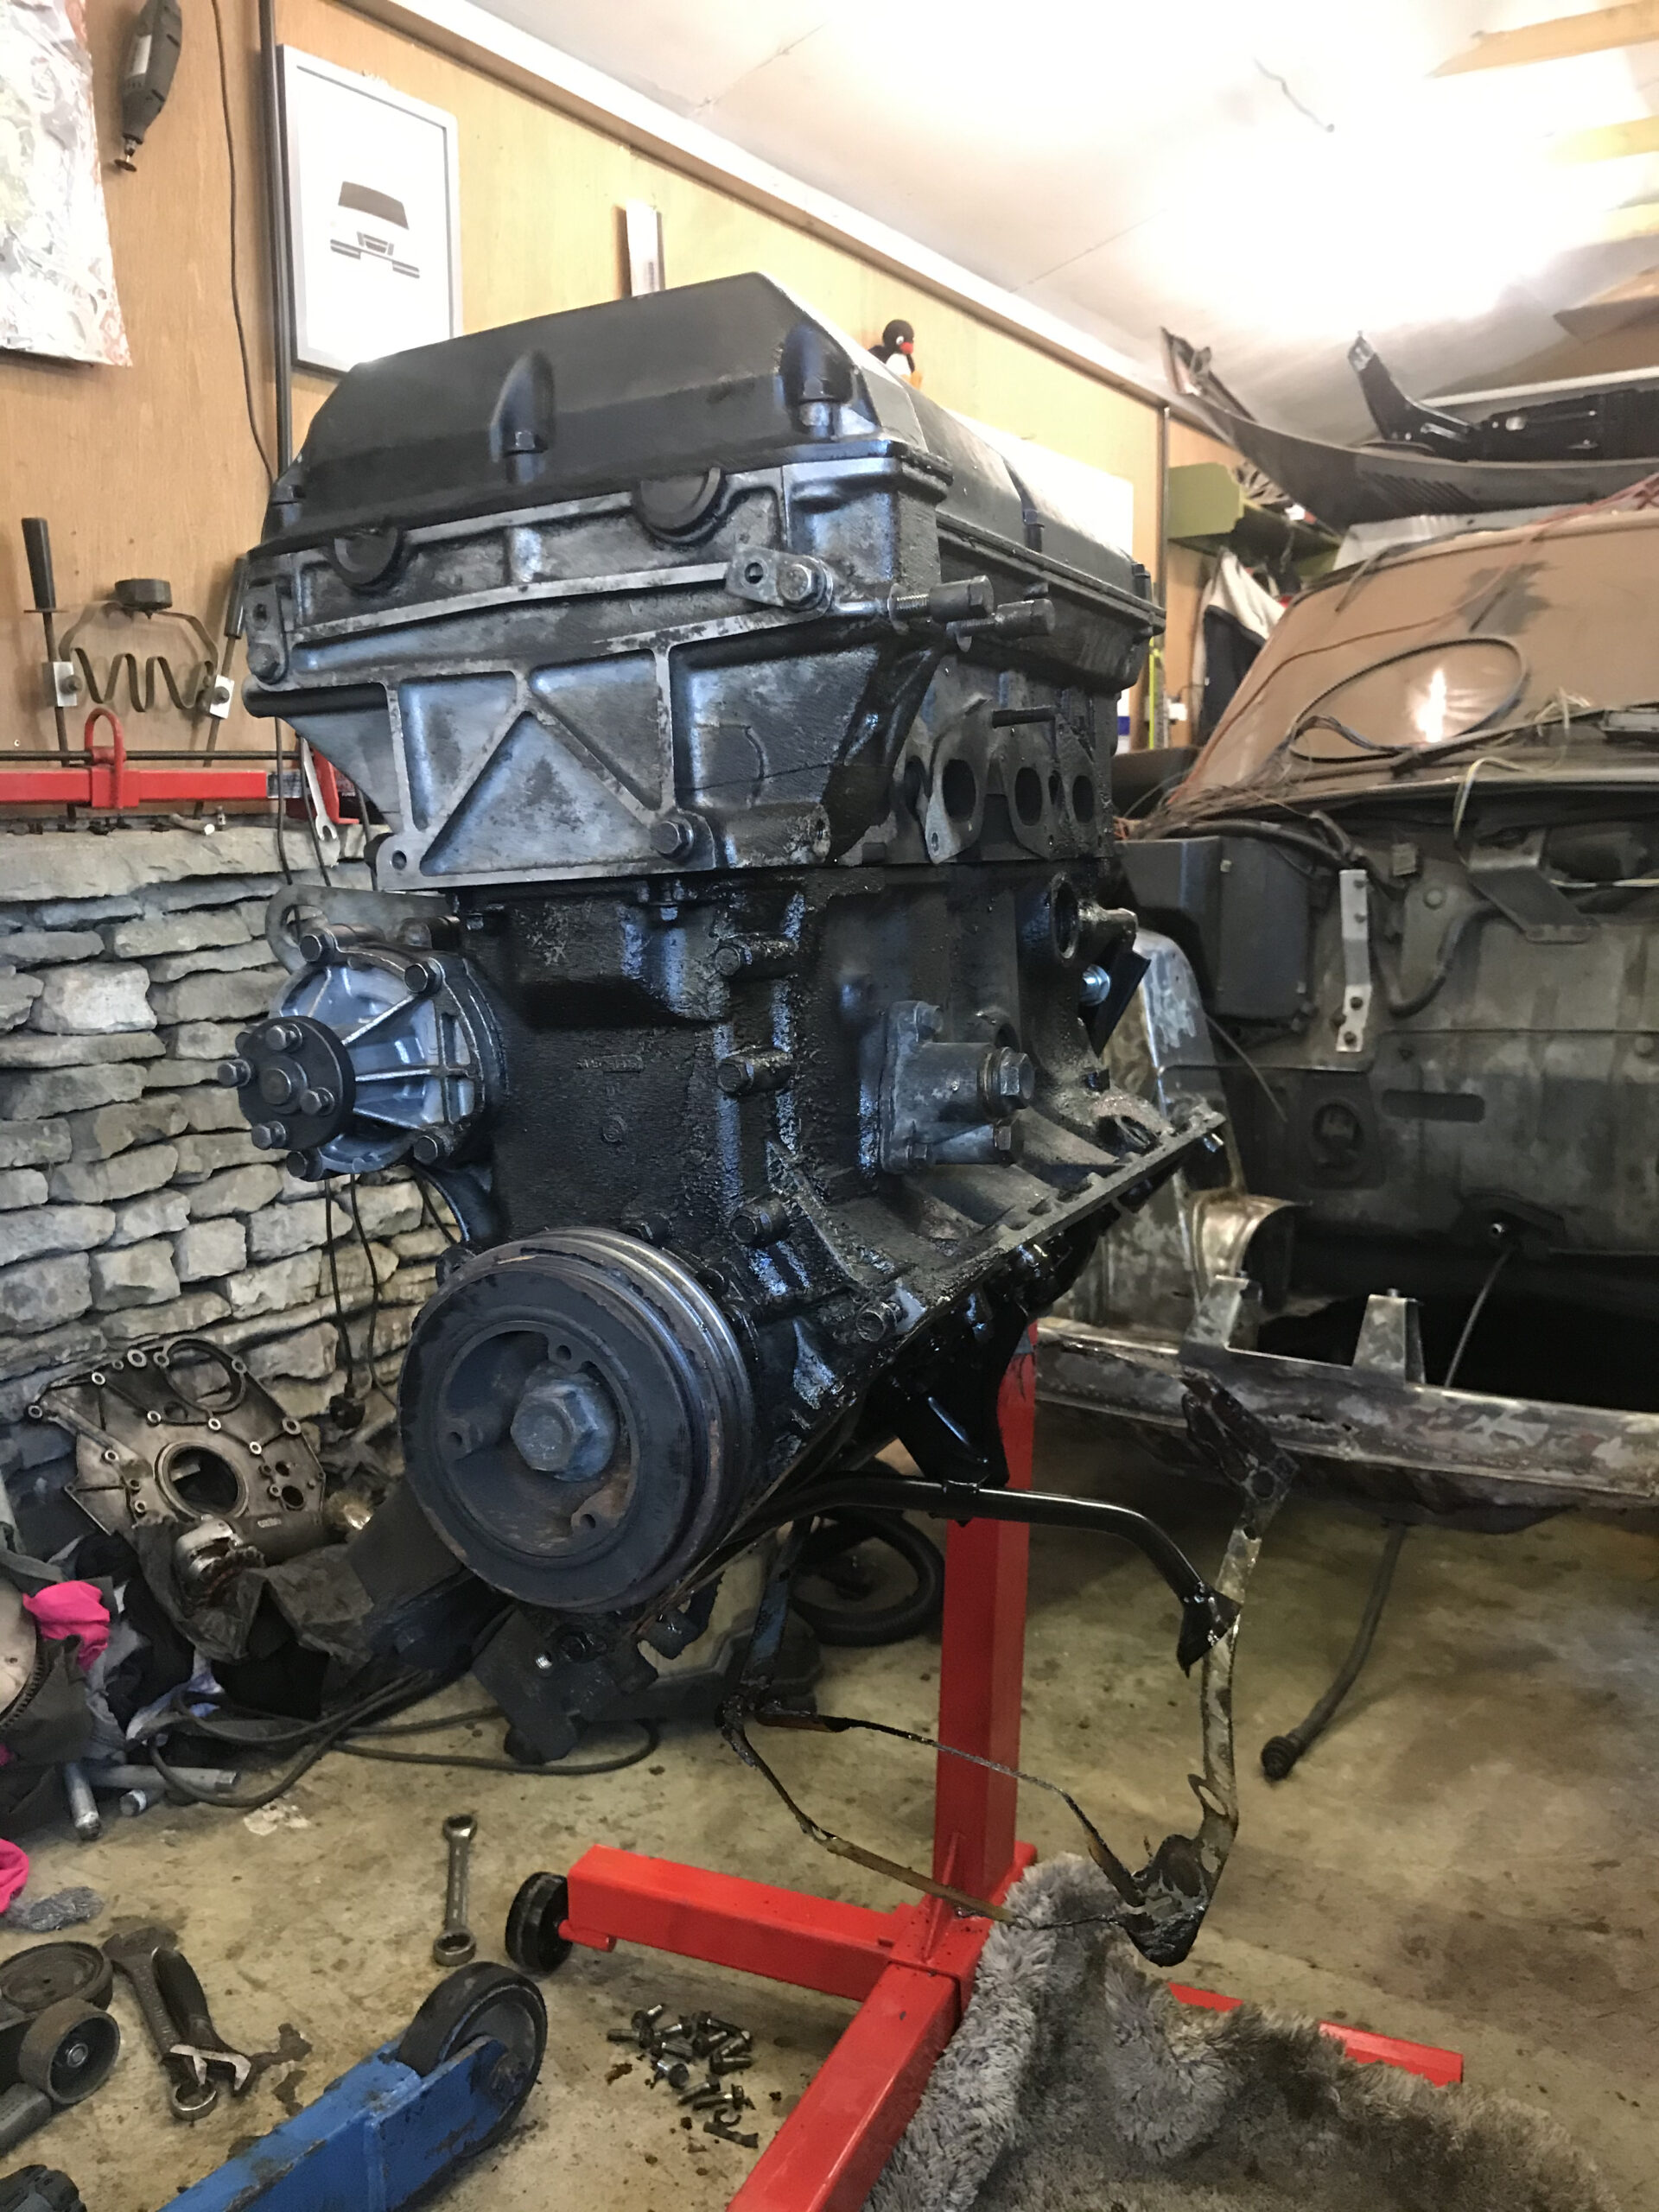
A quick clean up later…
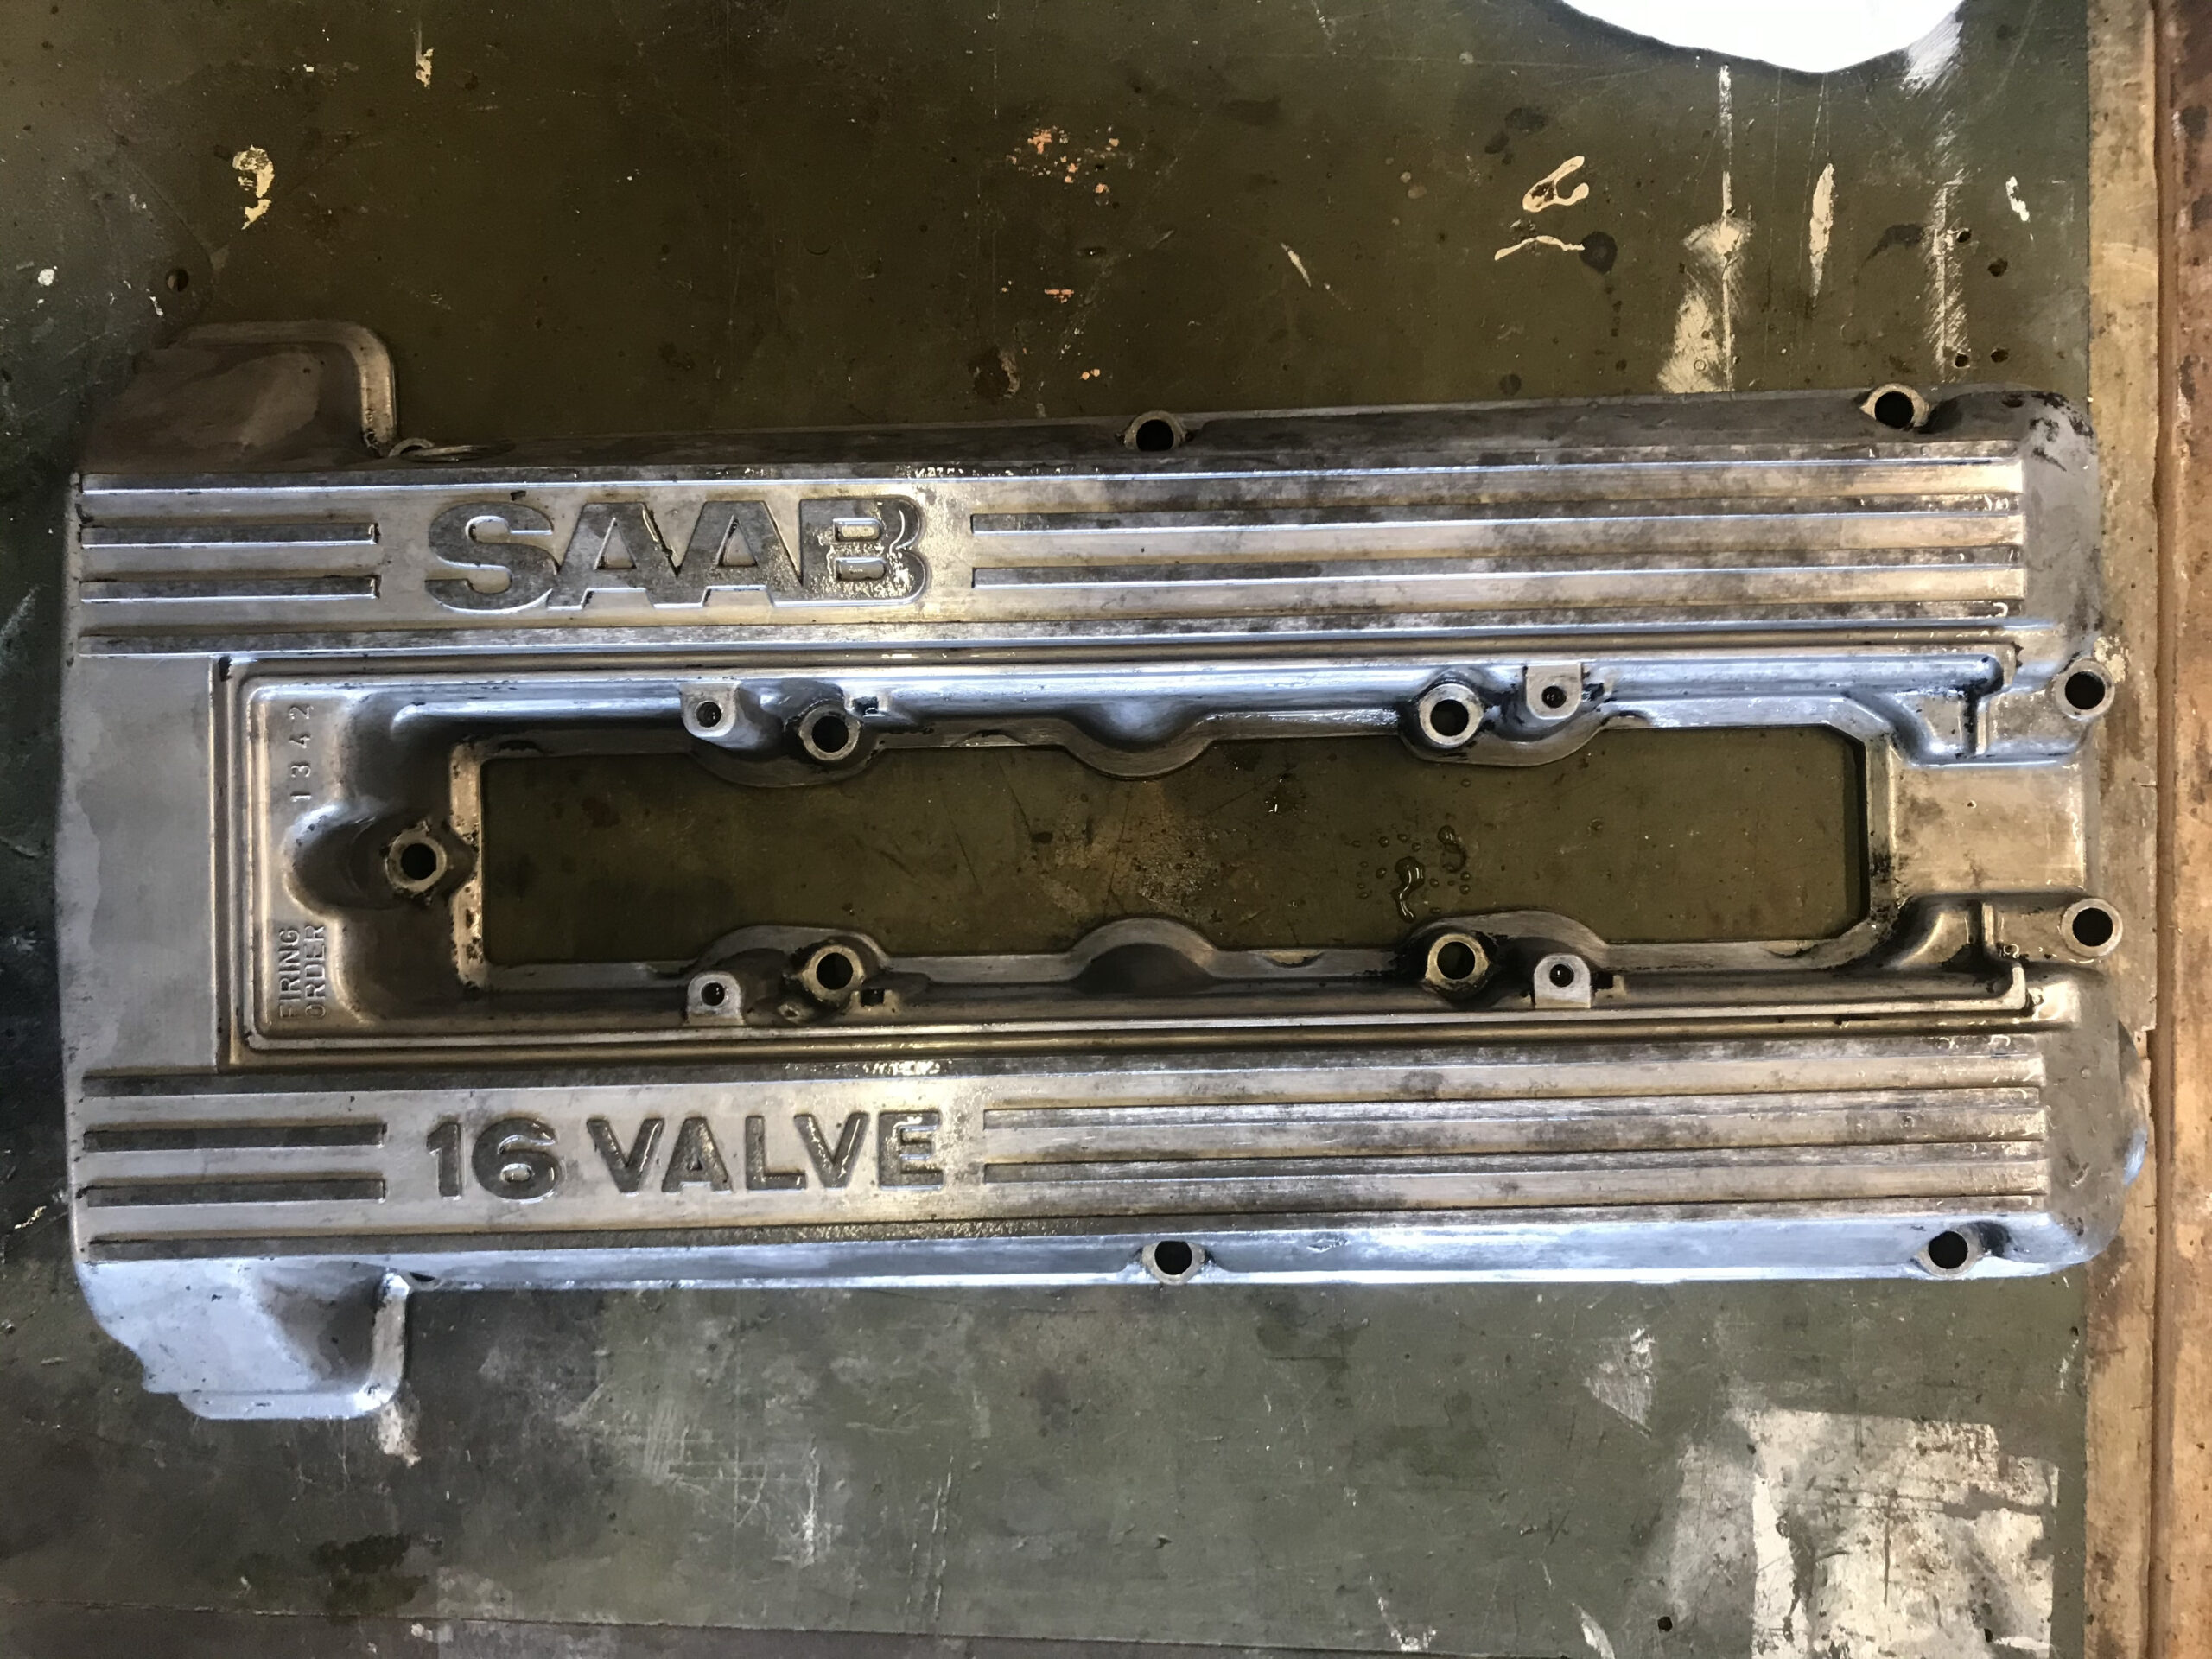
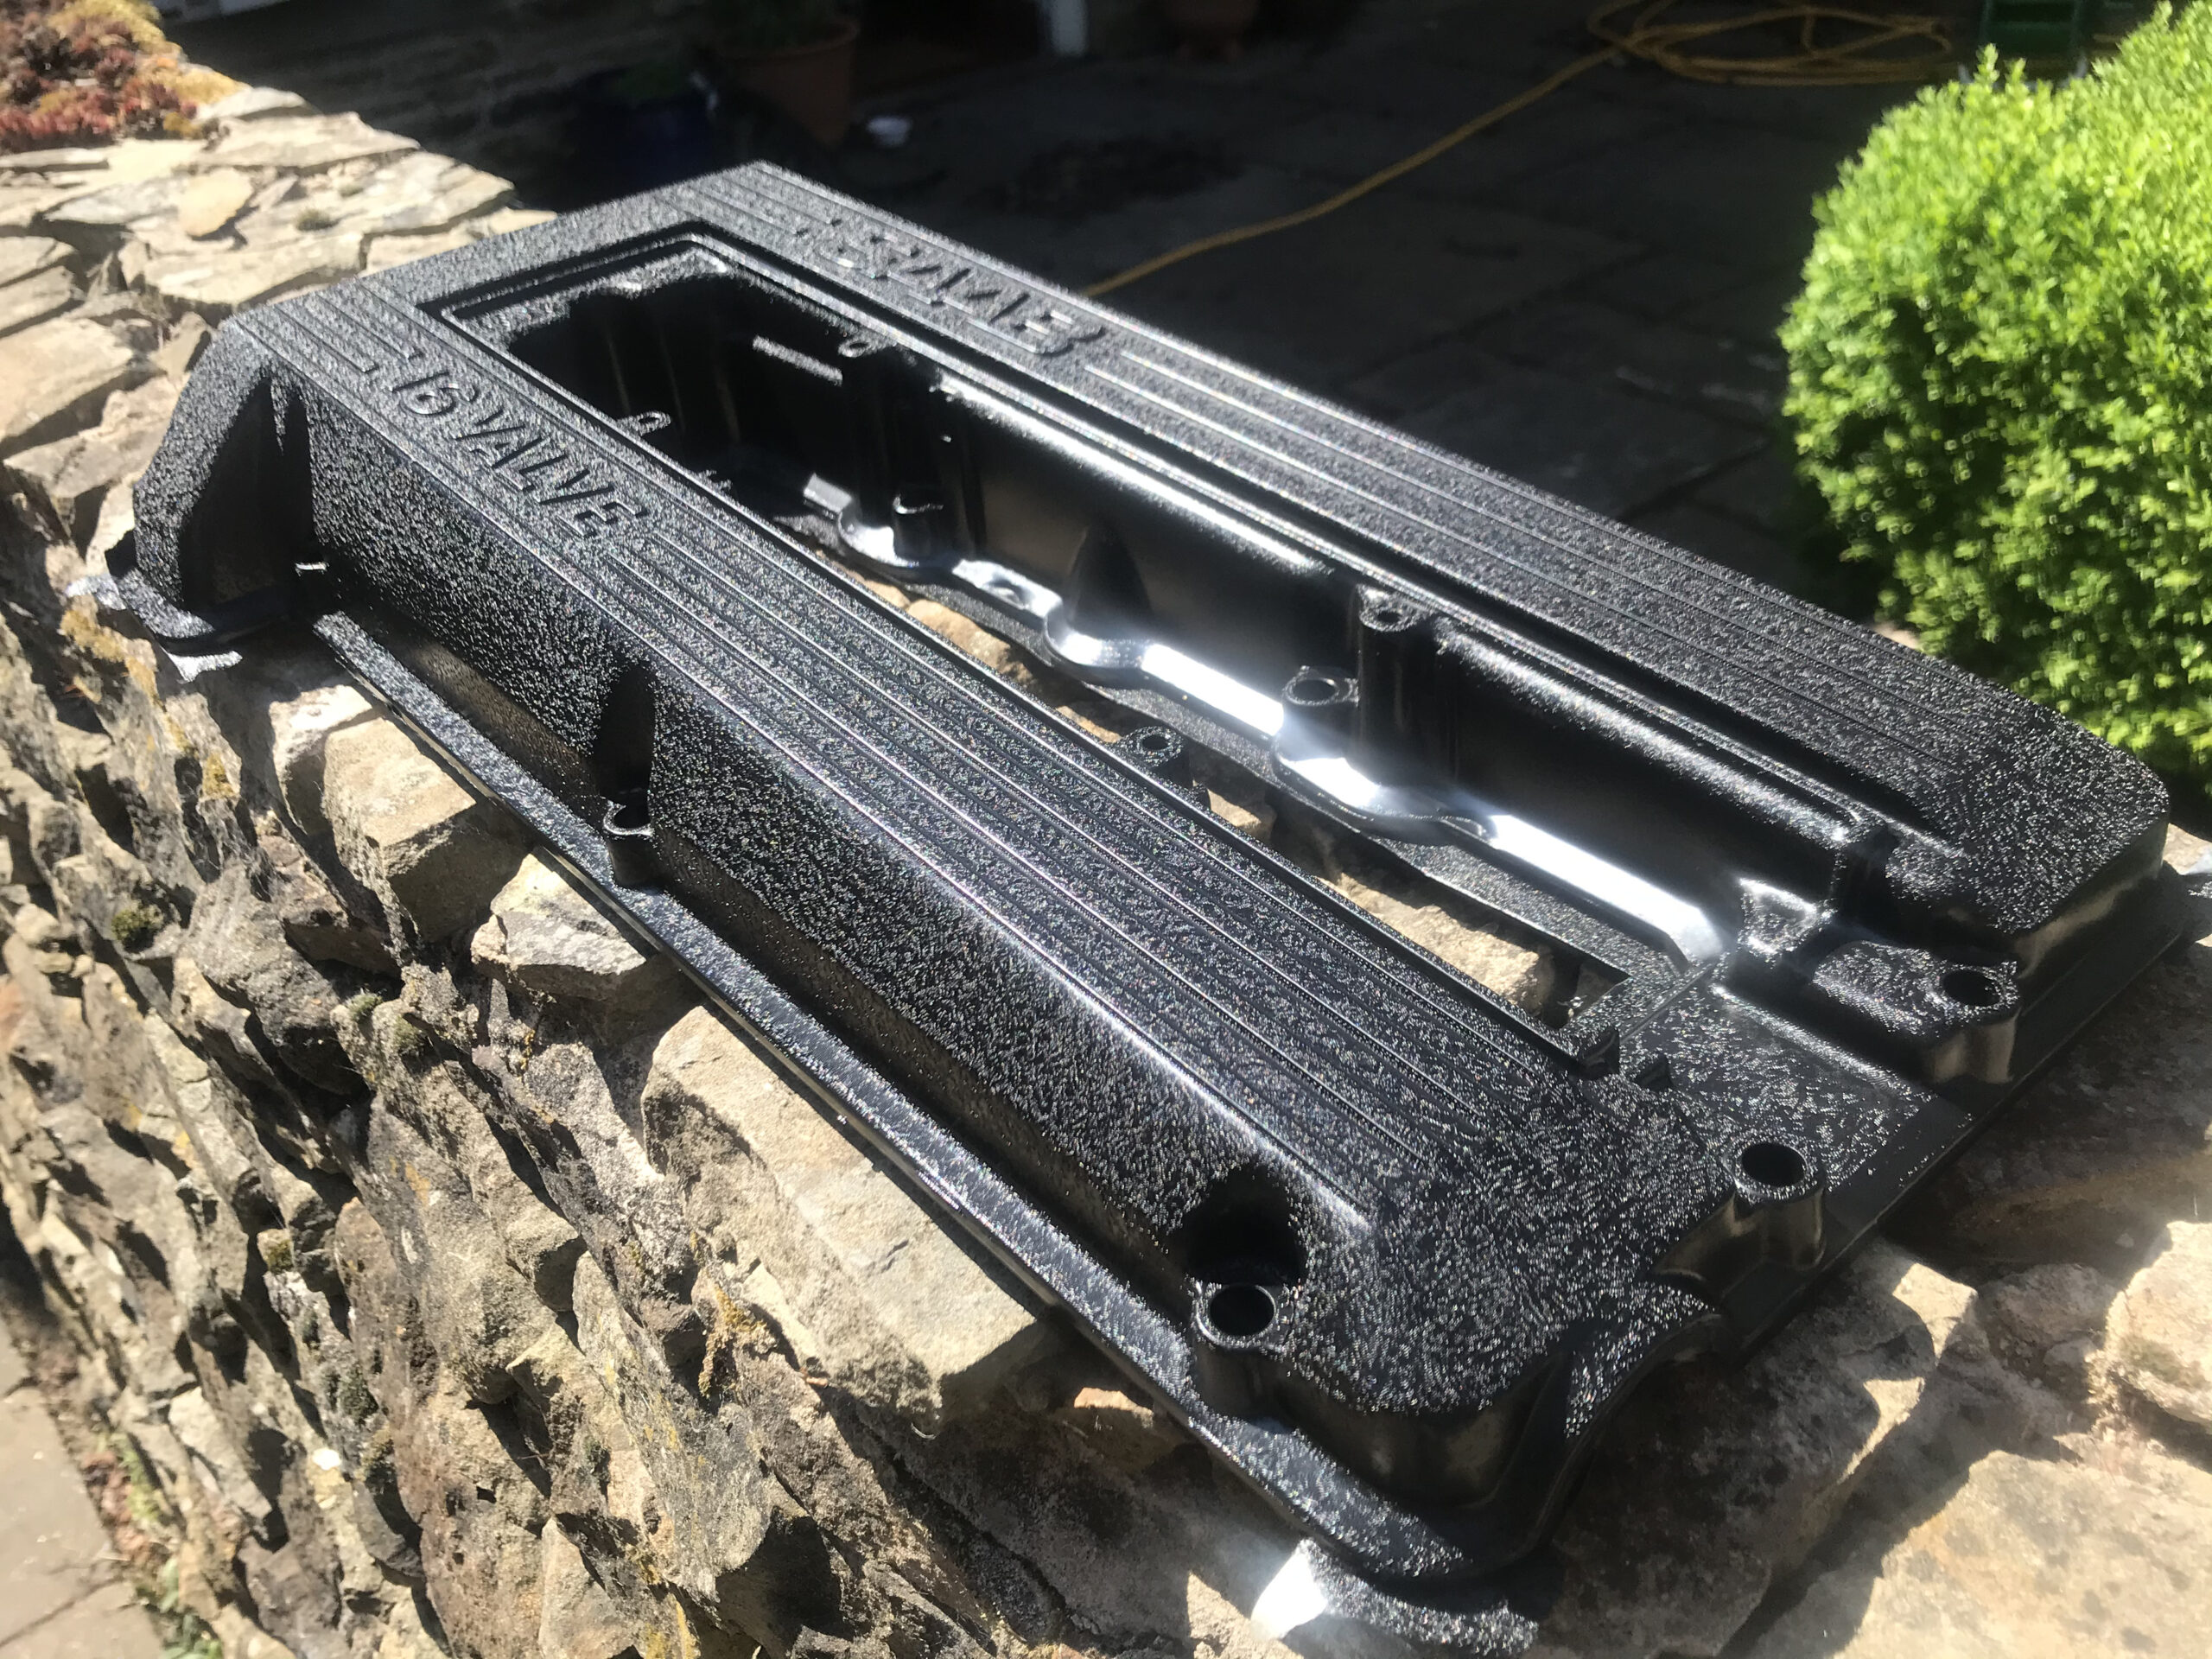
Stripped and wrinkle painted a spare cam cover:

Stripped the engine down to find no visible head gasket failure, but pretty tired bearings.
The block, crank and head went to the machine shop where the head was skimmed, block honed and crank journals polished. New standard size bearings and piston rings were sourced, along with a full timing kit. The chain guides had to be sourced from Sweden at great expense. I had a spare later head from Erika that I considered fitting but learned that the later heads have a different combustion chamber which combined with my earlier pistons would reduce the compression ratio. Keeping the existing head meant sourcing new plastic nipples for the cam oiler tubes which the later heads don’t have. These tiny bits of plastic were really hard to find, and I ended up having to pay £80 for them.


Turns out early cam covers have a different sized rubber chain guide, which I was unable to source so I trimmed down a later one to fit.

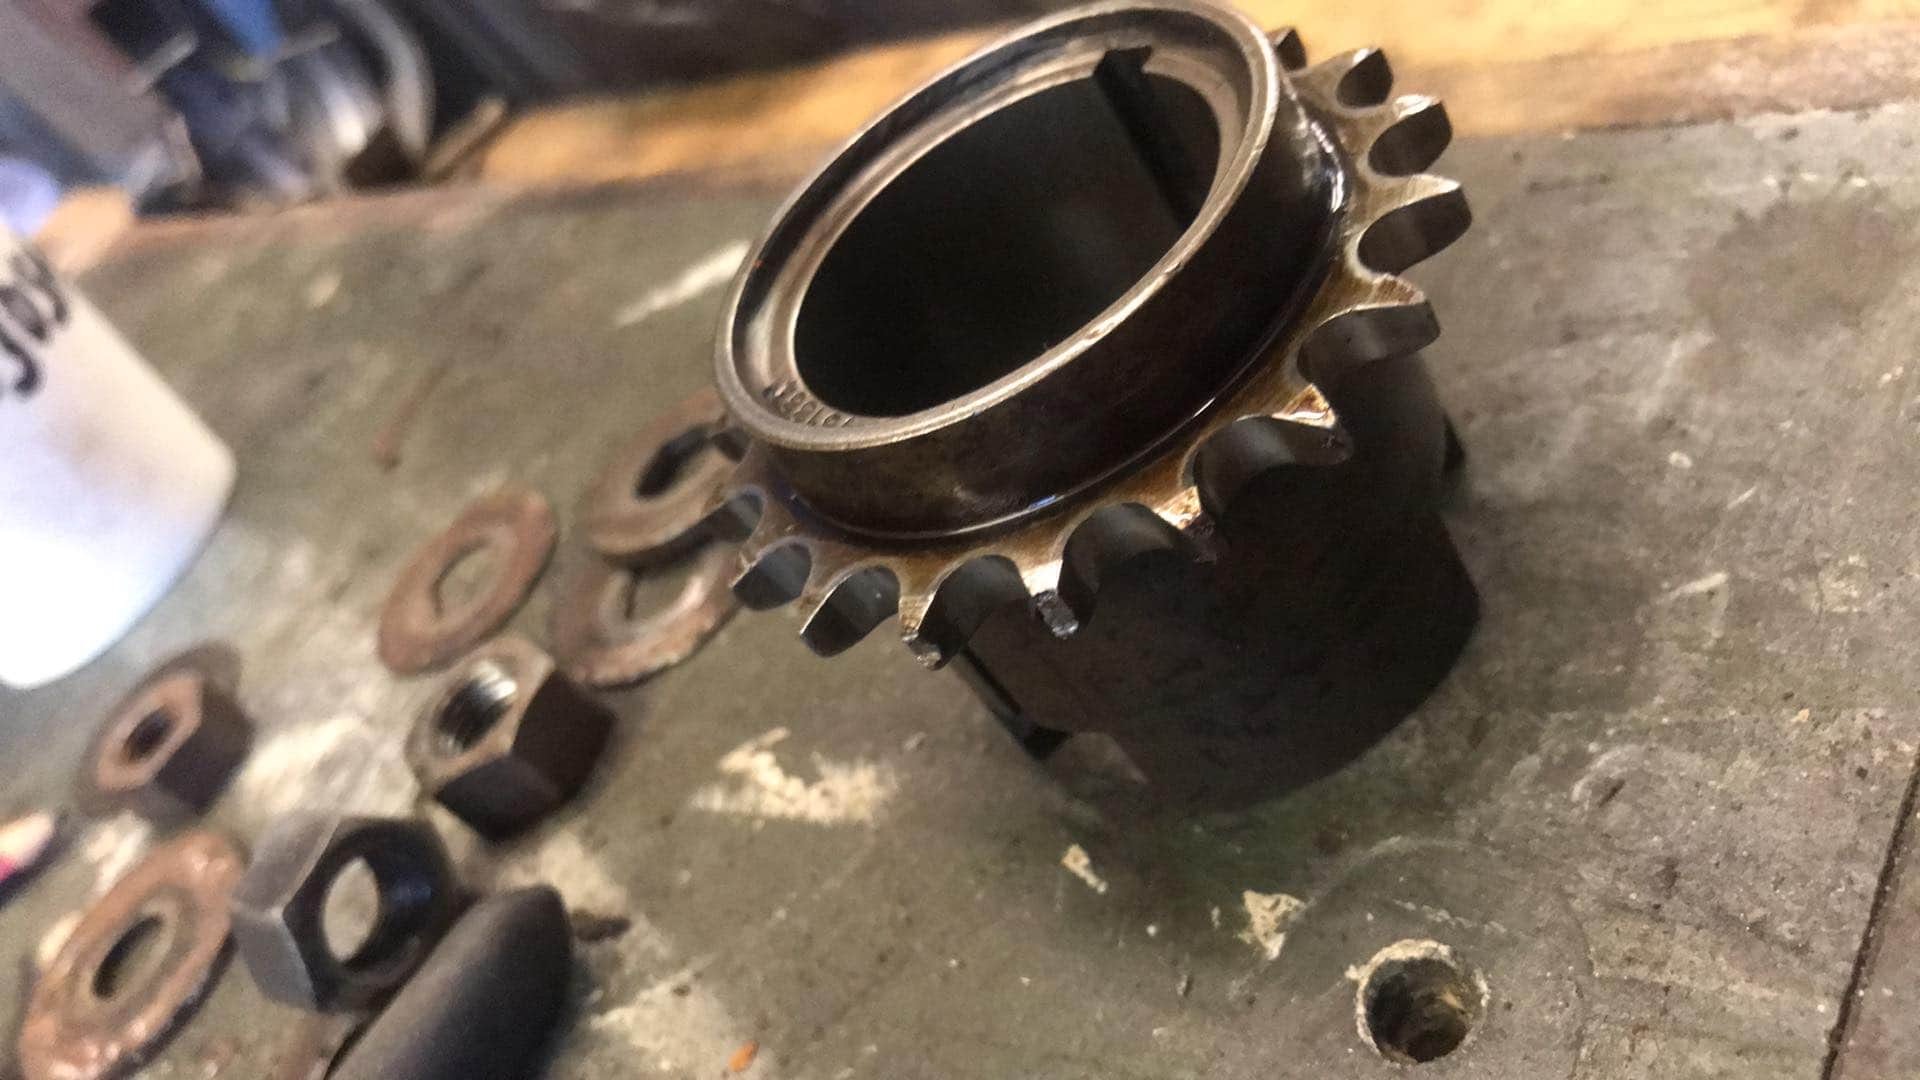
Had a bit of a disaster during the rebuild. I’d fitted the head and the cams but not the cam sprockets, when for some reason I thought I’d fit the crank pulley. As the torque wrench clicked at 180nm I realised my error. I’d just turned the engine over without the timing chain connected. Assuming I’d bent some valves, the head came off to assess the damage but in fact the loose timing chain had bunched up and instead stripped the tips of some teeth from the sprocket. So, the only damage was a new crank sprocket, a new head gasket and another set of head bolts.
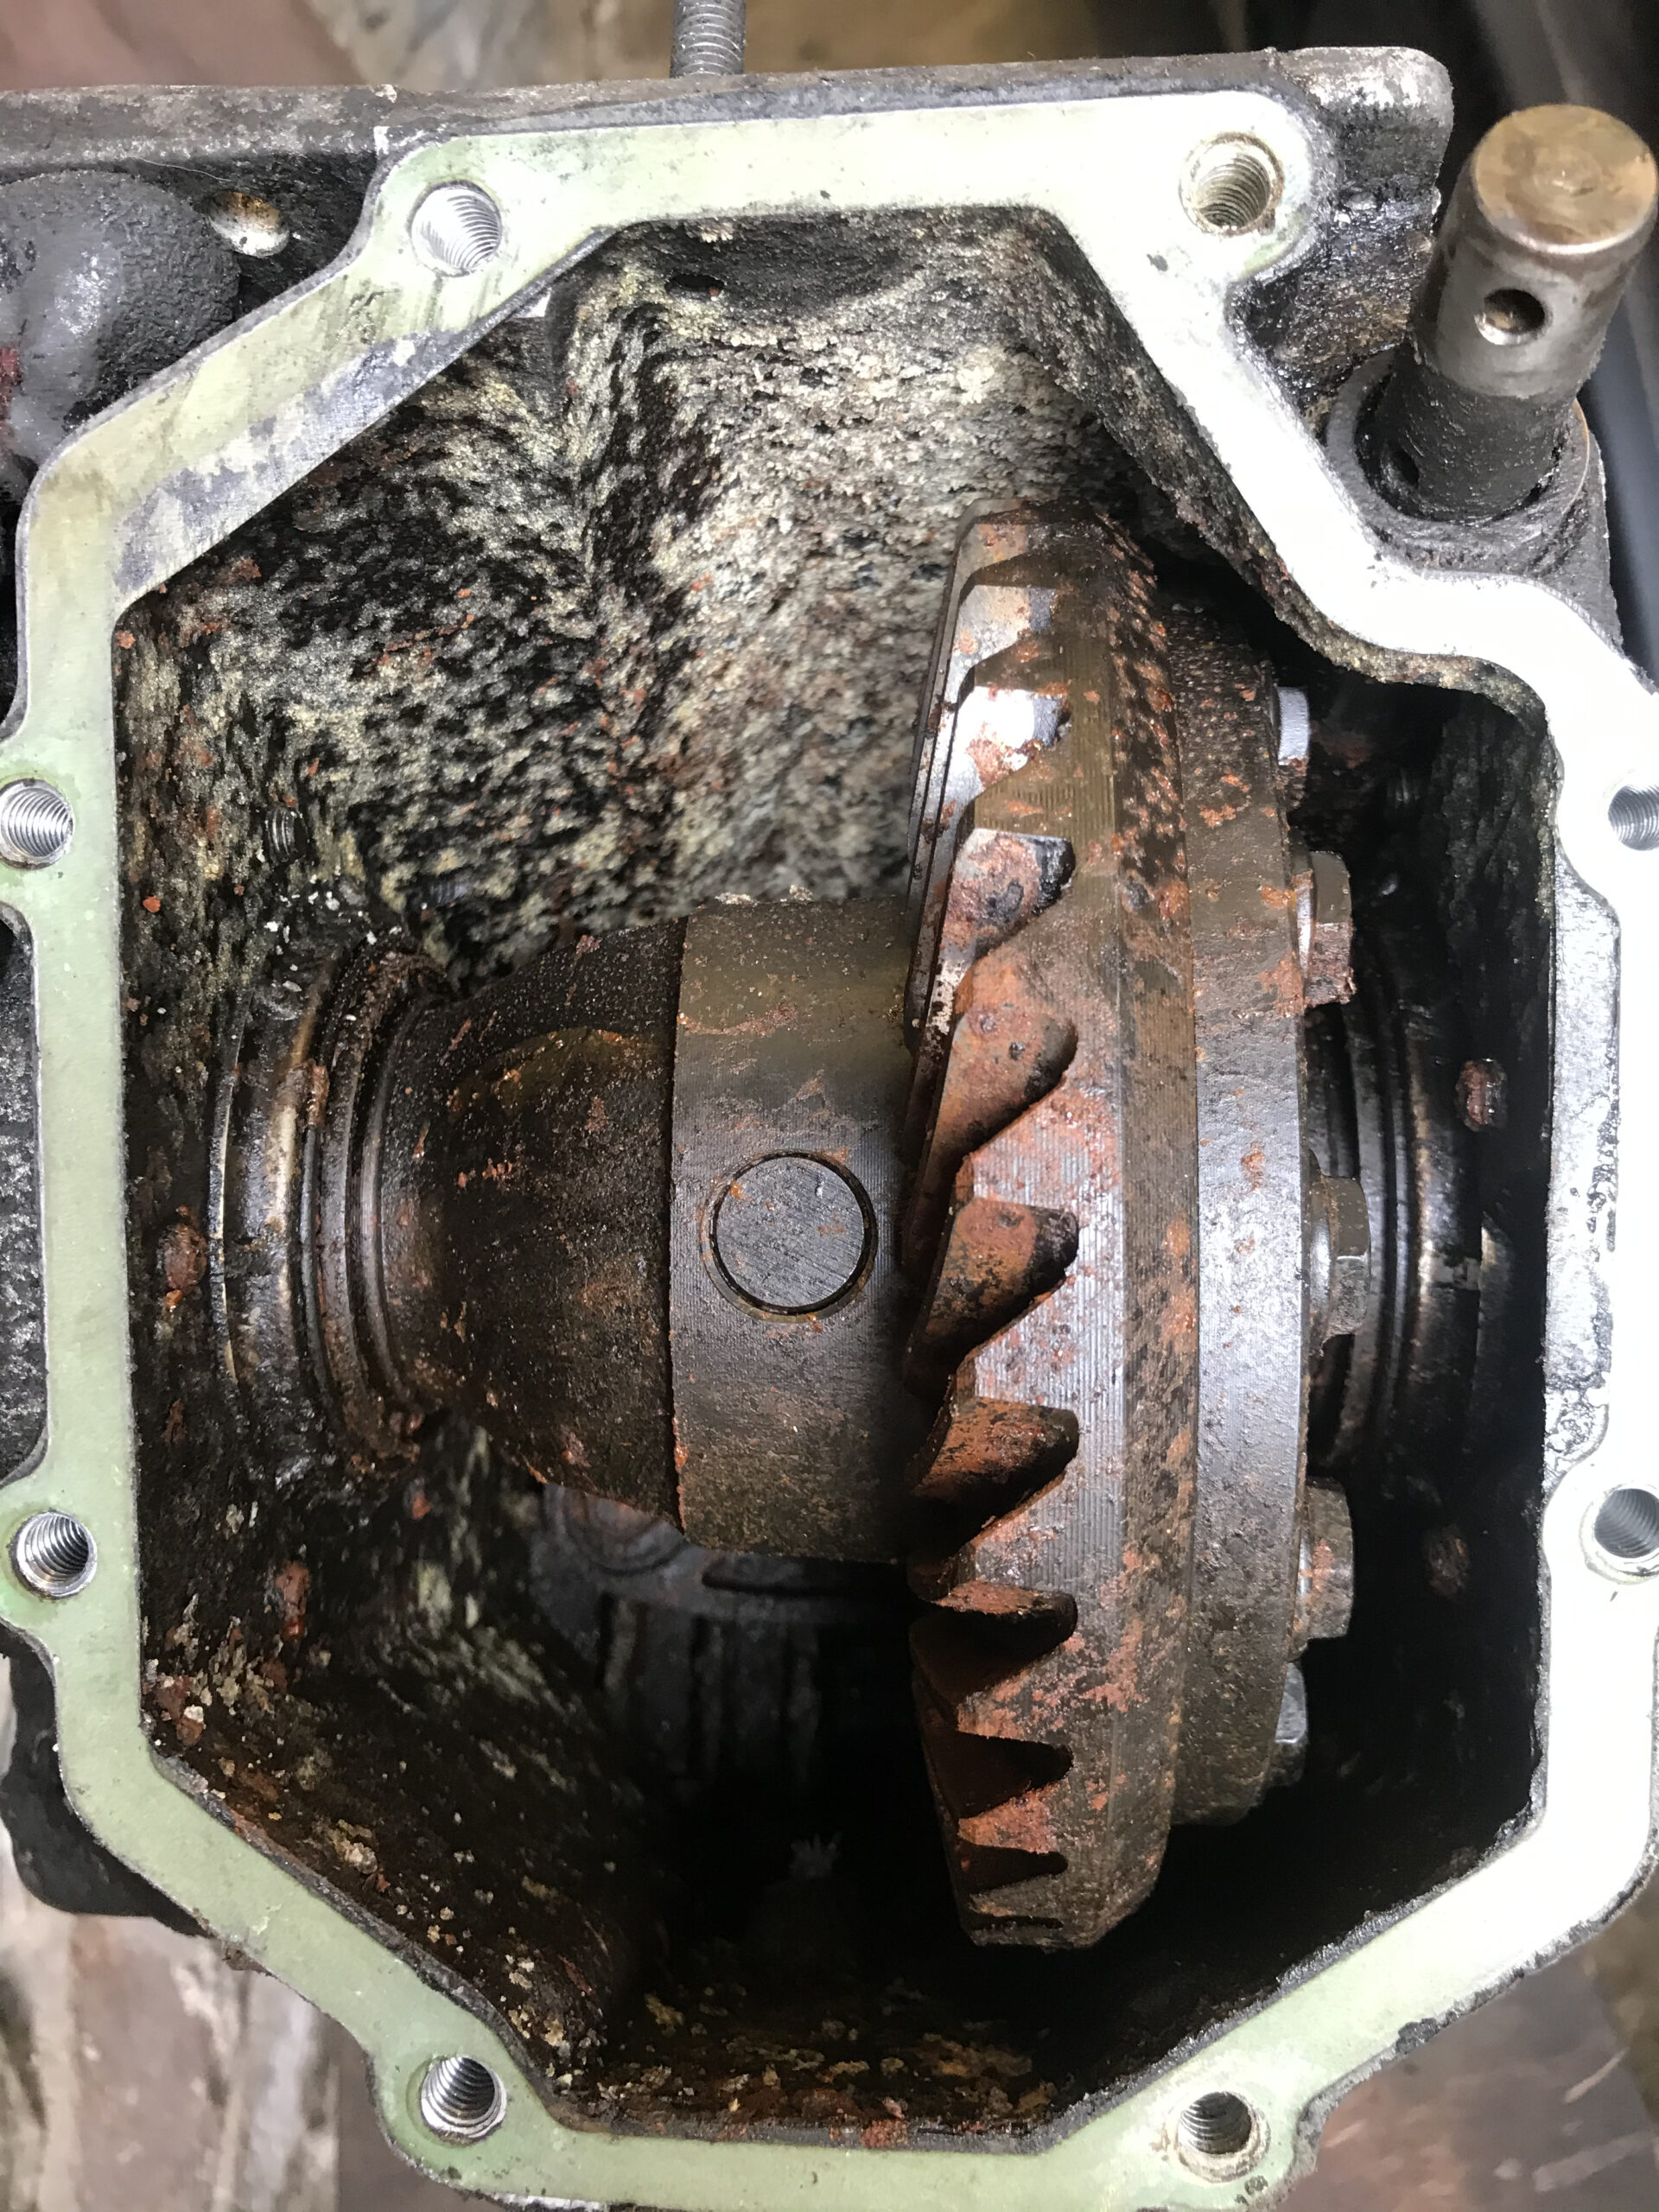
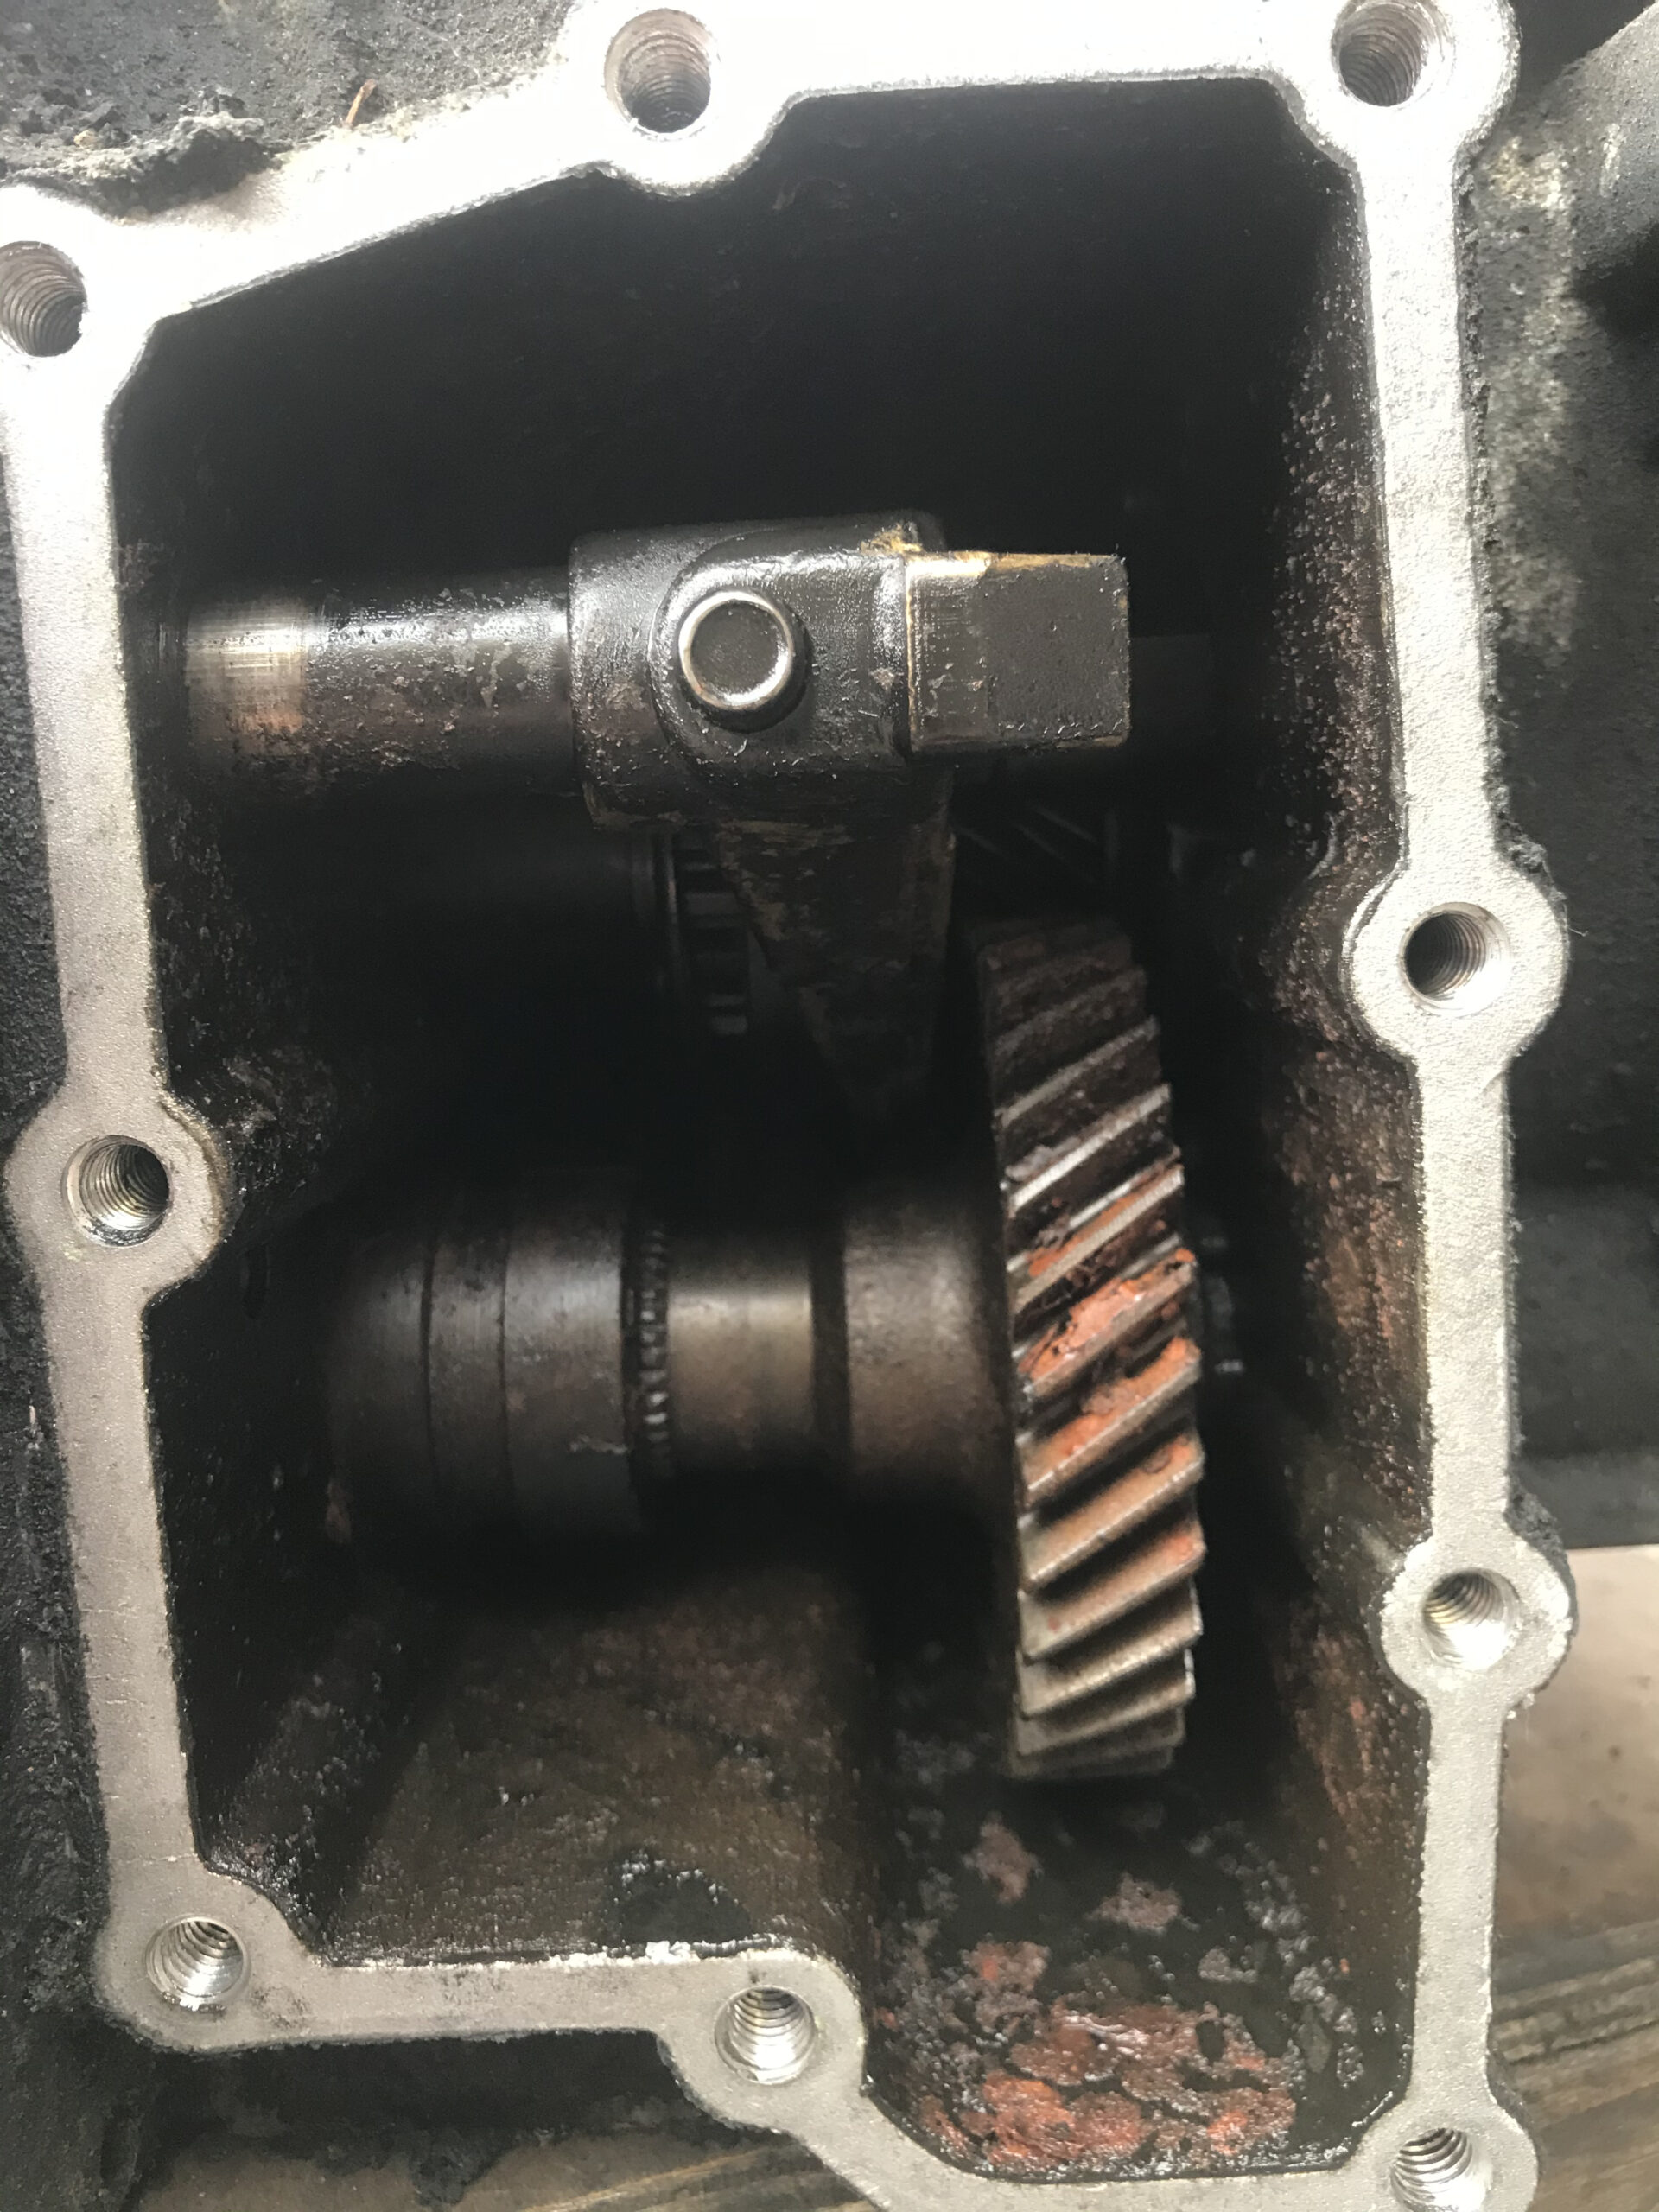
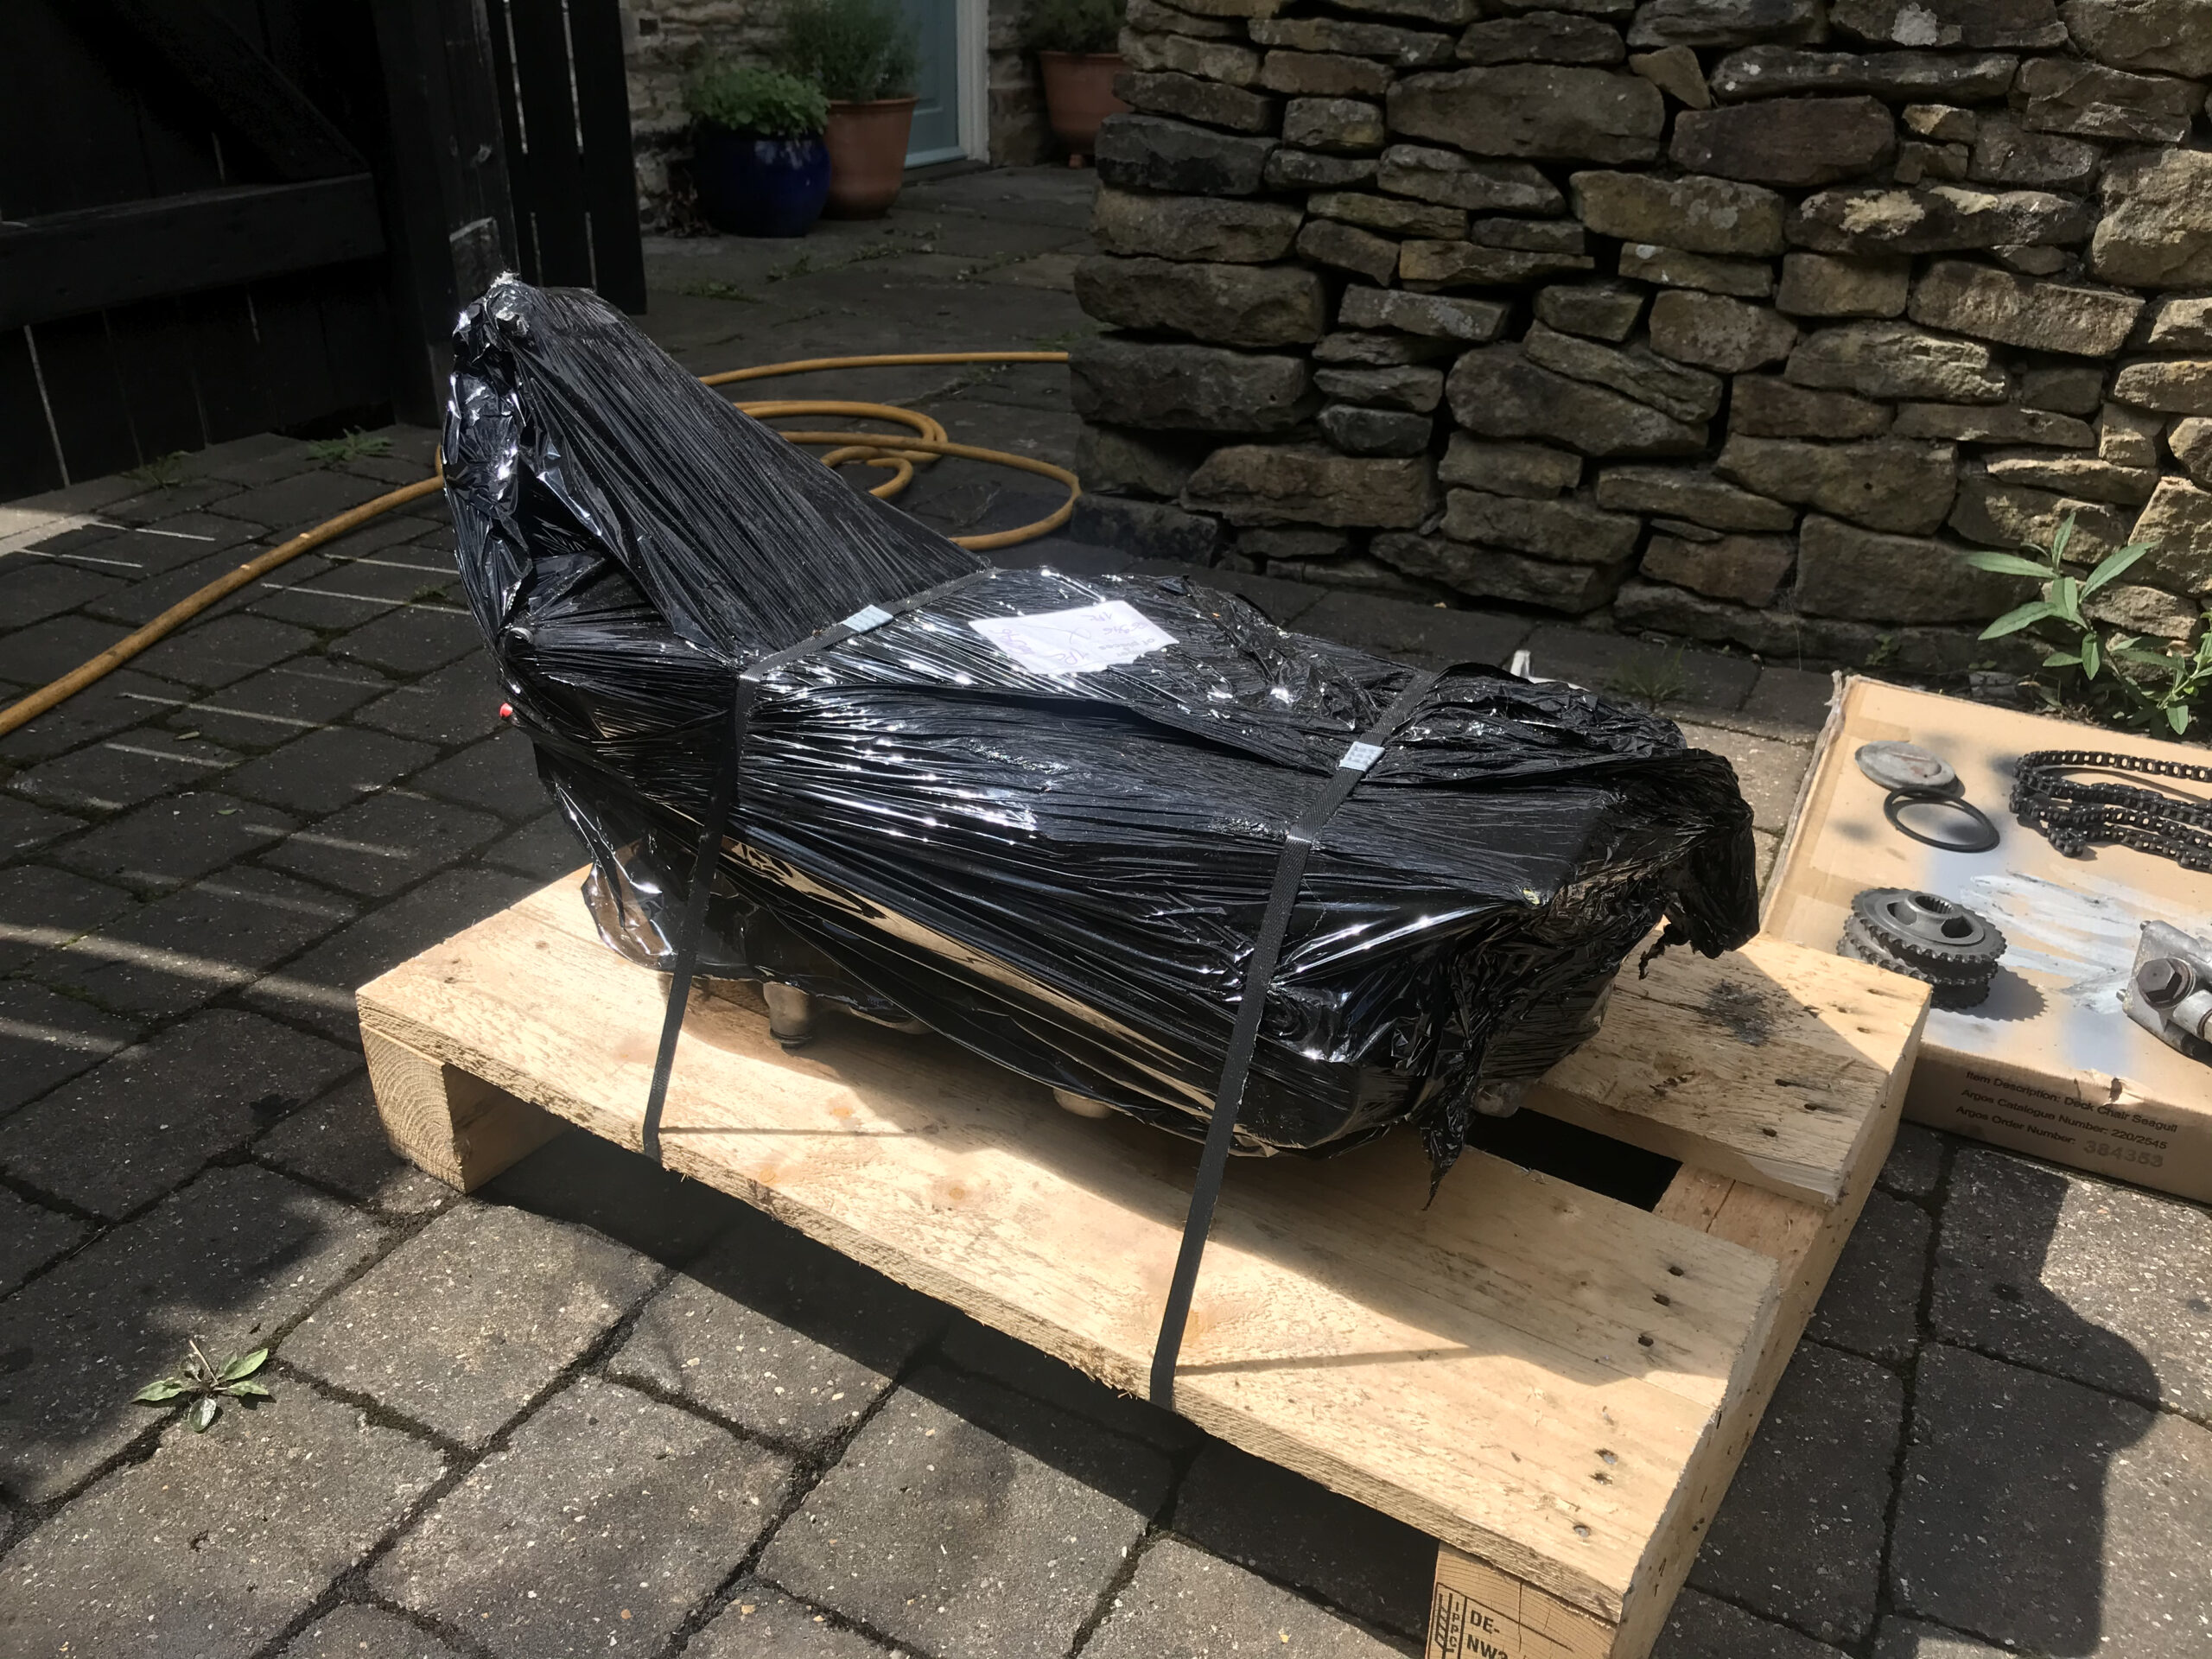
During this I dragged the supposedly good spare gearbox that came with the car out of the back of the garage. I’d never looked at it so was really disappointed to find it completely seized and basically ruined. Tried to free it off and eventually got the diff turning and gear selector working but still no drive, so £1500 later a freshly rebuilt box was sent from TR Autos in Cornwall. This box got a steel diff cover fitted to hopefully help it handle the power.


Didn’t get many shots to document this, but the original oil cooler was looking tired. Drop in replacements are really expensive, so after some measuring I bought:
- Two M16x1.5 – AN6 adapters to go on the oil filter housing (use dowty washers on the M16 side)
- A cheap 9 row AN10 oil cooler
- Two AN10 to AN6 reducers to go on the cooler
- And a few metres of AN6 braided line along with a load of fittings
The generic oil cooler dropped into the stock housing after some modification to the mounting tabs. A complete replacement for ~£100, instead of ~£280 for the DO88 kit.

Turbo upgrade
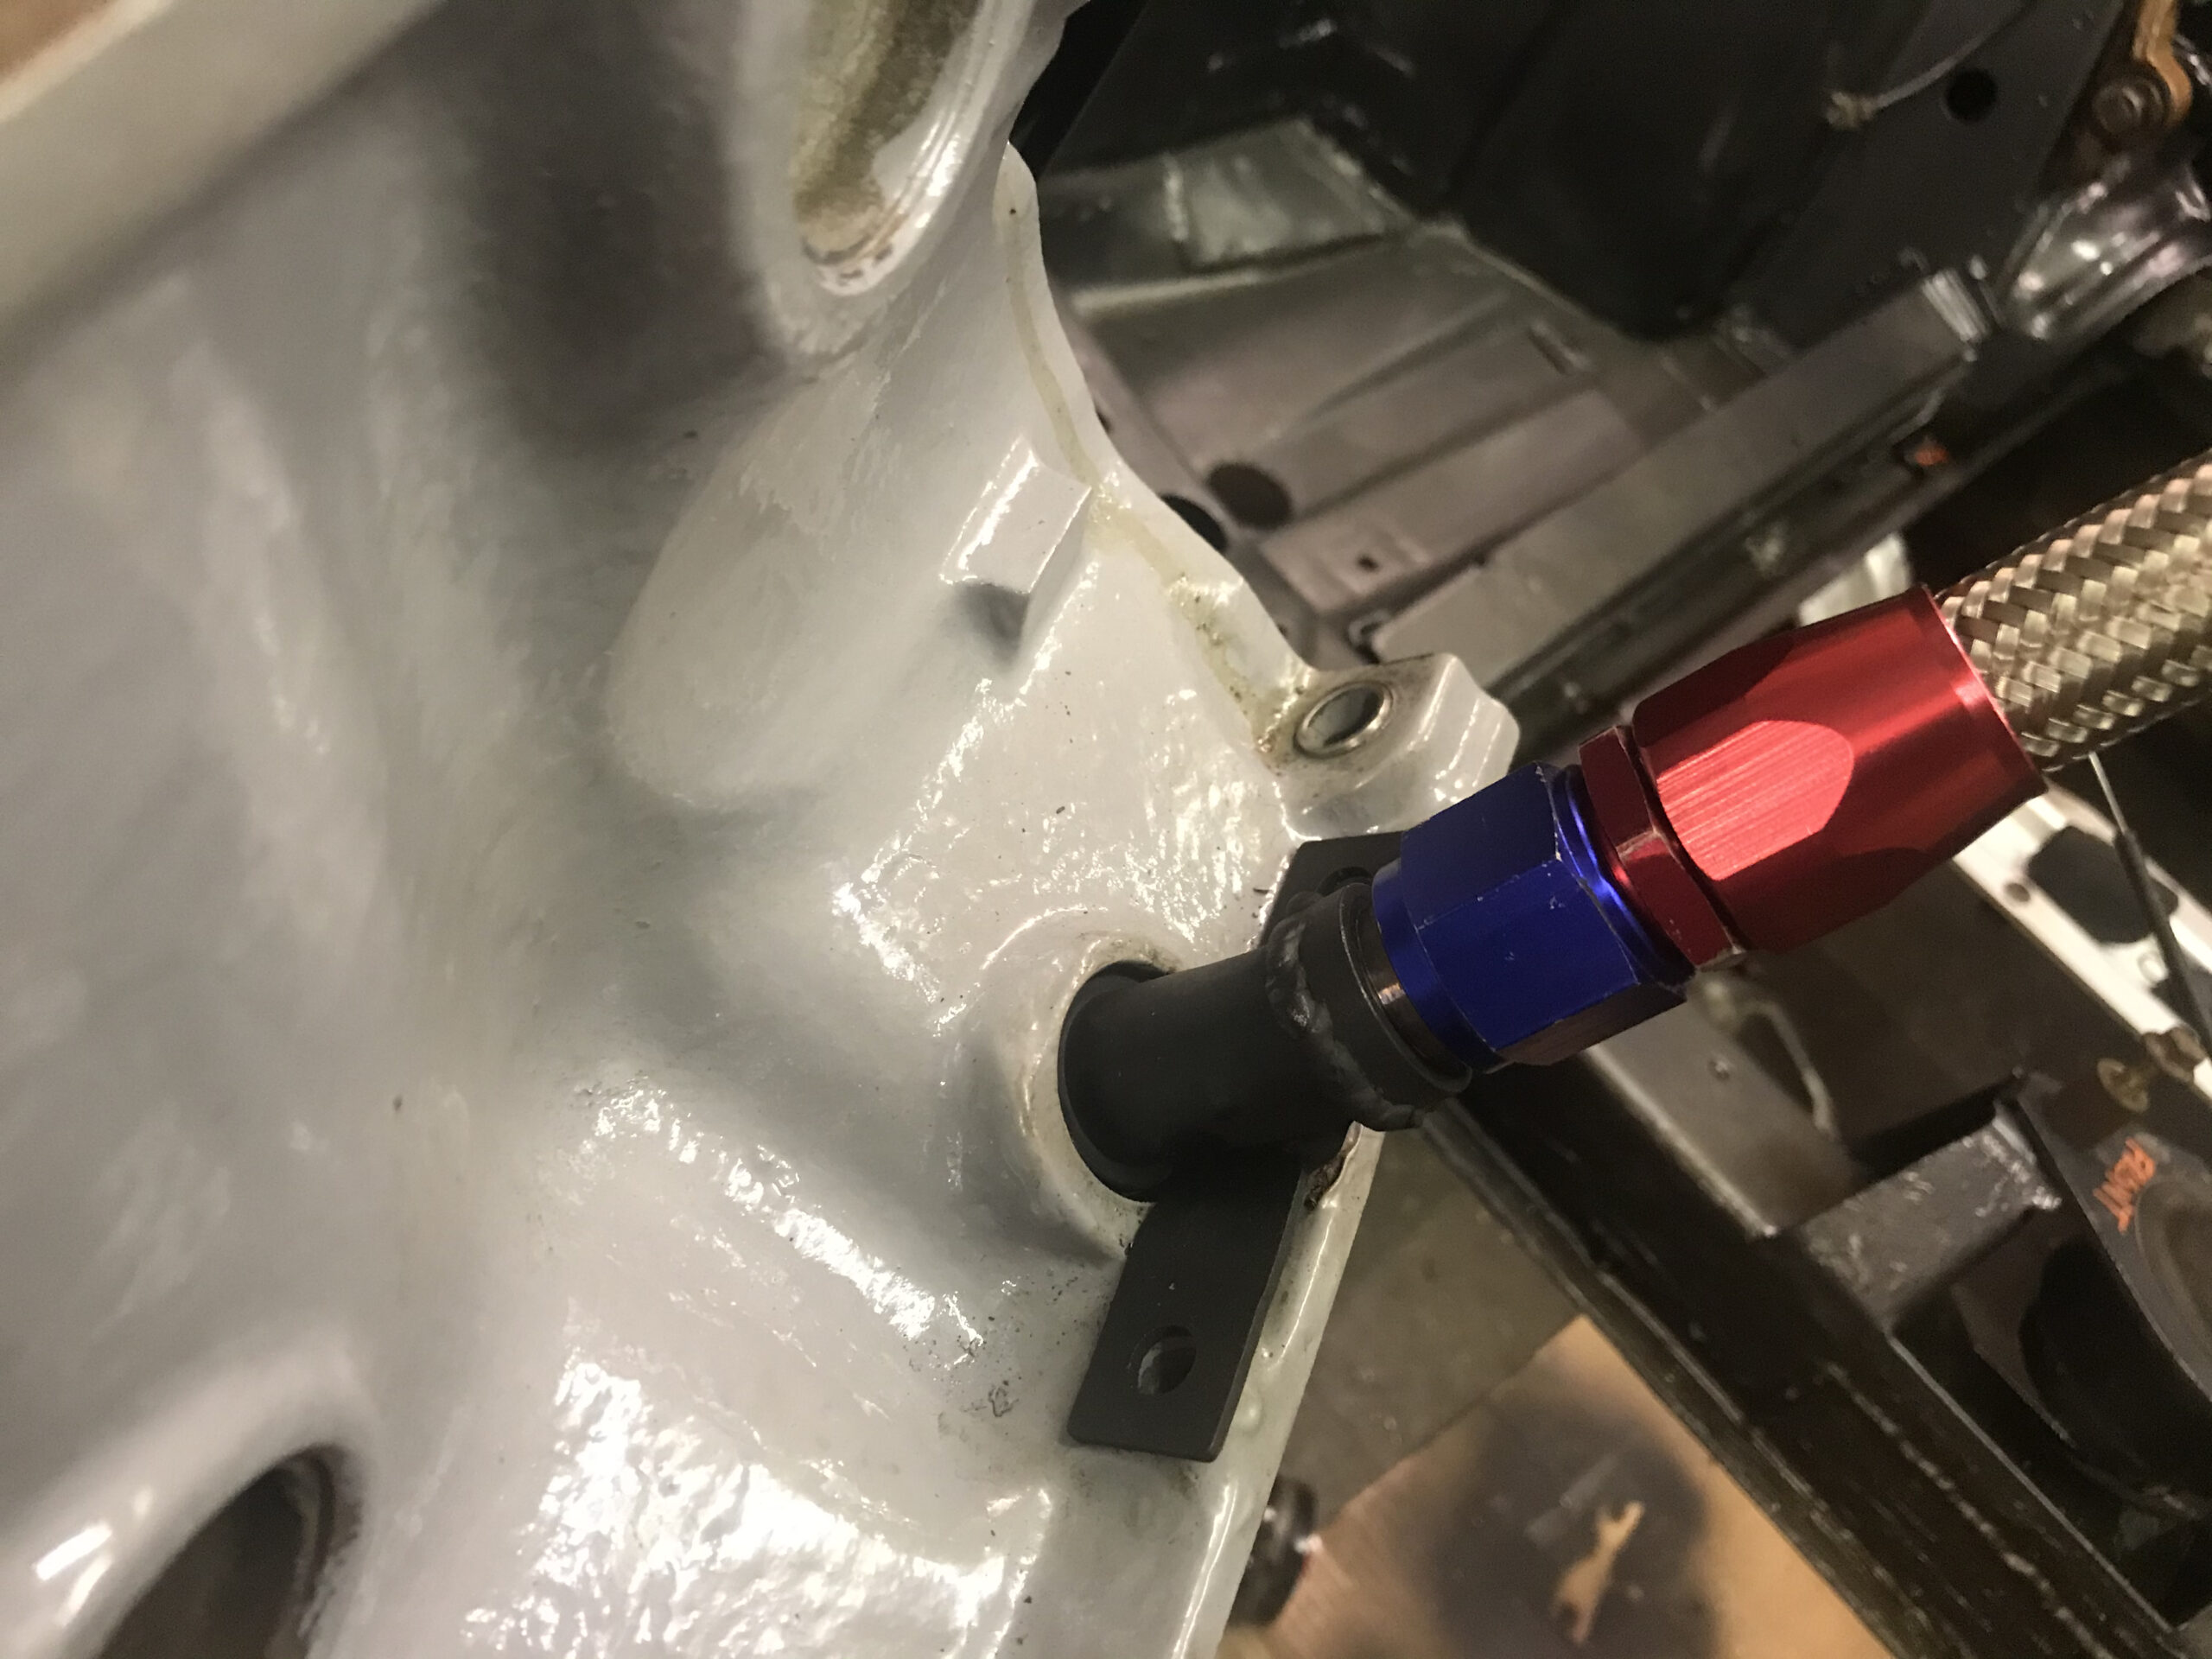
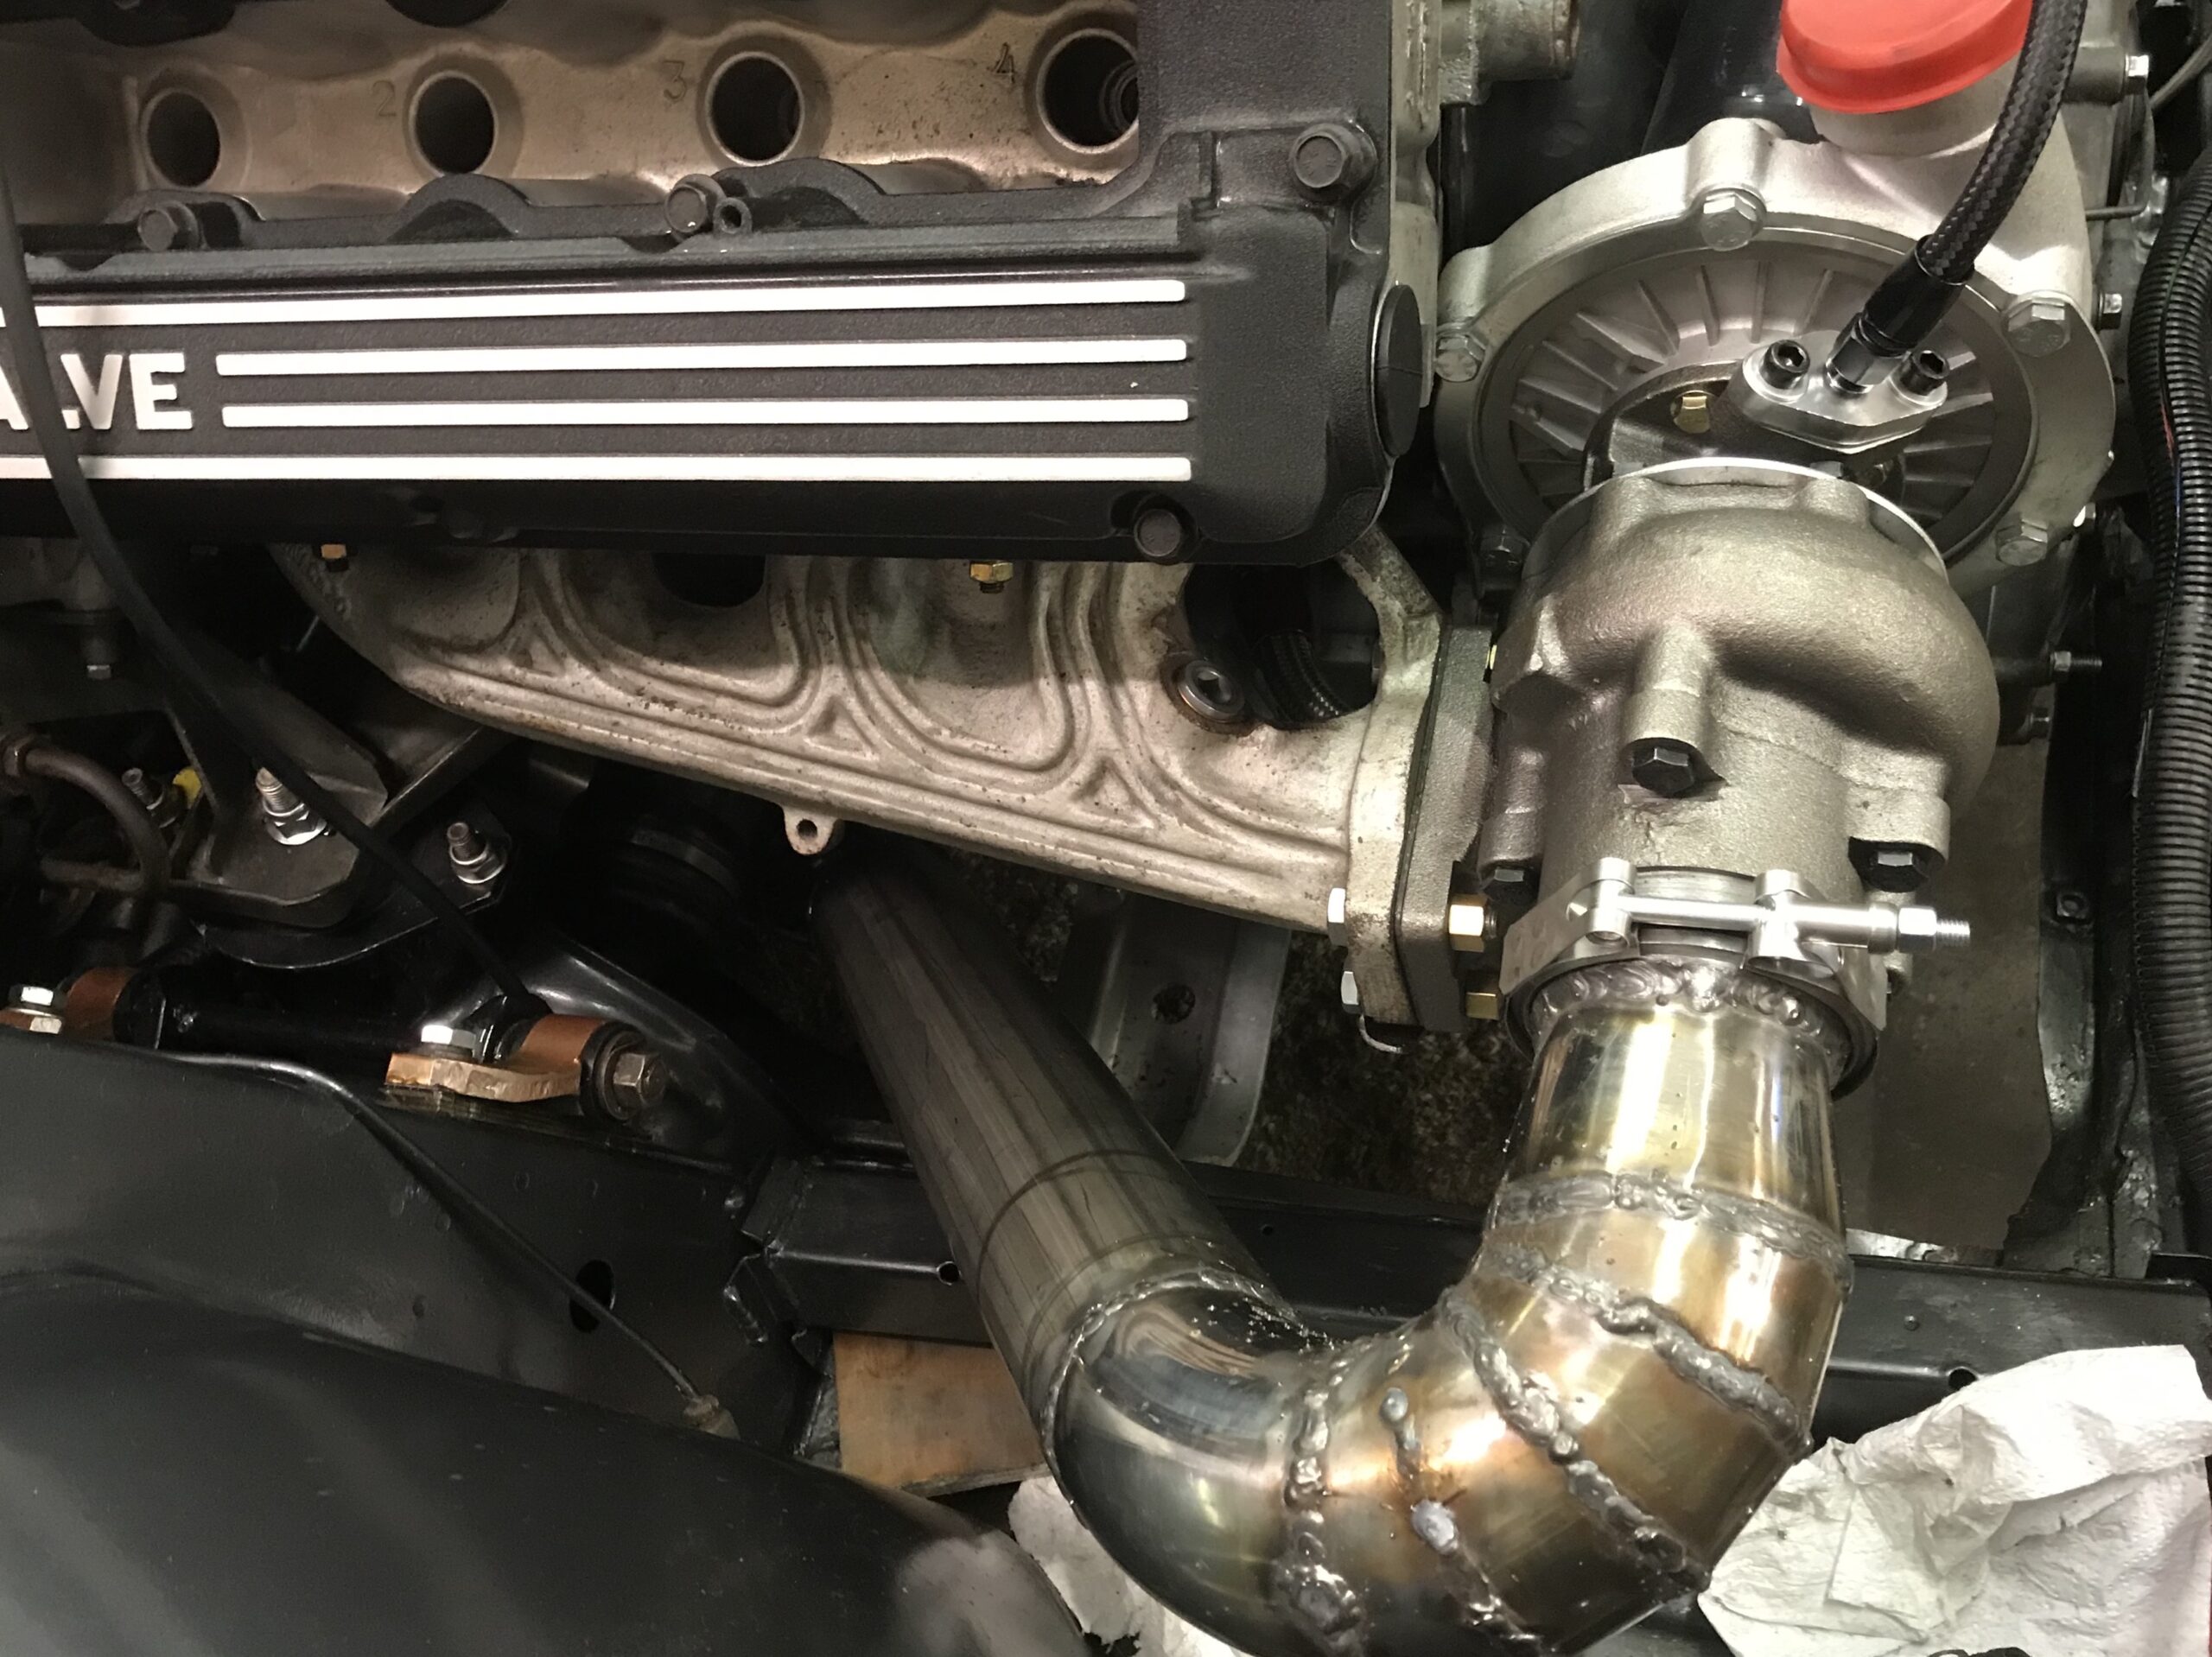
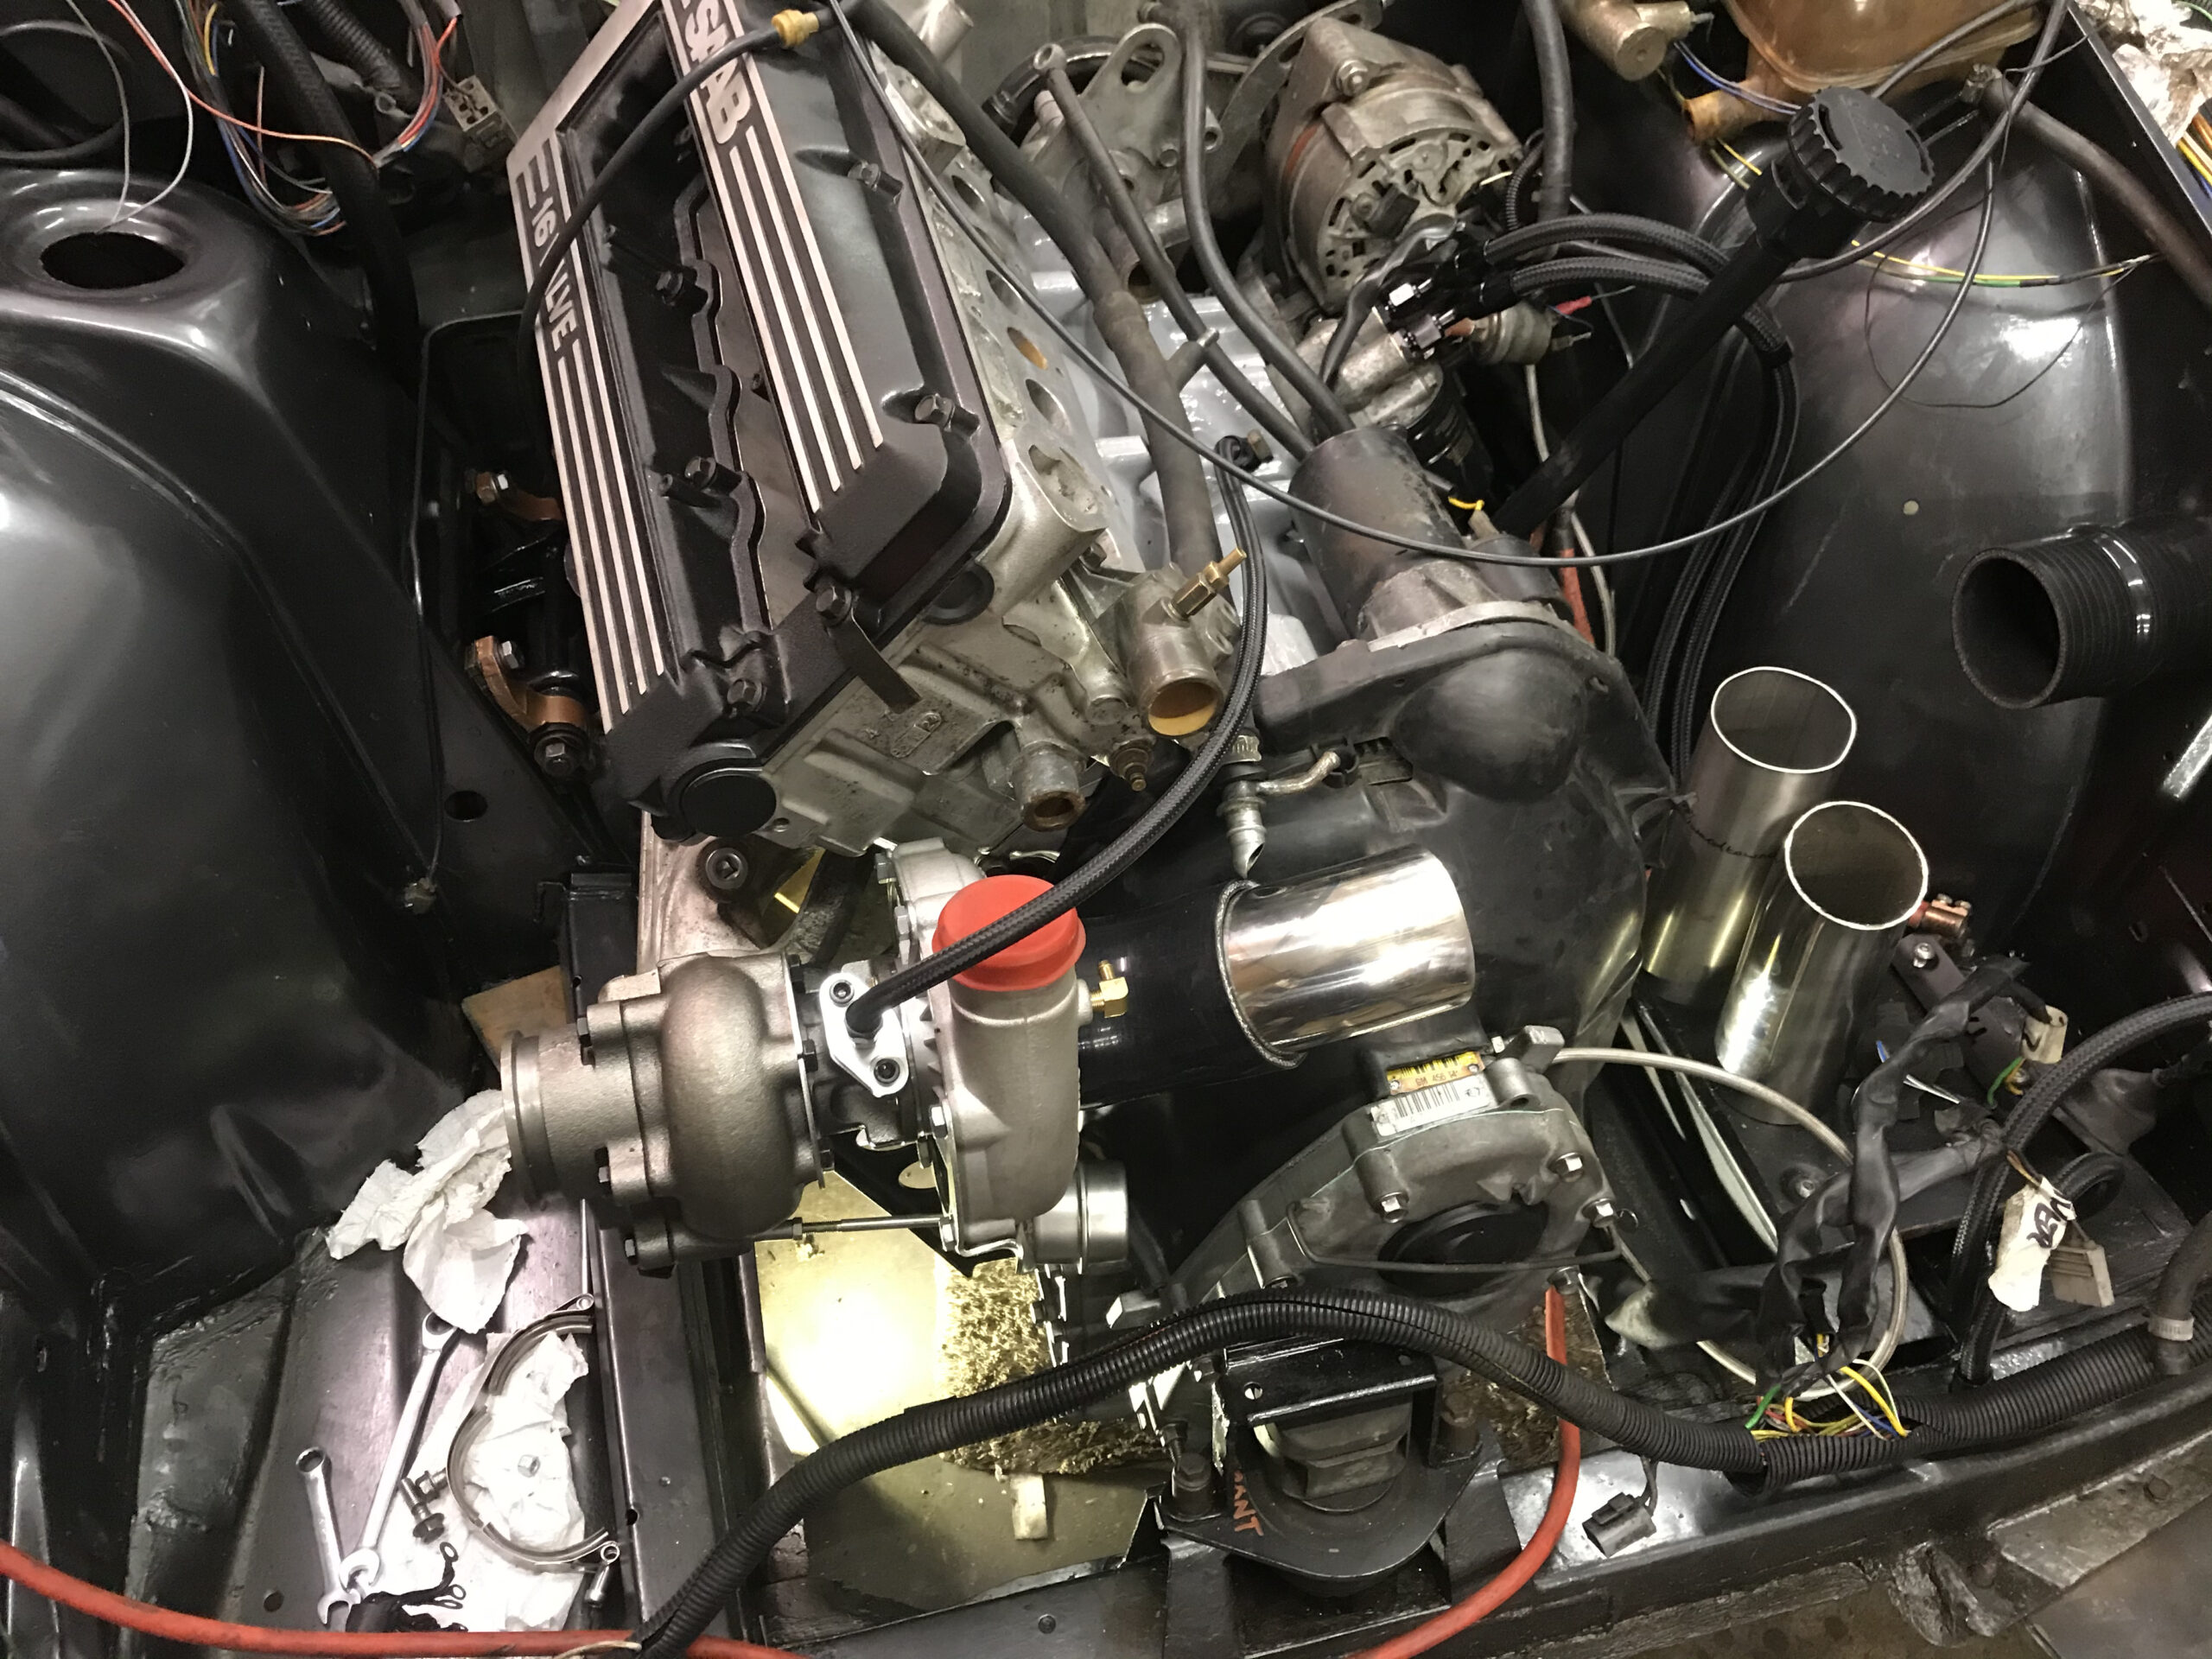
The old standard Garrett T3 turbo was also pretty tired, and for the price of a rebuild kit I lucked out on a Chinese 60 trim T3. Turned out this was much bigger than the standard one! The standard hard oil drain and feed pipes wouldn’t quite fit, so I made up some flexible ones with AN fittings. To make the drain fit the block I welded a AN bung to the cut down stock drain, with a tab to fasten it to the gearbox bolts.


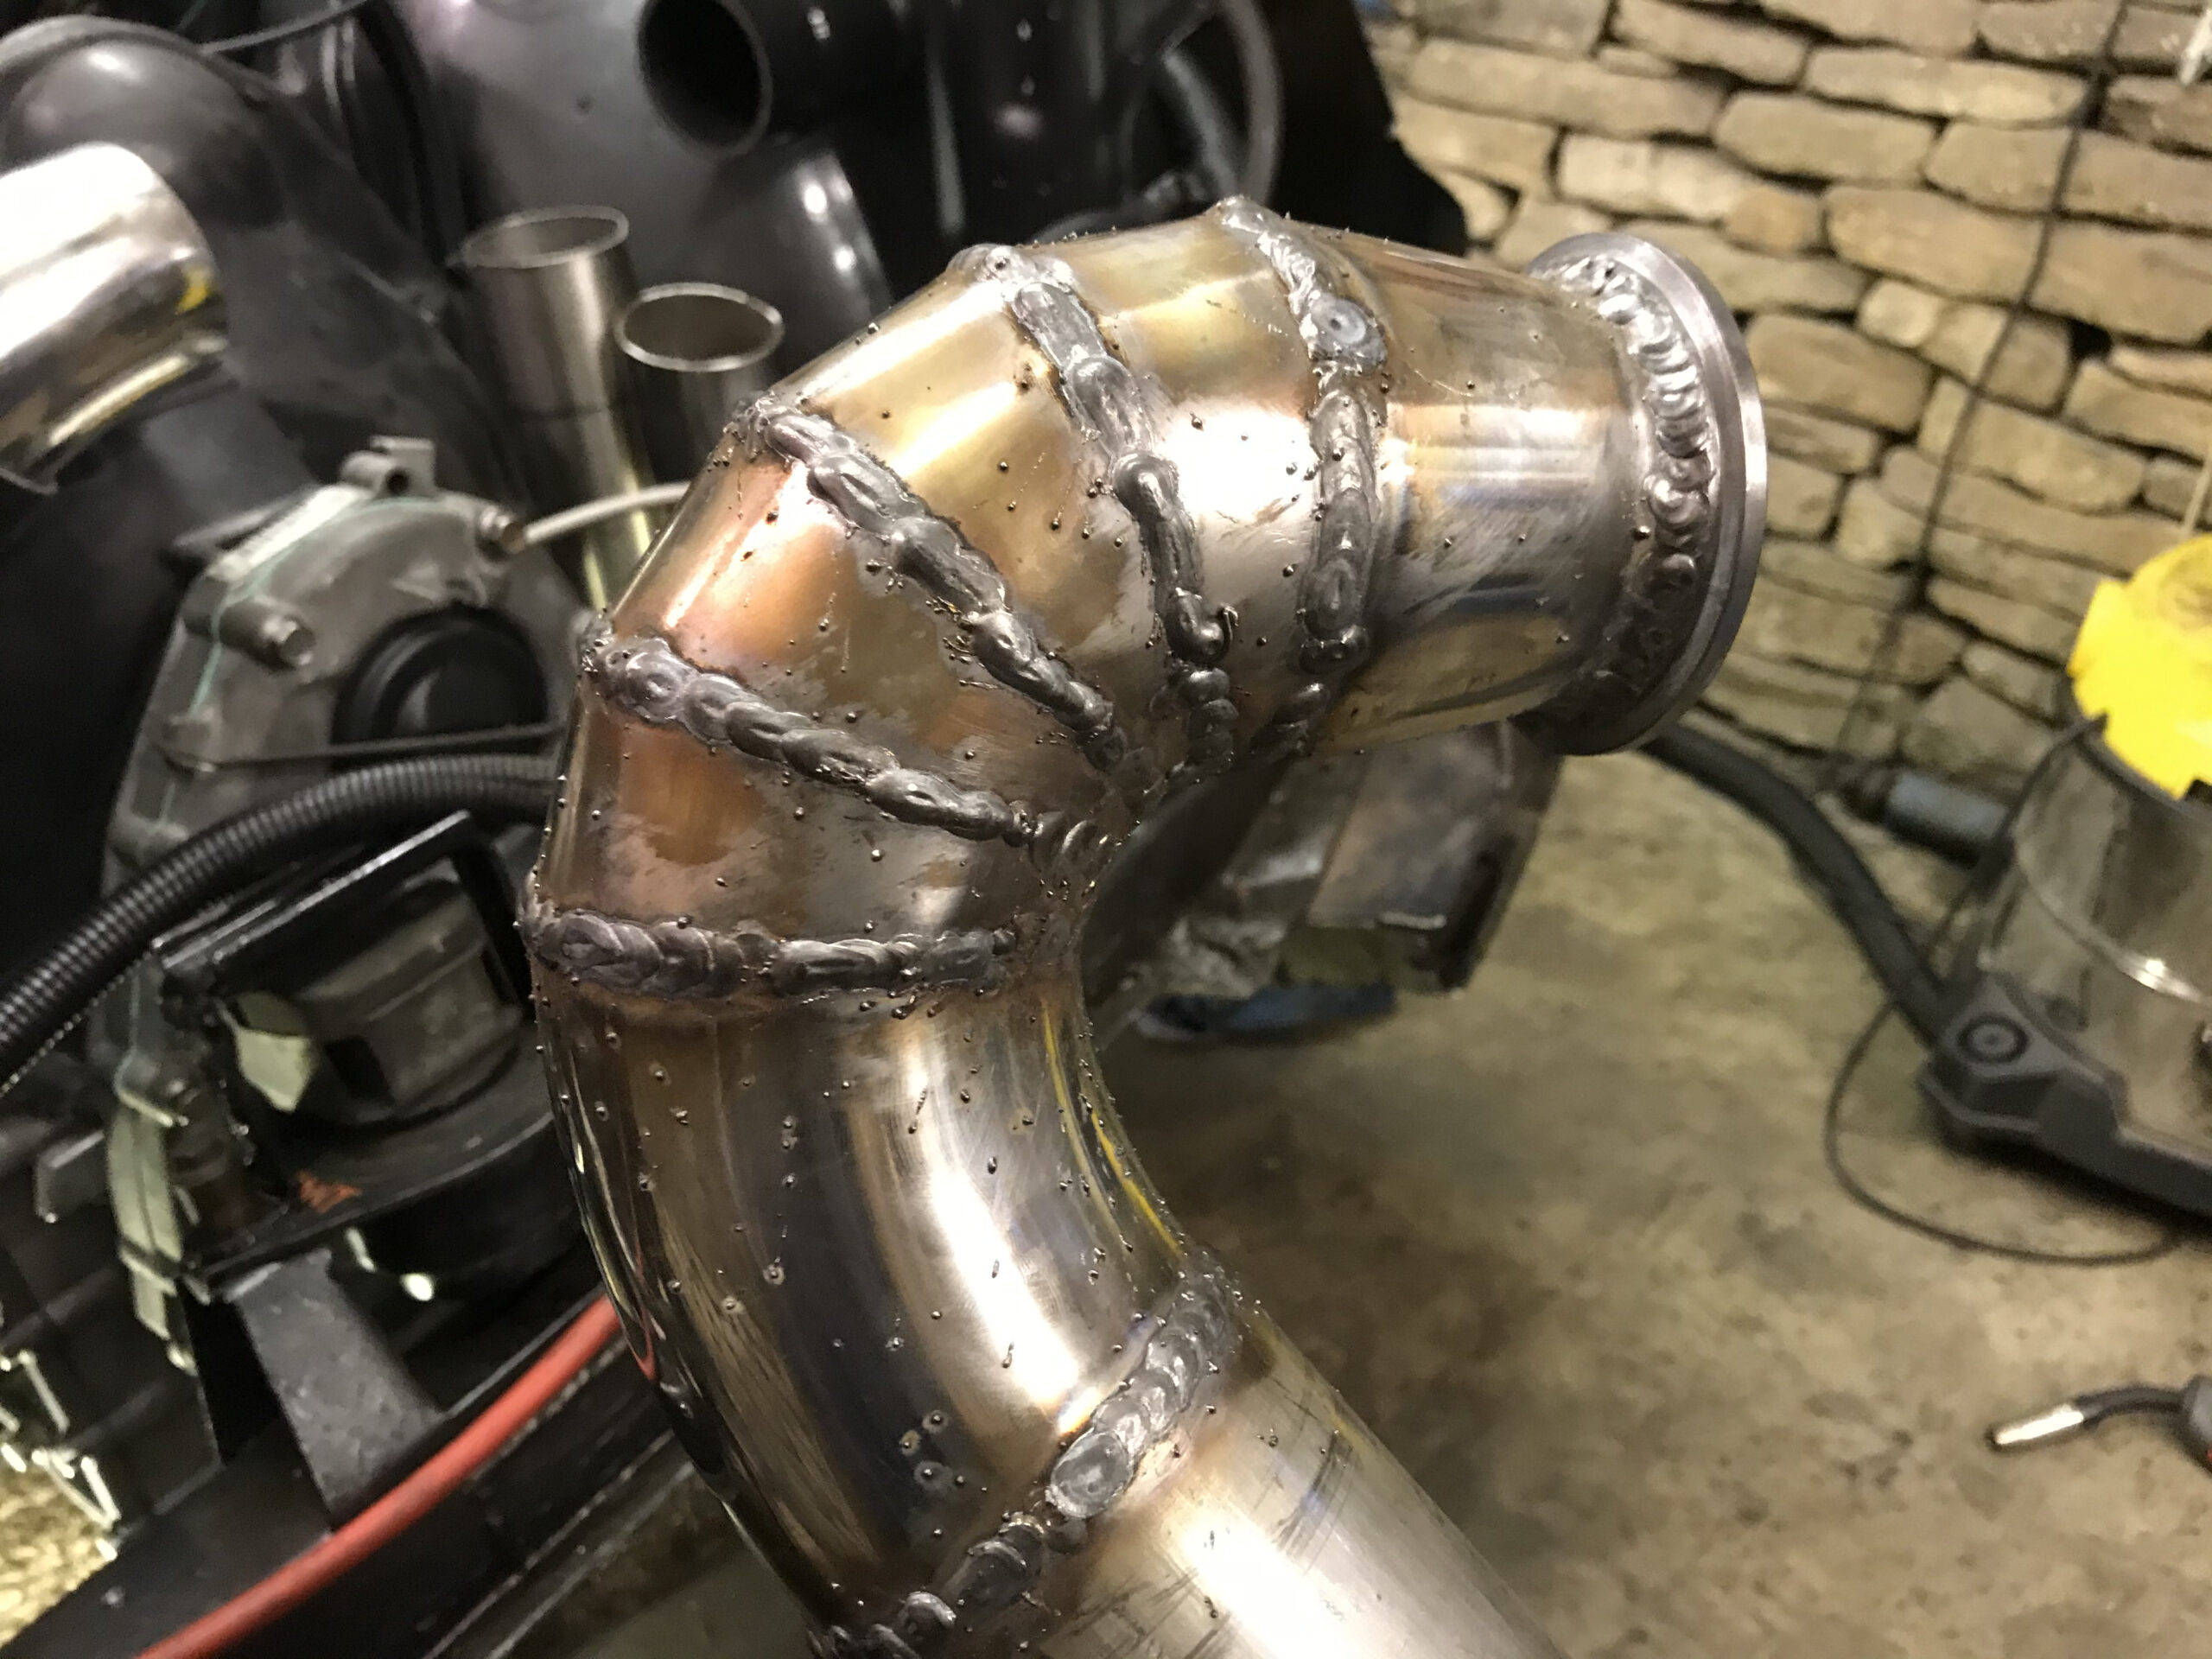
I also made a 3″ downpipe…

And 3″ intake pipework:


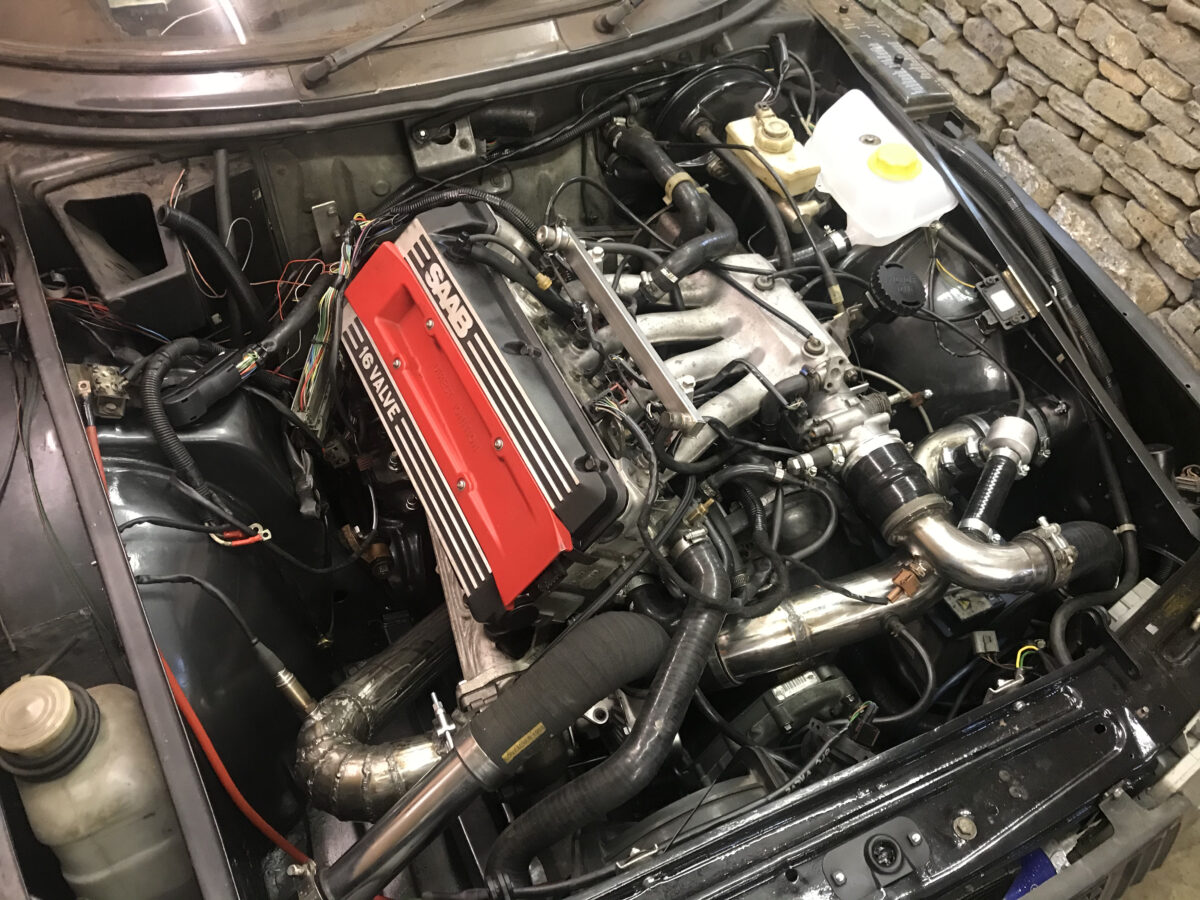
And that’s it! All back together.