As I’ve mentioned before, I’ve had no end of trouble getting a clutch to hold in Helga. After fitting the ball bearing turbo last year it was completely letting go any time the boost got to about 1.2 bar and instantly hitting the rev limiter. Once that happened on a drive, you’d had it and would have less and less grip from the clutch thereafter.
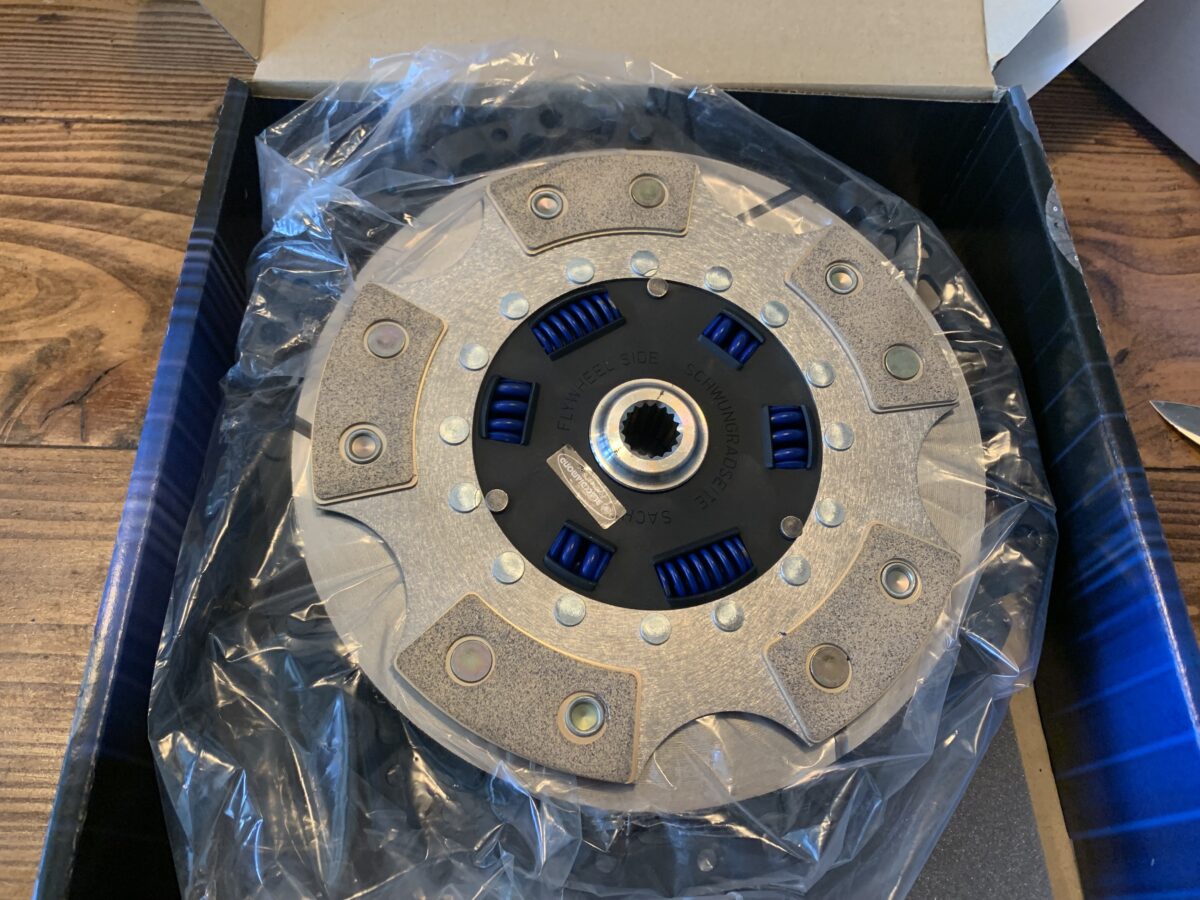
Finally with a track day at Mallory Park looming I bit the bullet and ordered a stage 3 paddle clutch from Black Diamond. It arrived about a week later, at which point I panicked because I realised a) the flywheel needed skimming for the warranty to be valid and b) the clutch needed 300+ miles of bedding in before being driven hard.
I timed myself removing the old clutch and in under 23 minutes it was off, including removing the bonnet on my own plus finding tools and a block of wood to hold the clutch pedal down! You can tell I’ve done this job way too many times now.
I’m still in the bedding in phase so can’t comment on it’s holding ability, but I was pleased that the driveability of the paddle clutch is almost the same as a regular clutch. The weight is pretty much the same and there’s just a tiny bit more snatchiness and propensity to judder in the take up. I was expecting horrors so that’s fine with me!
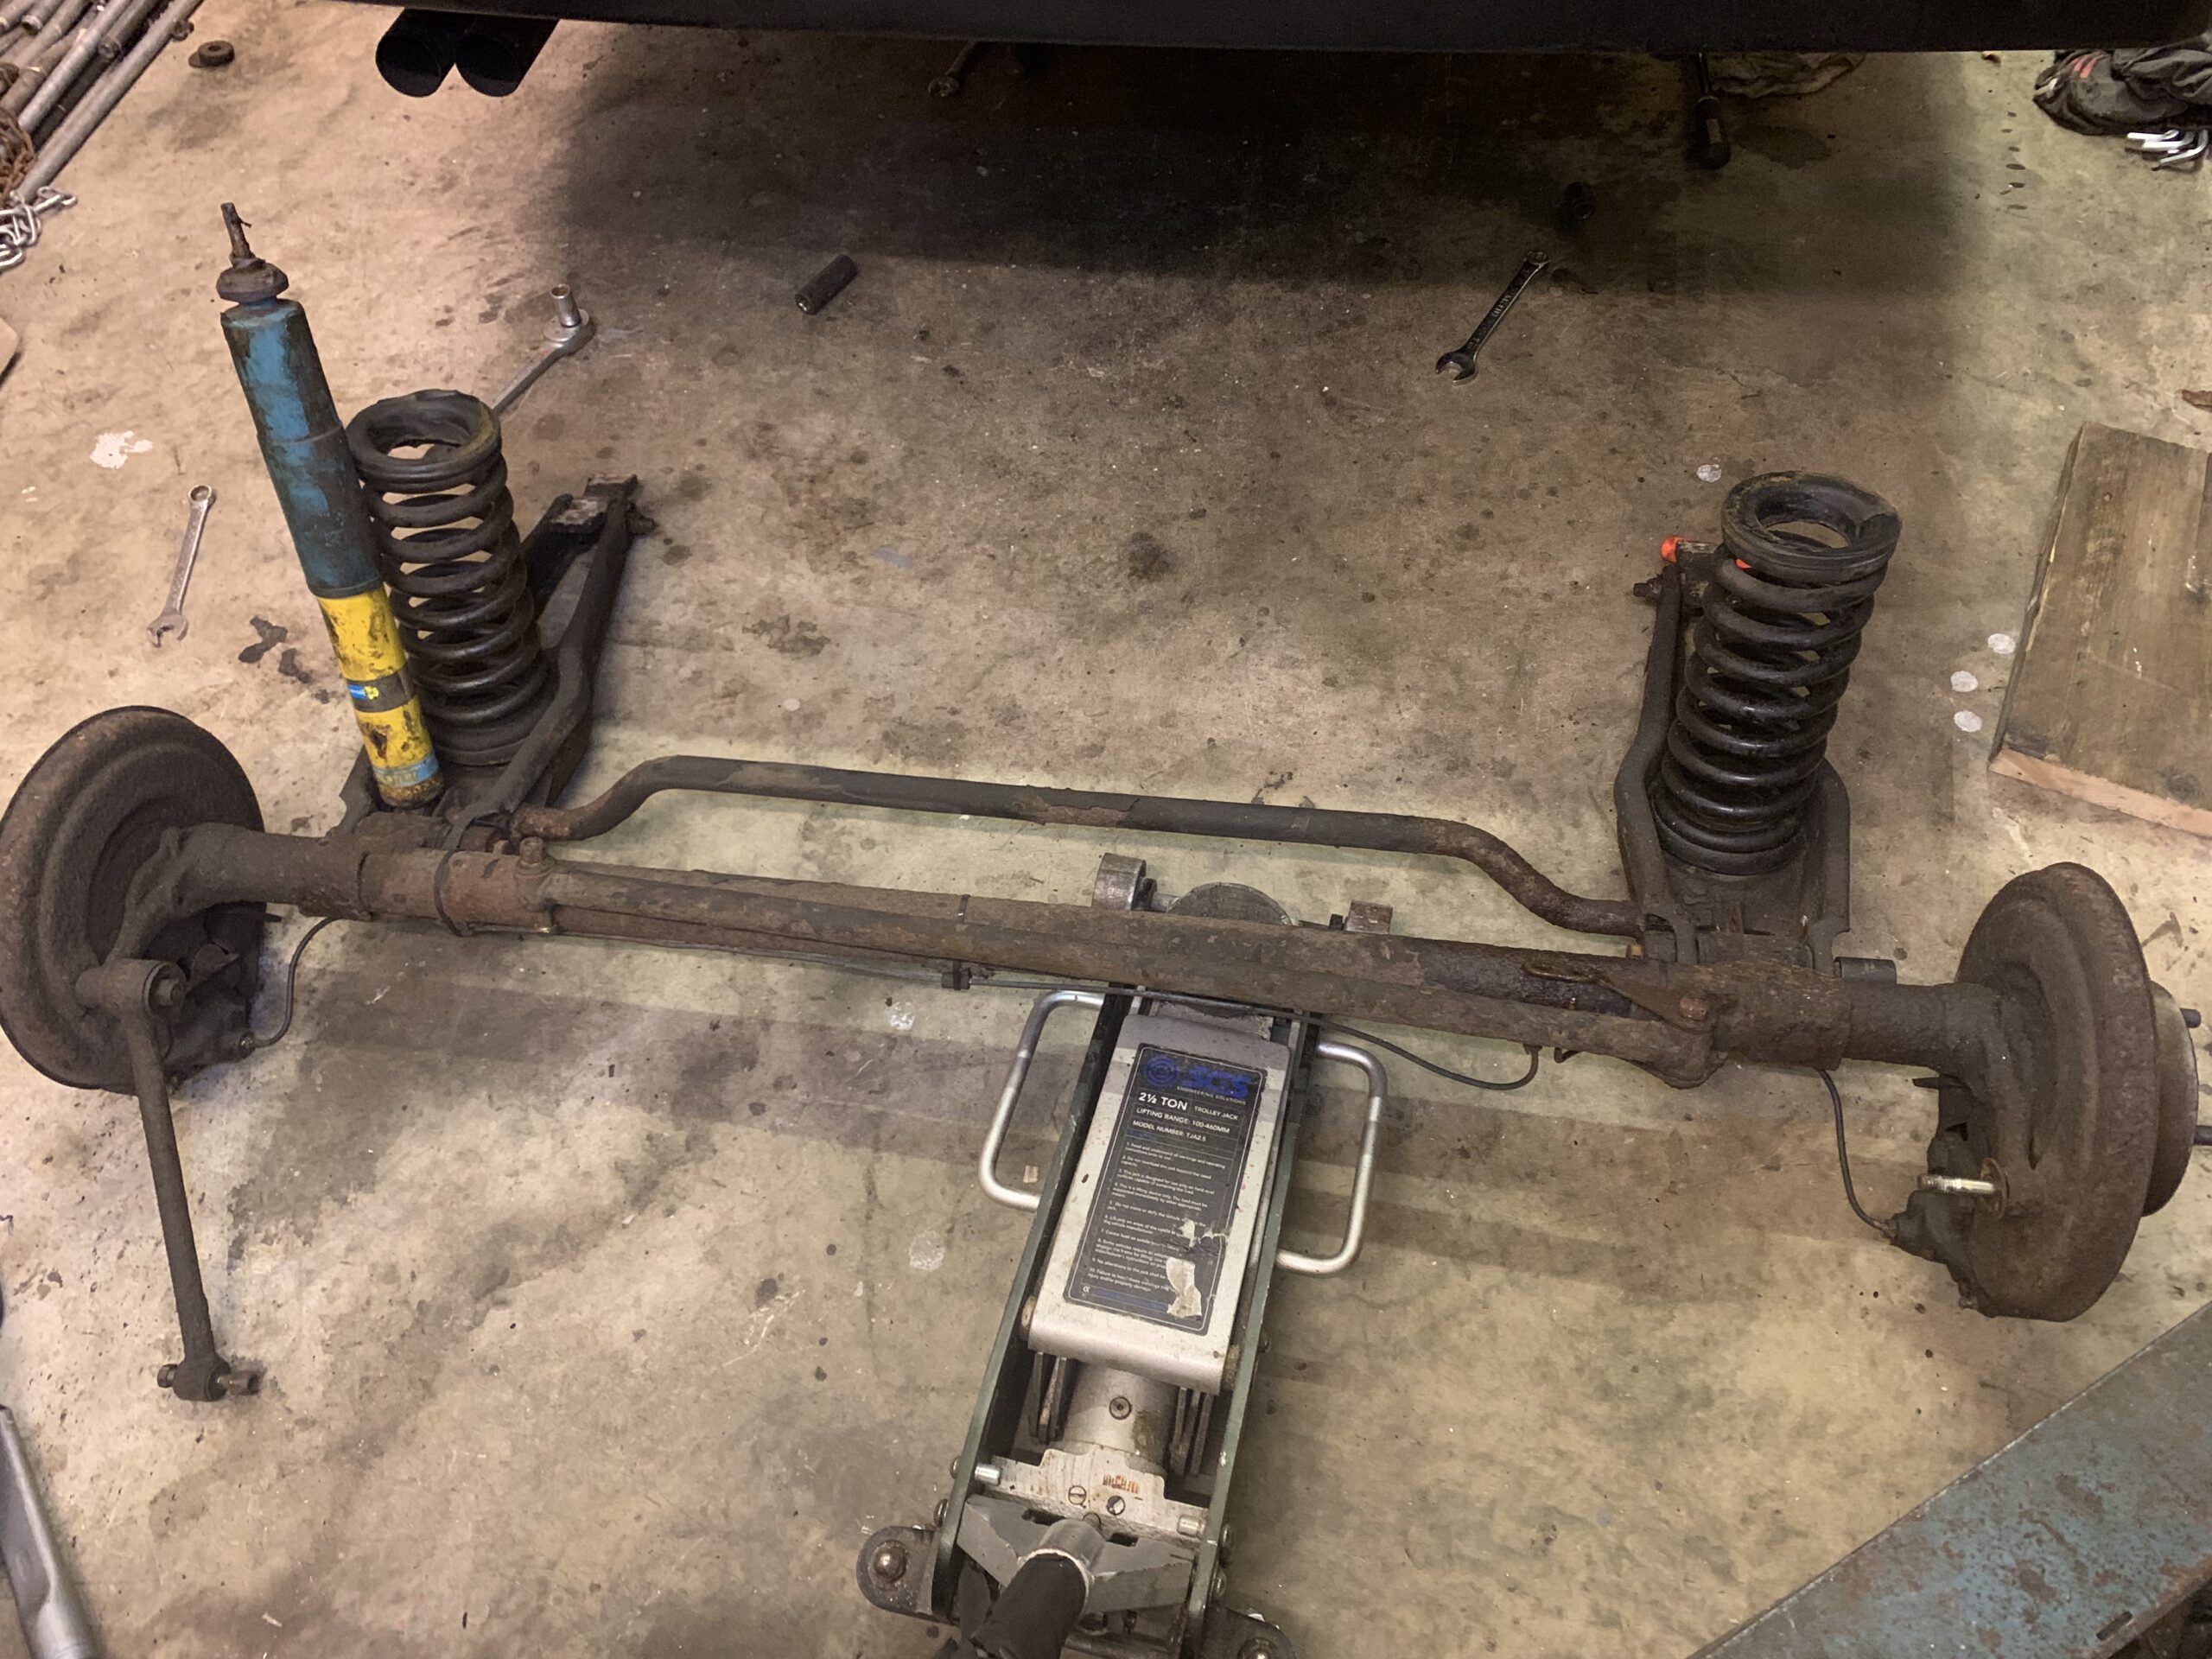
At the start of the year I decided Helga’s back axle was looking scruffy, so thought I’d pull it, clean and paint it and put it back together with new bushes. As usual, it turned into a bit of an epic.
Axle comes off in an hour or so
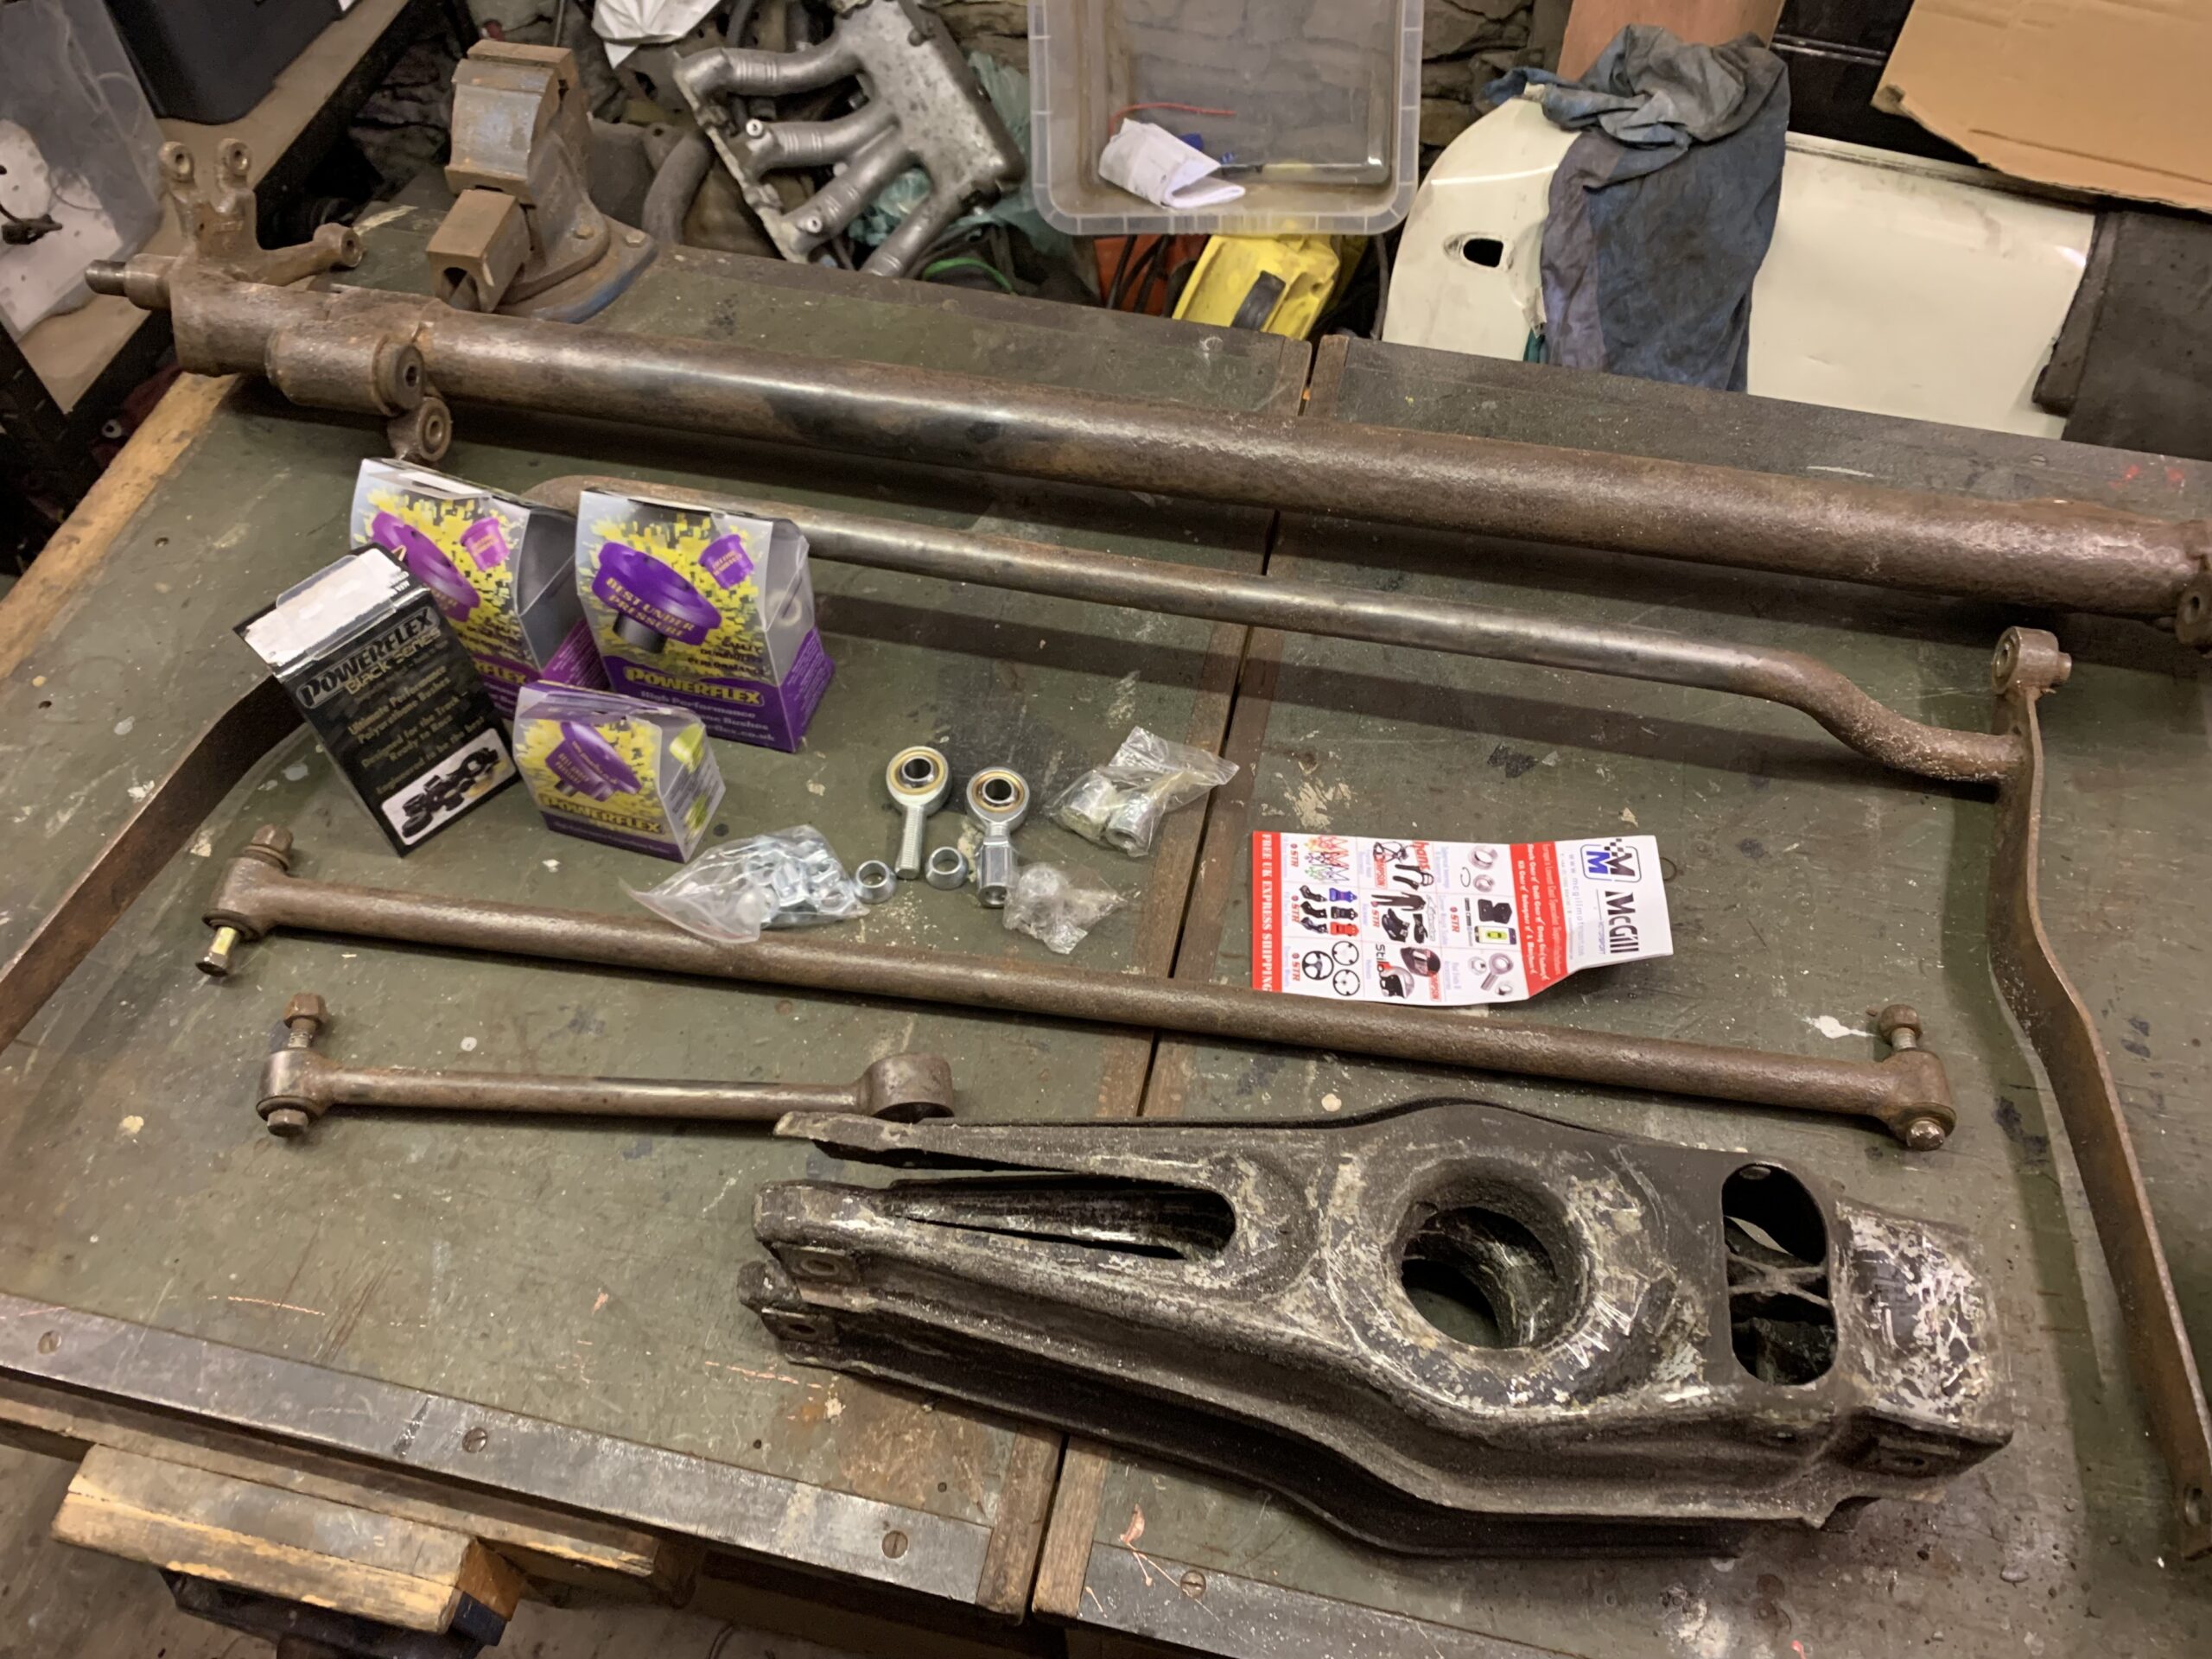
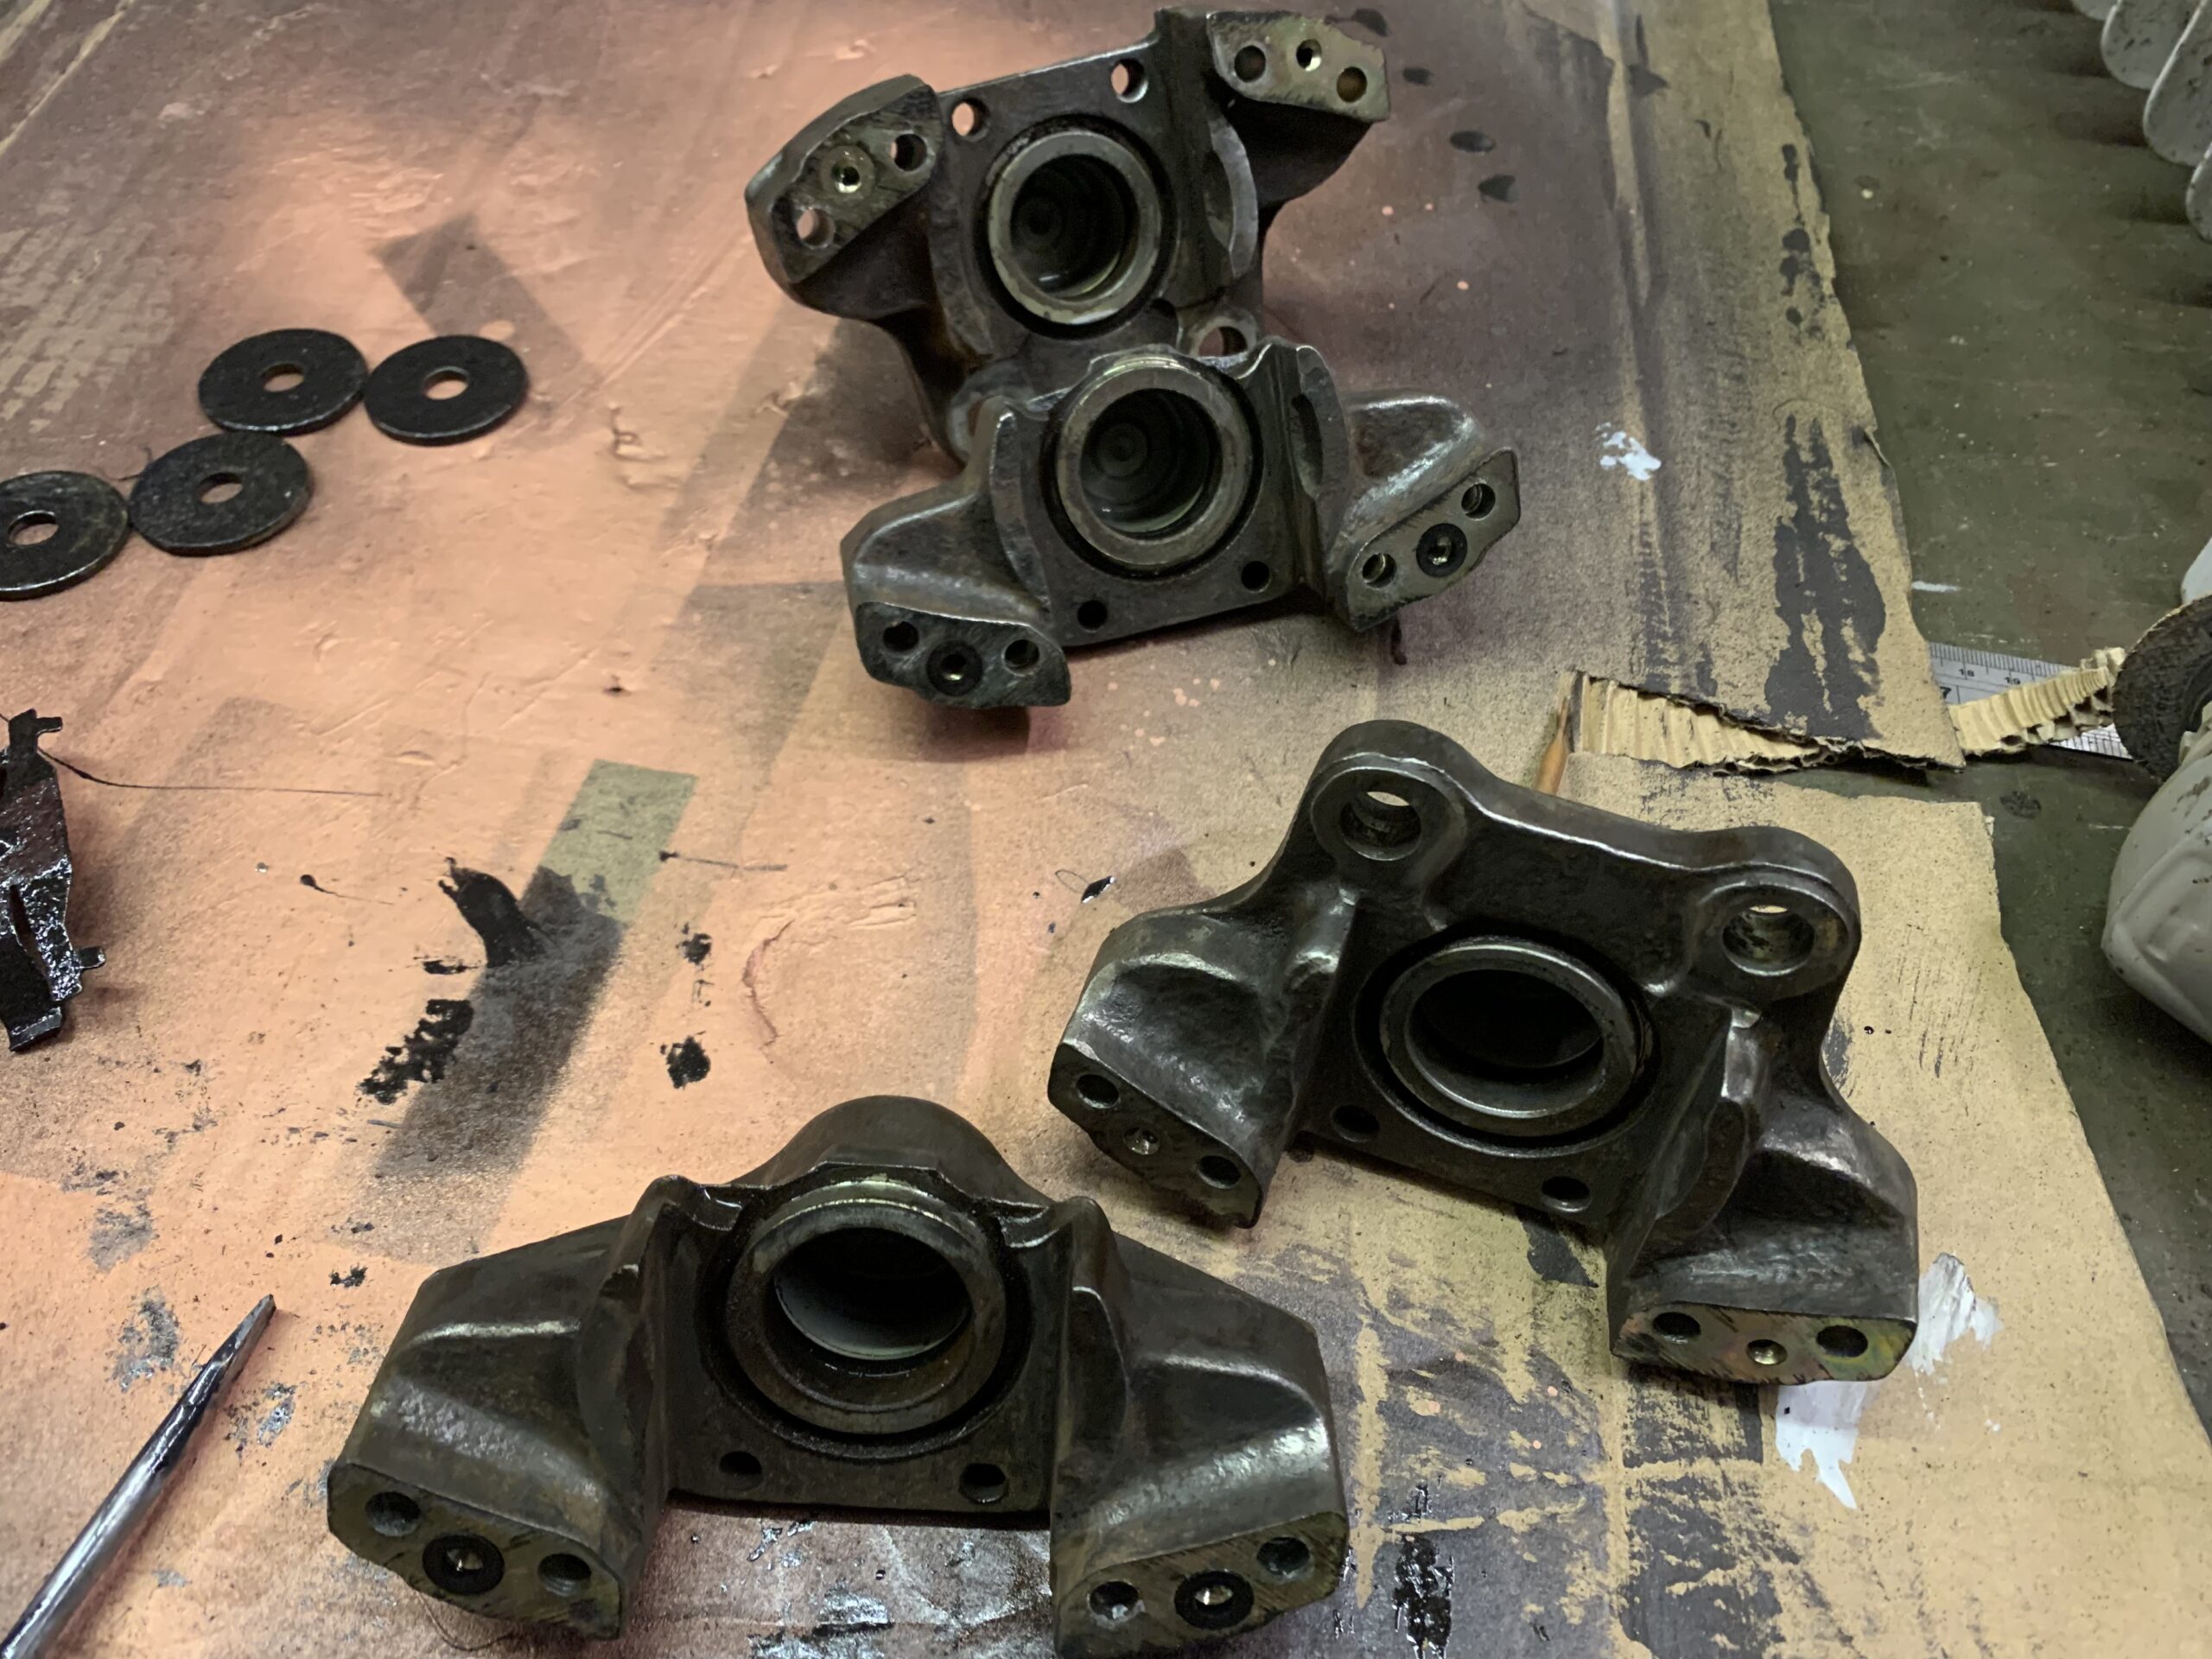
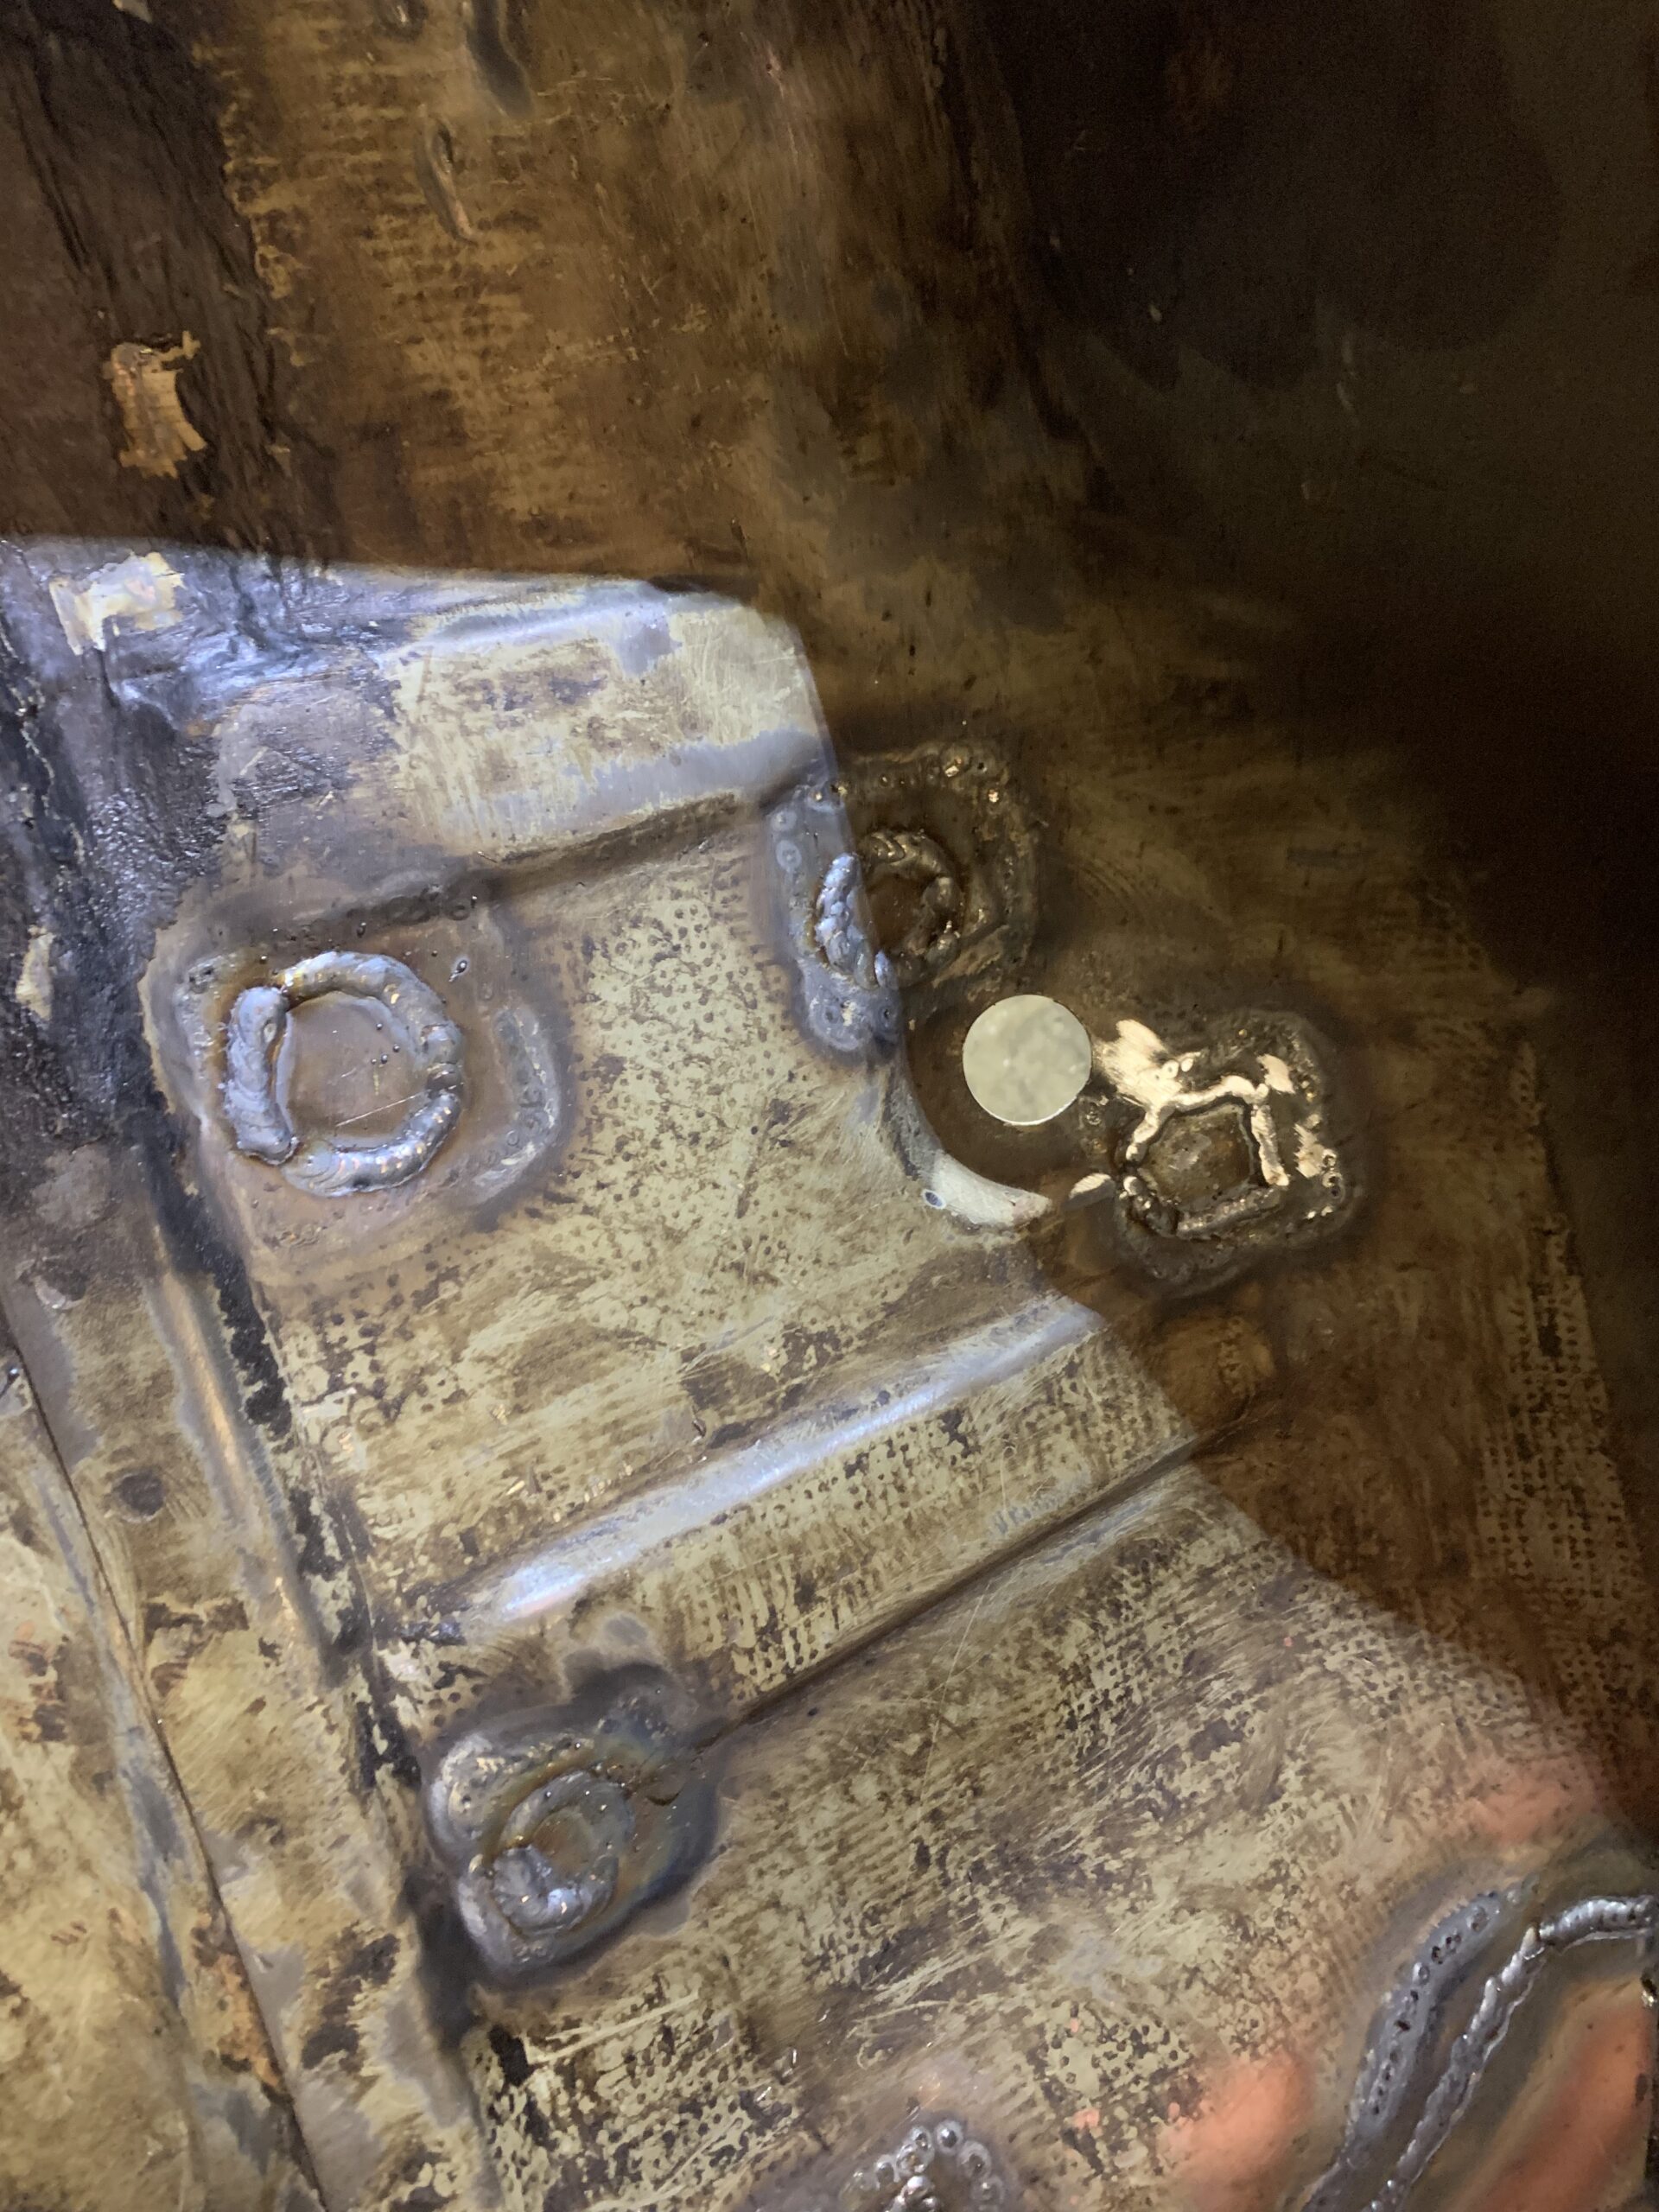
The back axle came off easily enough, though stripping it down beyond this state was harder work – The bolts that go through the aluminium blocks on the front of the trailing arms were well and truly seized in. It took a full knotted wheel in the angle grinder to get everything cleaned up, then the parts were painted with Buzzweld Chassis In One. The paint dries really quickly but for the price (£32 a litre!) I don’t really rate it. It’s hard to brush smoothly from the tin and the end result seems to chip quite easily. Finally new Powerflex black bushes were fitted throughout, apart from the anti roll bar which is only available in the softer purple compound.
Midway through cleaning. There’s a lot of money in Powerflex bushes there. The rose joints come into play laterPaint in progressDIY bush press setup
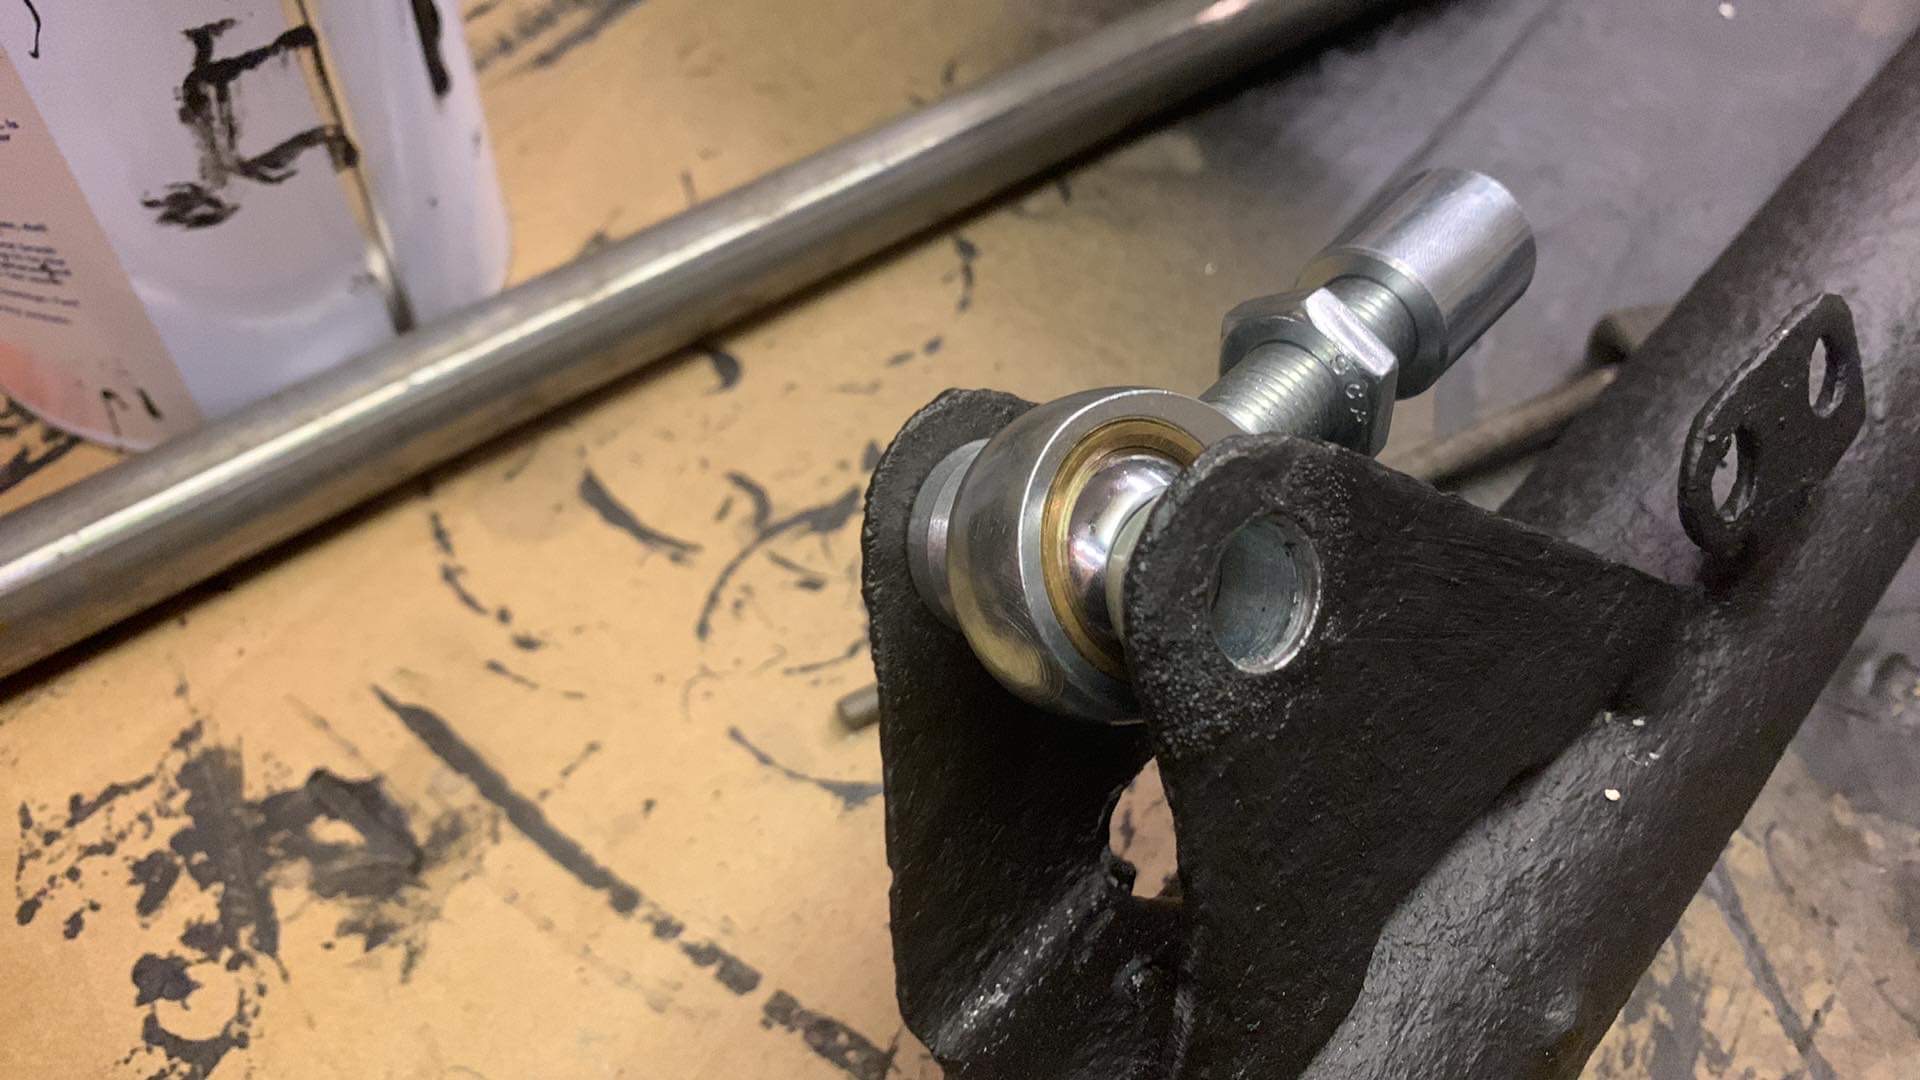
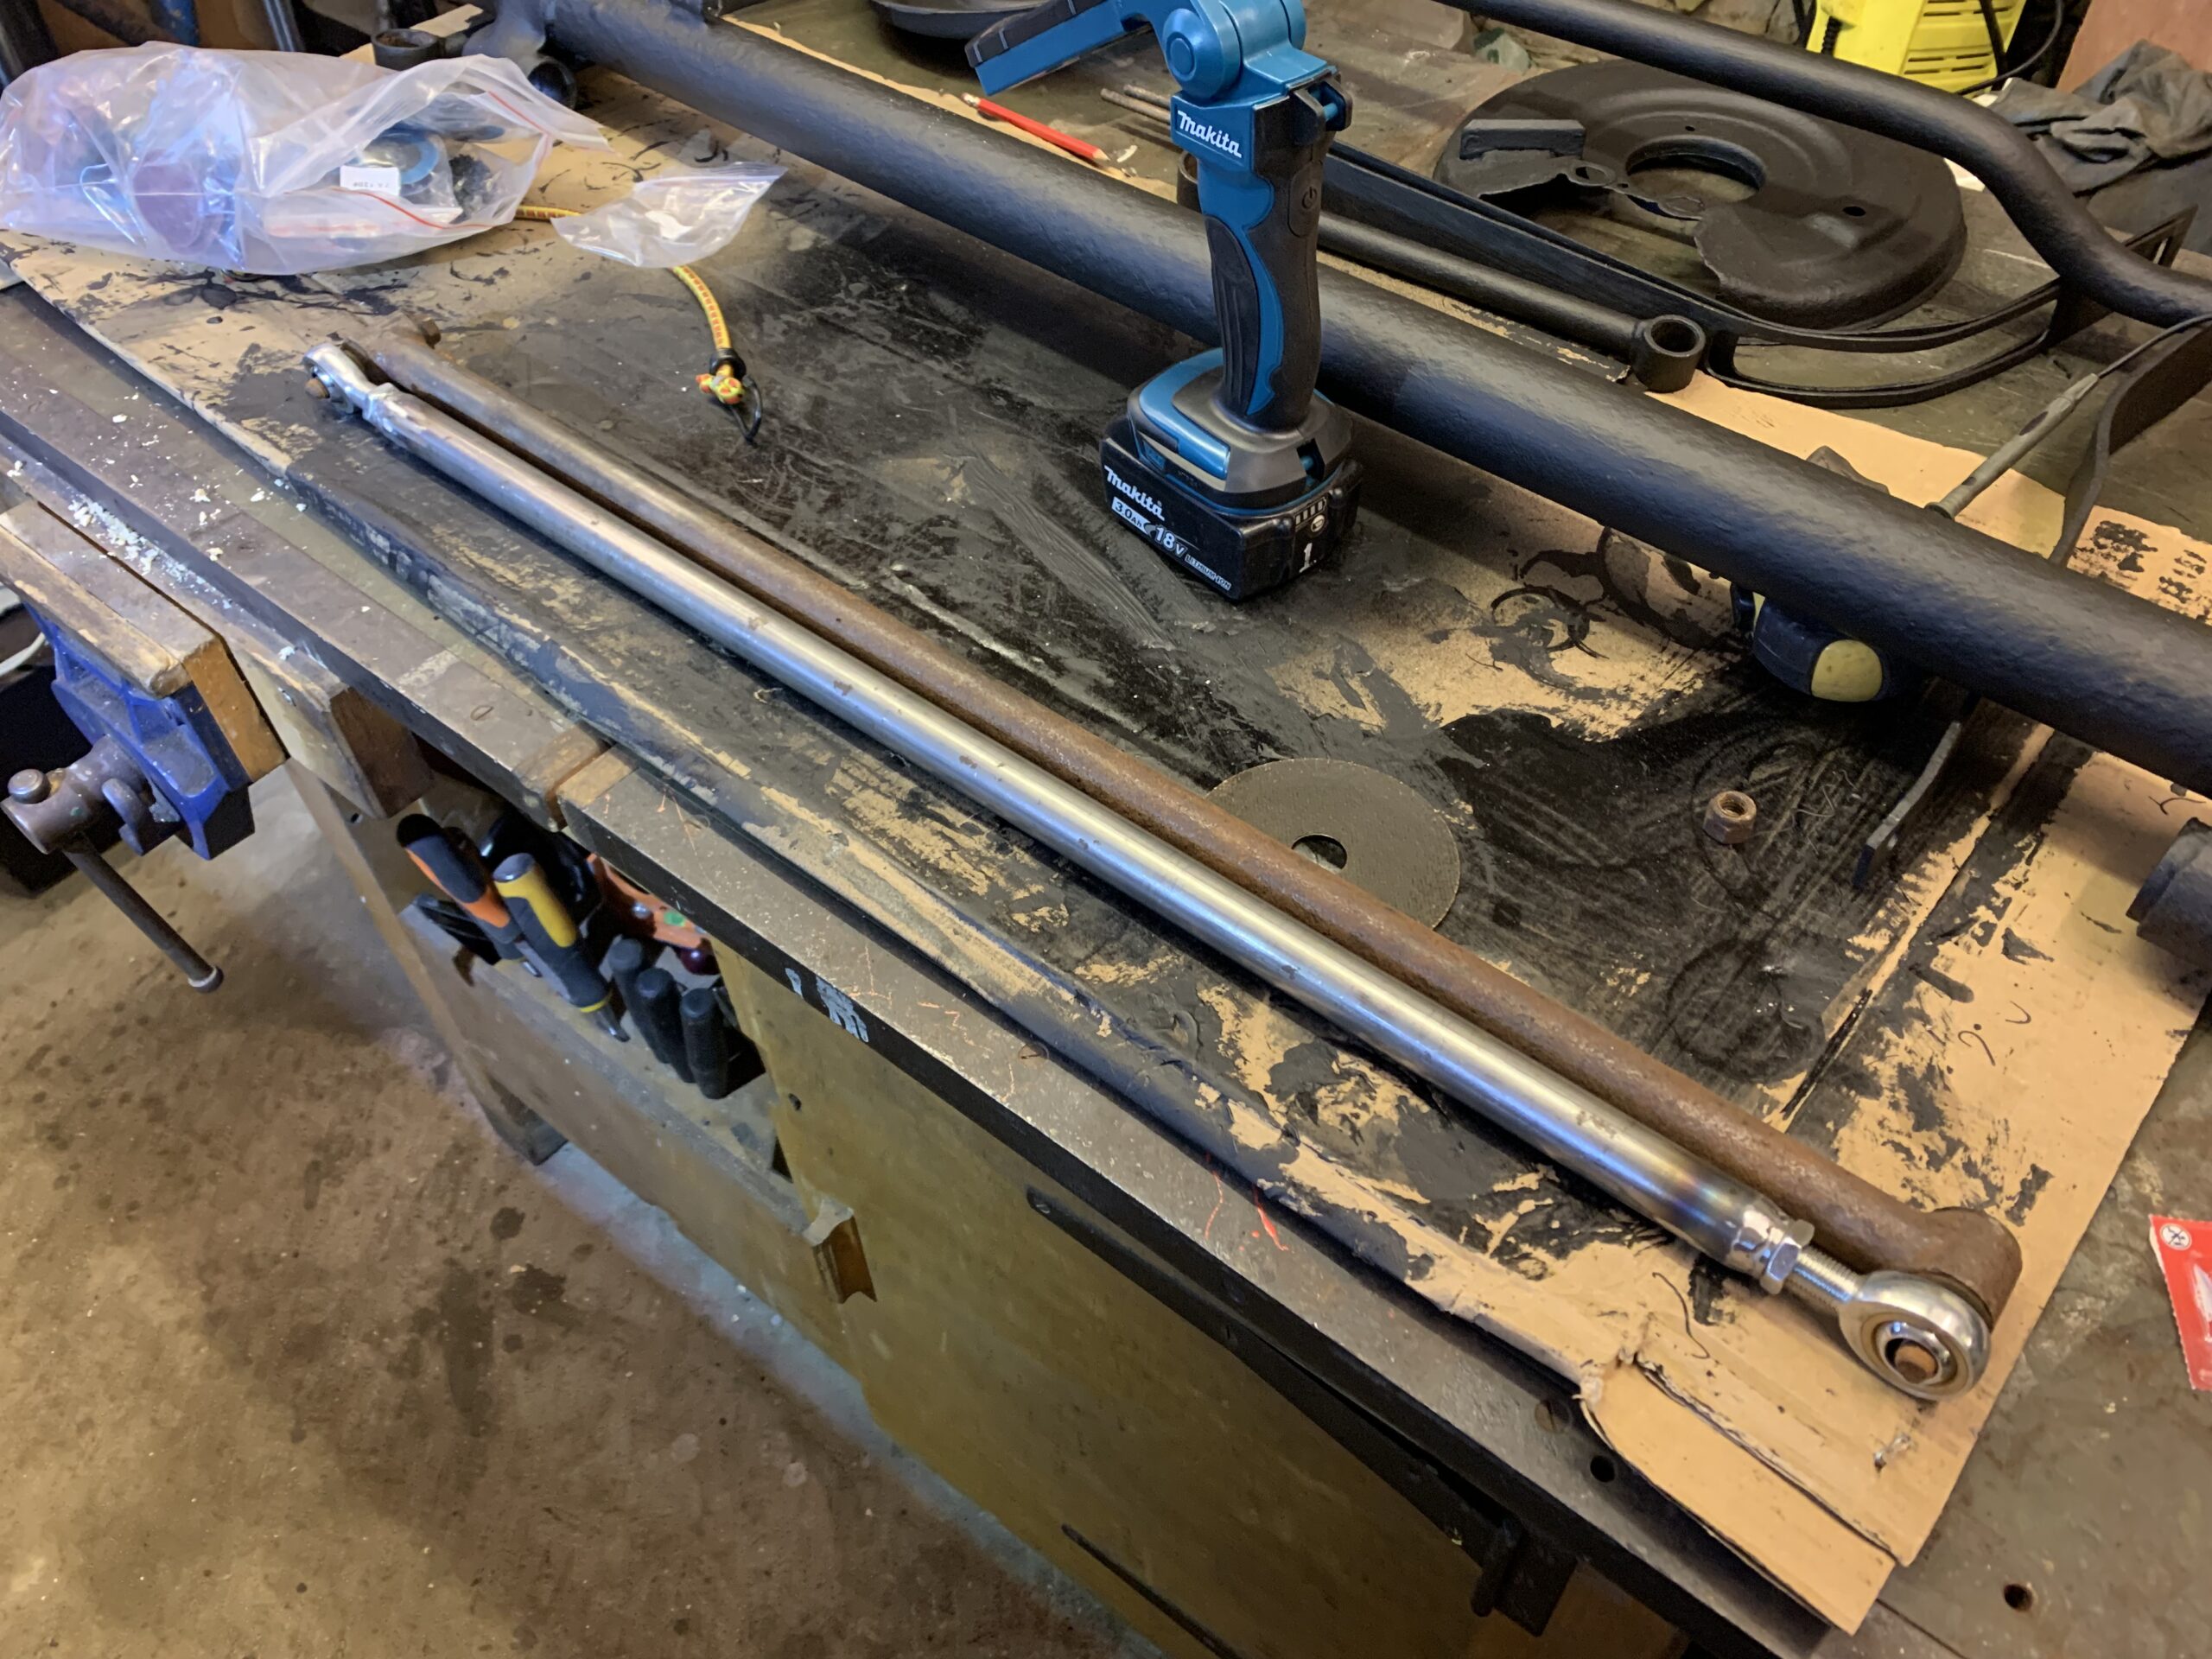
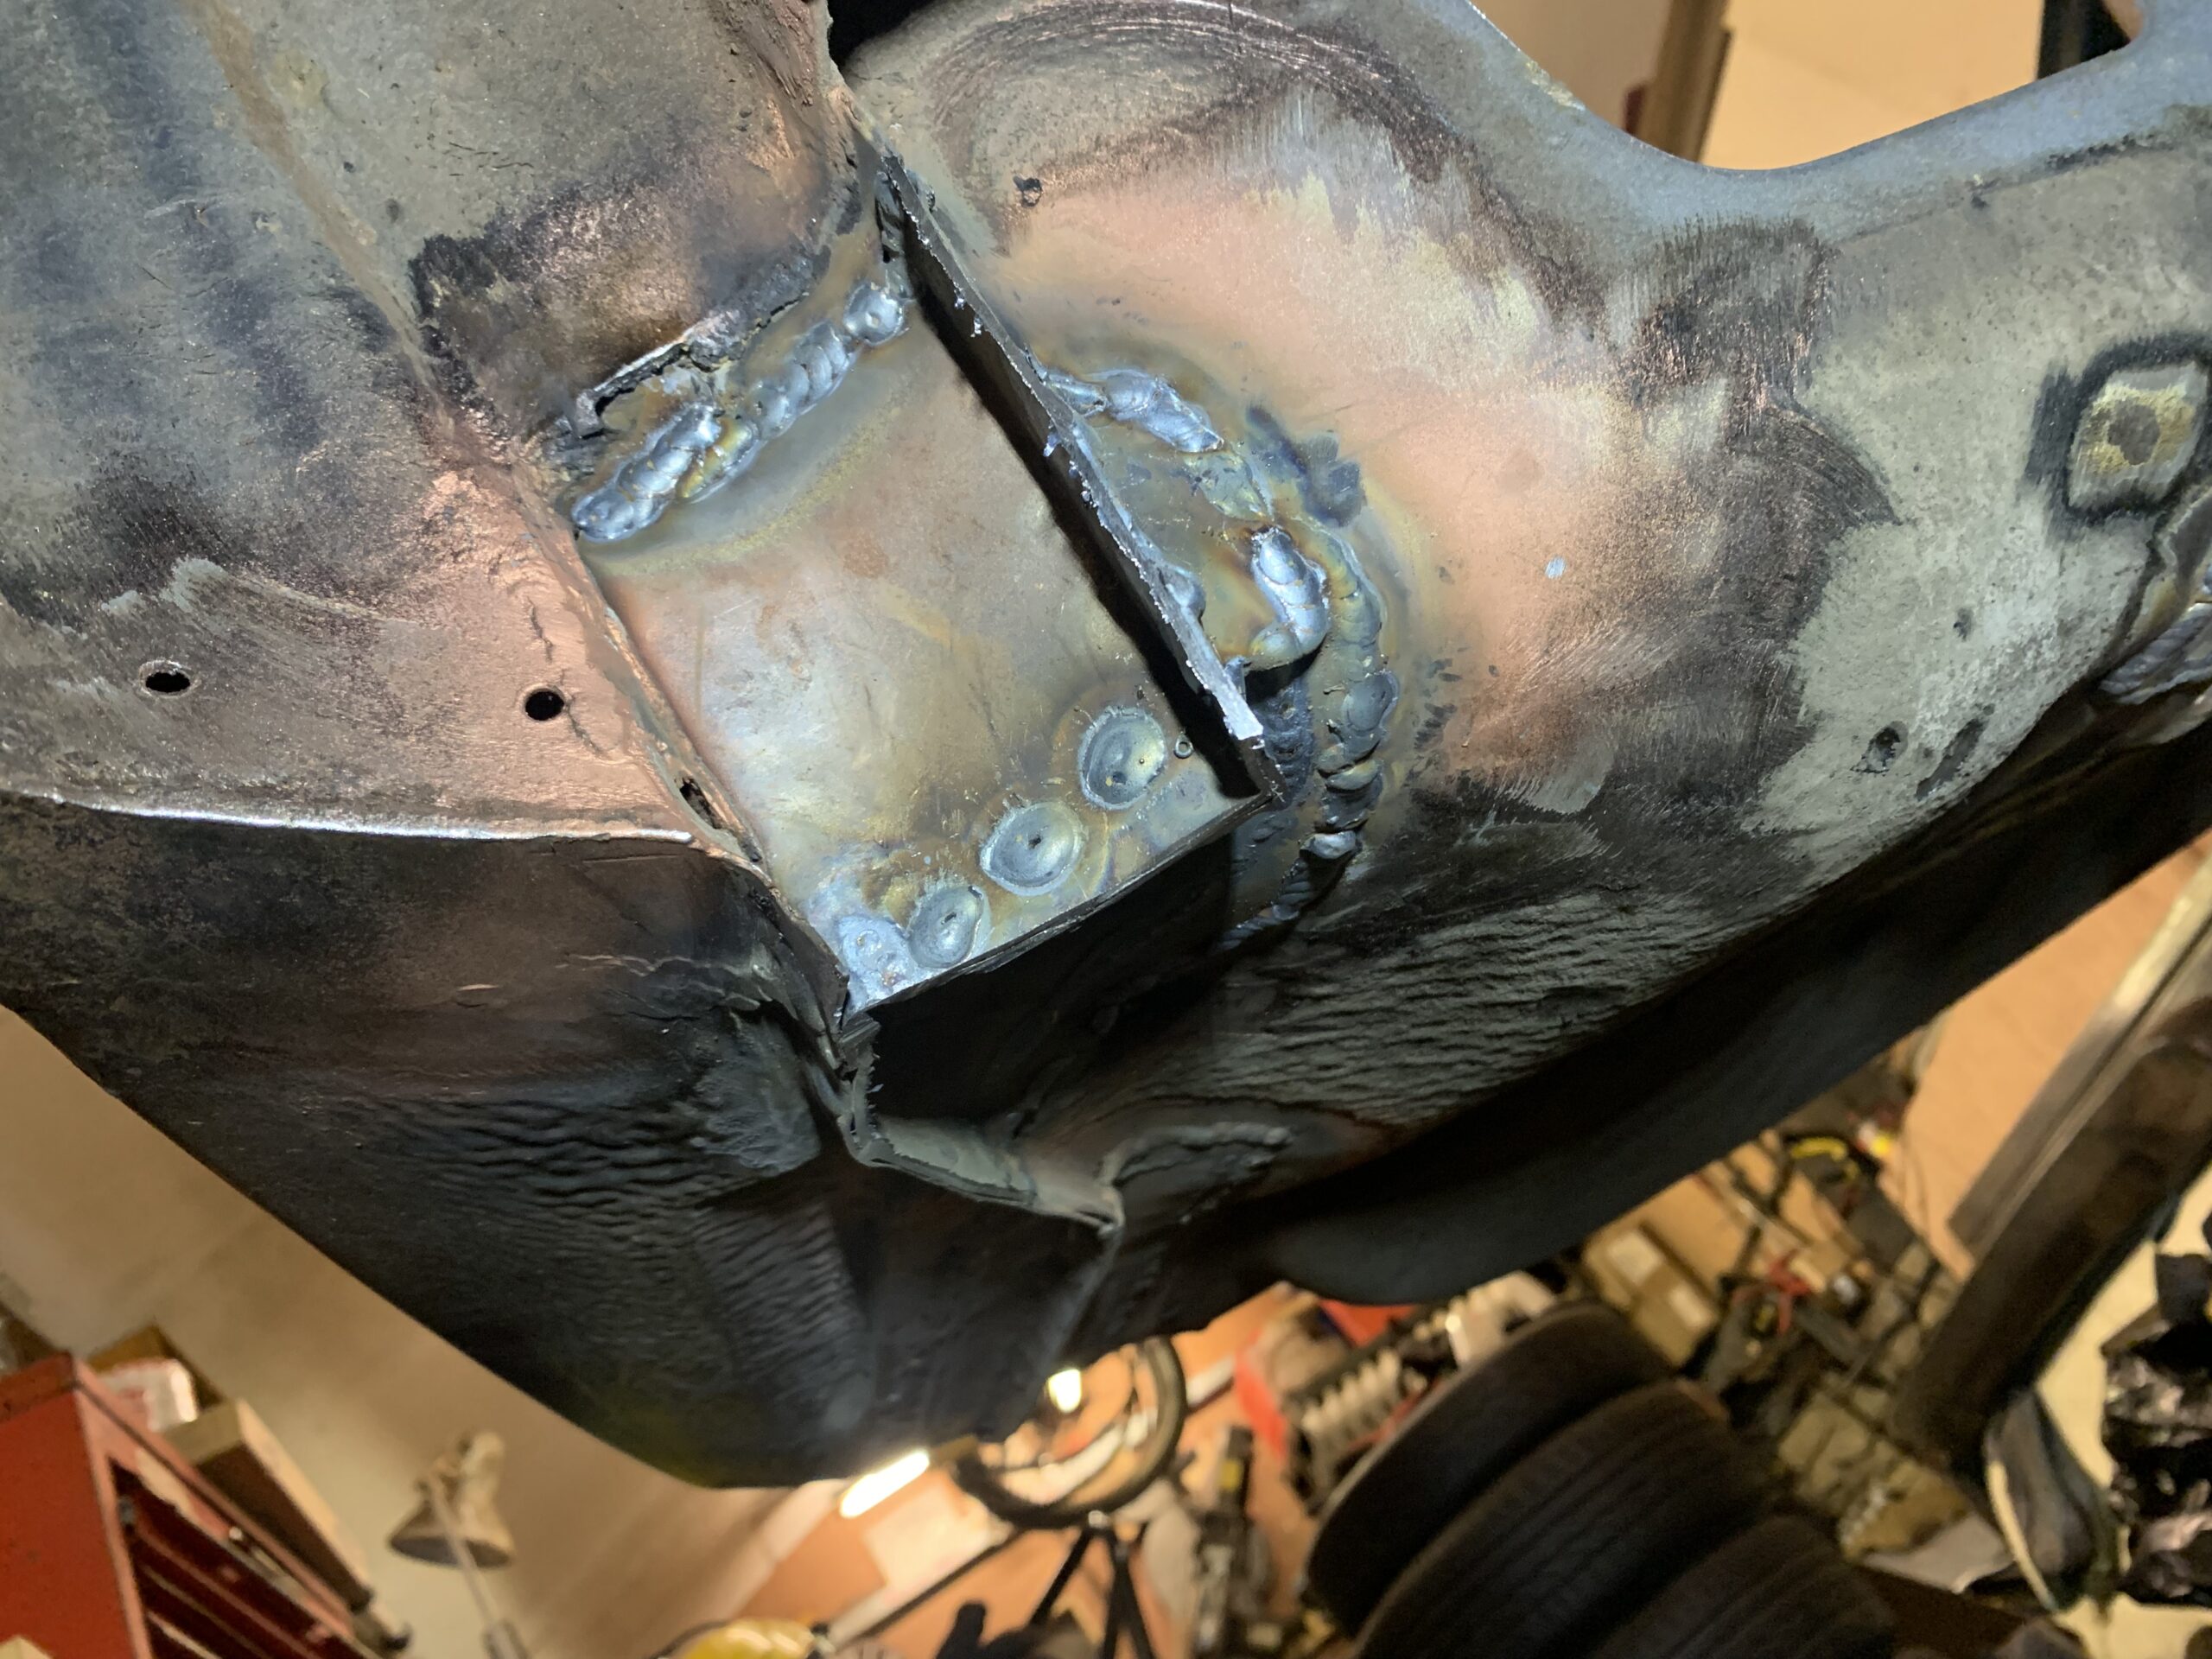
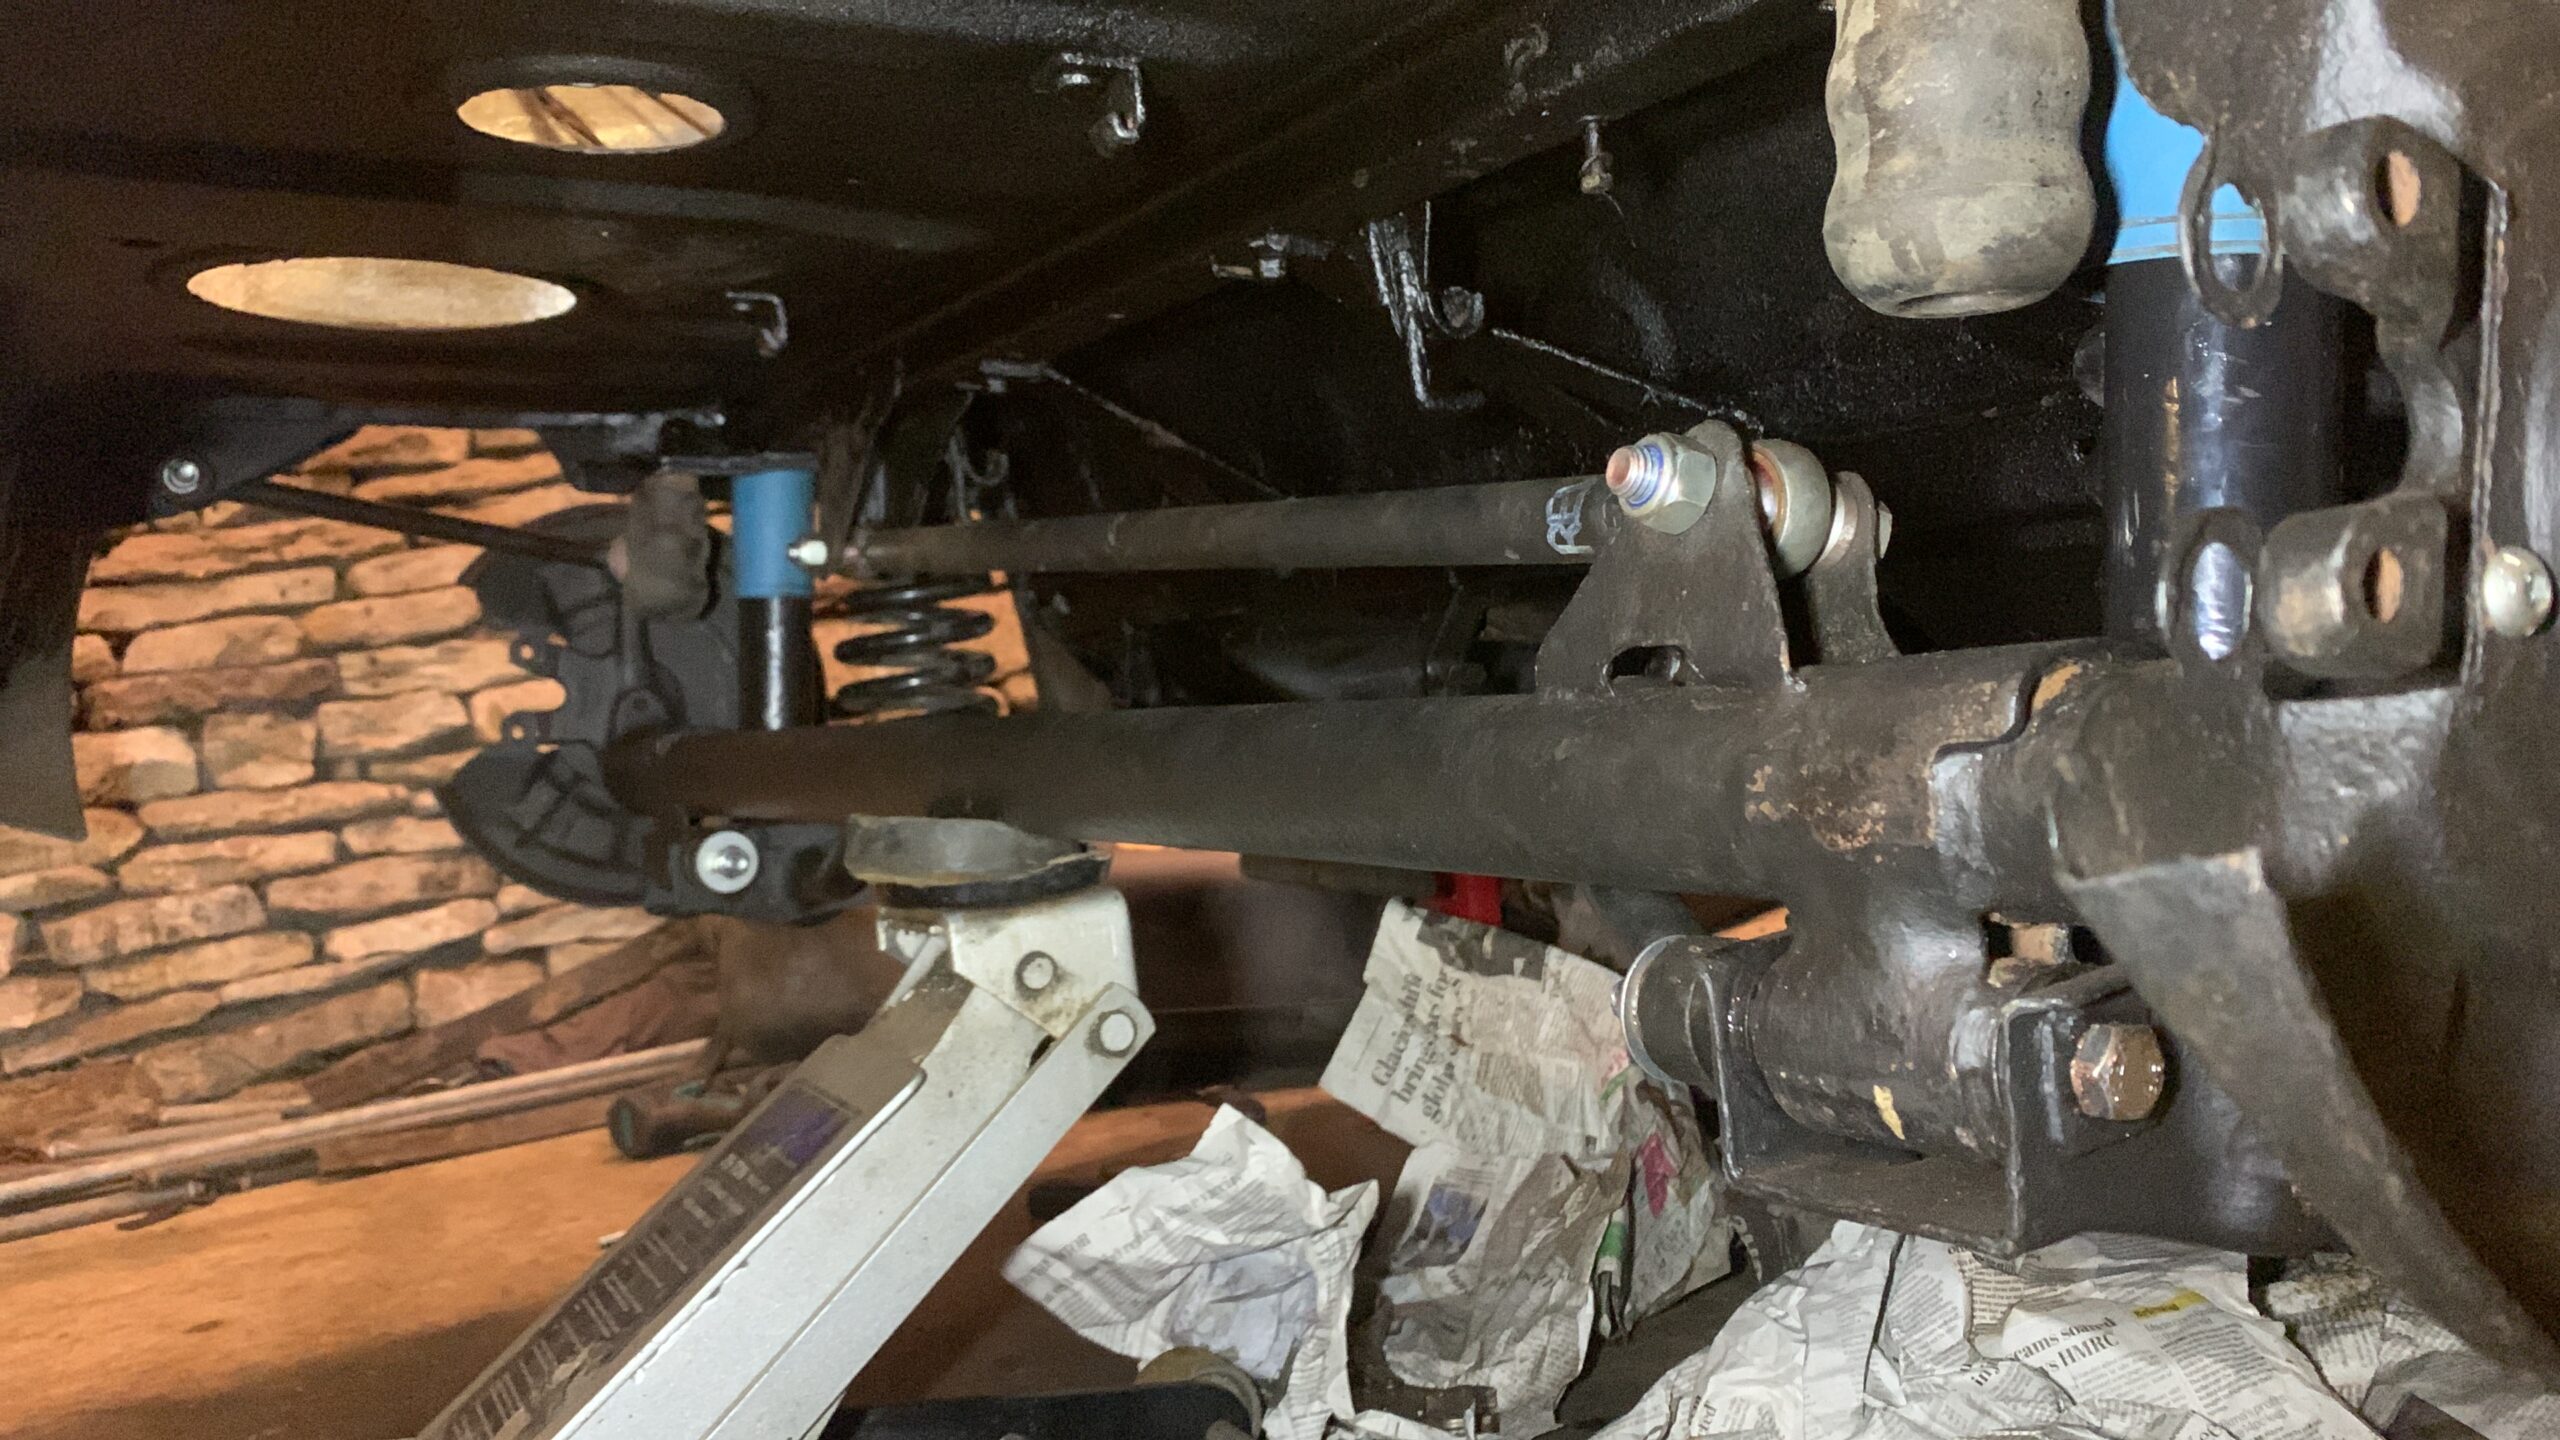
Rather than refit the panhard rod, I decided to make an adjustable one. Because the car is lowered, without shortening the panhard rod the axle will sit slightly off to one side.
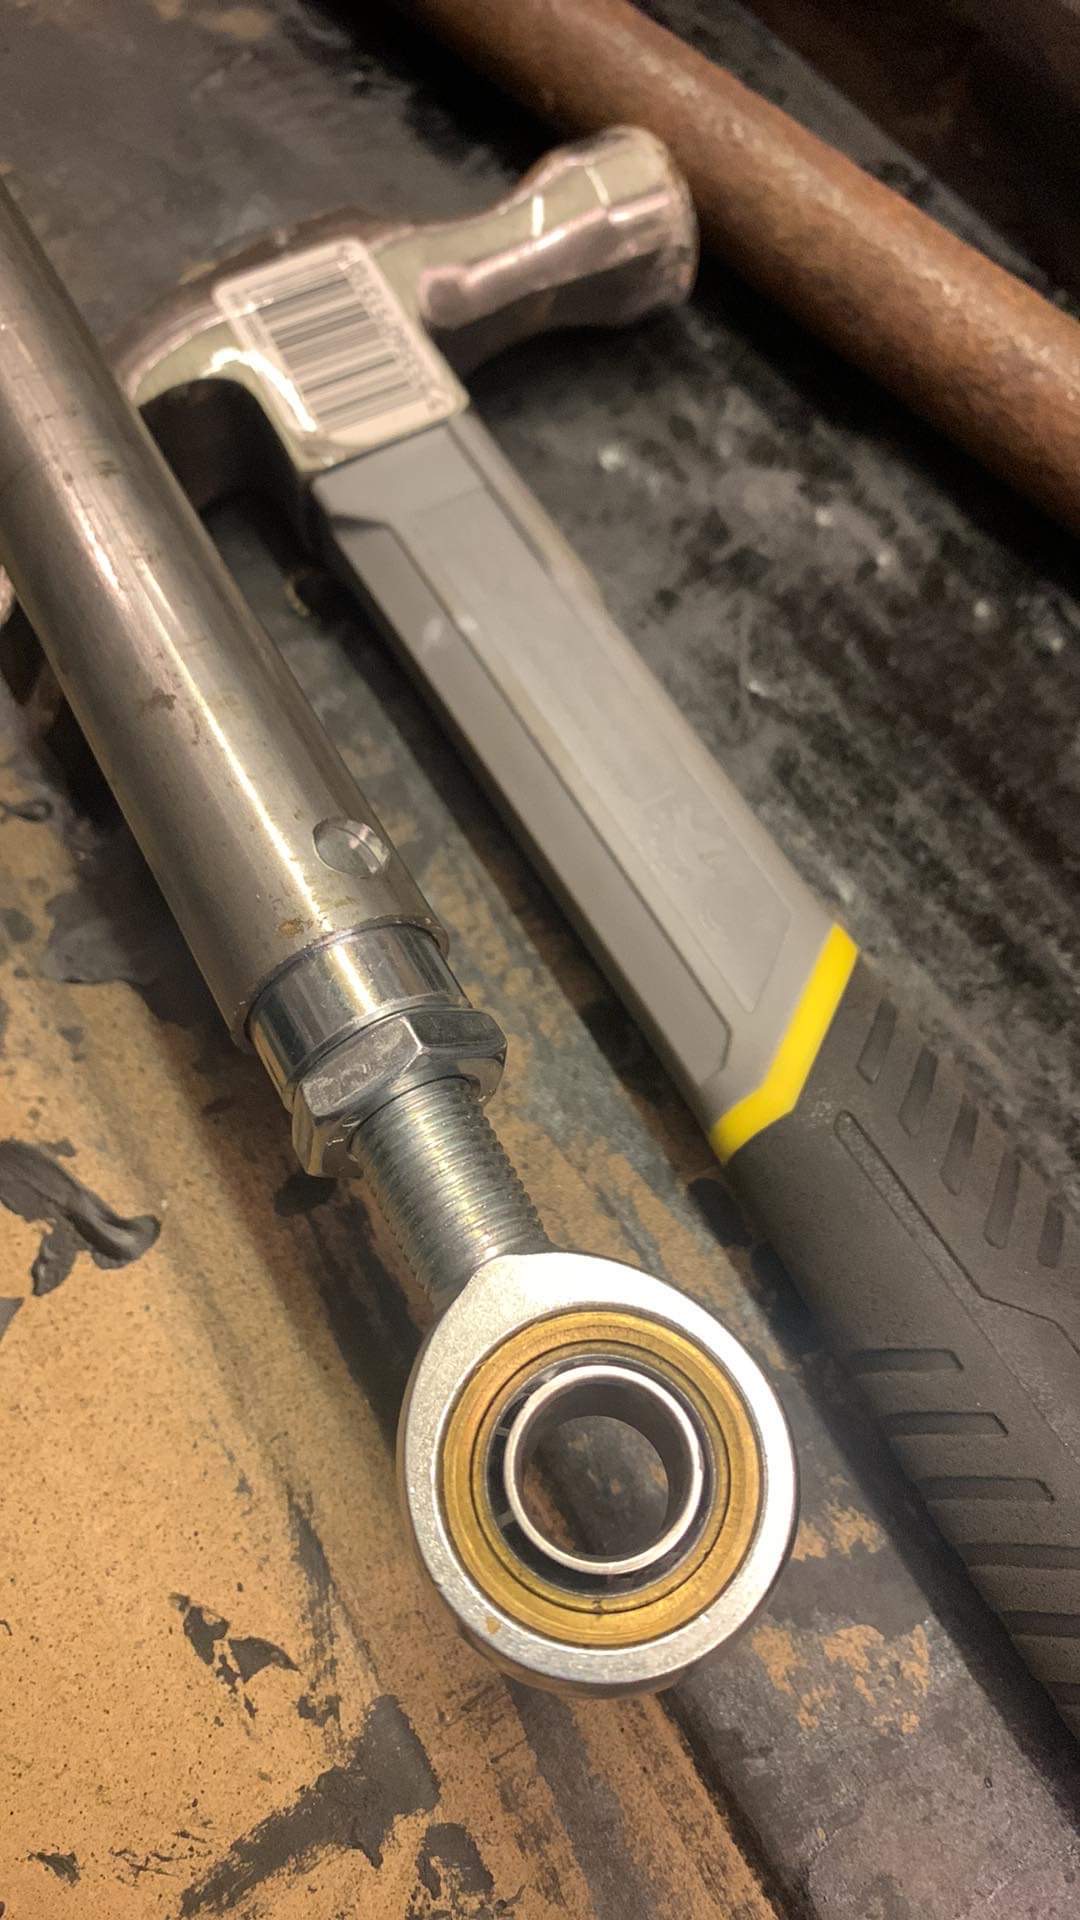
M14x1.5 inserts with left hand thread at one end were pressed and welded into 25mm OD/1.5mm wall tube. I added a plug weld for extra security.
At either and M14 rose joints meant enlarging the holes in the axle and body mounting brackets, while spacers made up the difference in width.
The finished panhard rod against the original
The rear calipers were rebuilt with new seals and painted though this is the only photo I seem to have of that.
It’s a really simple job especially compared to the fronts. The pistons pop out and four bolts hold the two halves together. There’s seals between the halves that you also want to replace, and they go back together like any other normal caliper.
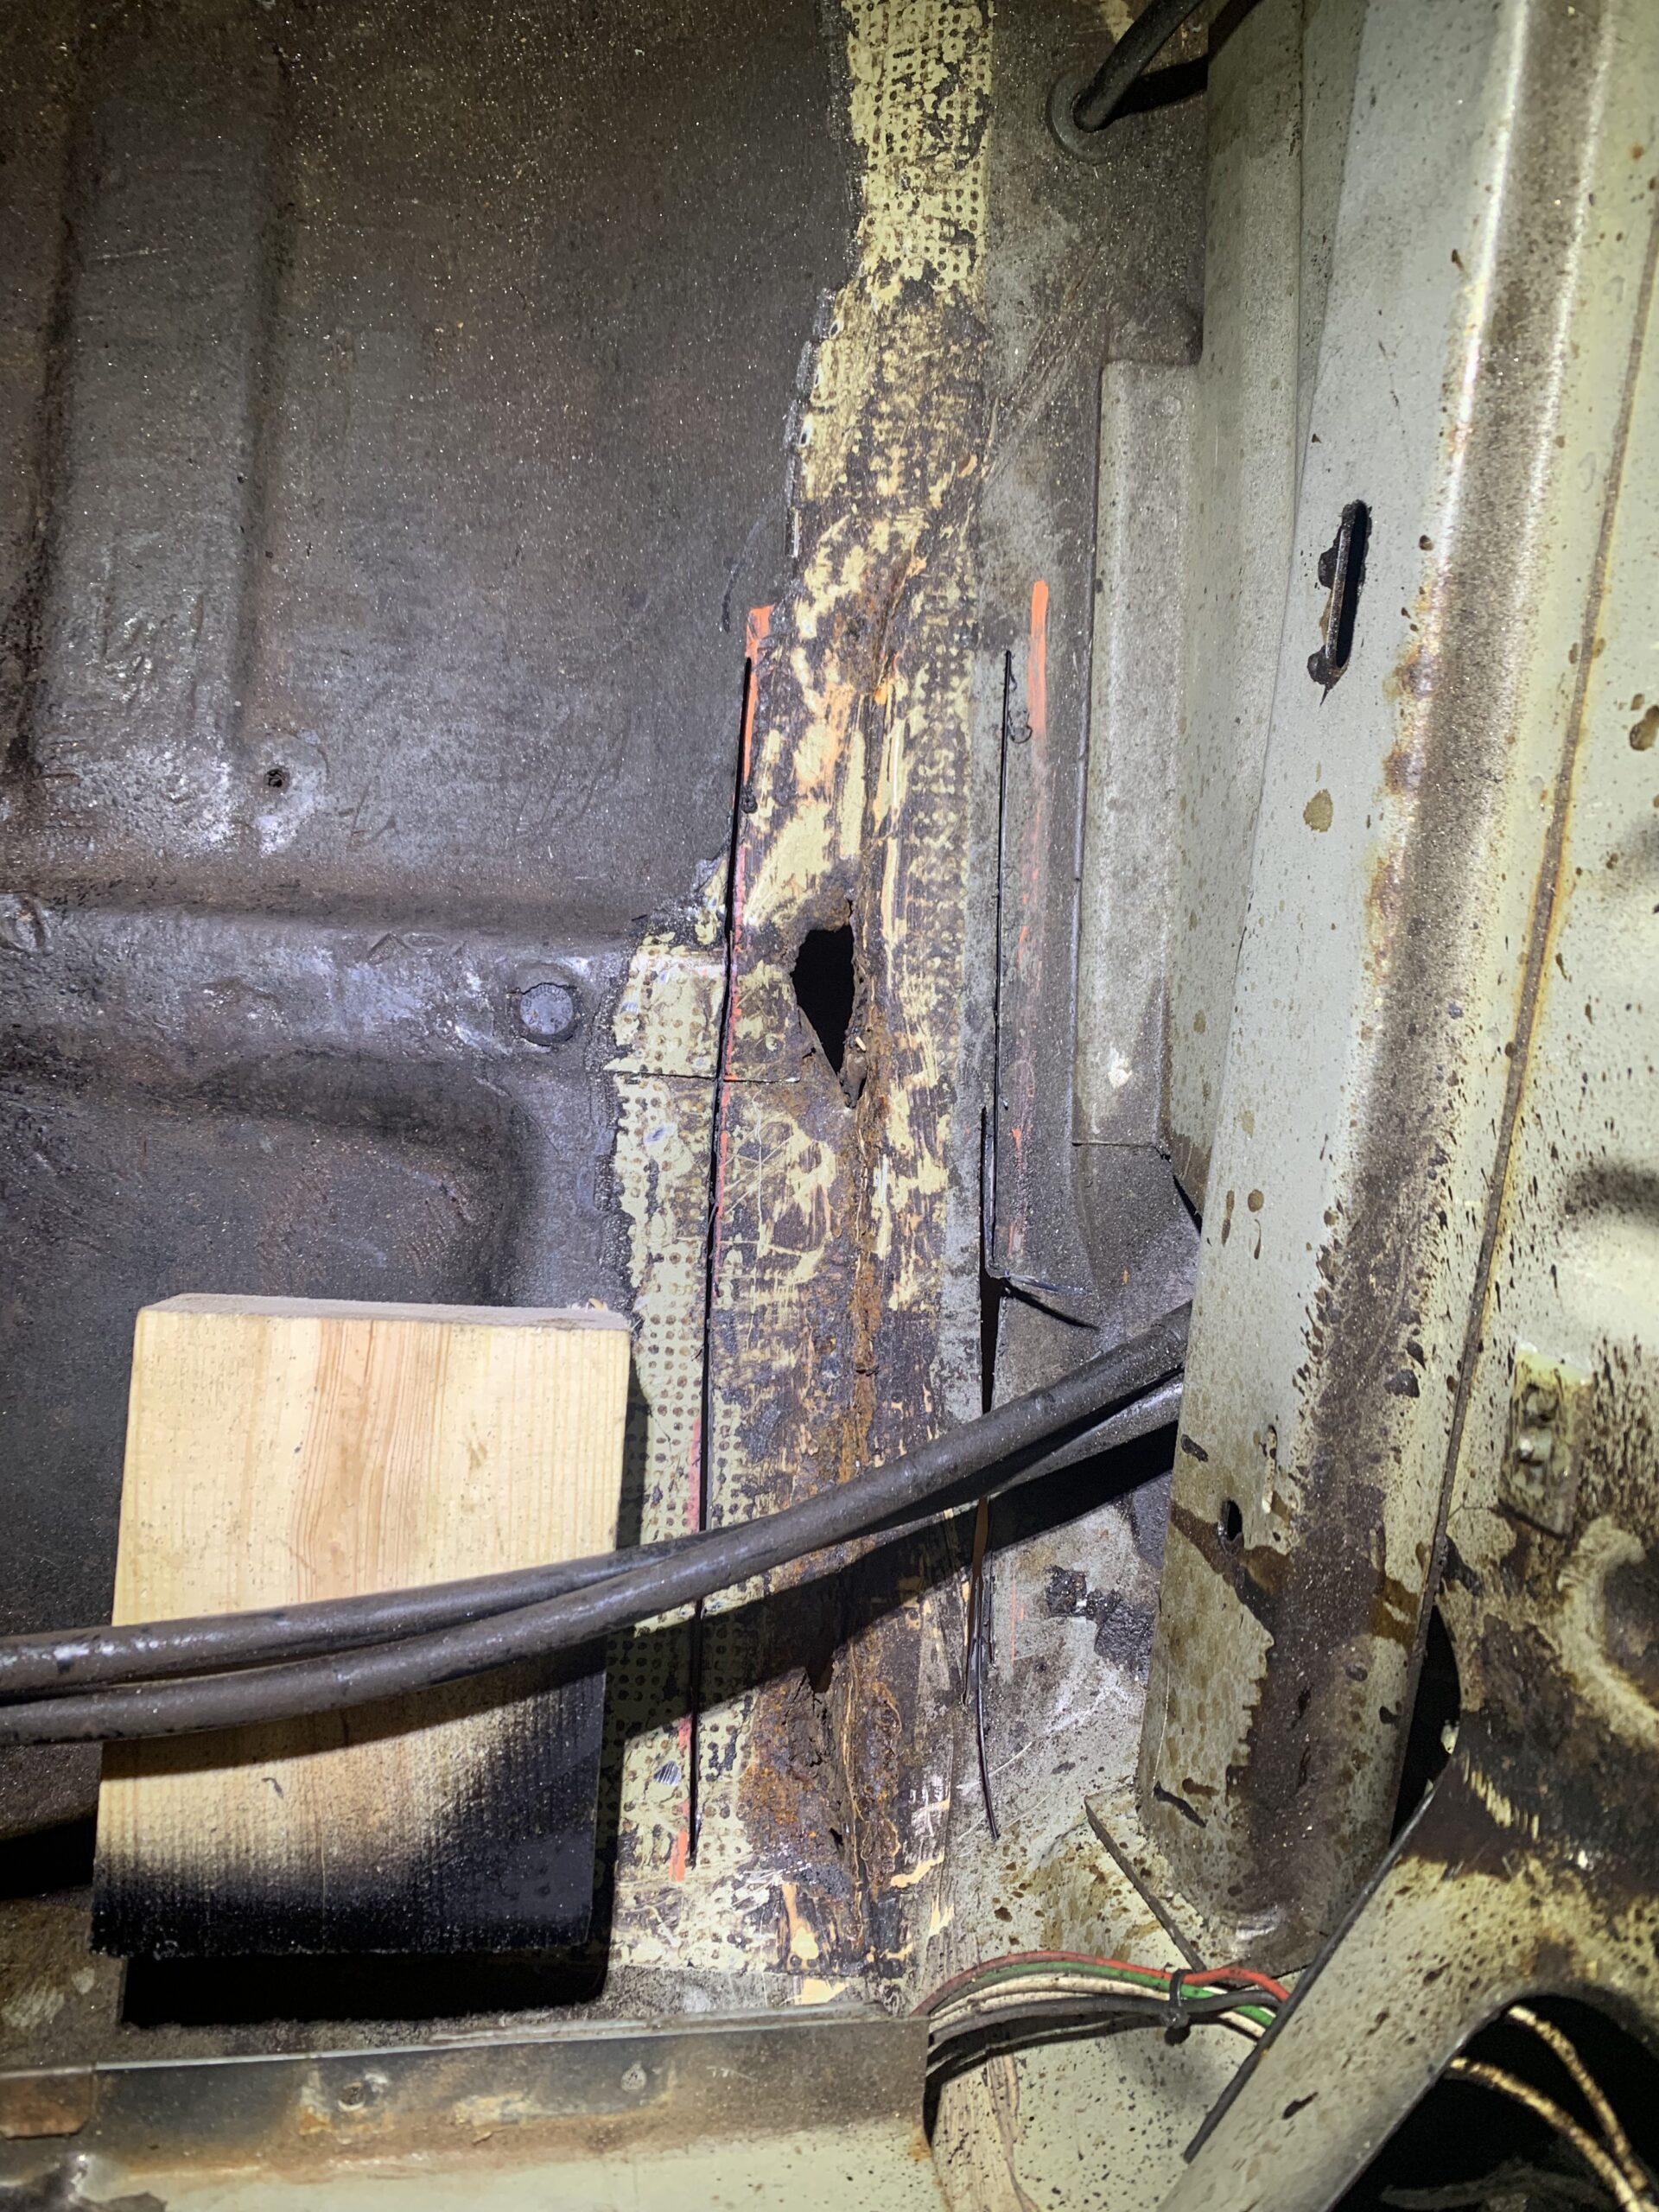
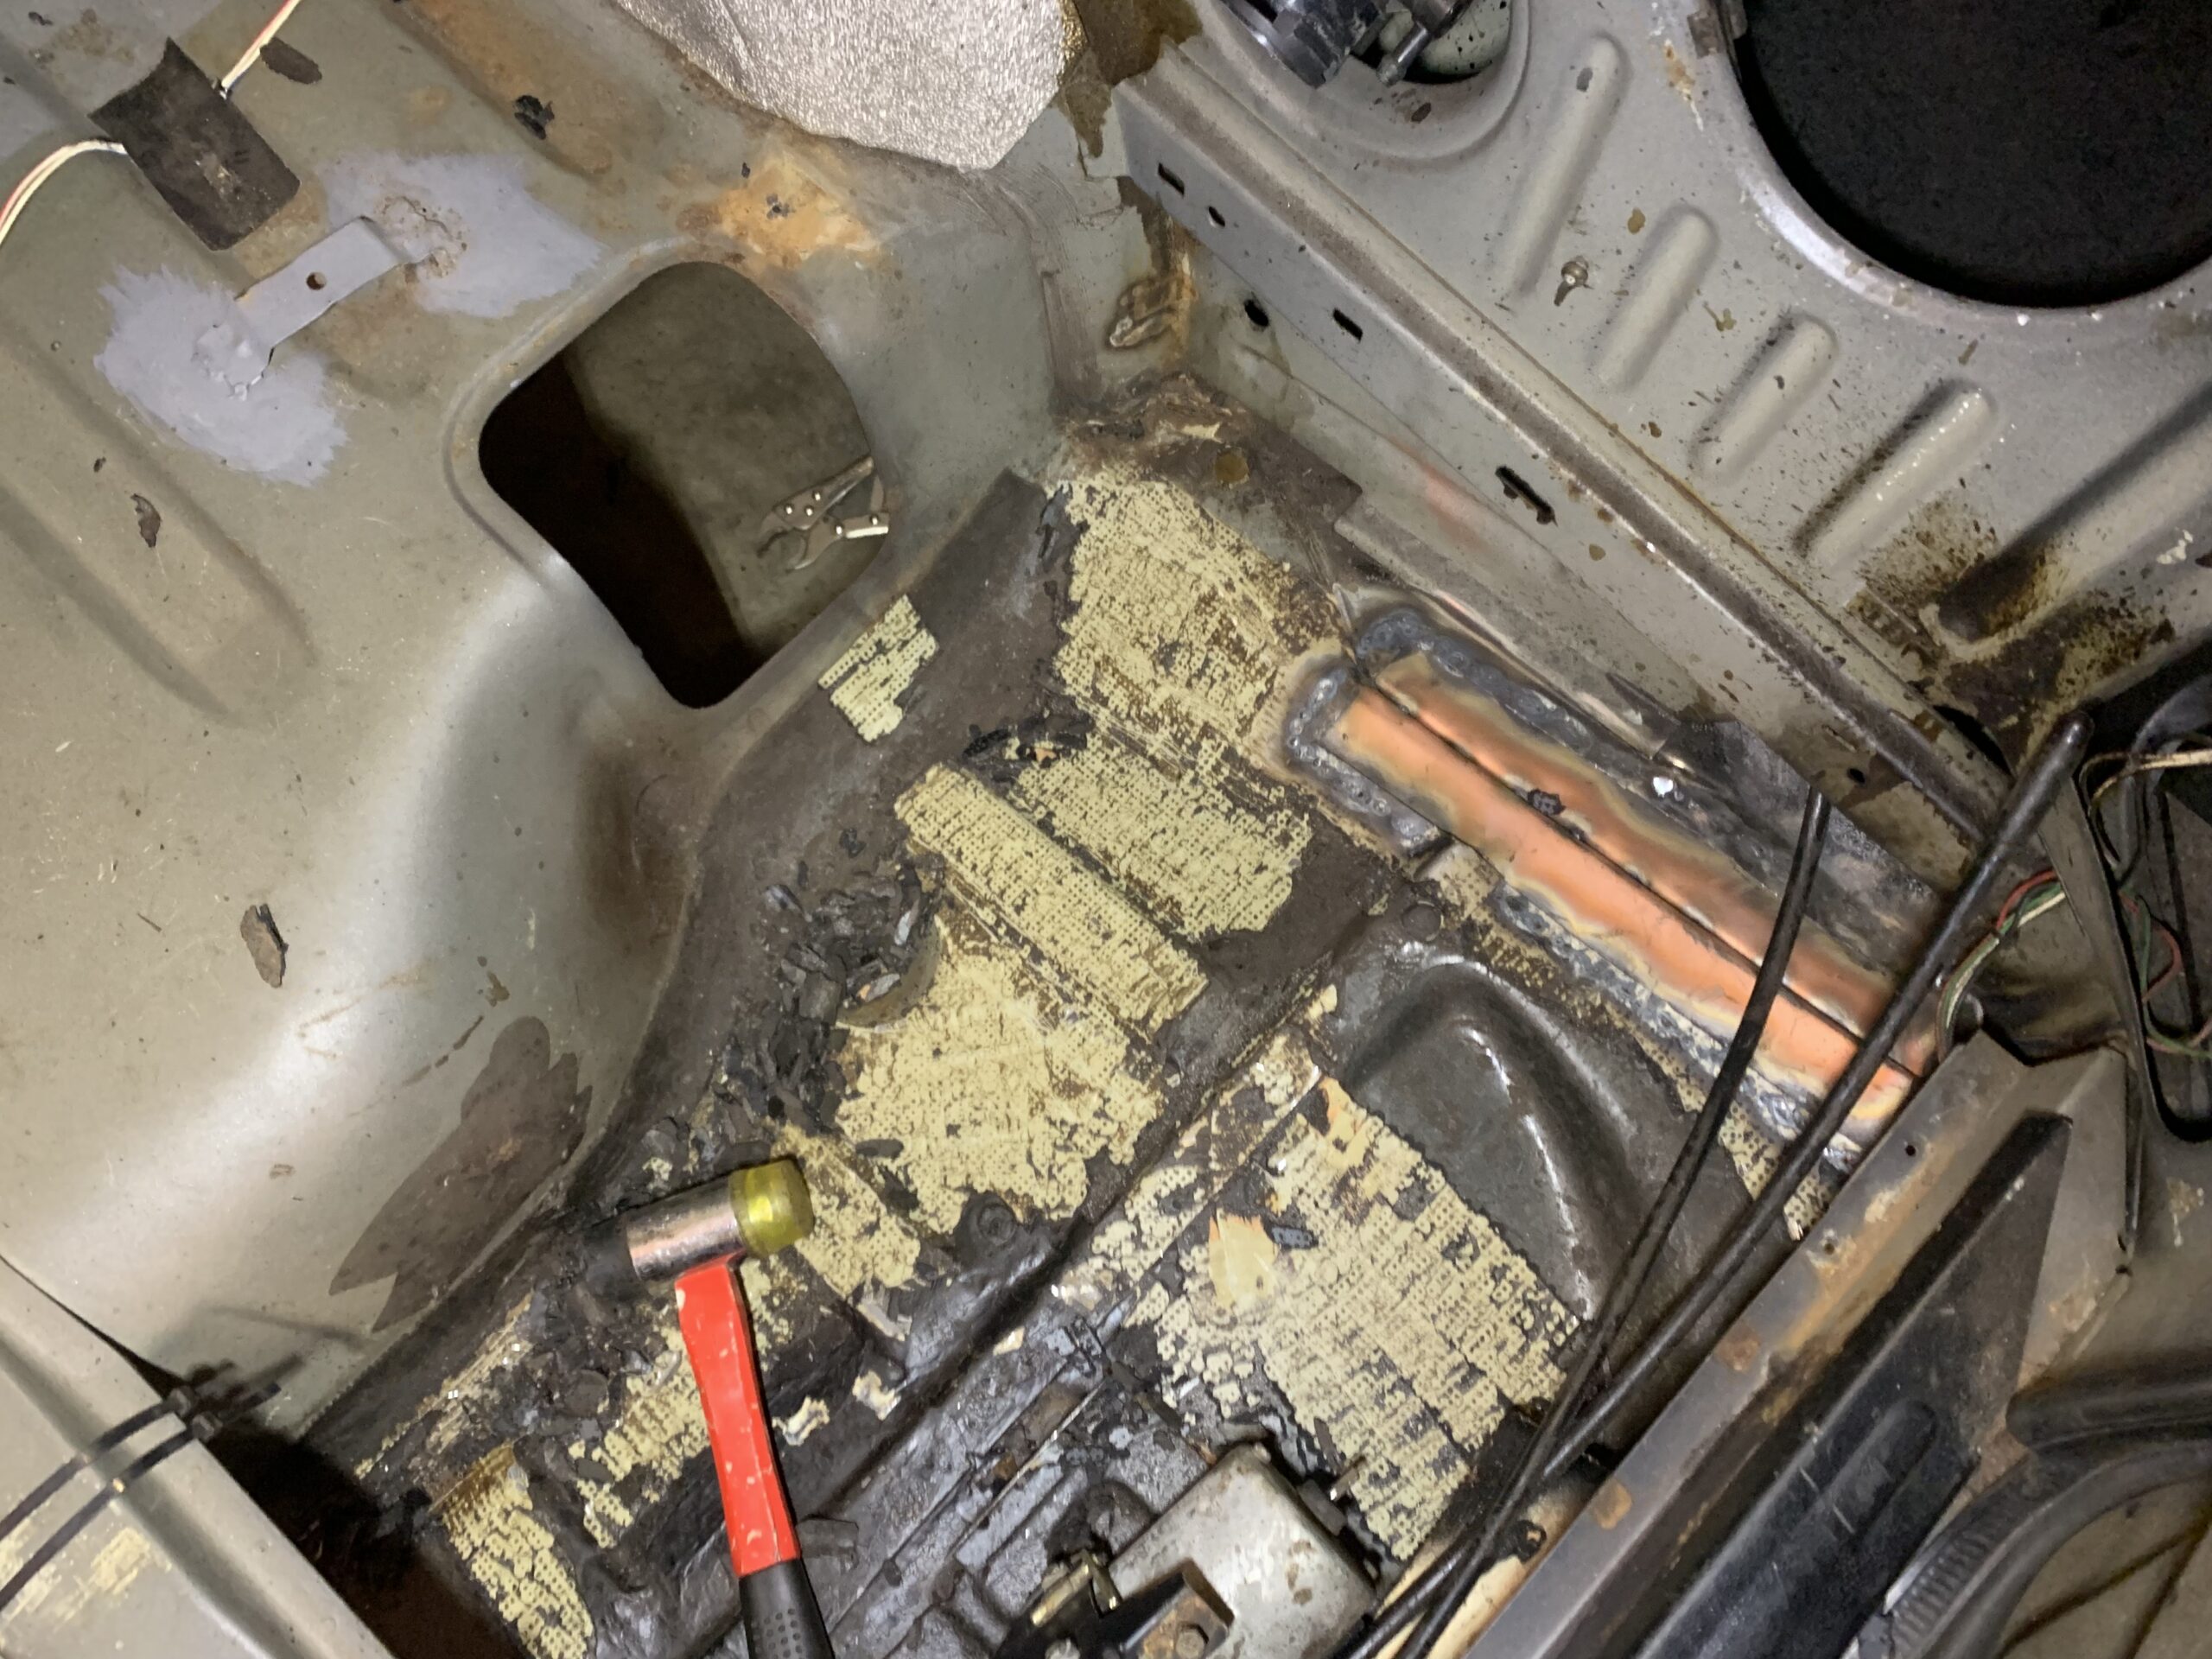
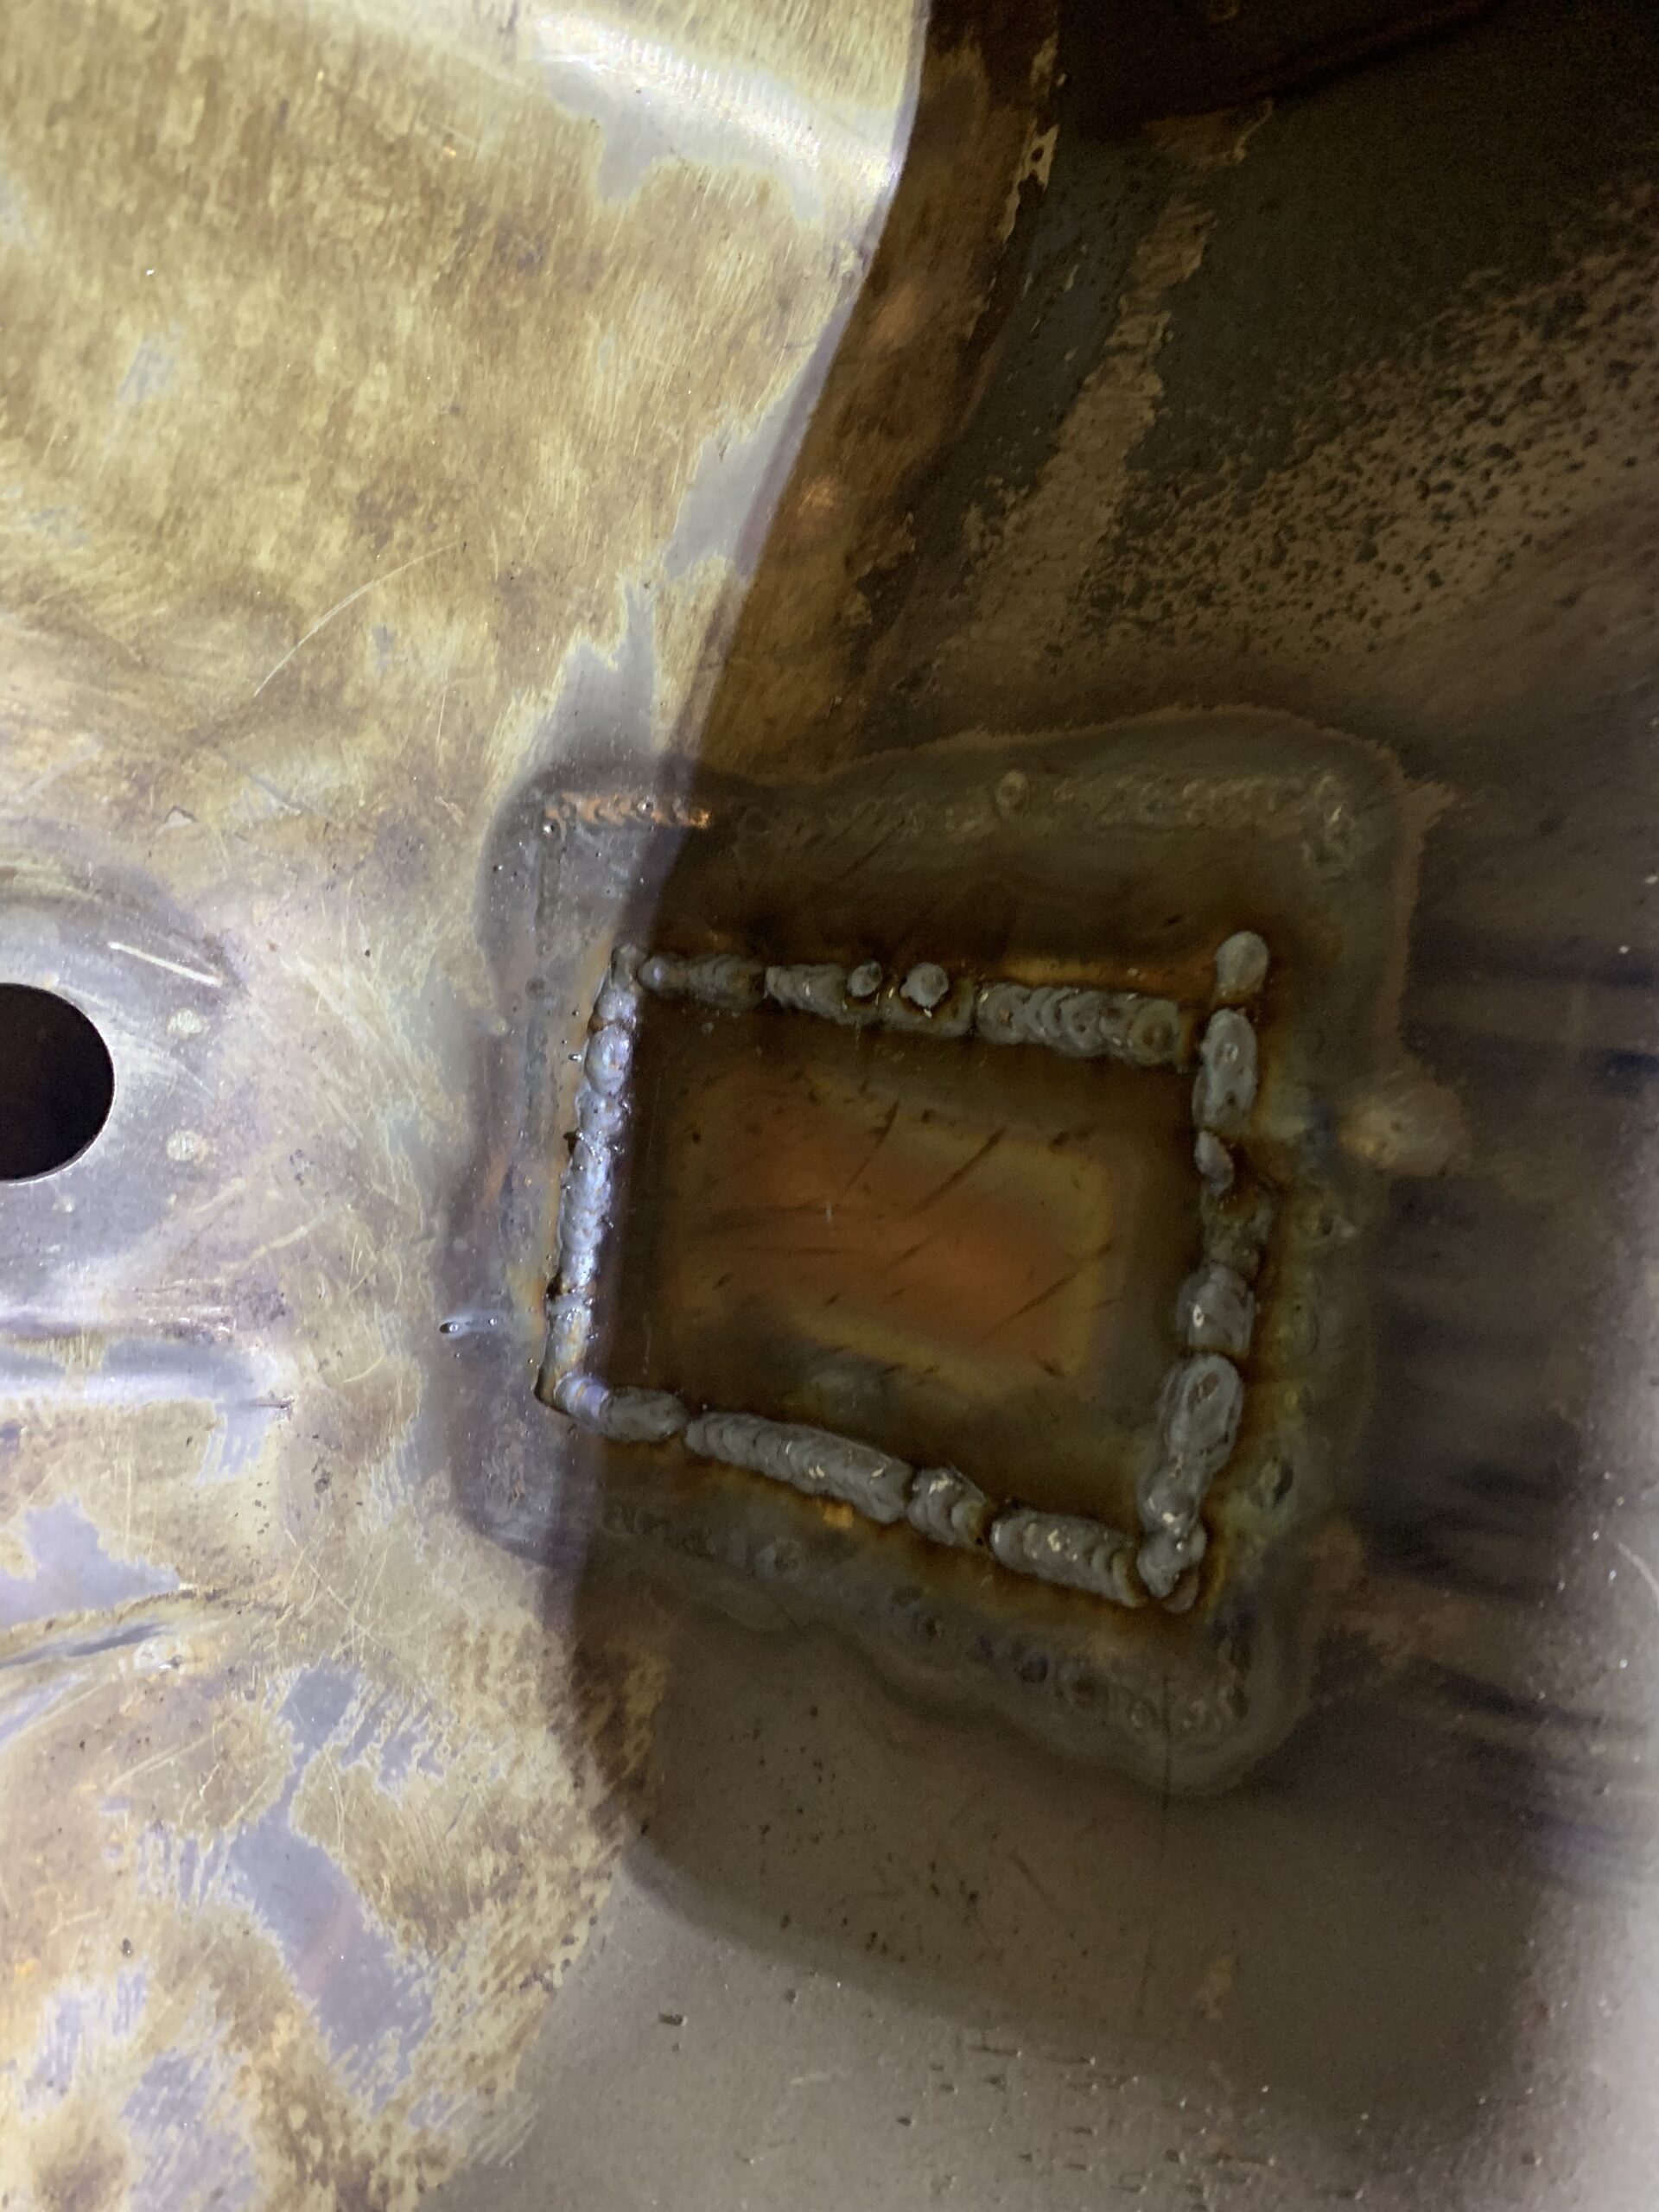
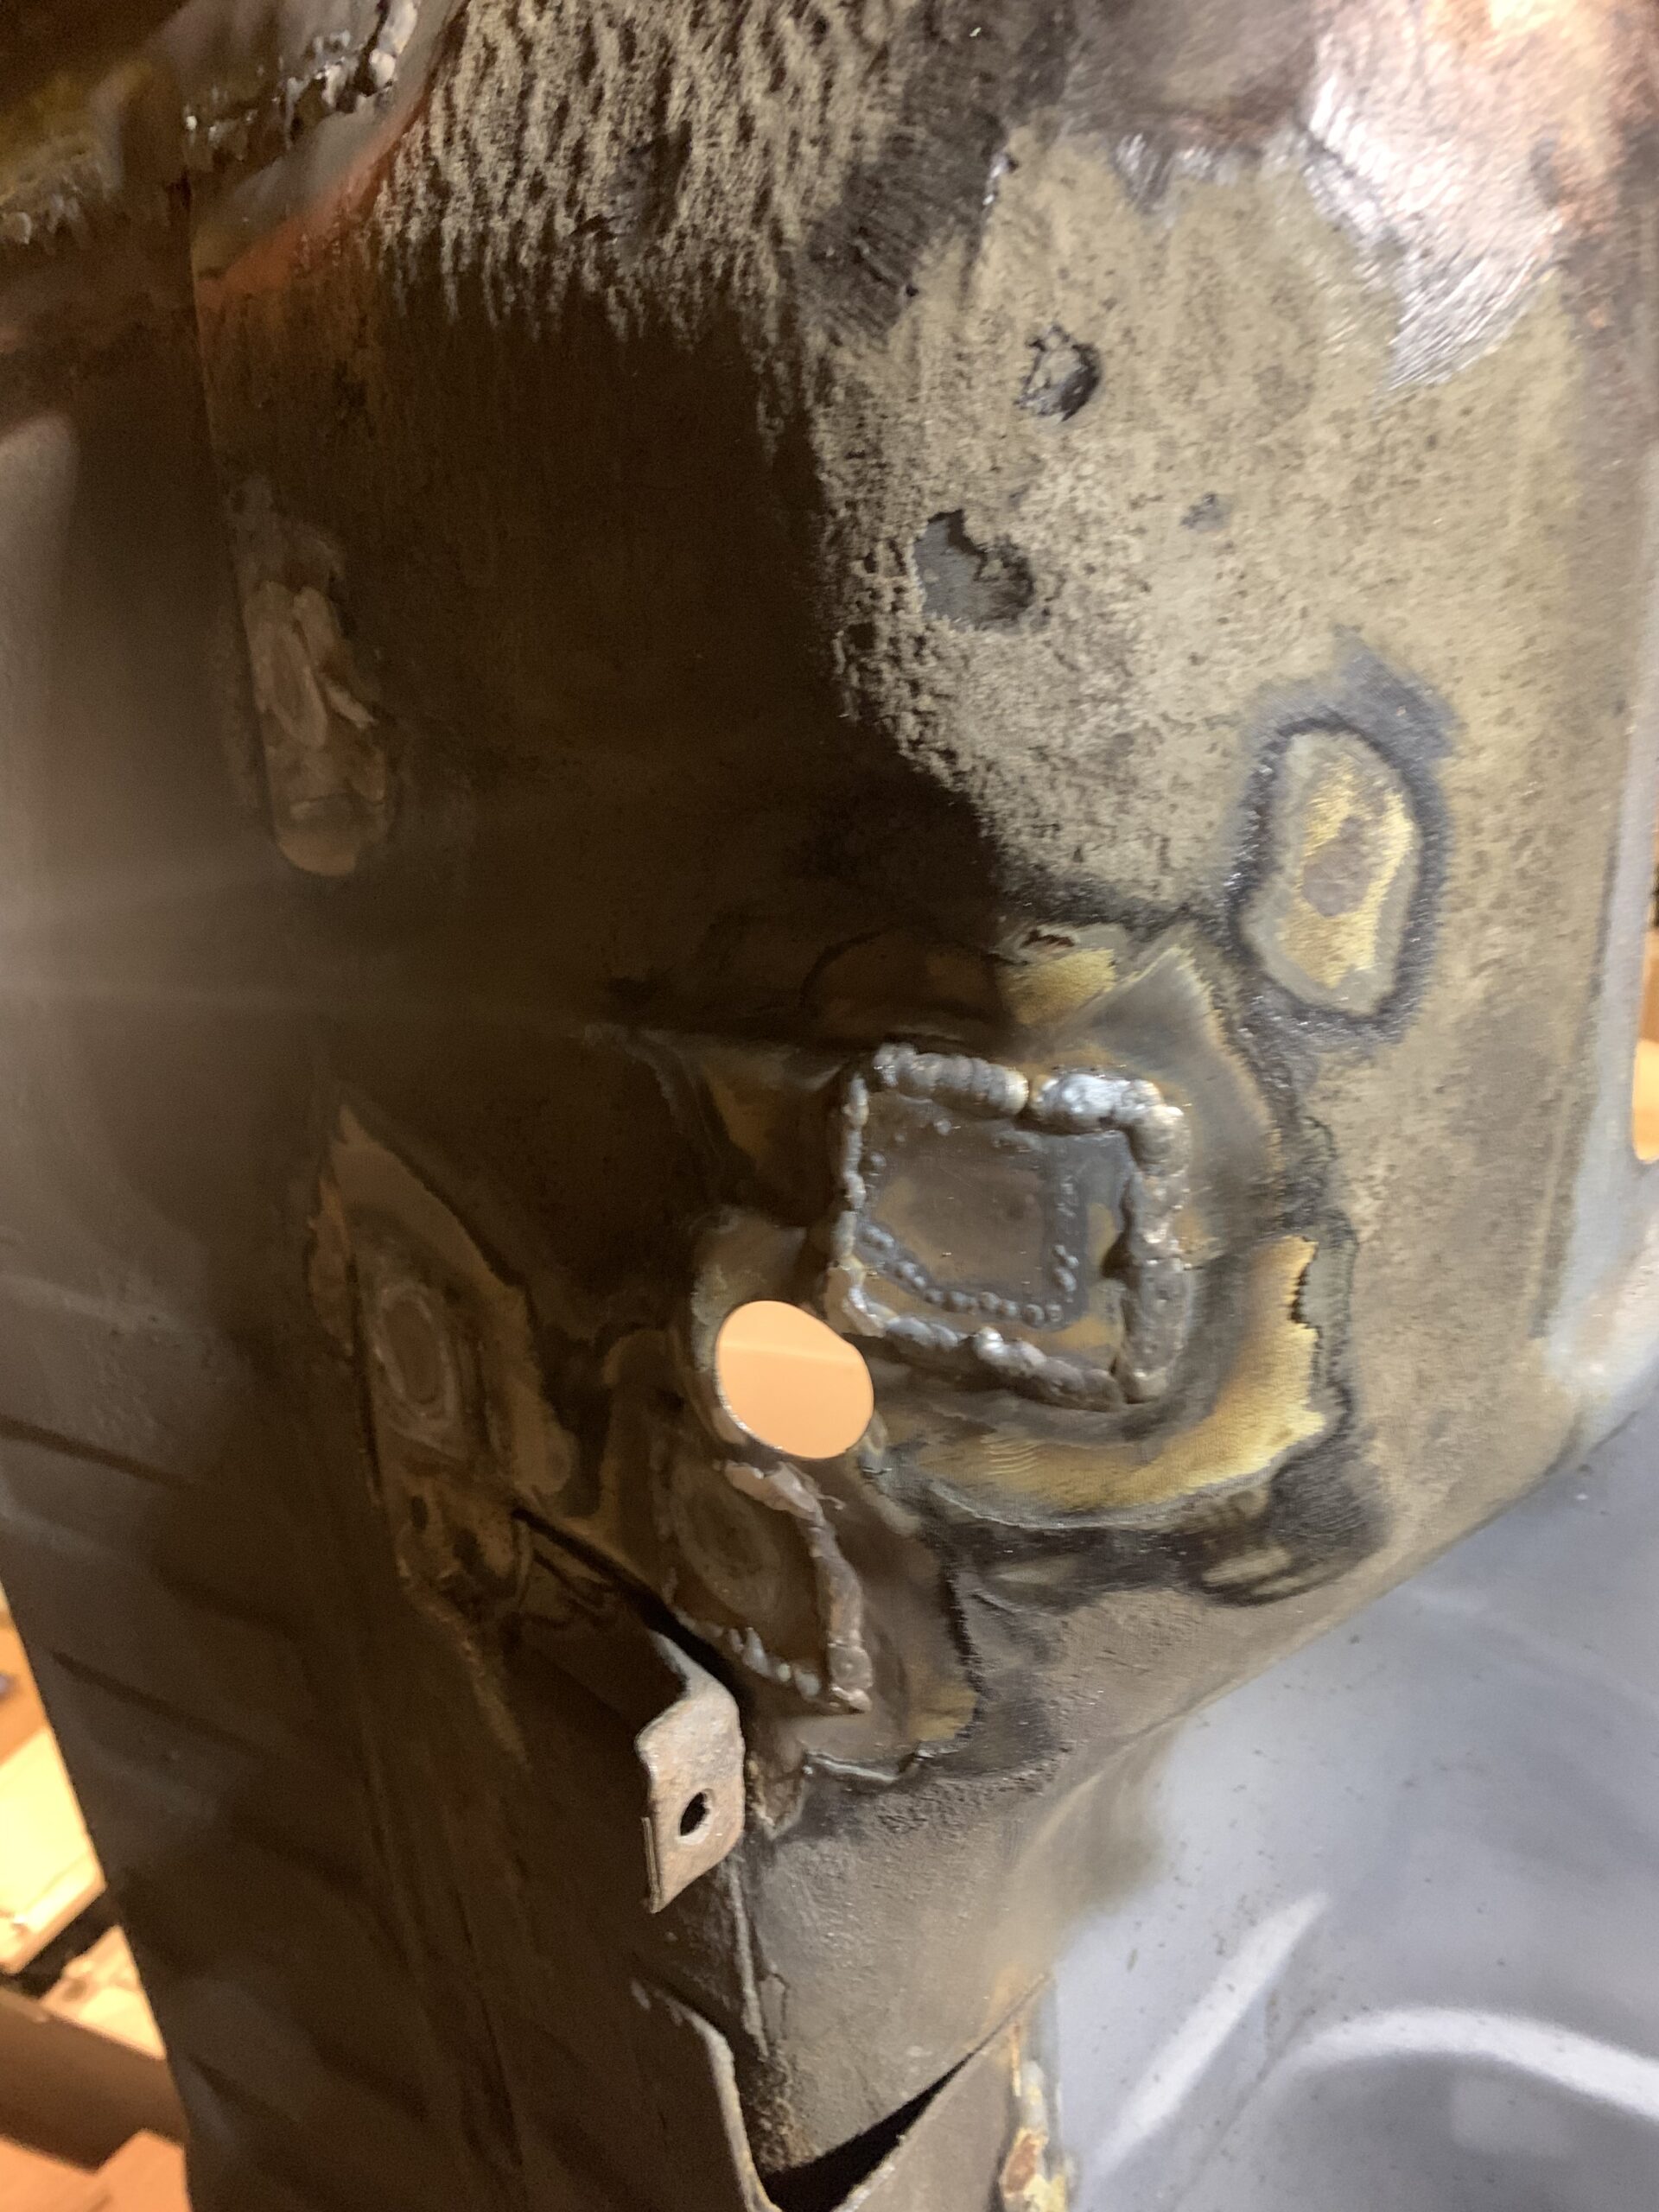
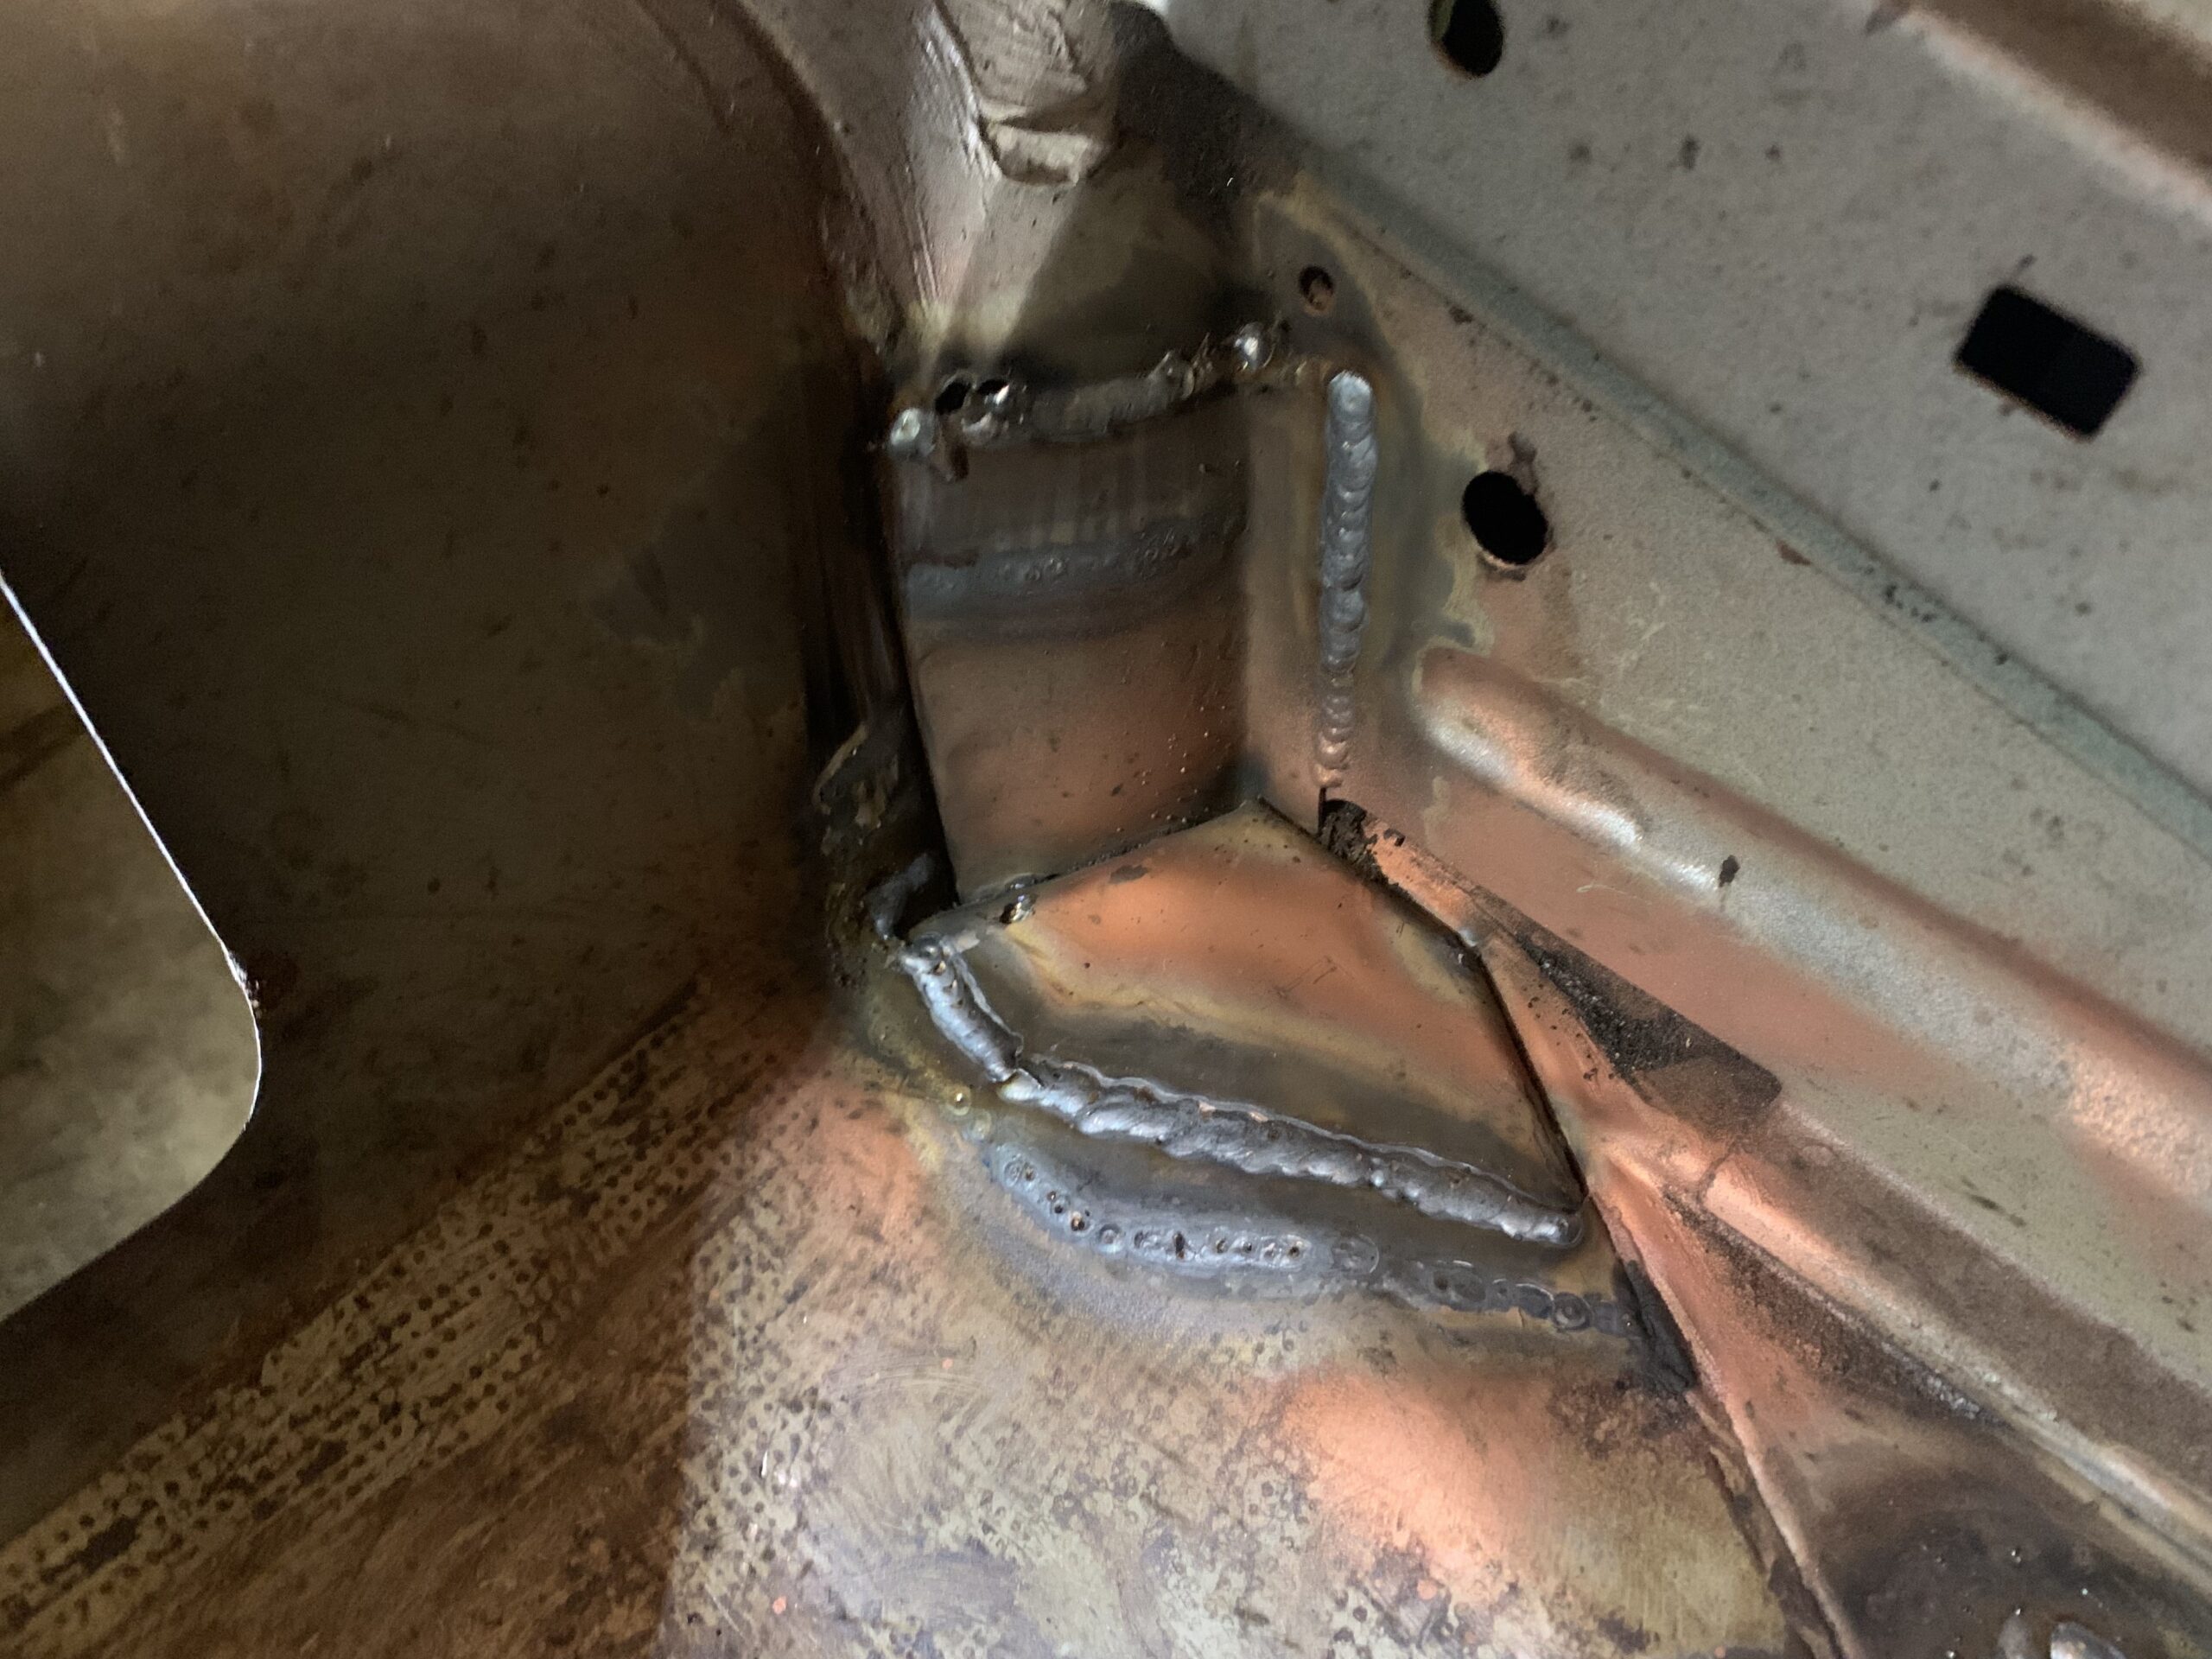
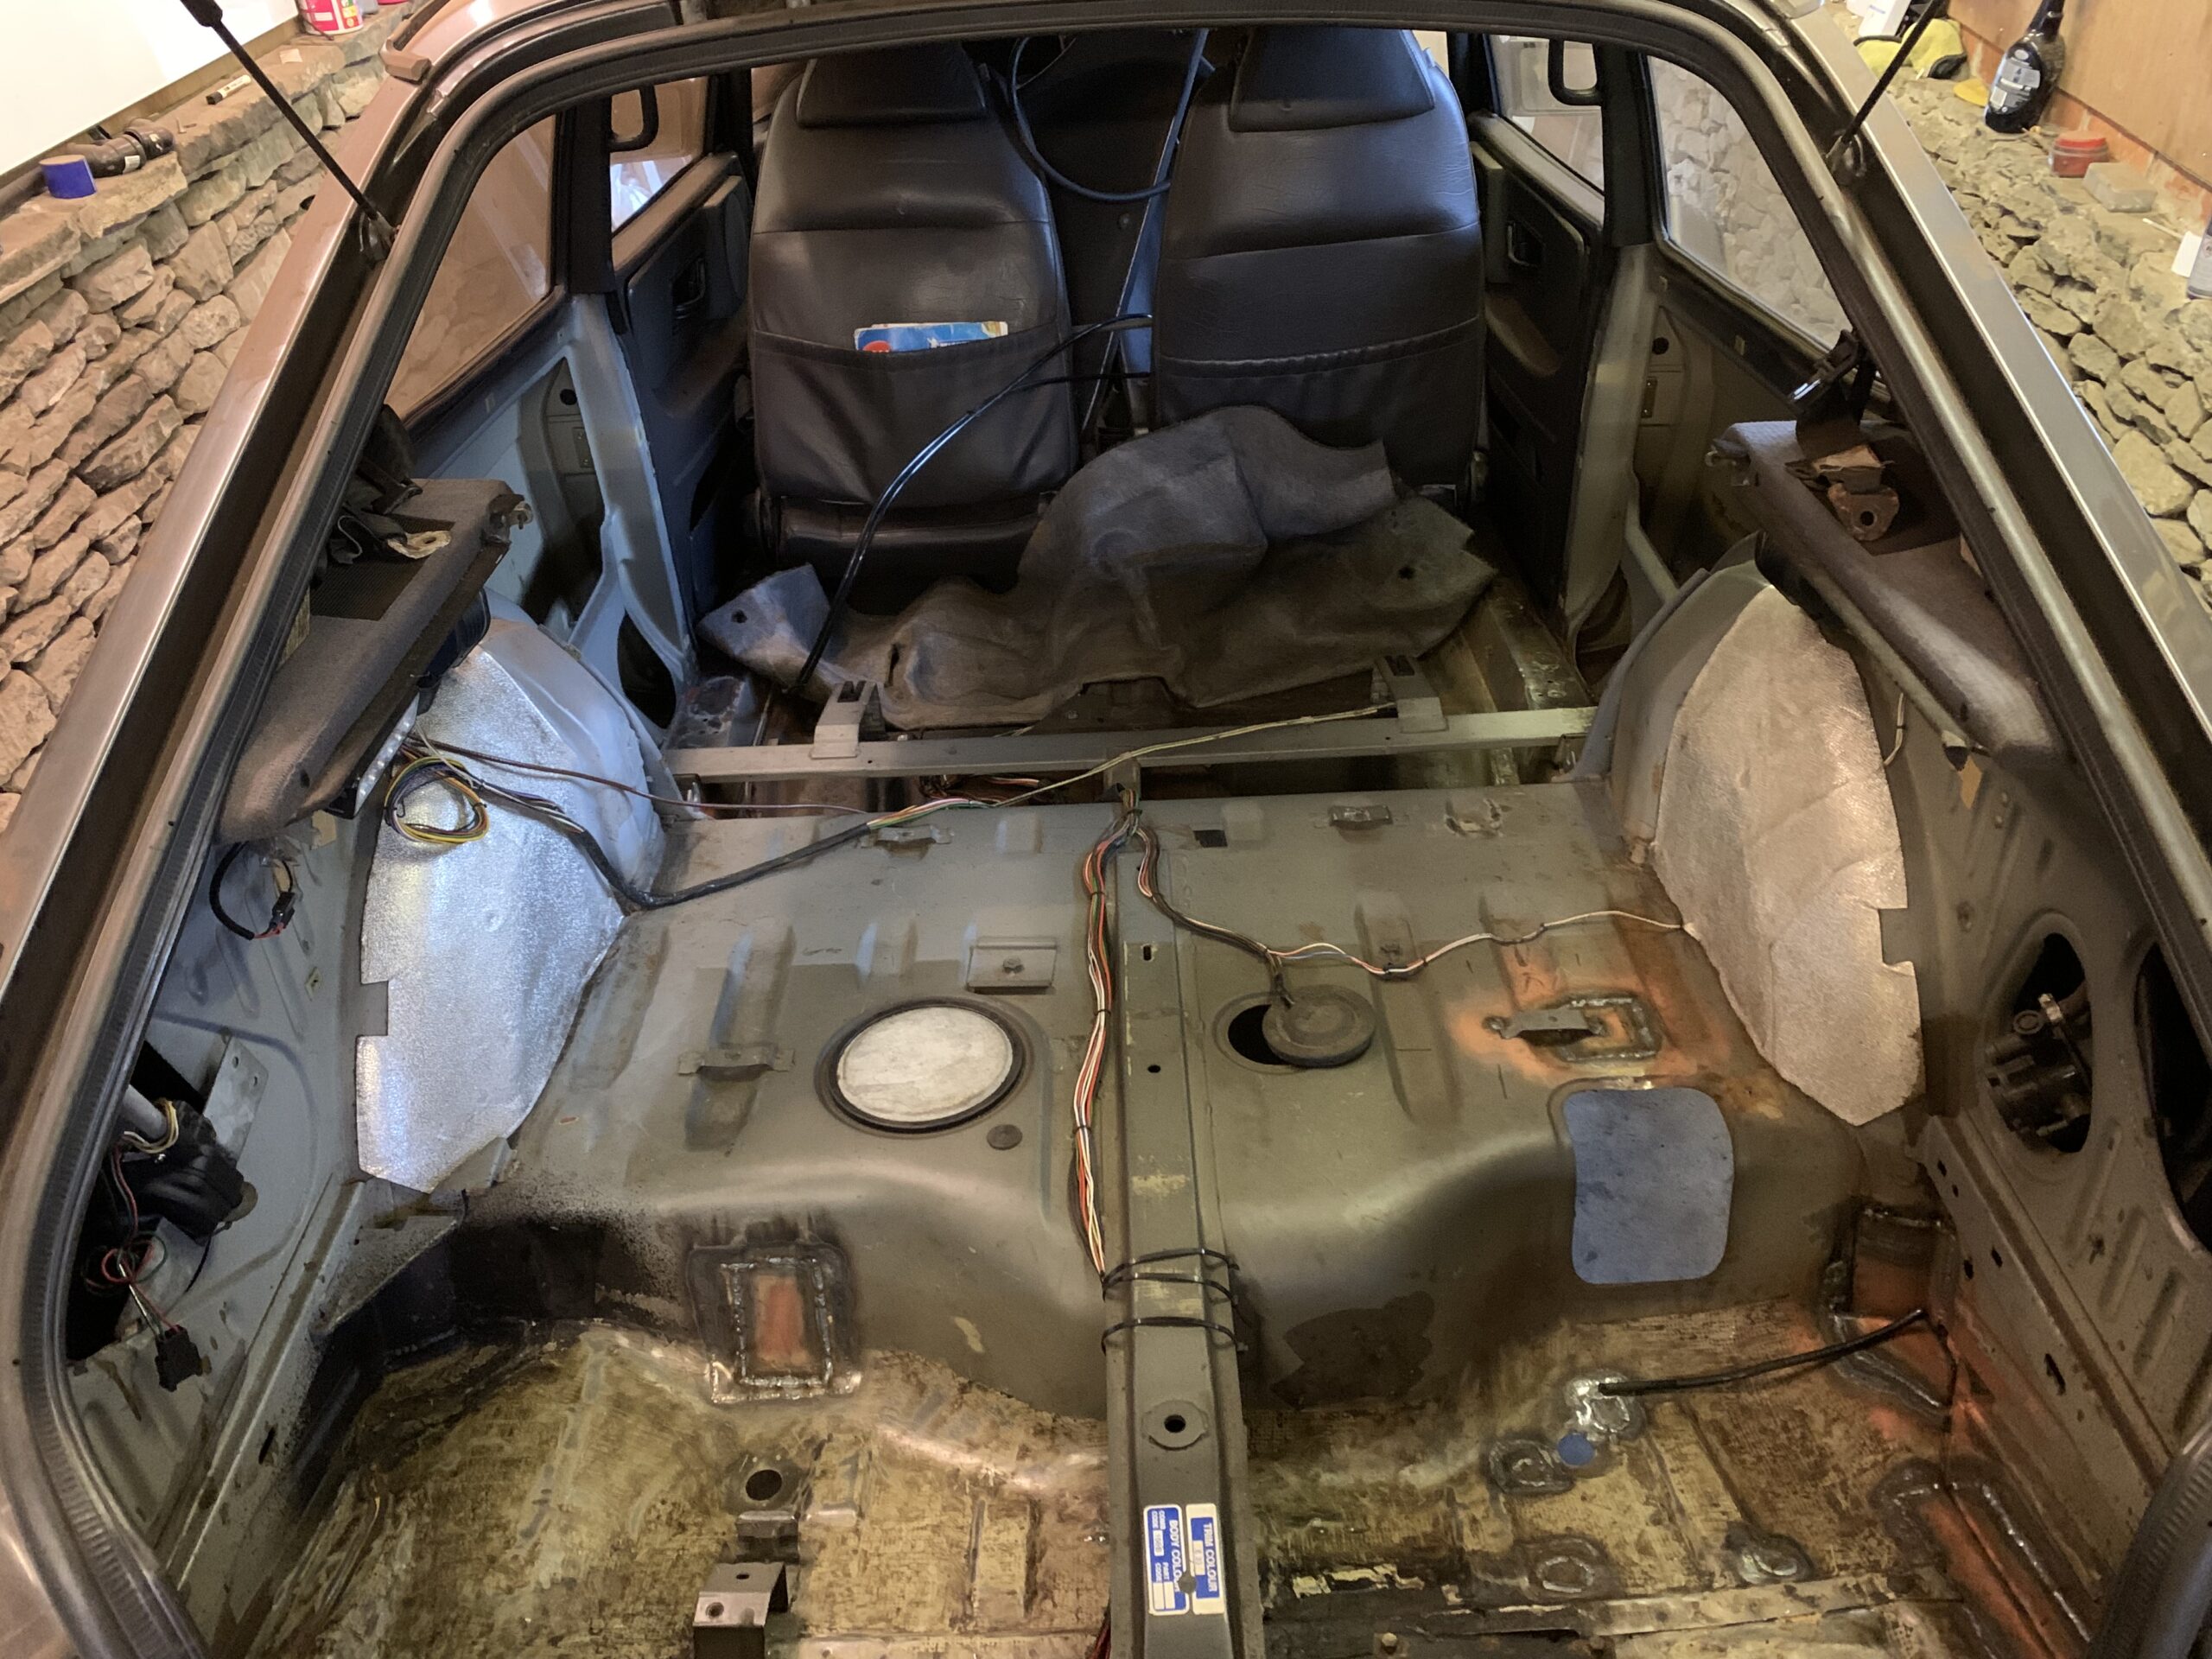
Now it was time for the bad part – rust. I was expecting to find some spots that needed cutting out and patching but I think in total I did about a dozen patches. I’ll let the photos do the talking.
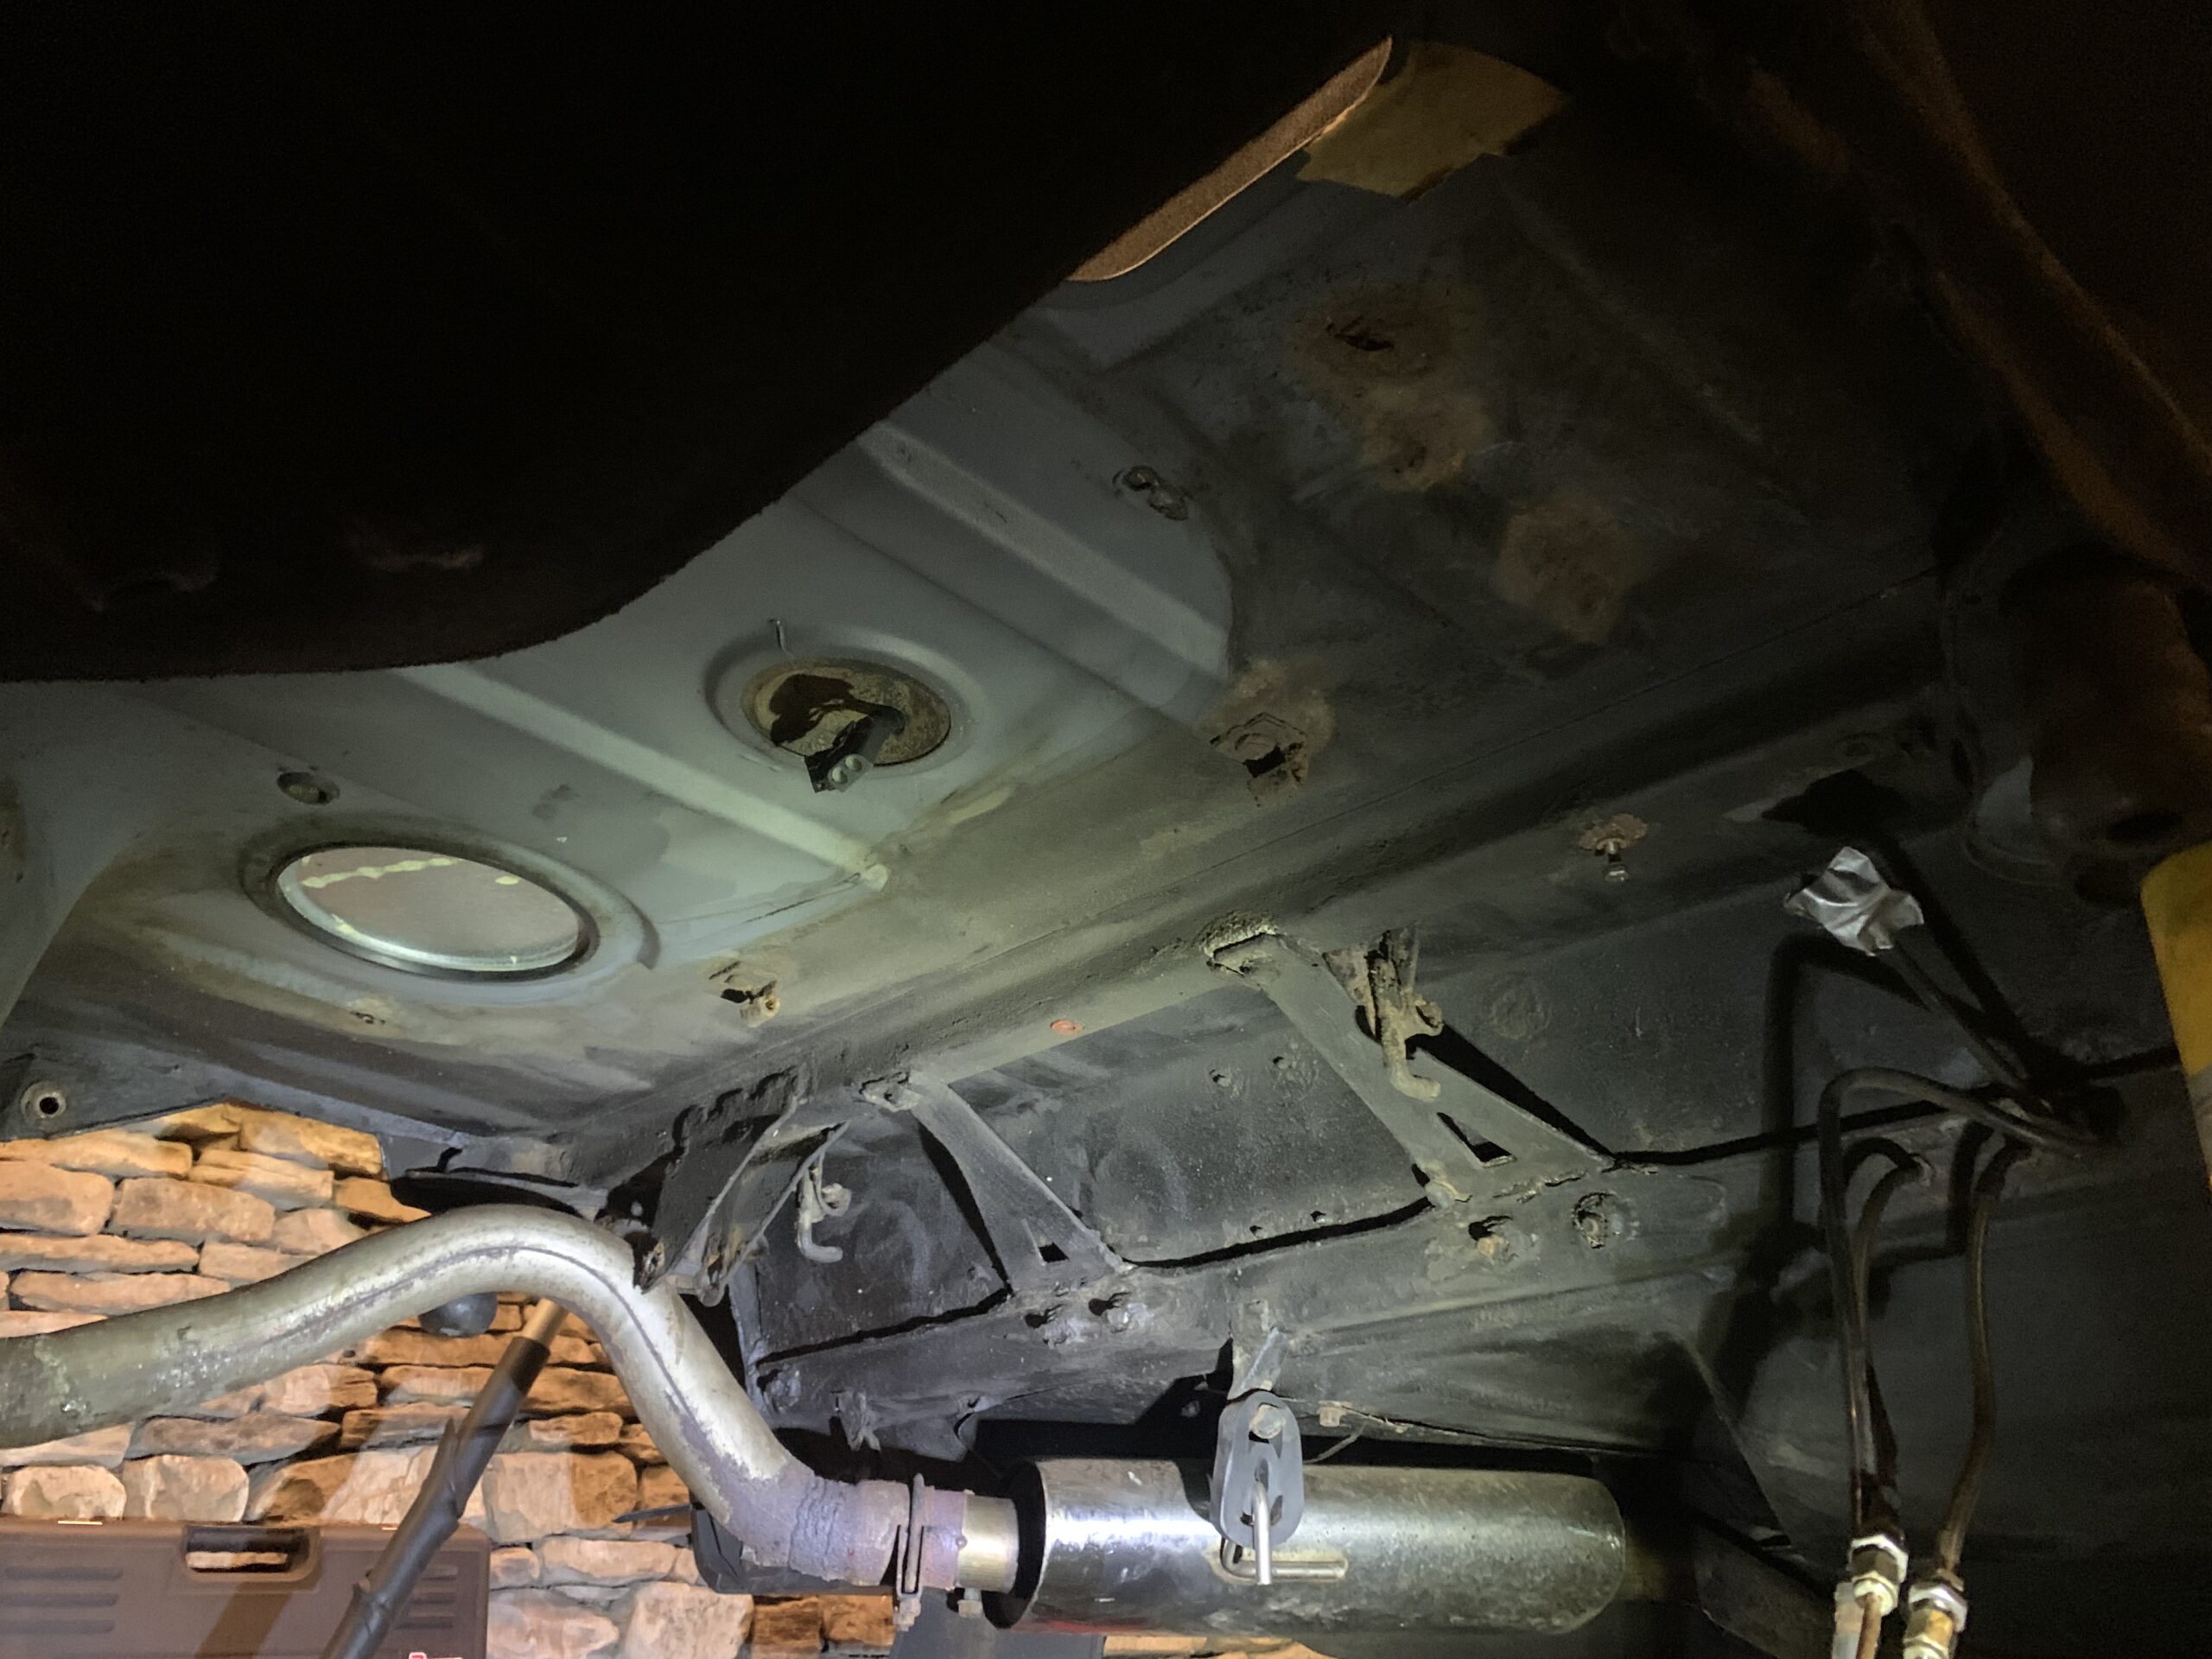
First the fuel tank and exhaust came off to gain maximum access.
First work was a pair of patches to form a new seam on the right hand seam of the boot floor…
Then a bunch of simple patches all around the boot floor and above the fuel tank…
Before tackling a tricky corner spot in the back corner of the boot/rear arch which had to be tackled as three pieces…
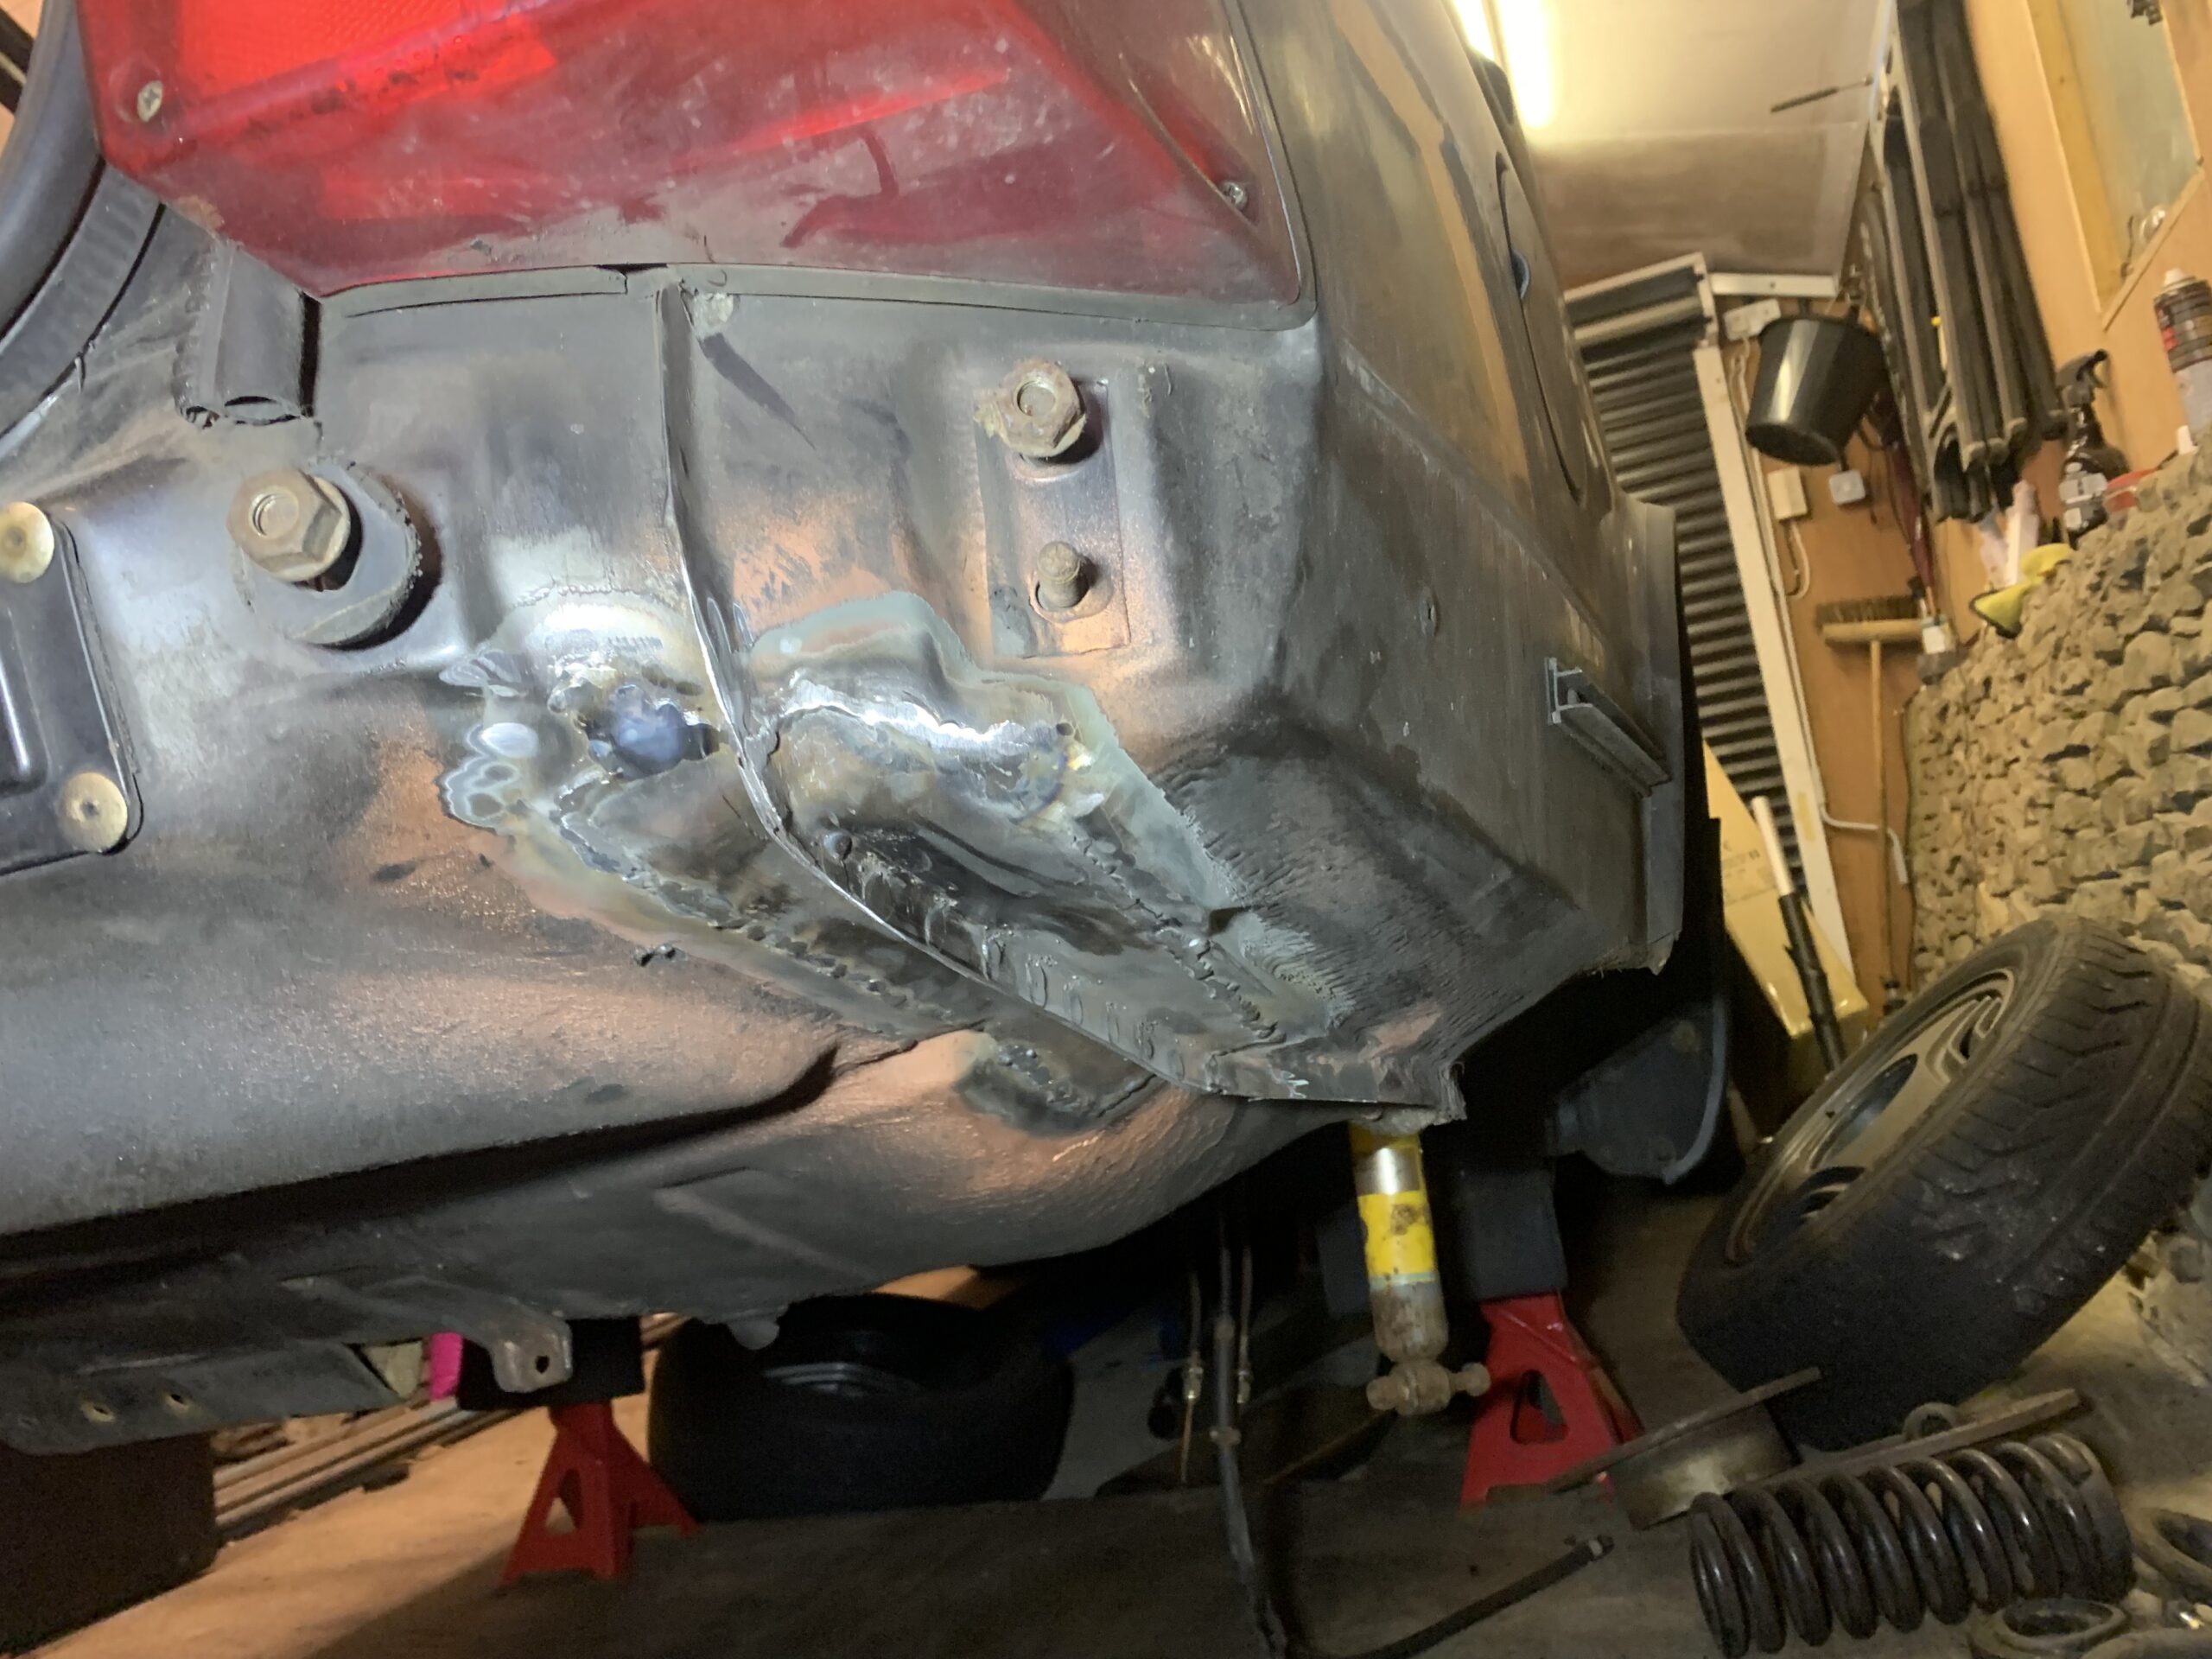
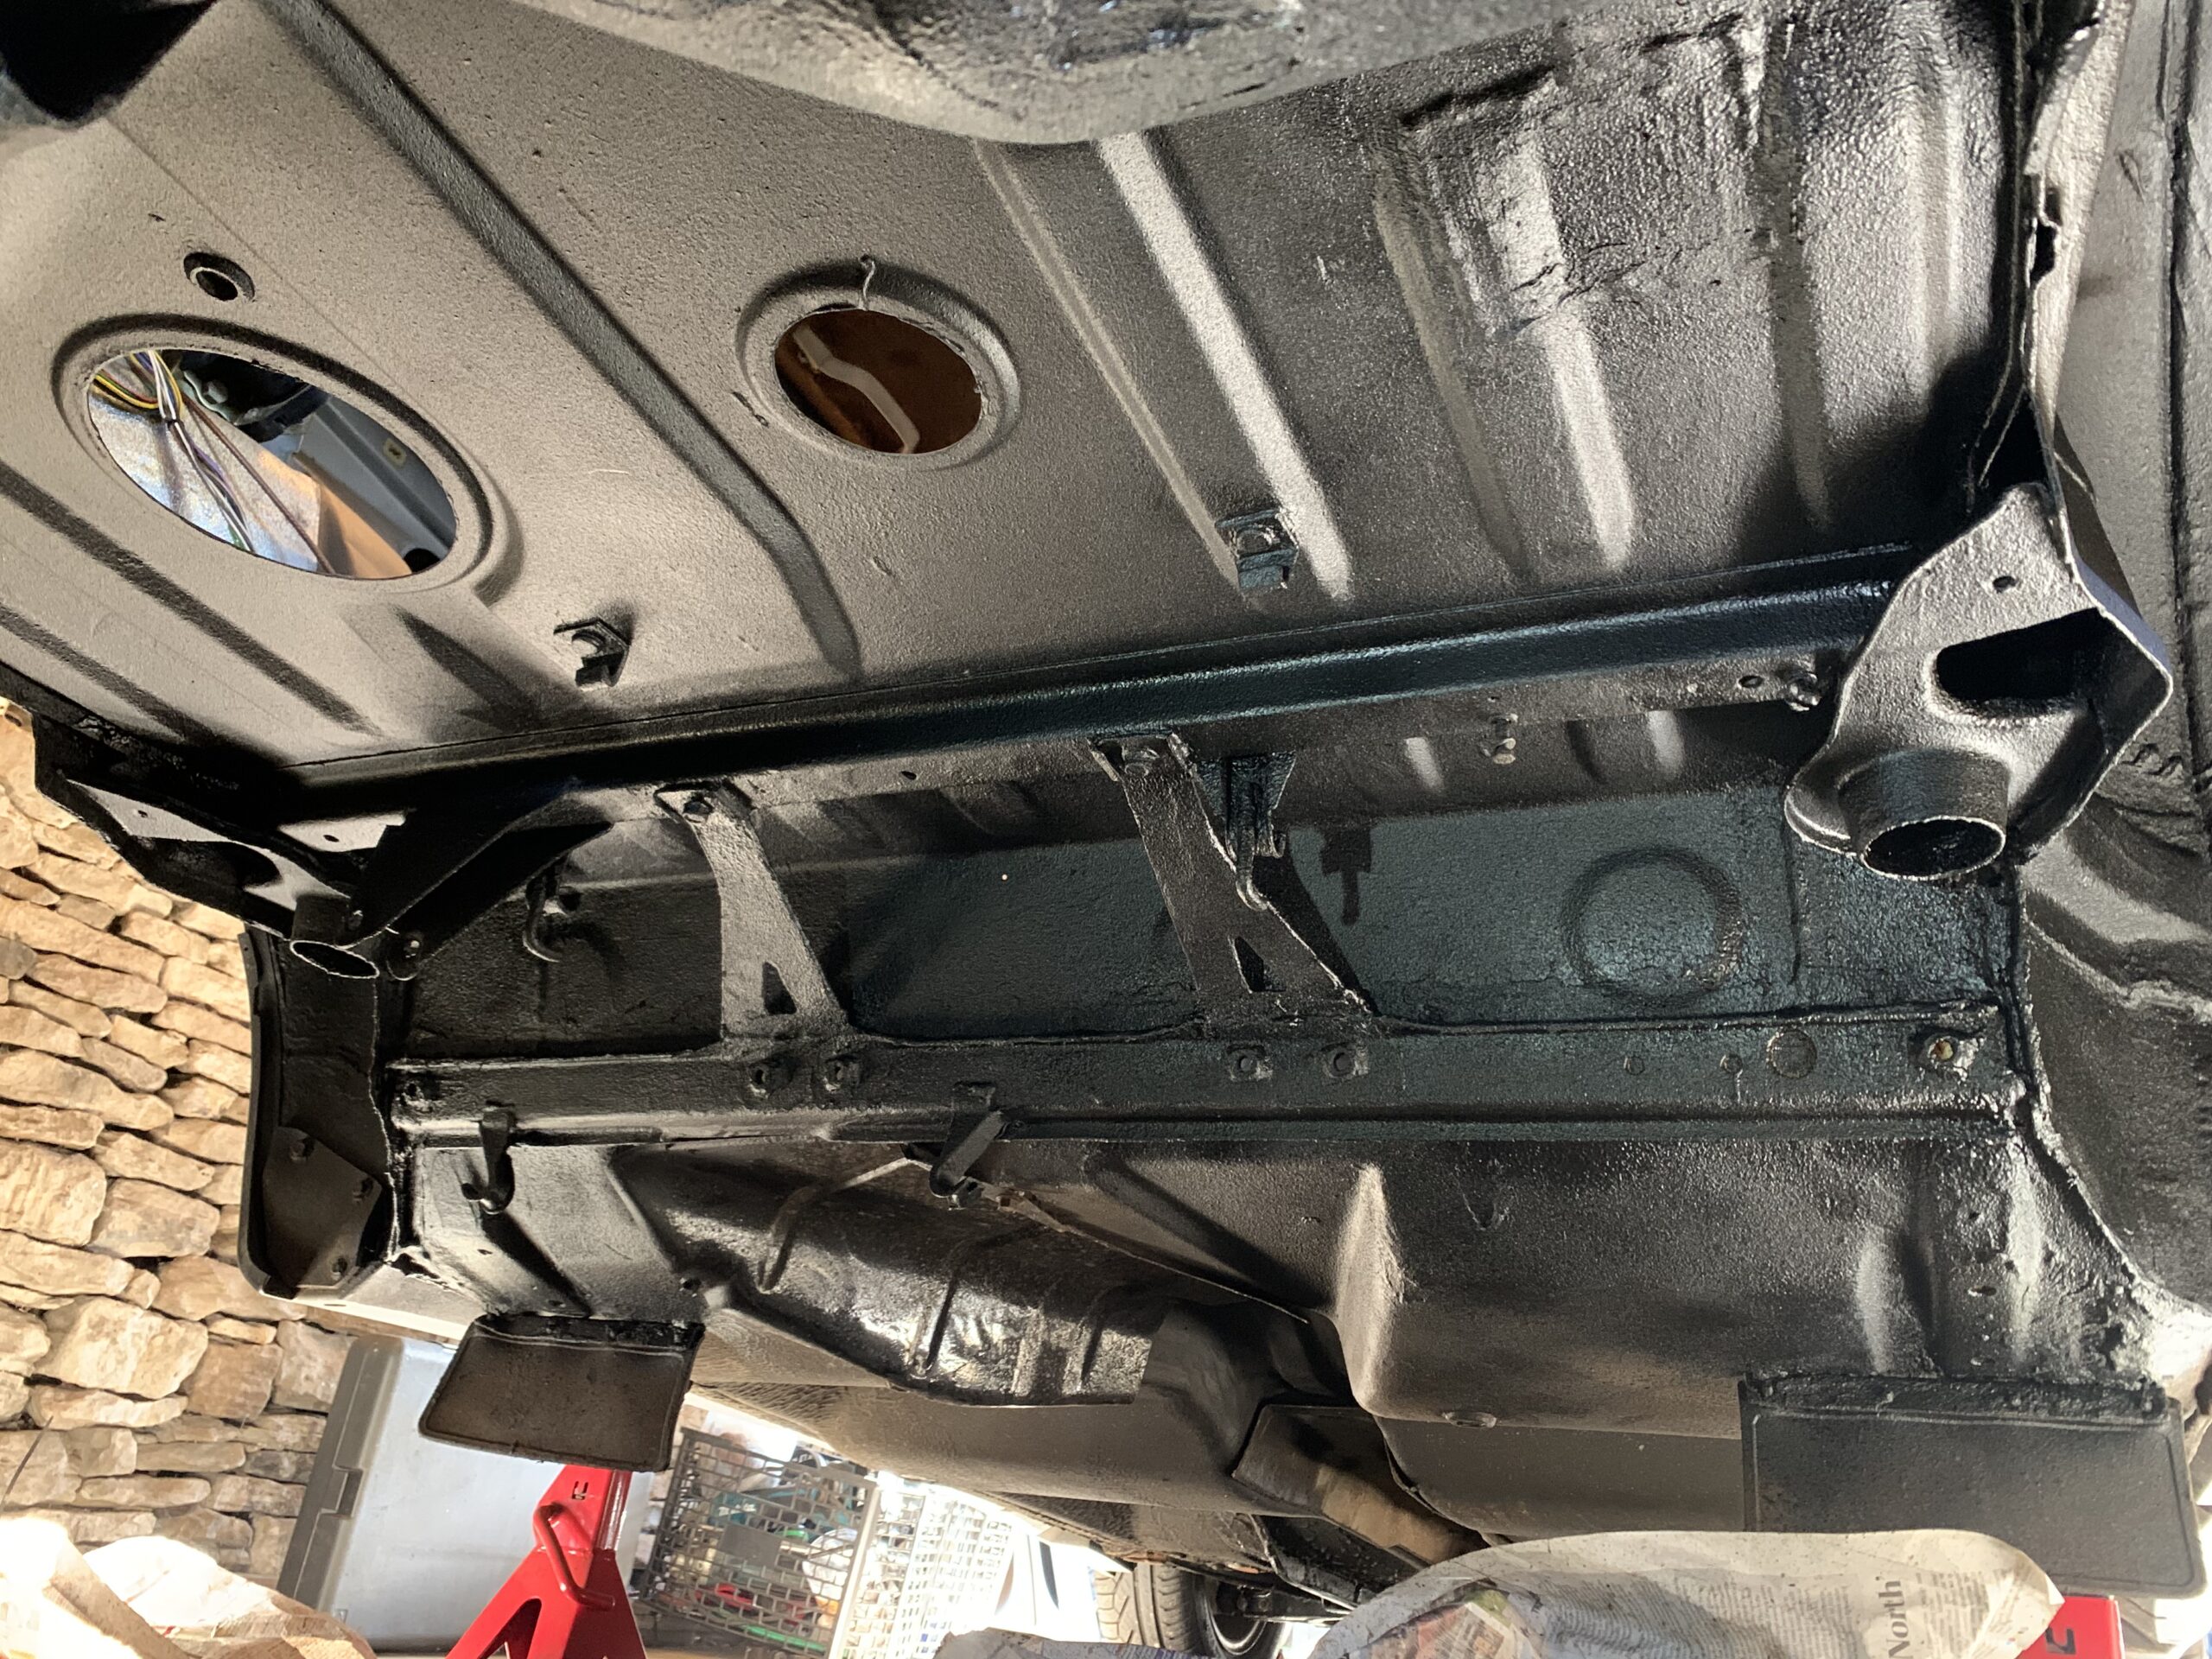
All of the noise deadening and underseal was chiselled off by hand (very near the end I realised a knife attachment in a multitool takes it off like butter). Finally any remaining surface rust was treated with Bilt Hamber Hydrate 80, before paint, seam sealer, and Bilt Hamber underseal – Dynax UB on the underside and Dynax S-50 in the cavities and insides of panels. I replaced the sound deadening mats too but I don’t have photos.
Painted and seam sealedUndersealedNew panhard in action
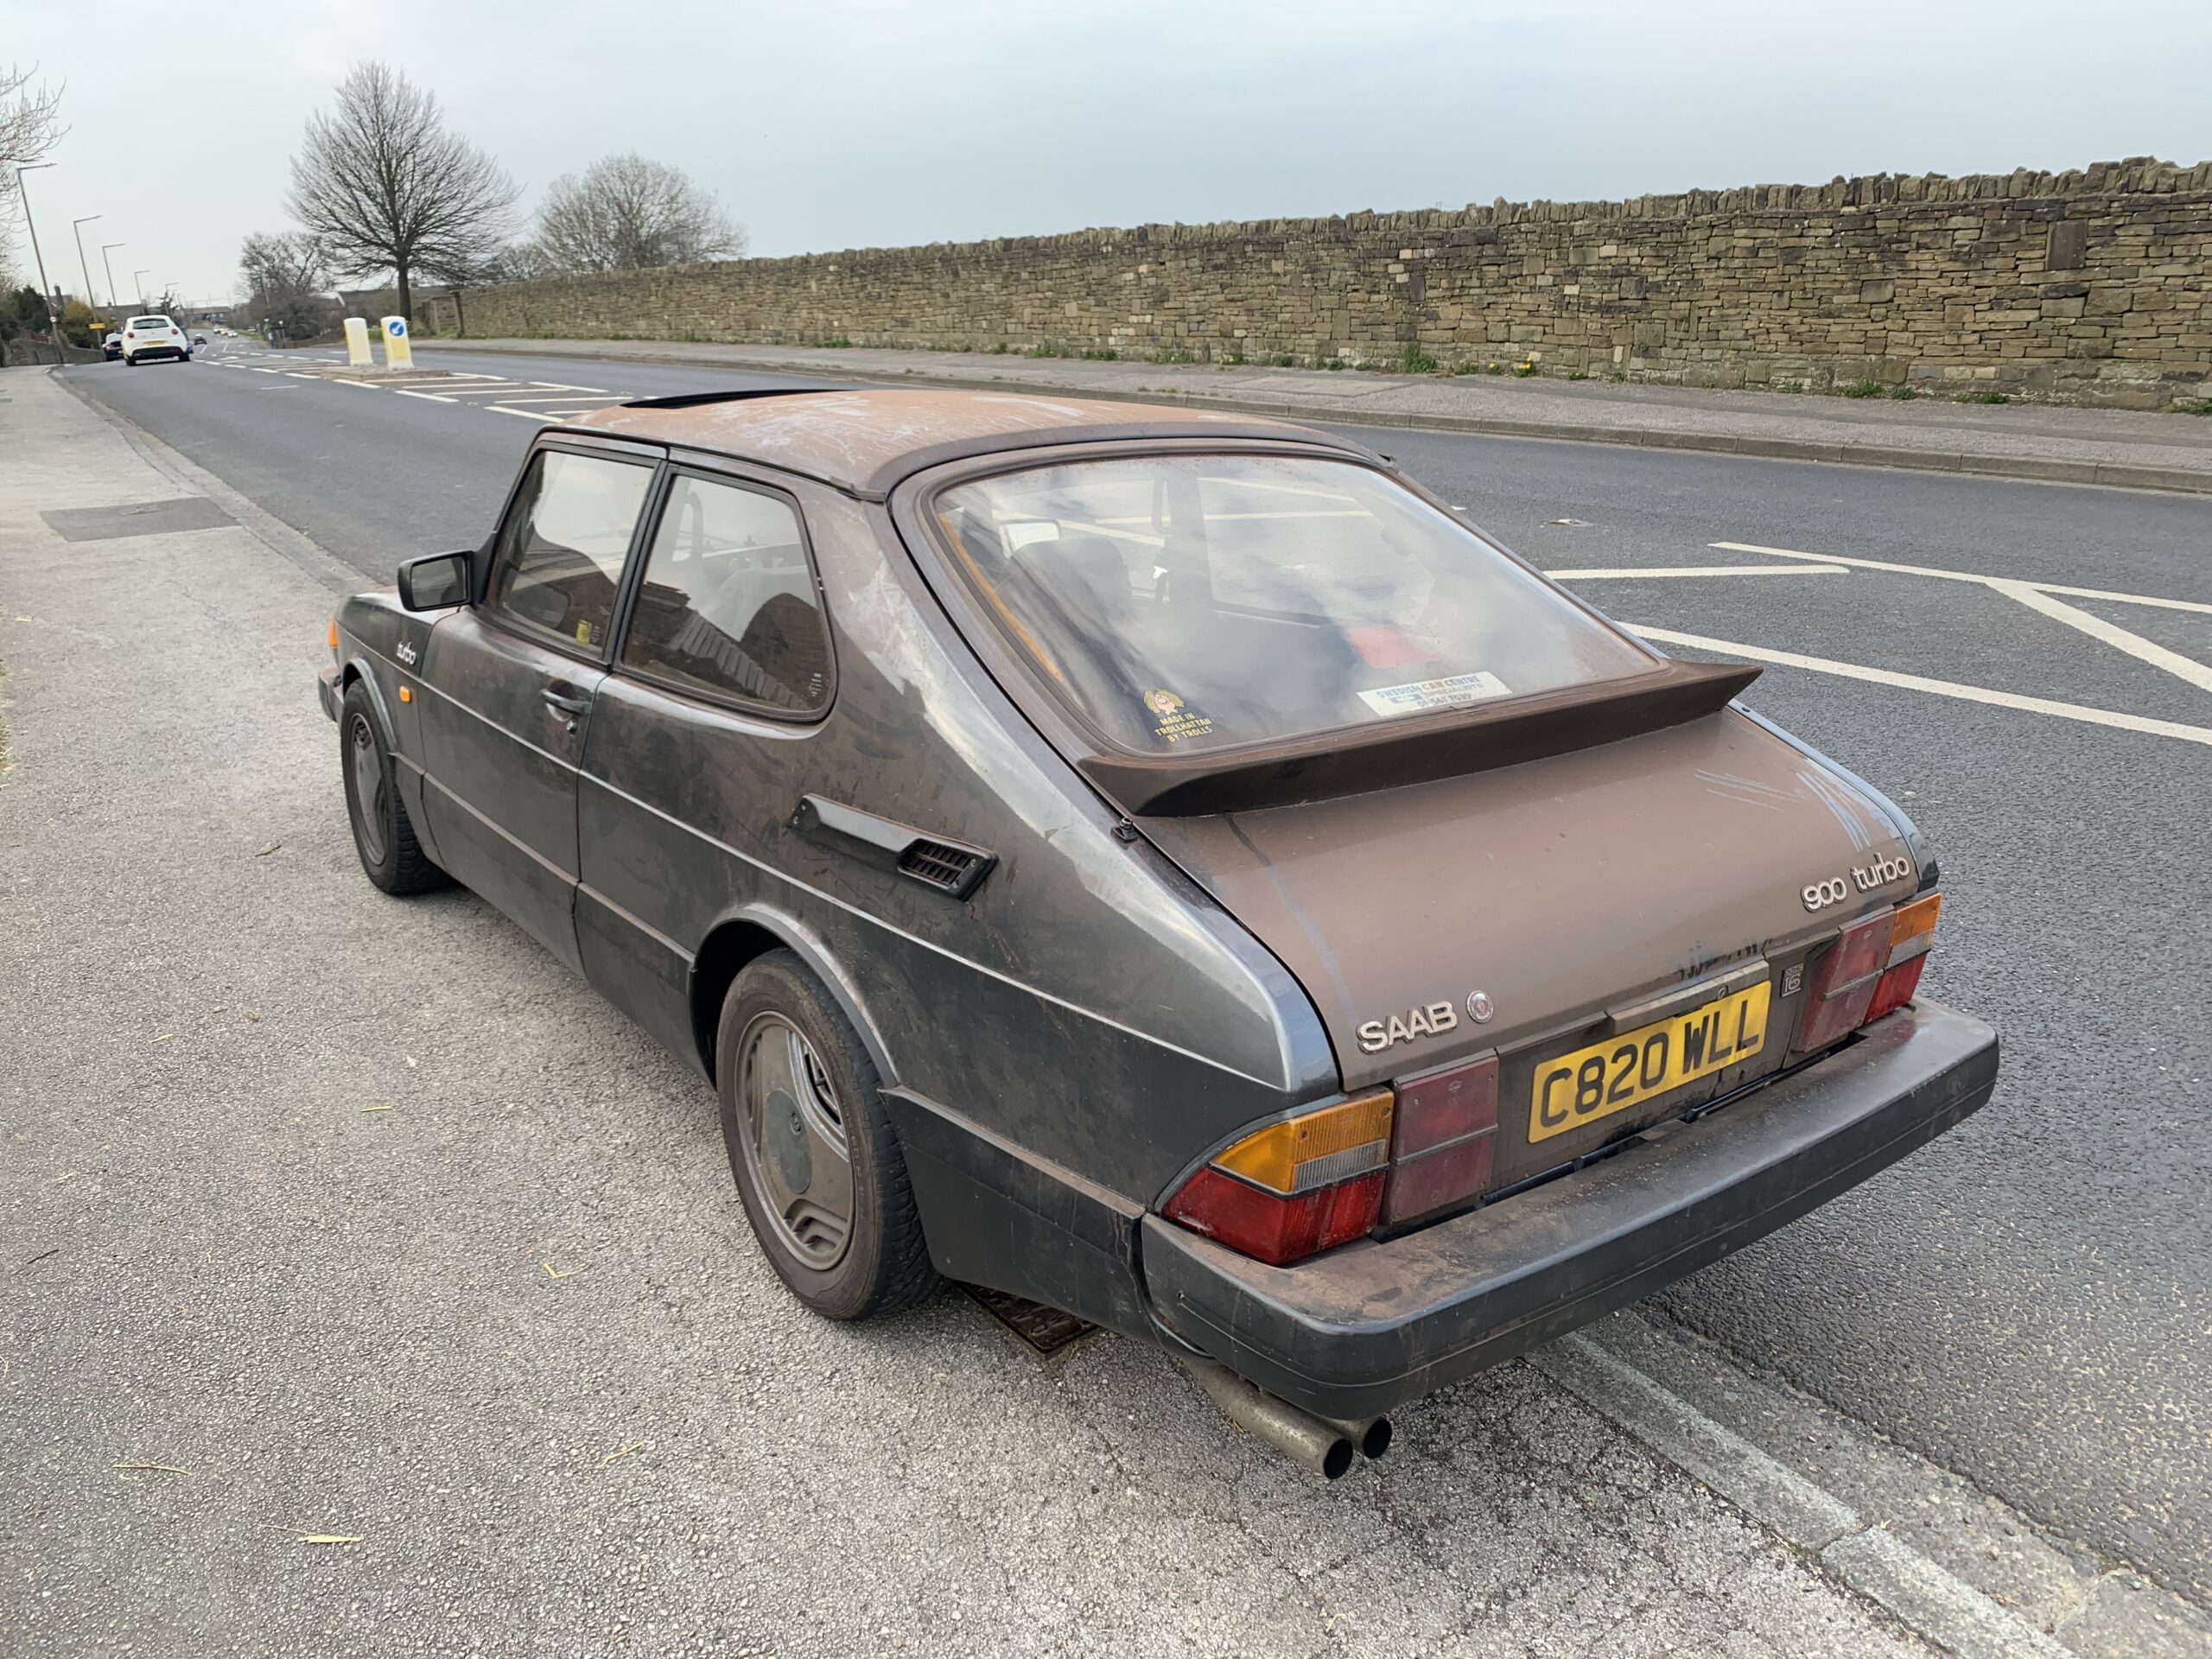
And back on the road, covered in grinding dust! Now Helga has every single bush replaced with poly I was expecting terrible discomfort on the road, and it’s taught but not absolutely atrocious in the way Peggy was.
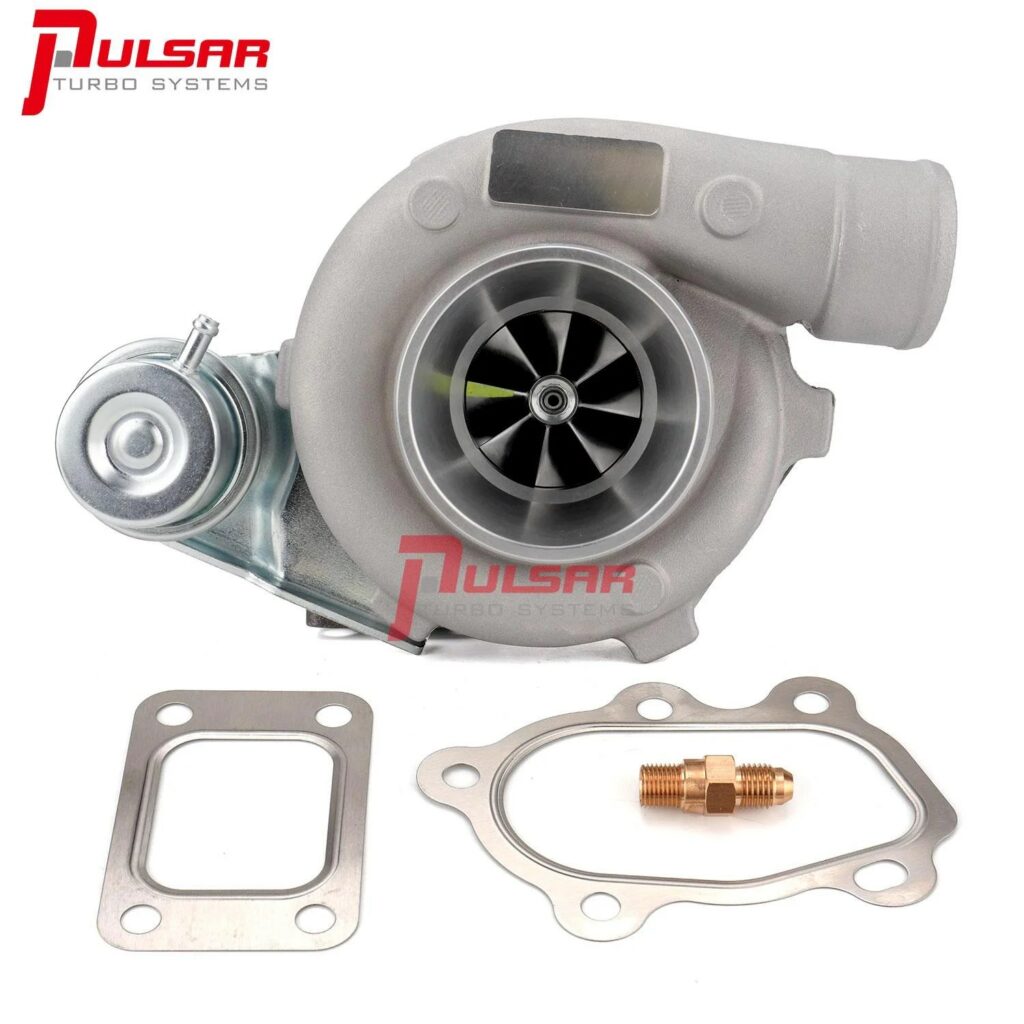
I suspected the Chinese T3 turbo I’d fitted was burning oil, so it didn’t take much to convince me to try a modern ball bearing unit to see how much better they spool. For a while I considered a genuine Garrett GT2860RS but instead took a punt on a Pulsar GTX2860R. This is a copy of the GT2860RS but with an upgraded billet compressor wheel, at about 2/3 the price of the Garrett.
Unfortunately I’ve been a bit slack taking photos lately so you’ll have to look at a stock photo
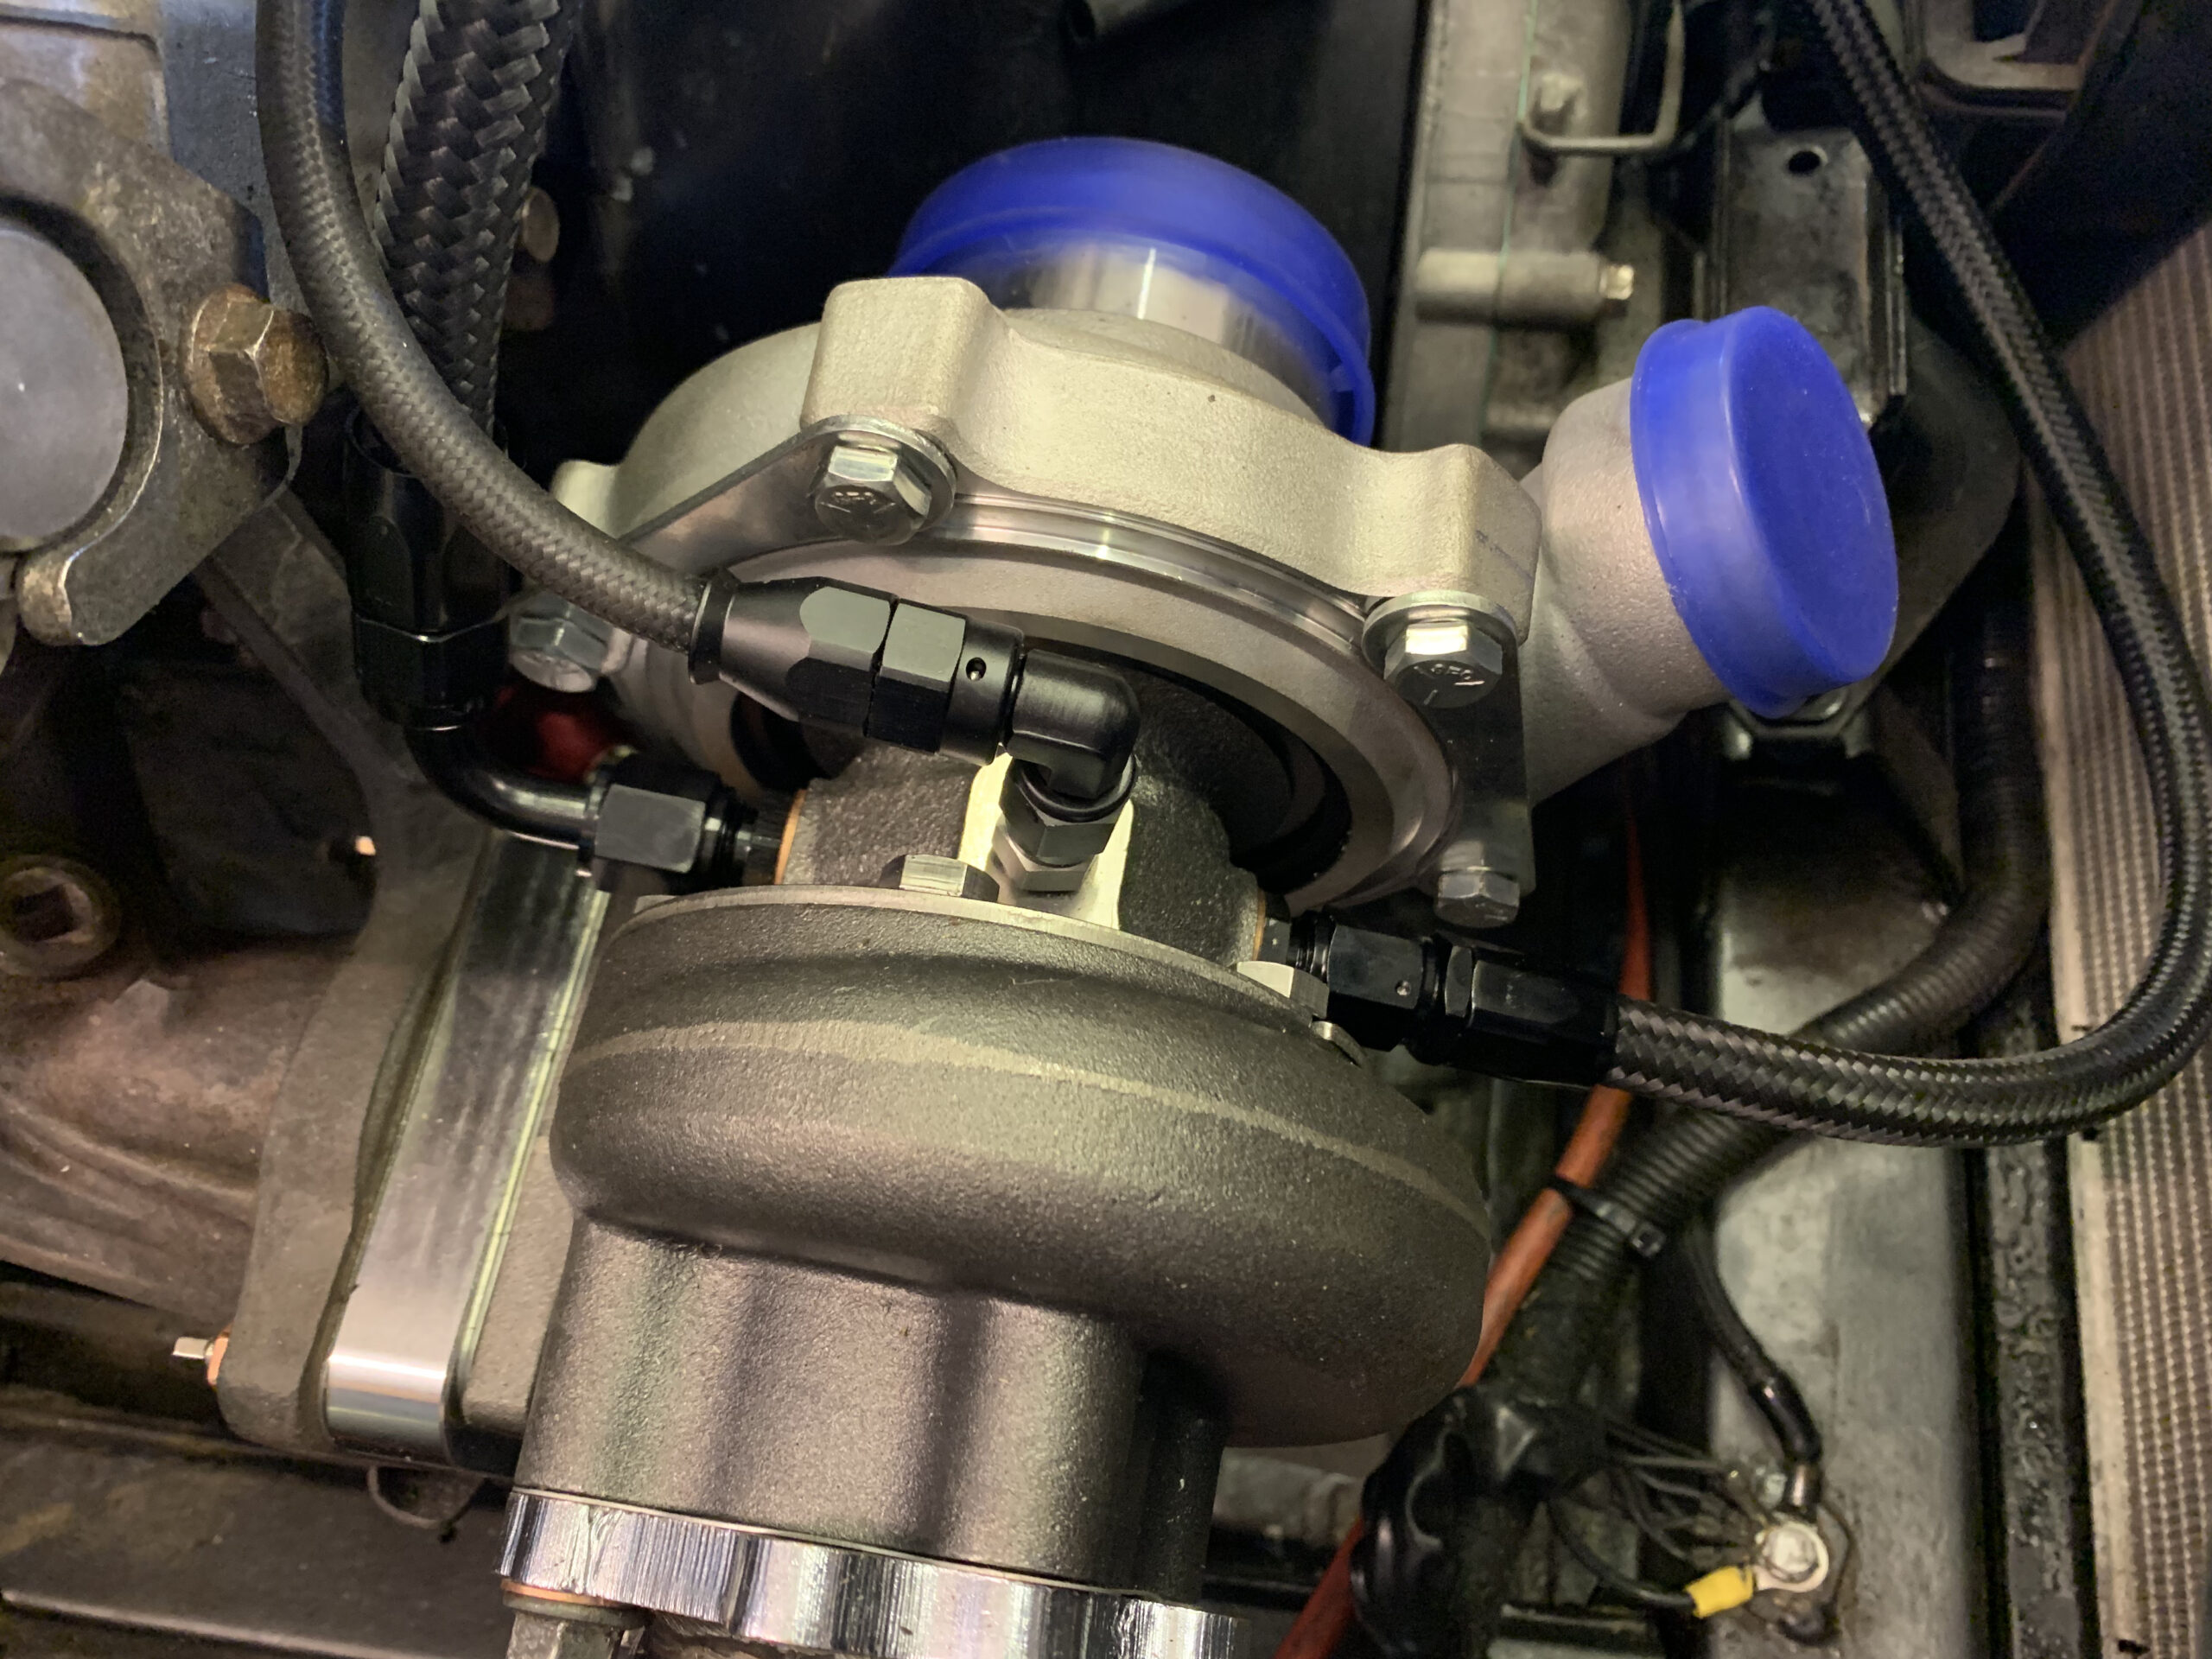
Fitting it wasn’t super easy, mostly because the new turbo uses a T25/T28 flange which is smaller than T3. I bought a Mamba adapter which has the effect of spacing the turbo about 25mm forward in the bay. This meant all the pipework I’d made so far needed tweaking.
I think I improved the downpipe quite a bit this time. Rather than shooting straight down and back I added some more bends to better sweep between the gearbox and driveshaft tunnel.
From above……And below
After that I wrapped it again to try to keep the heat away from the rest of the bay. S0, how different is it? Initially, absolutely crazy. The actuator my turbo was supplied with opened at 20+ psi so I had mega boost, enough that the clutch had no chance of holding. It didn’t just slip a bit, by 3.5k revs it would let go completely and the engine instantly hit the rev limiter.
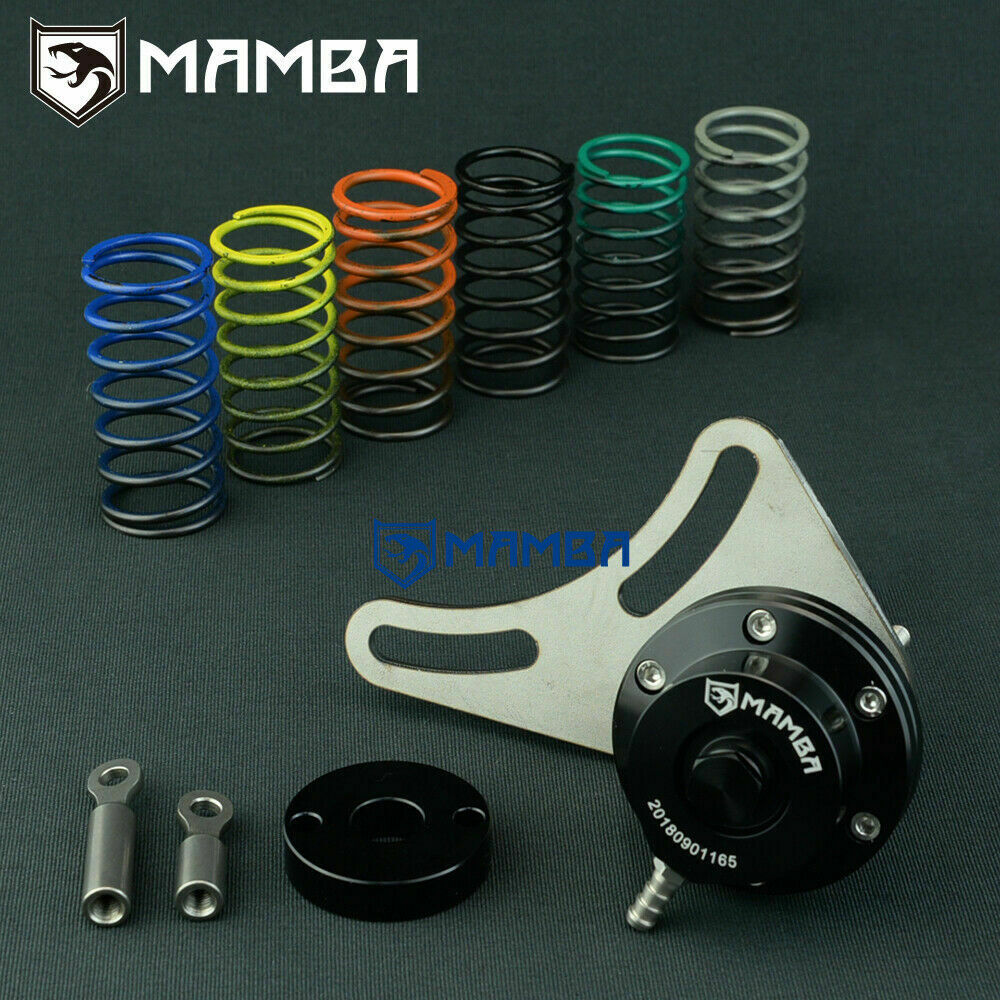
The cure was a Mamba adjustable actuator. This is a really nice thing, supplied with a bunch of springs from something like 7 psi to 25 psi. I went with the softest because on a car with a separate boost controller, the actuator pressure wants to be set quite low because the controller can only block air from the actuator, not supply extra (obviously).
The car still really needs properly tuning in T5 suite to properly take advantage of the modifications, but keeping an eye on the AFR gauge it’s not running dangerously far out in either direction. It’s proving really hard to find someone to tune the car properly, two remote T5 tuners have let me down now. The last one seemed to know less than I do (which is very little). A complete waste of money. Anyway, before I can do that I need to sort a clutch that holds the power. For now I’ve reduced the boost to just about the point it can more or less handle.
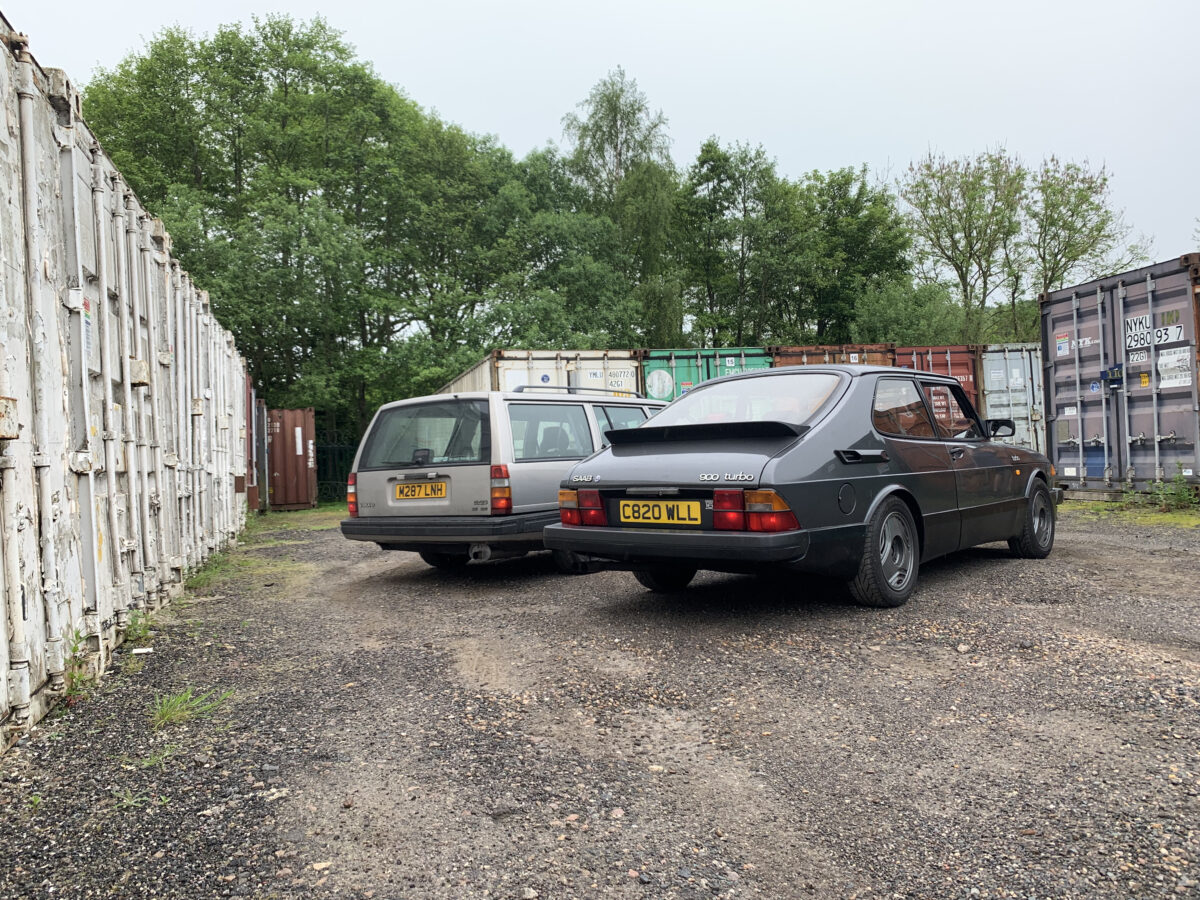
I never really liked the four spoke SAAB Momo wheel she came with, so I treated her to a Momo Prototipo. Suits almost anything and a bit more ‘race car’ than before.
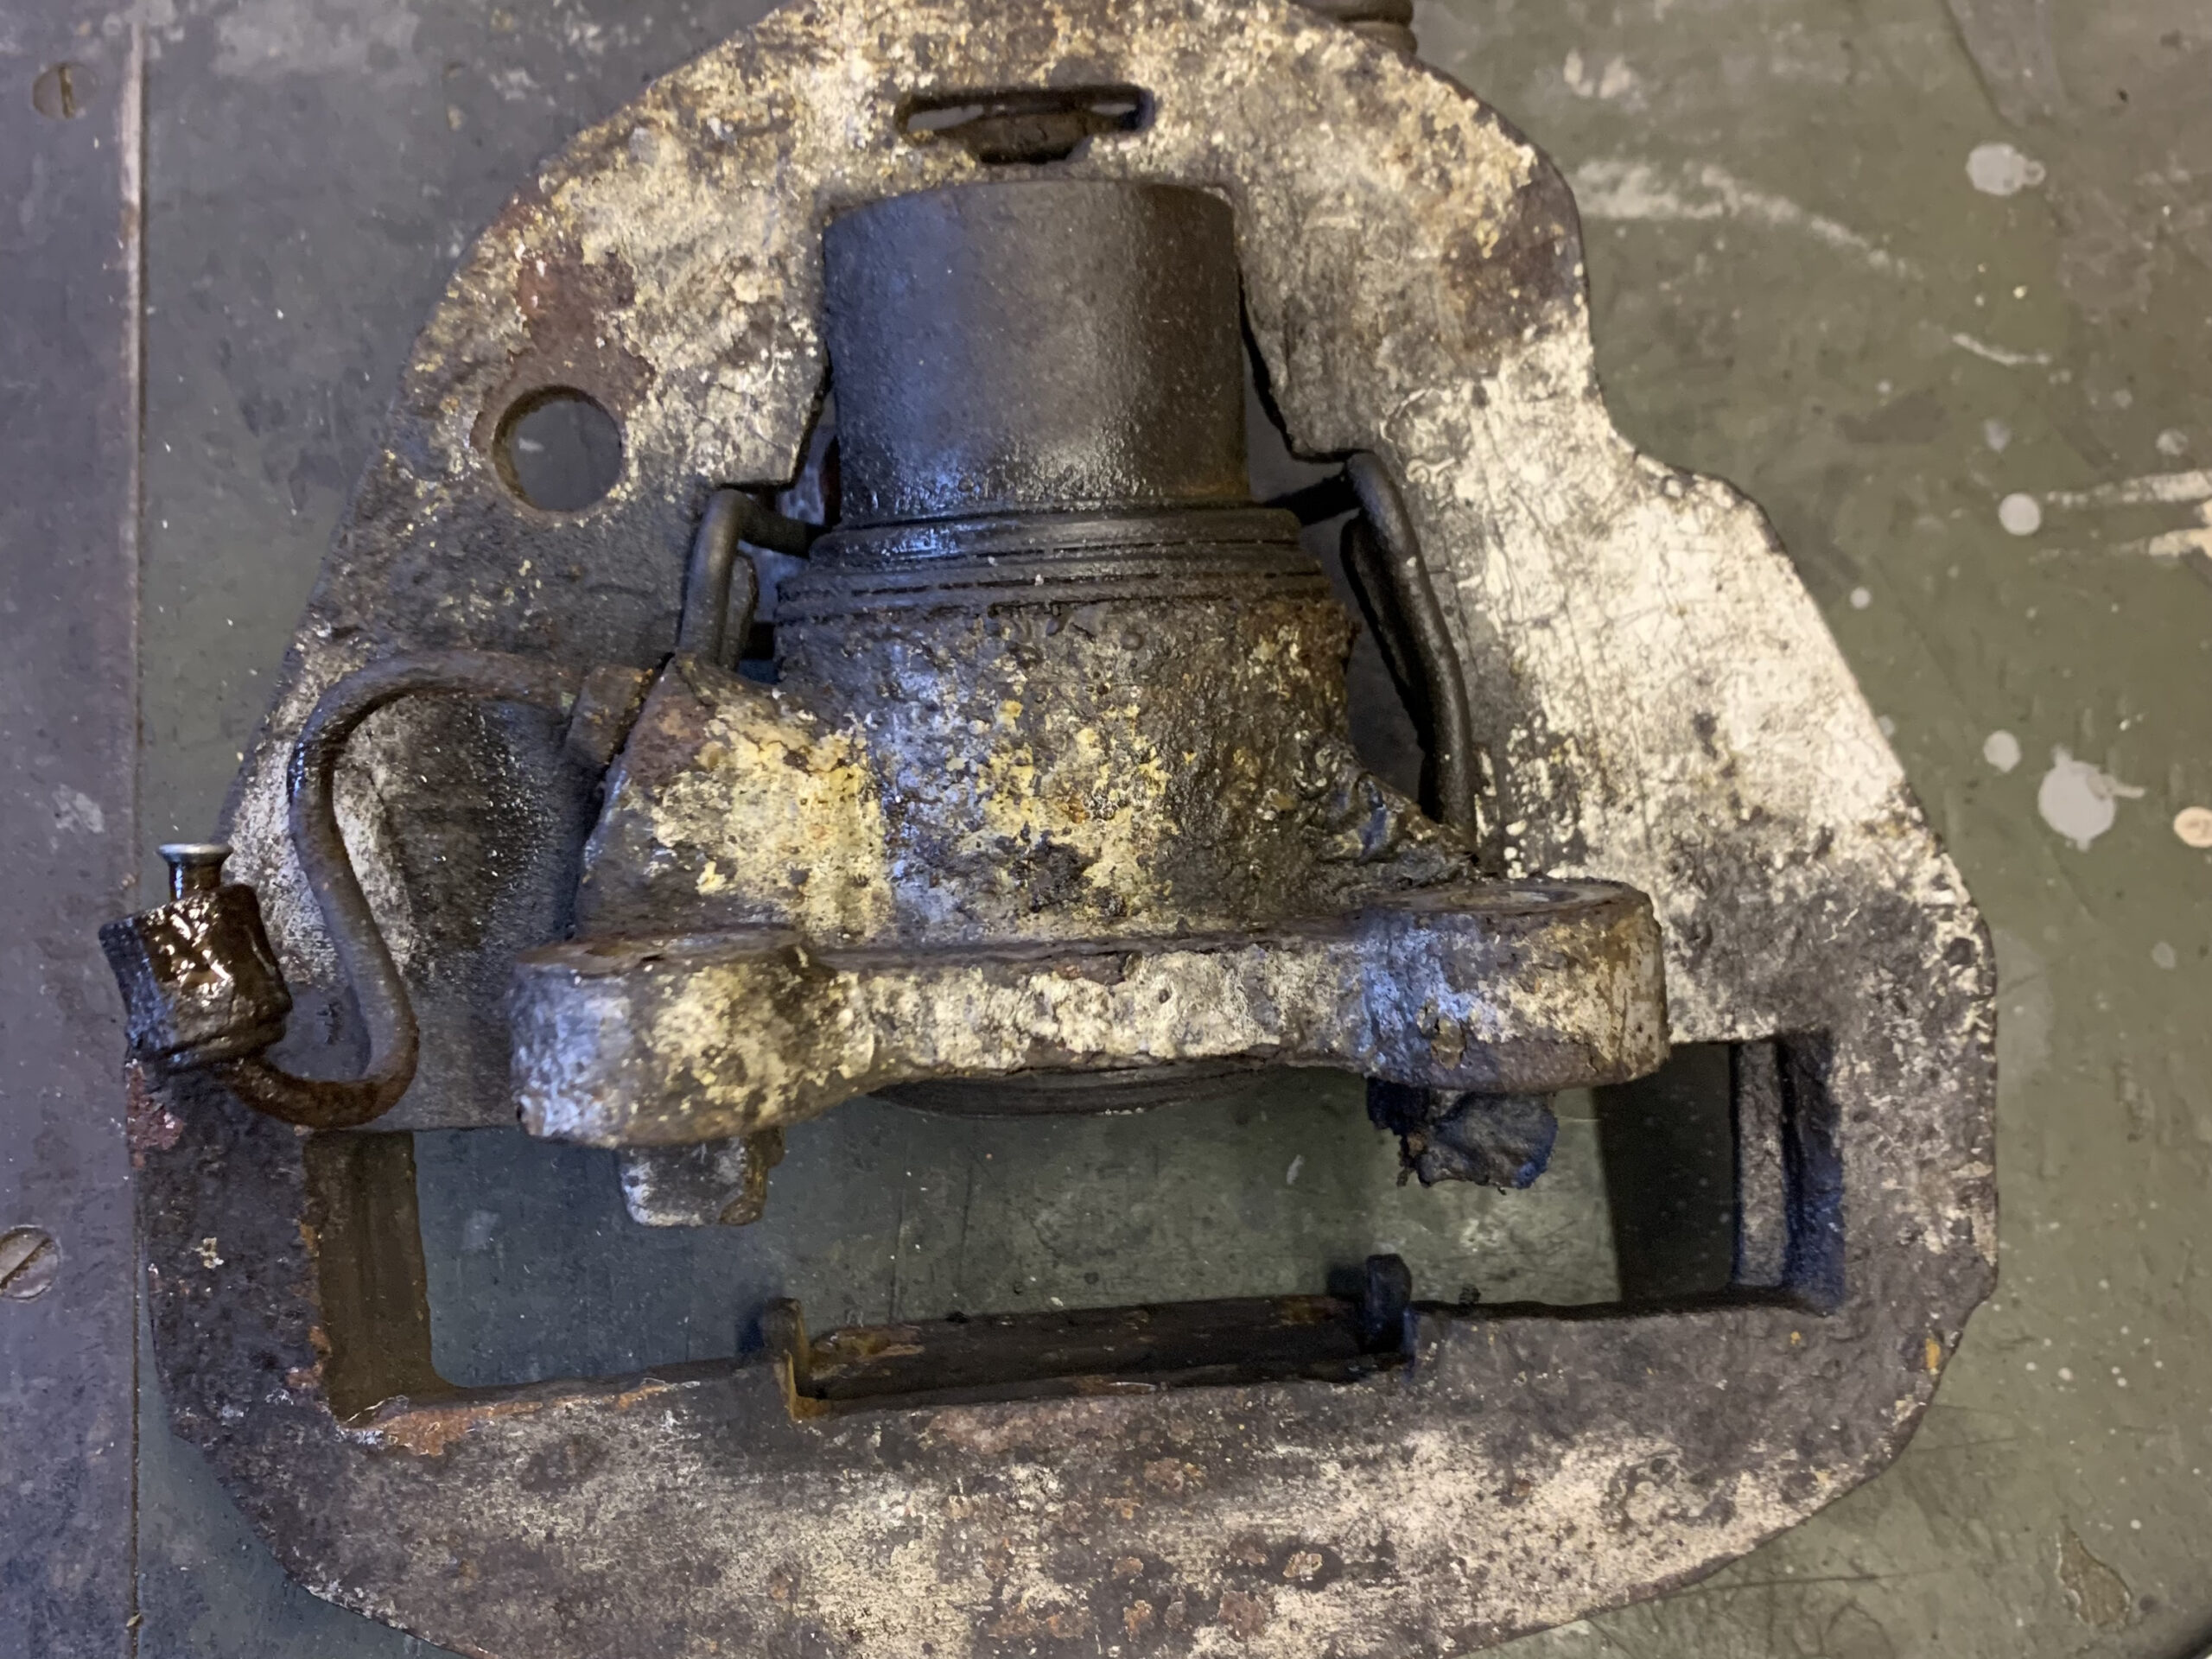
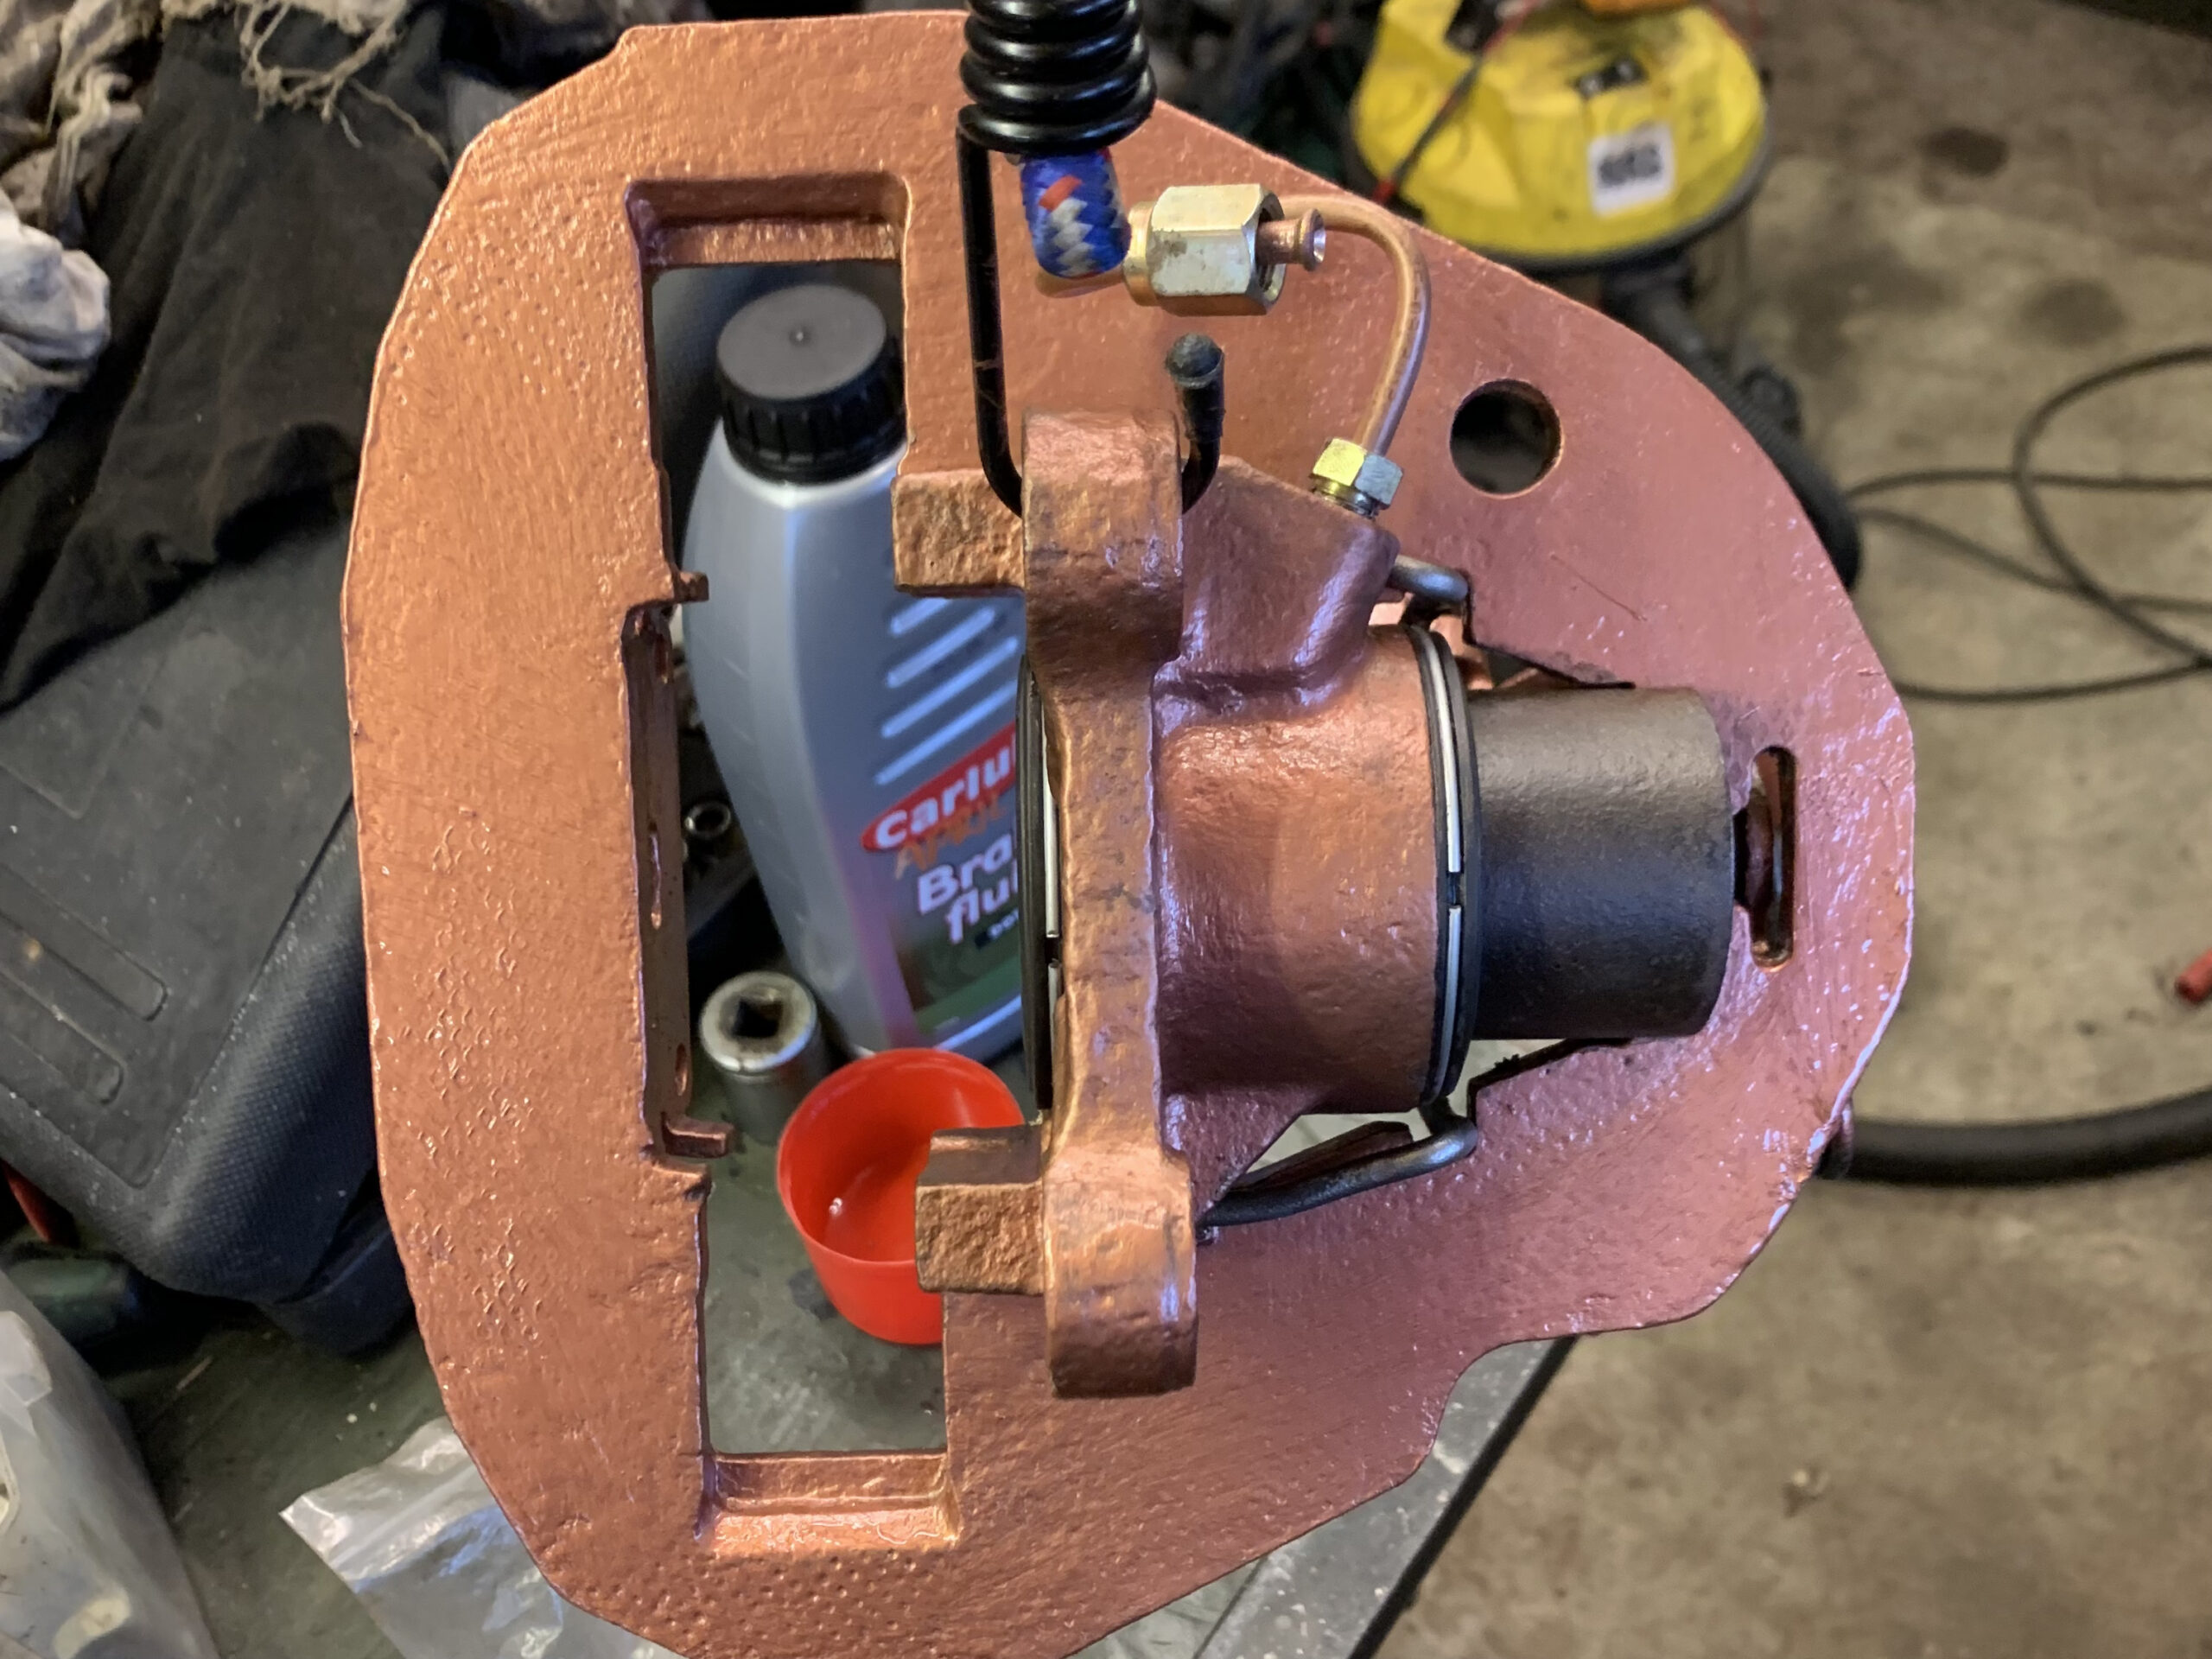
No surprise, barely a week after I got Helga back on the road was there a puddle on the floor by her left front wheel – the caliper’s seals had failed. Helga’s got a really rare brake setup – front handbrake with vented discs. I think these were only offered on turbo cars for one year before the switch to rear handbrake. So, with no chance of finding replacements, a rebuild was in order.
Pretty disgusting
These calipers work in a really weird way, with two opposing pistons on the rear side of the disk floating in a flat yoke.
After a lot of wire brush action
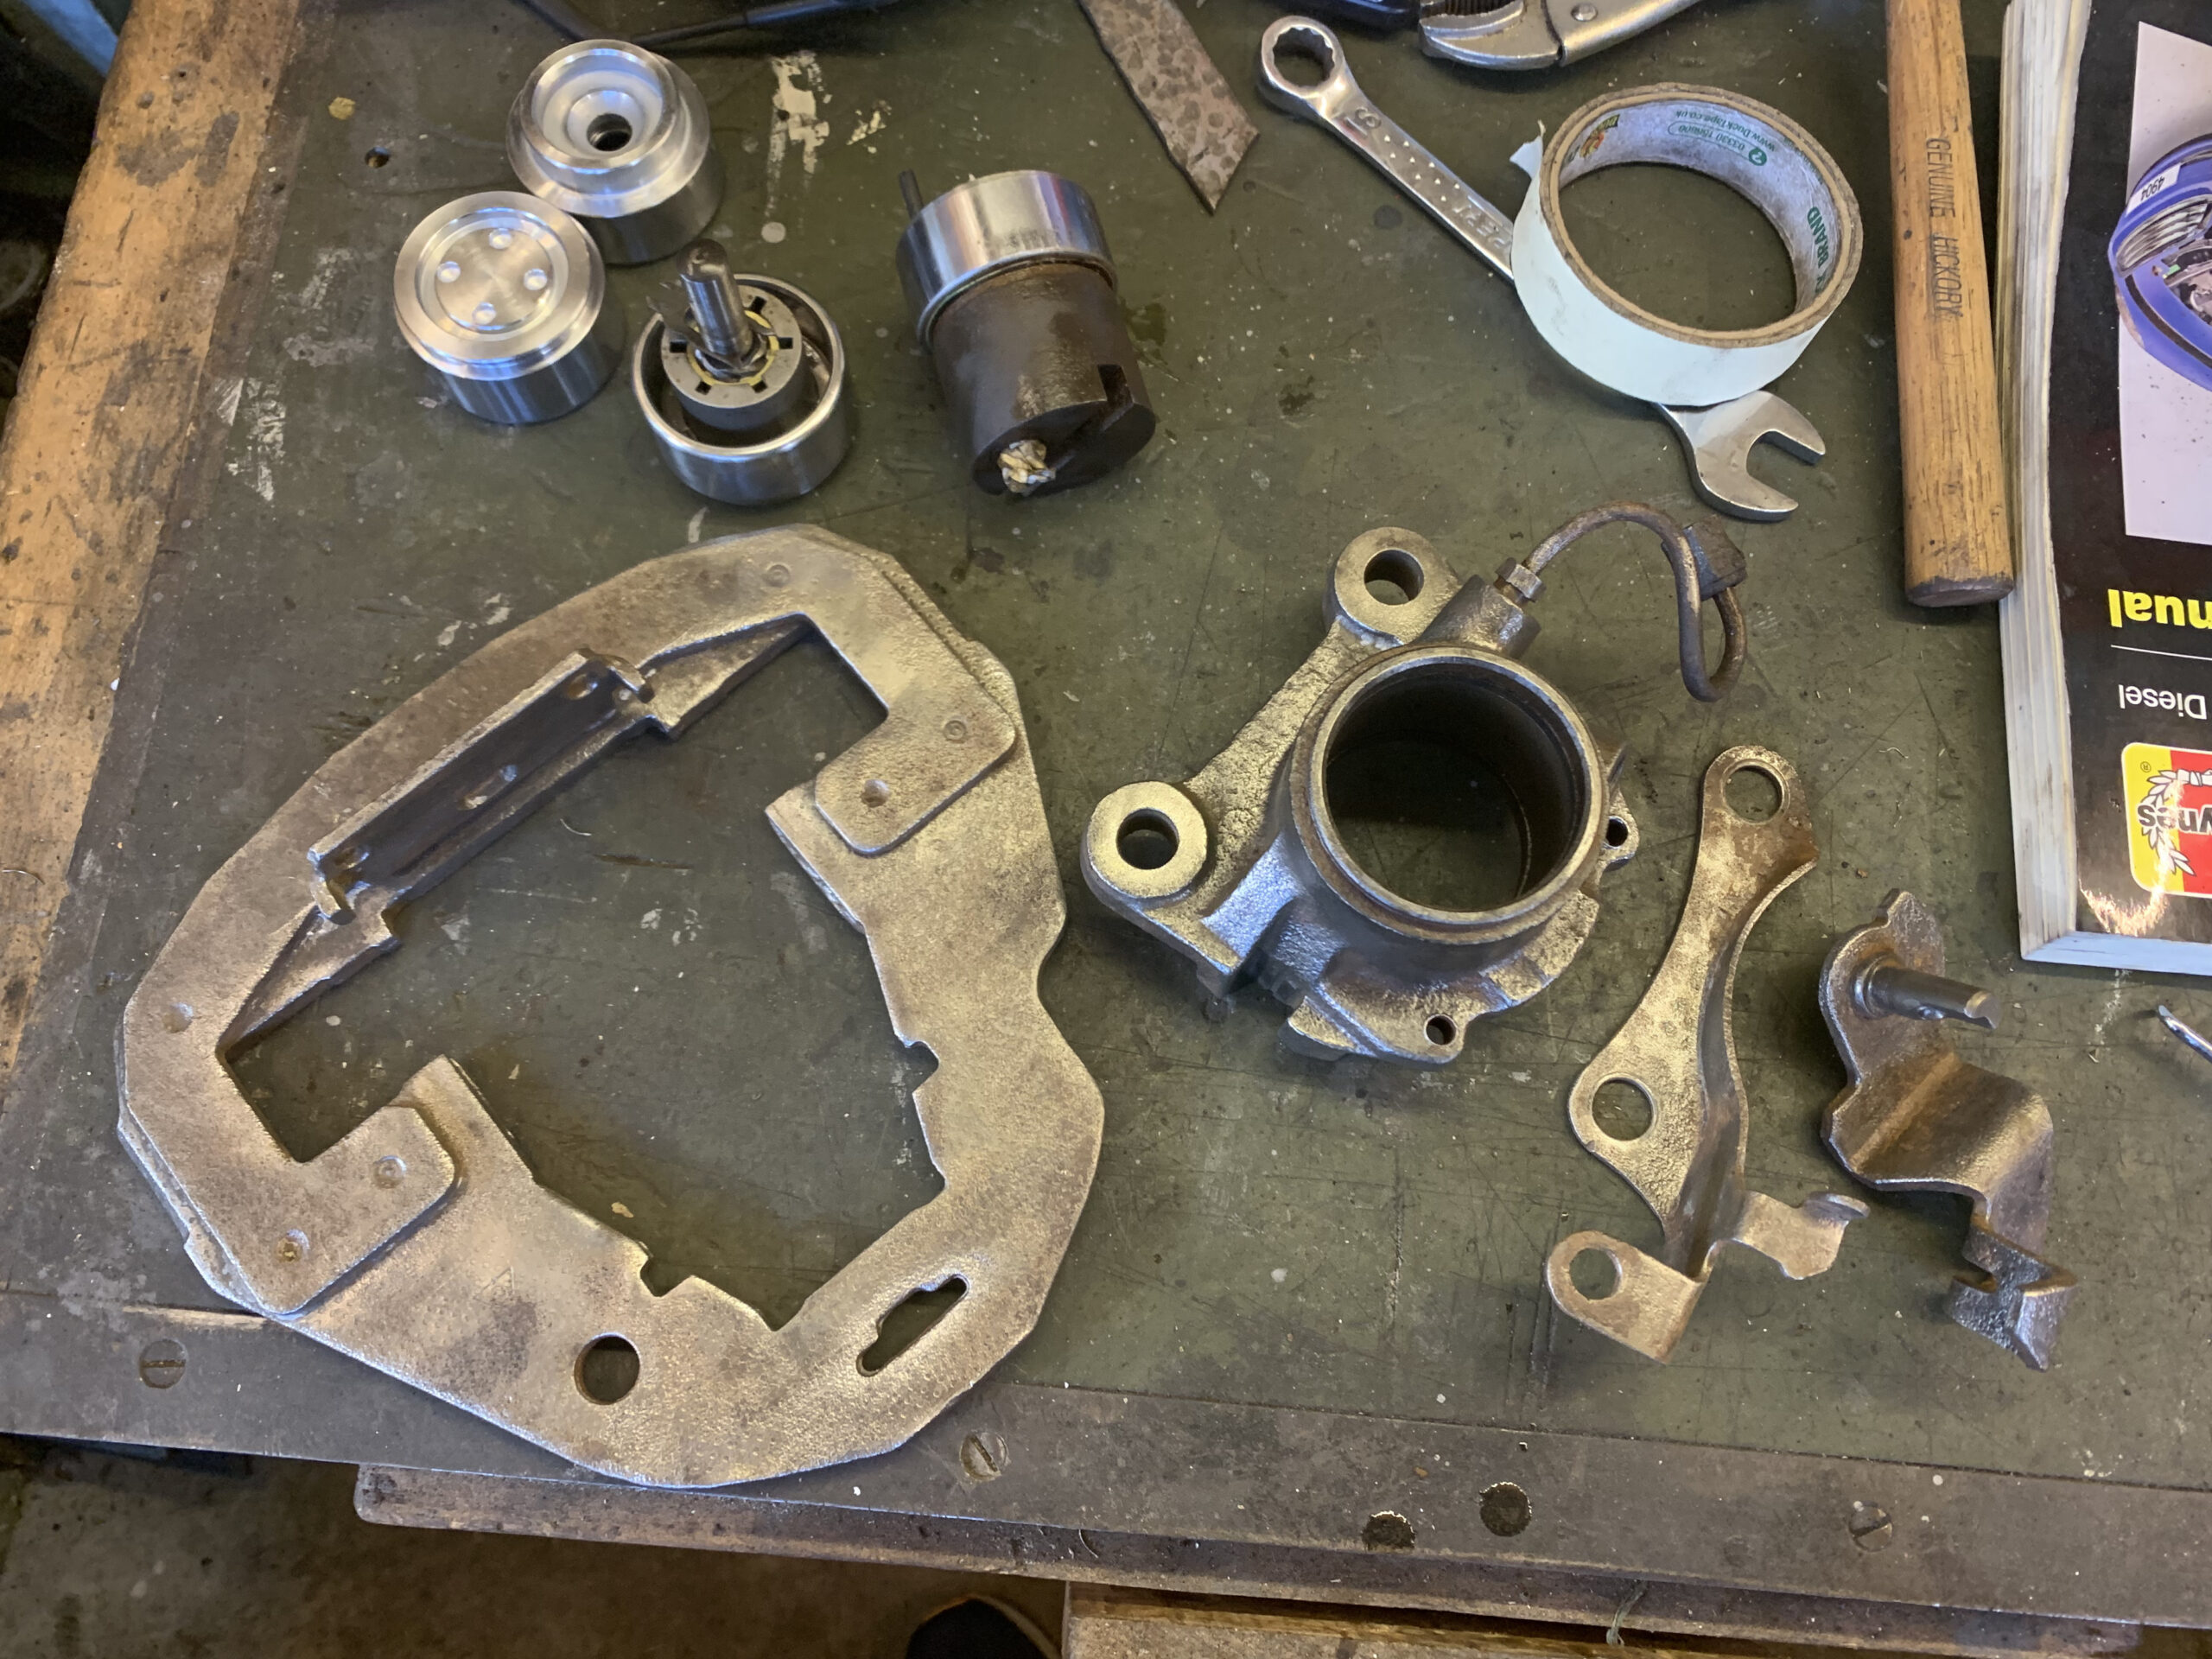
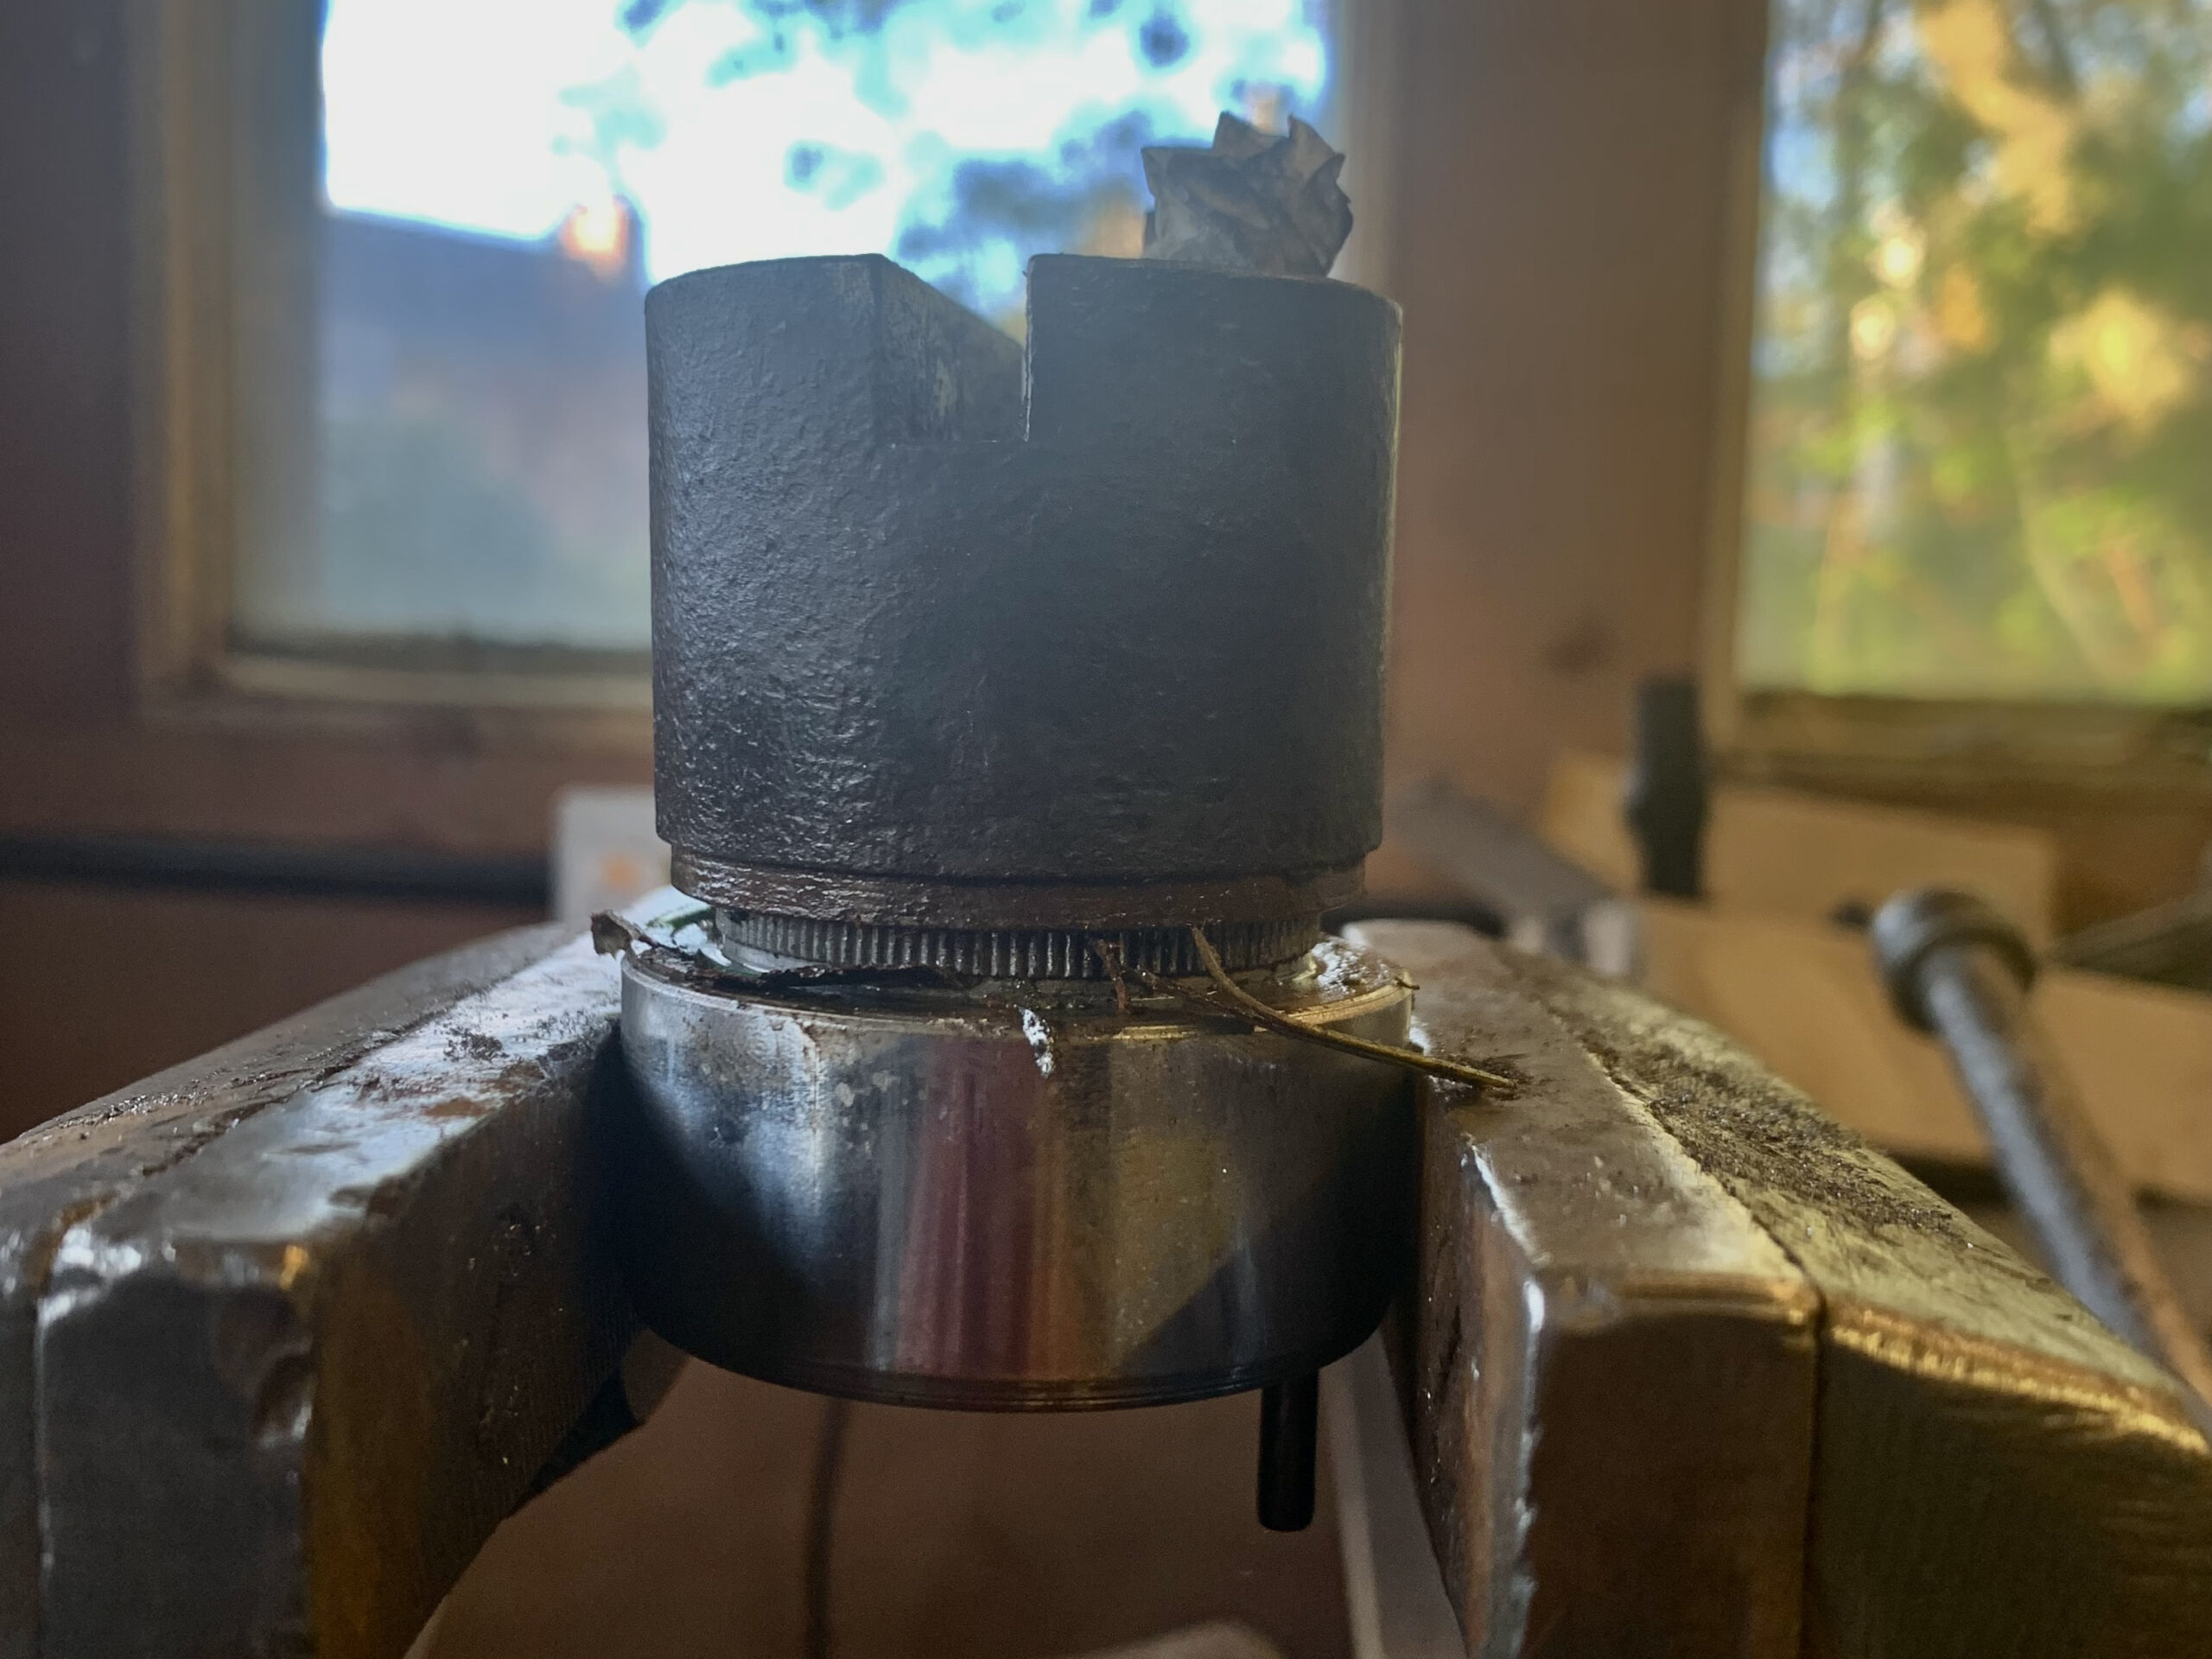
The main parts came apart in a pretty straight forward manner, but as you can see the replacement pistons don’t have the extra gubbins for the handbrake mechanism attached so I had to figure out how to swap them over. The rearmost piston wasn’t too hard, because it pried apart with a paper gasket between the pieces but it was very hard to get the screw mechanism out of the inner piston without damaging it. To hold it in, I sharpened the end of a bunch and gave it some wallops all the way round to deform the edge and retain the lip of the inner mechanism. Hard to explain, easy to see in the photo.
Prising apart the rearmost piston
Inner piston assembly is stamped in place
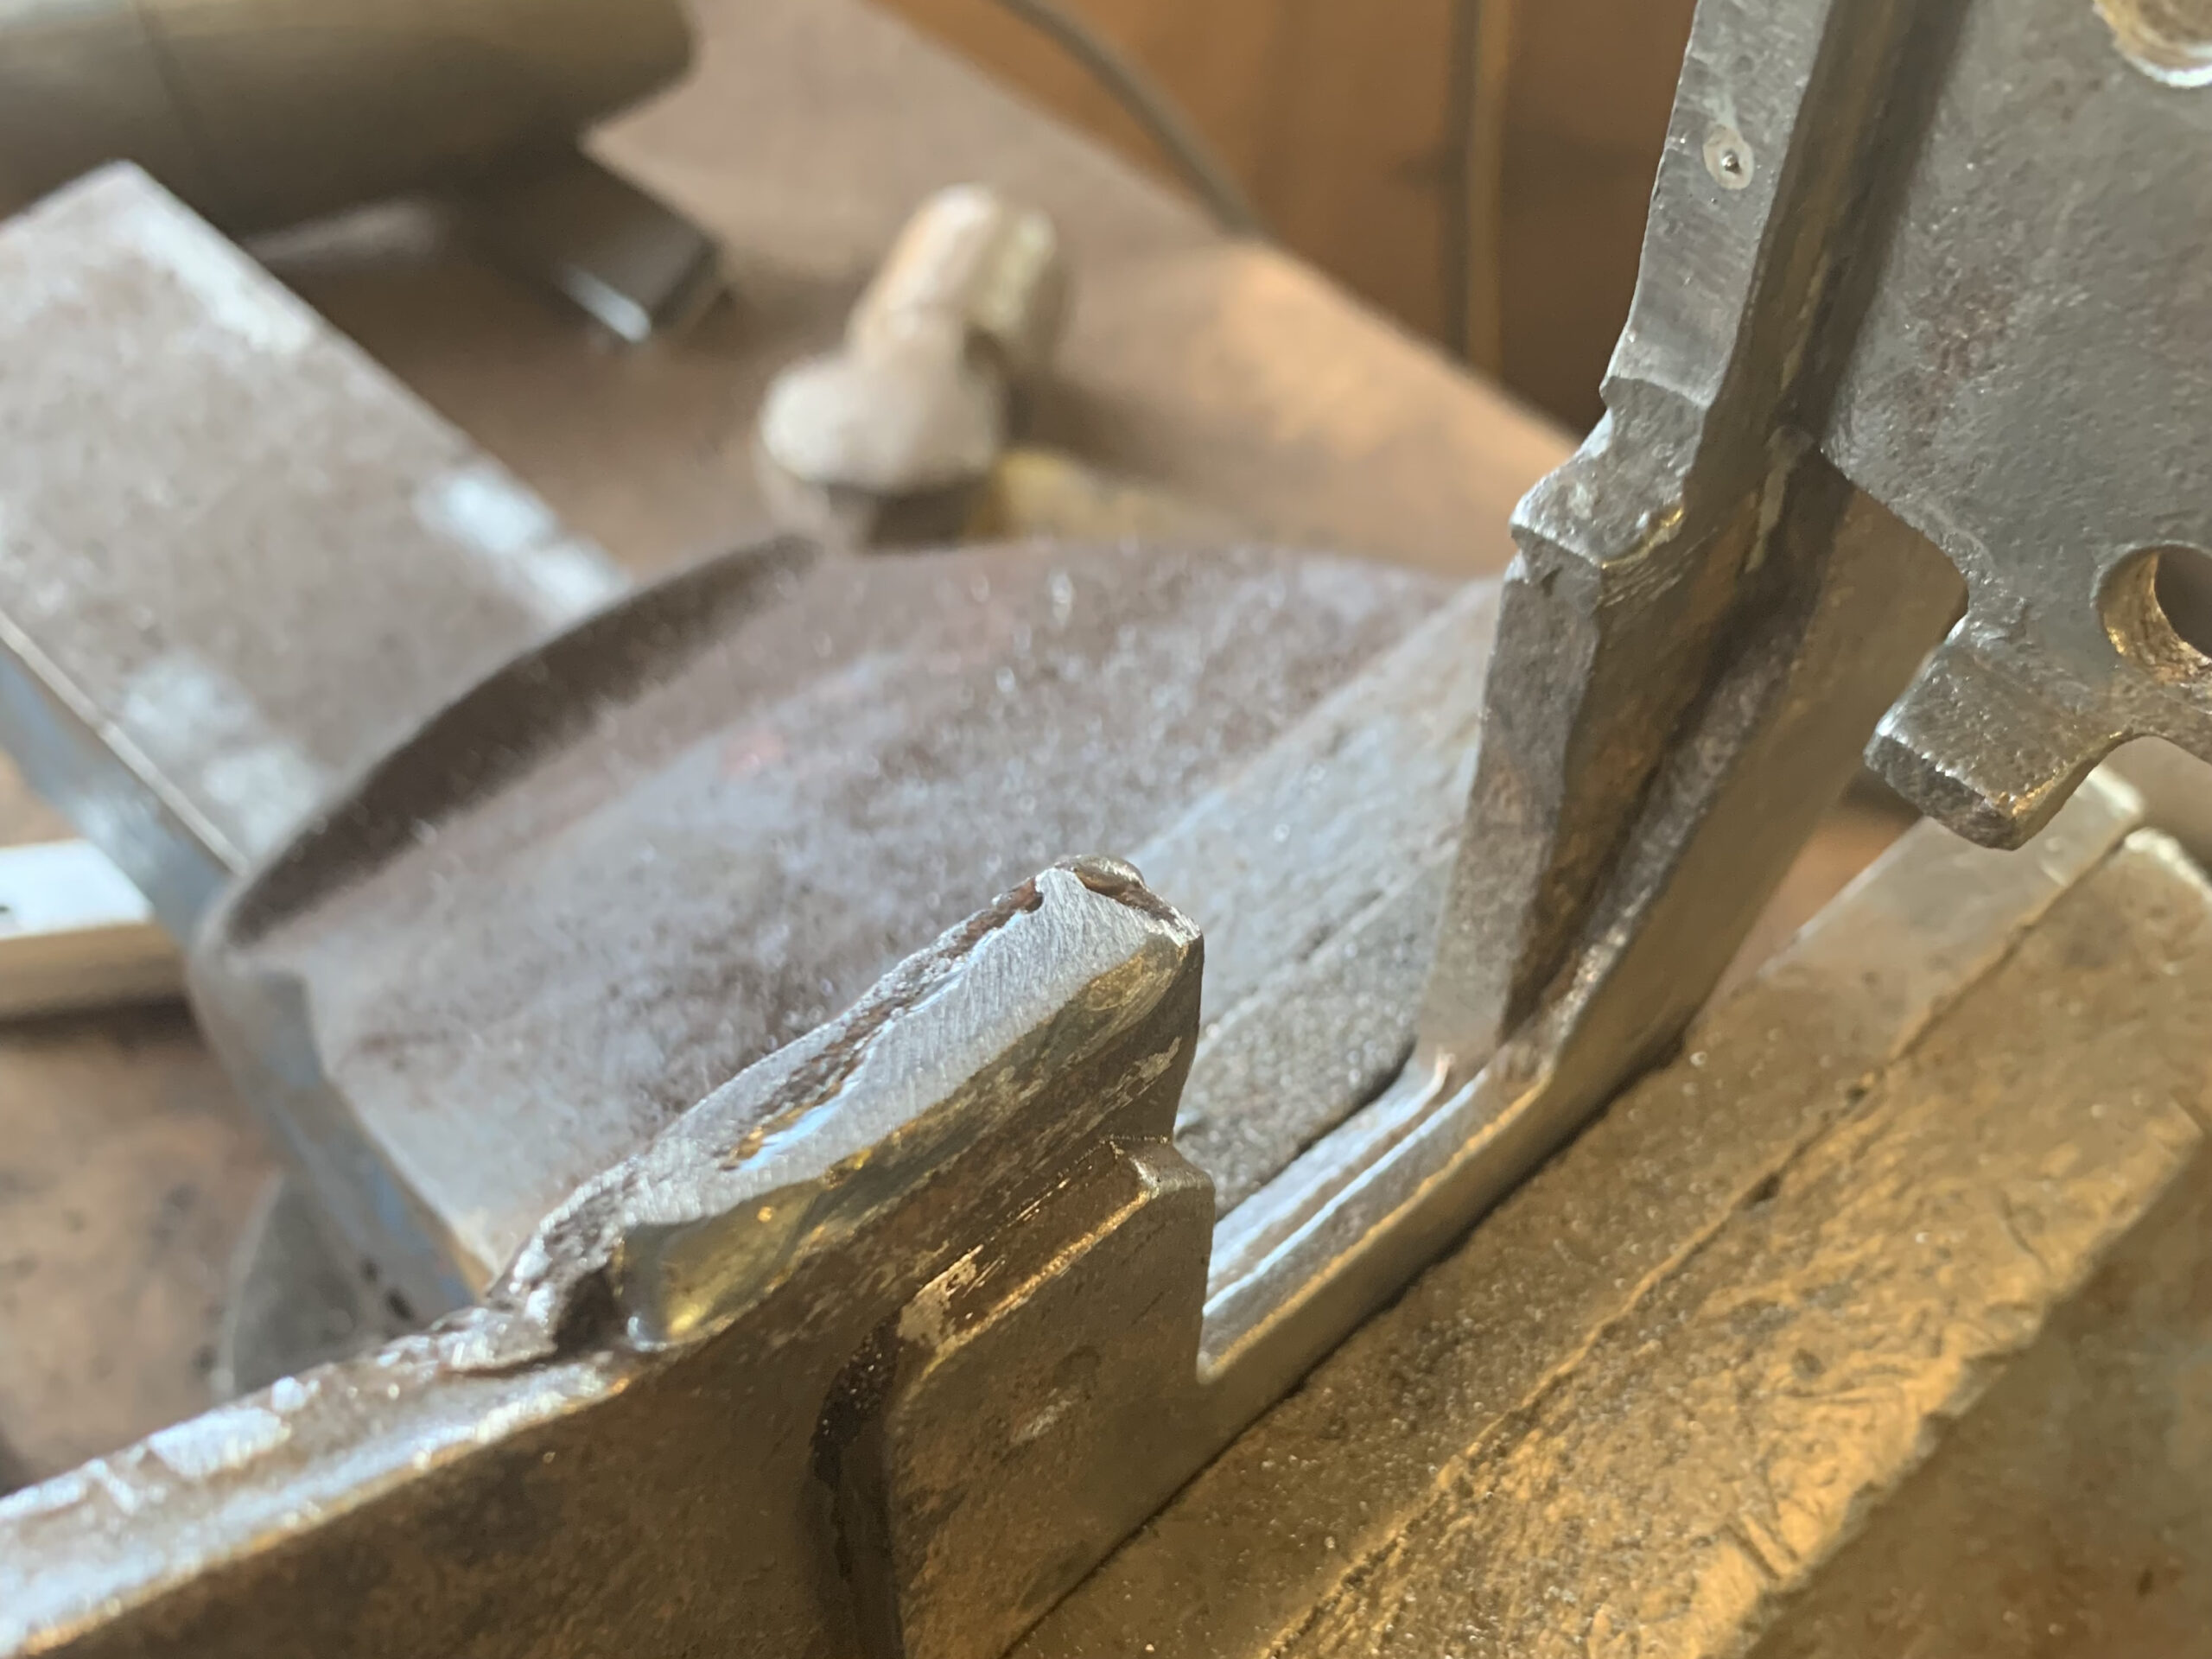
Over time the yoke that the caliper slides on wears, allowing the caliper to rock back slightly when you reverse. To fix this, I ran a bead of weld on the sliding edge and filed it flat until the caliper slid easily without wobble.
After that, it was just a case of painting with high-temp paint, reassembling with new seals and making up a new hard line.
All back together, painted and a new hard line made up
I was trying to get the car back together in time to go camping, but surprise surprise the 90 degree AN fittings I’d used on the turbo oil feed decided to spring a leak the night before. Not at the connection but the swivel portion which is odd. Even more annoyingly the line is now a tiny bit too short so I’ve got to make up a whole new one. Trying the braided PTFE hose this time instead of rubber core. Hopefully soon I’ll have done enough miles to drop the running in oil and can start mapping her.